Week 11 - Final project
Development of a Door Trim panel
Aim: To Creation of CAD model considering Class A surface, Nominal thickness and Attachment strategy
Objective:
To Creation of CAD model considering Class A surface, Nominal thickness and Attachment strategy.
Create thickened part using master section for reference Create the mounting features as per design guidelines in the industry and with master sections
Apply material details
Draft analysis & Tooling analysis
Introduction:
10 Stages of Product life cycle of automotive Industry are
1 Concept sketch
2. Styling class A
3. Feasibility check
4. Concept validation 5. New Product Design
6. Product Development
7. Proto Build
8. Design Validation
9. Pilot Production
10. Mass production
4. New Product Development CAD: this is the stage where the major work of product design, by taking inputs from the concept sketch to validate the product will go to design using design software such as Nx, catia, solidworks, solid edge etc. IN this stage through design all the surfaces are divided into sub parts from the class A surface and Ensuring product should be workable. Mailing the 3D model and 2D drawings for development. Here product design is going to complete 100% Example: Designing the car surface with the help of class A and clay model here designer going to detail producing the model from the
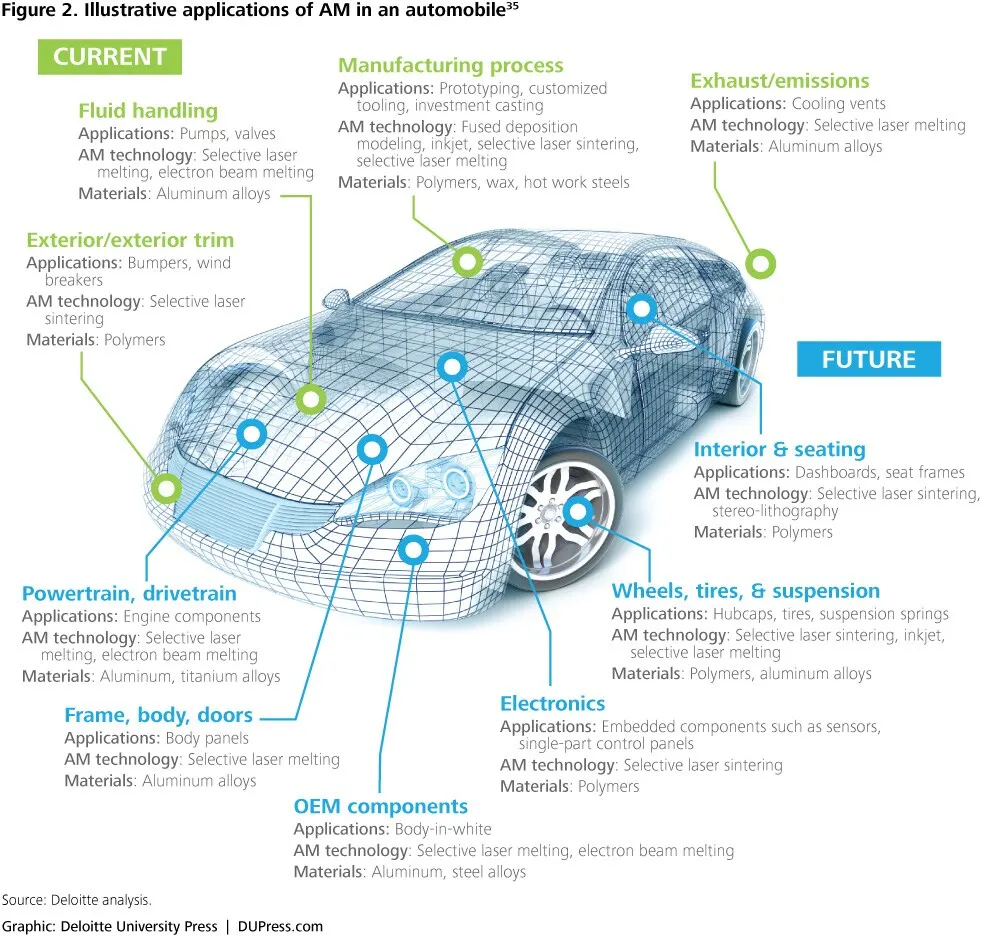
In this project I will be going to do a door panel.
With four parts.
1. Door armrest
2.Bottle holder
3.lower substrate
4. Map pocket
This all four parts are the main parts to create a door panel.
1
2
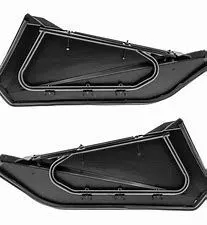 3
3
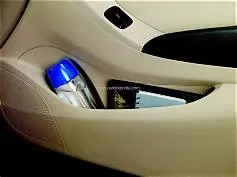 4
4
This procedure will be followed for all the 4 parts which I am designing.
Get the class A from the class A engineer.
Now the real work starts for us now.First take the class A. And create class b and class C respectively.
Note always follow uniformed tree structure.
What's class A,B and C.
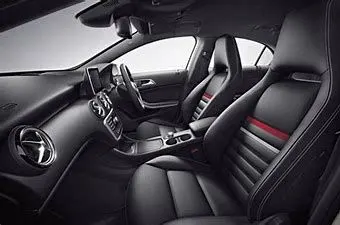
Class A surface is a surface where it is consist of all detailed finishing to it because it is the first Viewed surface of any component.
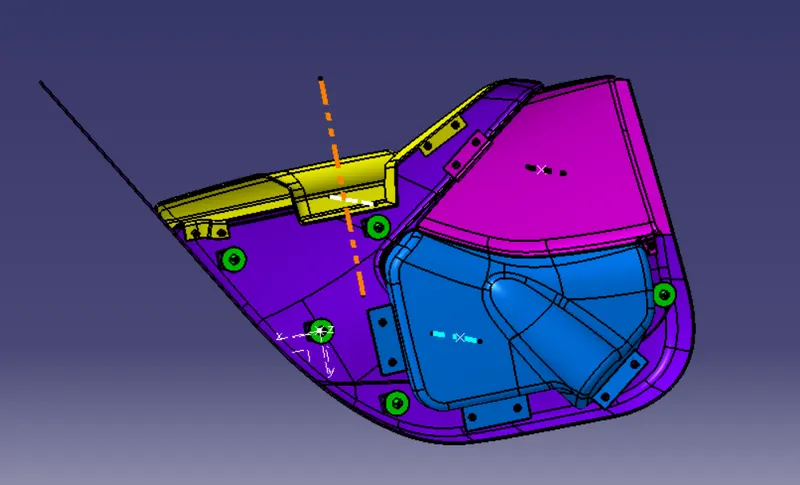
Class B surface is opposite to class A and it contains all the supports. Like ribs, heatsticks, dog house and flanges etc.
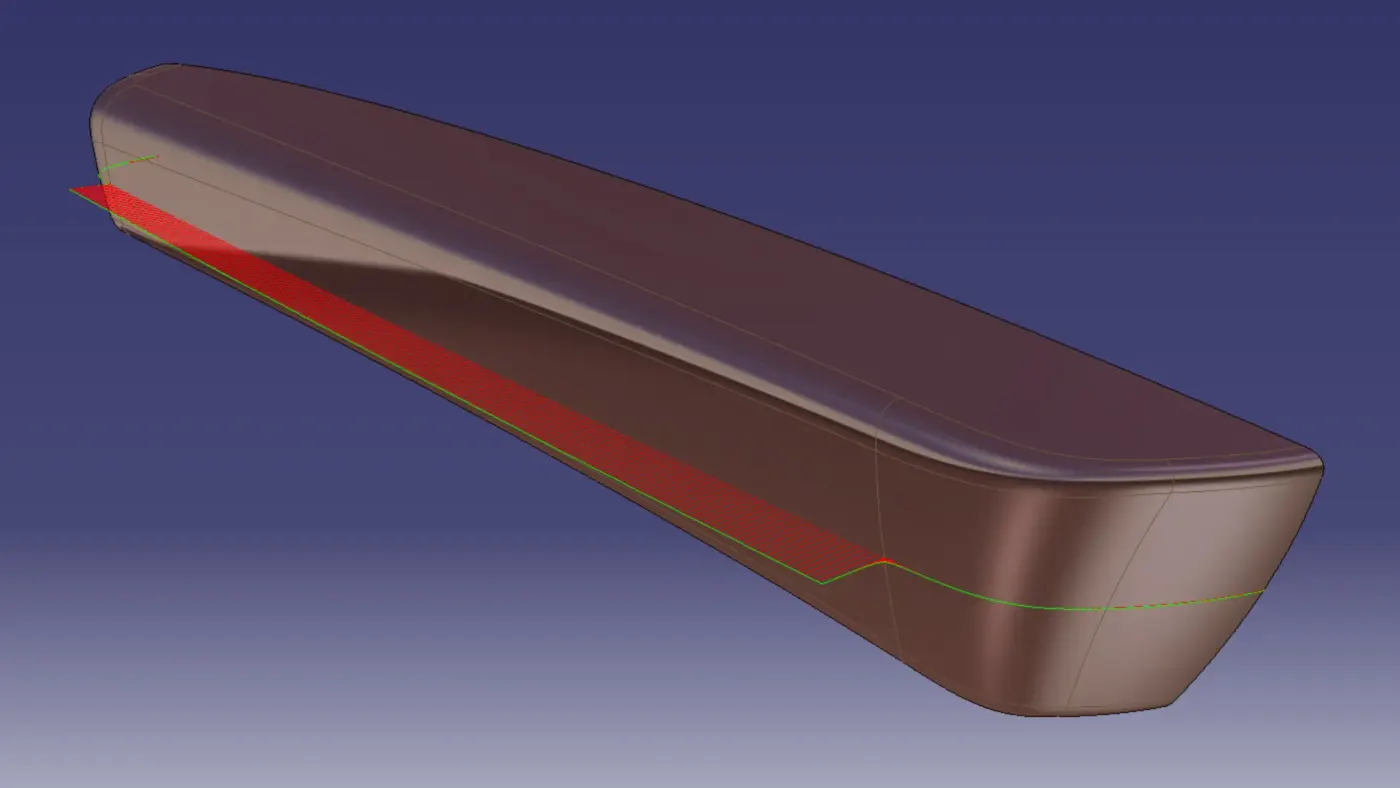
Class C surface which is easy to define it is a surface just connecting both class A and class b.
Make sure to to create class C surface with angle of 3 degree draft.
: Creation of tooling Axis
: Creation of tooling Axis for all the parts.
: Thicknen the part after completing the class a ,b and c.
; Finally do the draft analysis for all the part.
--------------------------------------------------------------------------------------------------
After creating class b and C.
Make note that you are working in assembly workbench.
Then comes master section.
Master section is a intersection which is done for fully designed parts. Which gives reference for a designer to design the parts.
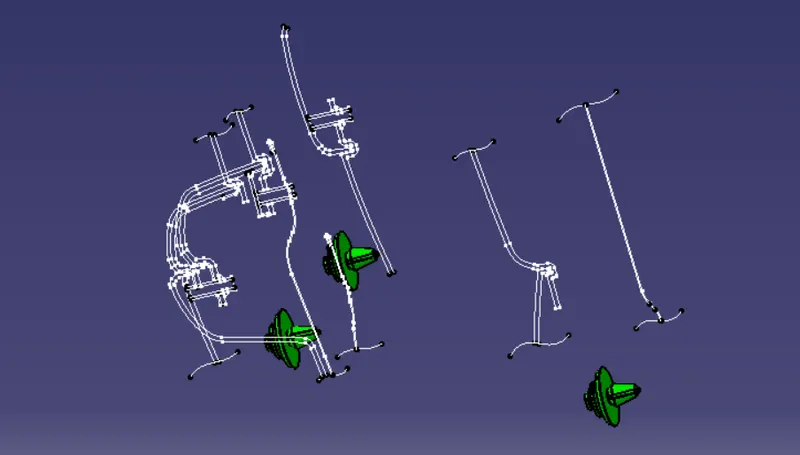
The parts which are going to be placed on class B are
. Doghouse
. Ribs
. Flanges
. Heatsticks
Note maintain the draft angle of 0.5 degree .
For adding the part use Boolean operation.
Follow the given sketch and conditions before creating the parts.
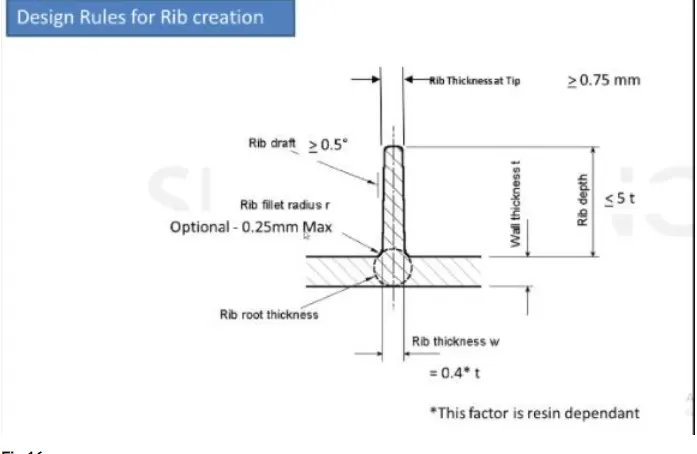
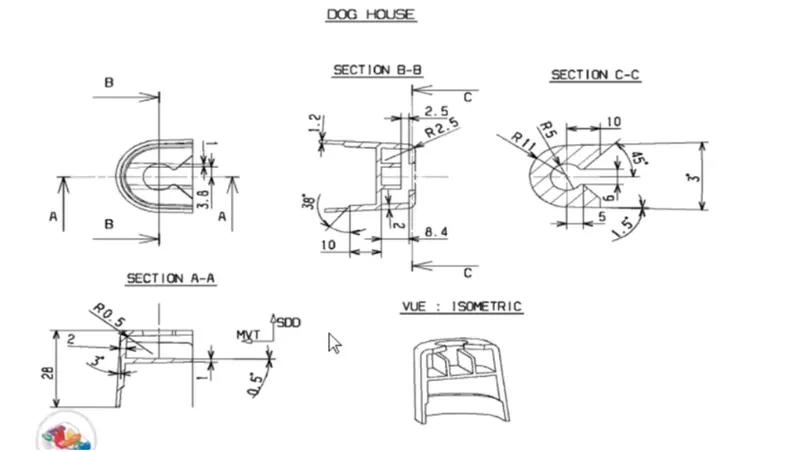
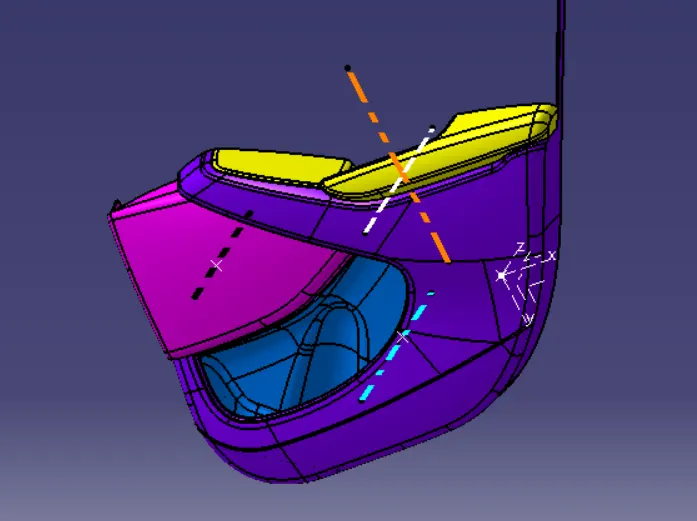
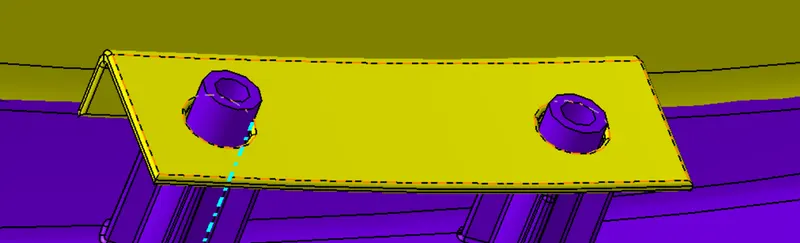
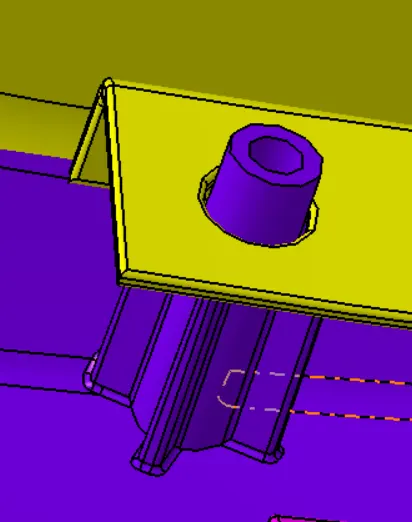
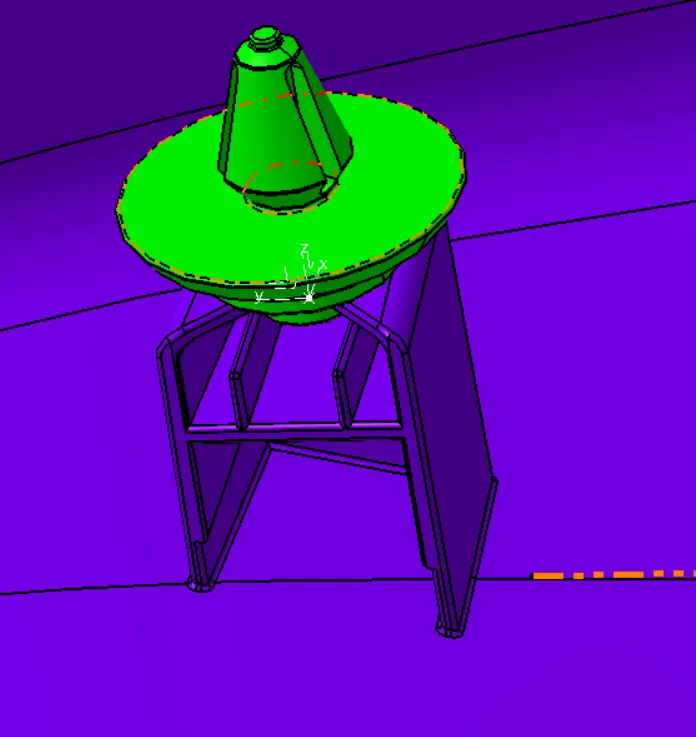
Note do the side core tooling Axis for the doghouse
--------------------------------------------
Push clips .
This are mainly used to to attach two parts together .
PLACE the push clips over the doghouse . By giving constraints.
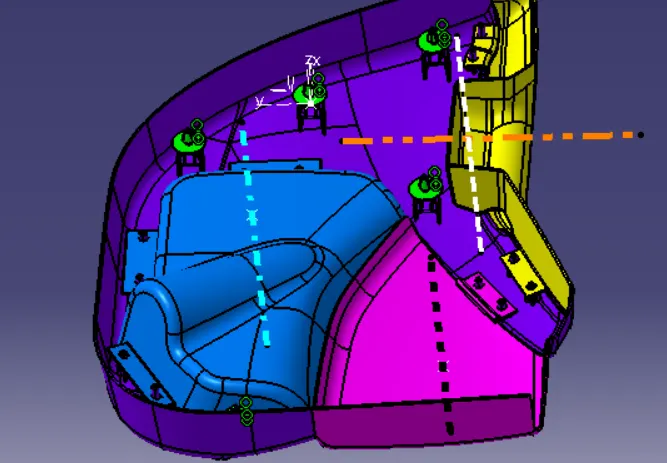
Save the file by using save management.
------------------------------------------------------------------------------------------------------------------------------------
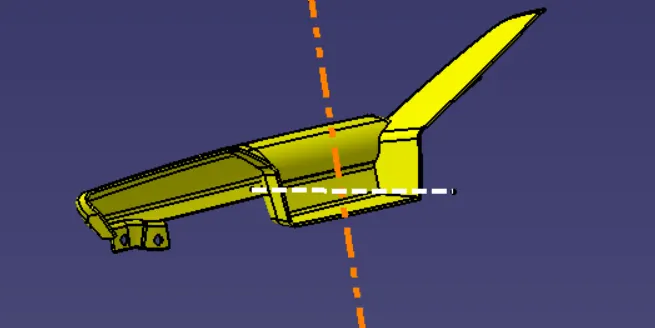
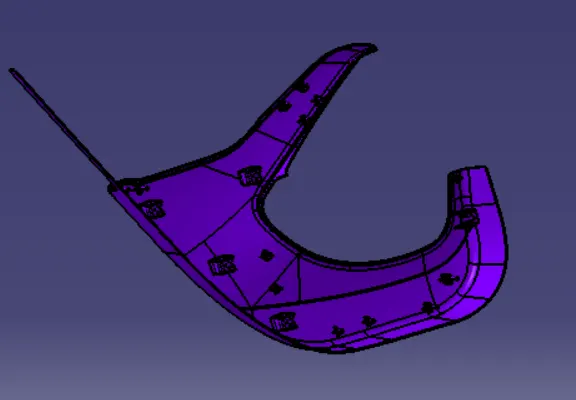
FINISHED PARTS .
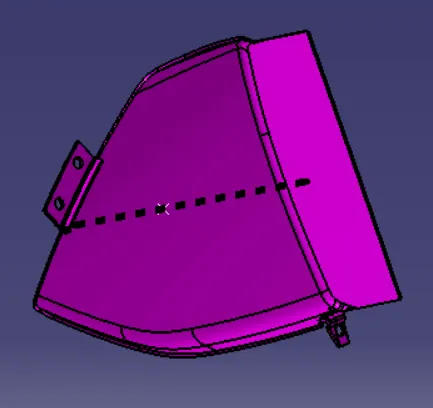
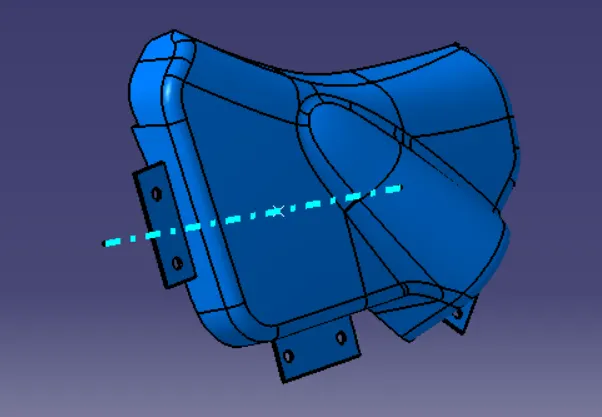
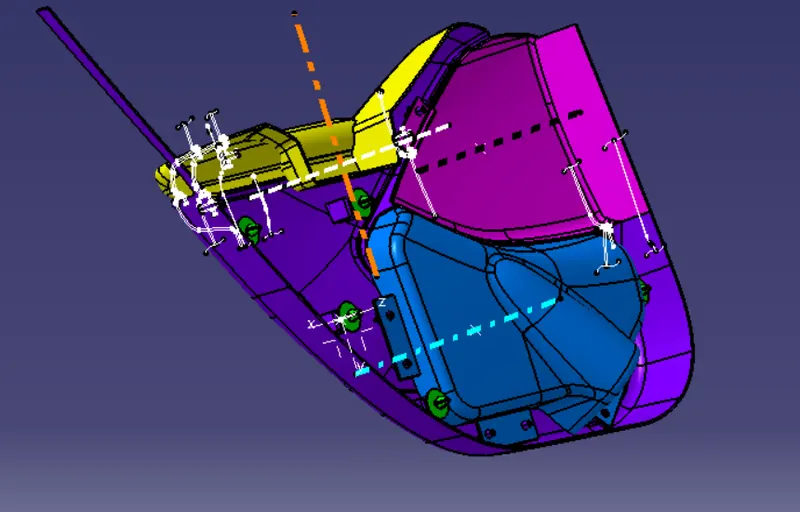
==============================================================================================