Week 11 - Final project
DEVELOPMENT DOOR TRIM PANEL:-
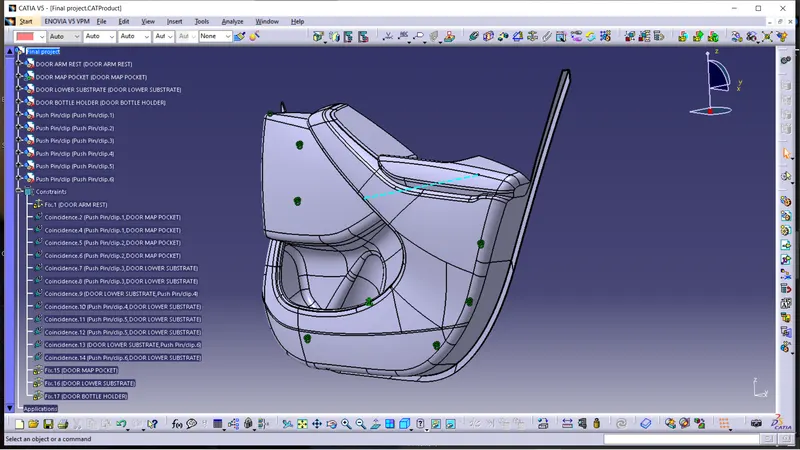
We developed the door panel from the given master sections and CLASS A SURFACES of the door lower substrate, door arm rest, map pocket and bottle holder parts. Then we created the heat stakes, flanges, ribs and dog houses where ever required. And also we checked the draft analysis of each part with respective tooling directions.
Door lower substrate:-
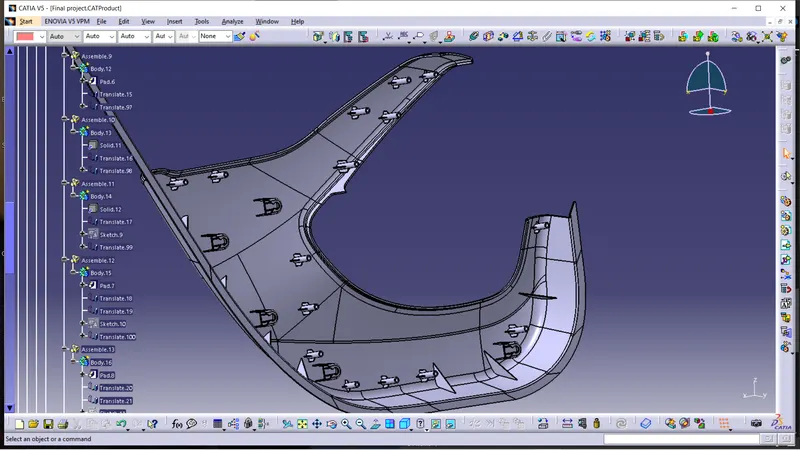
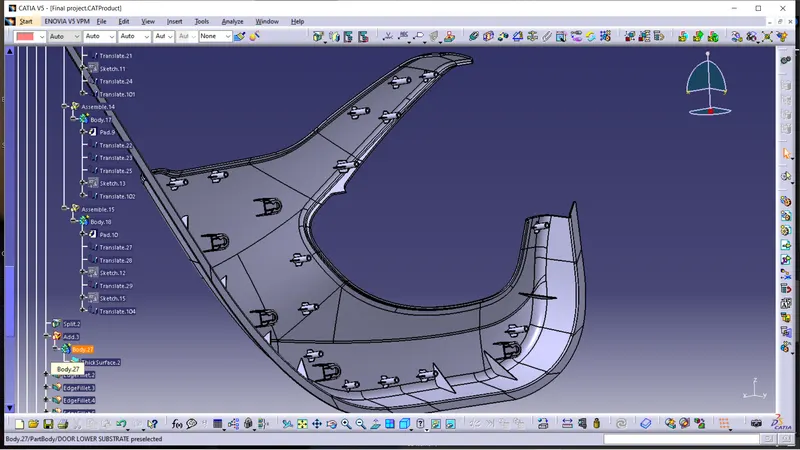
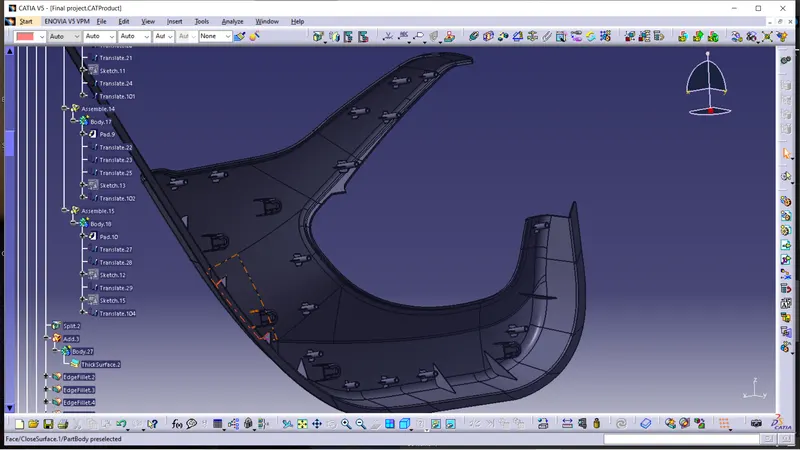
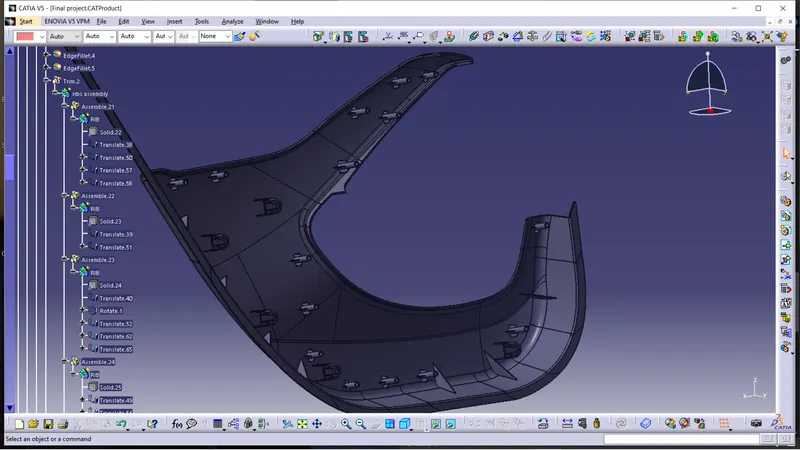
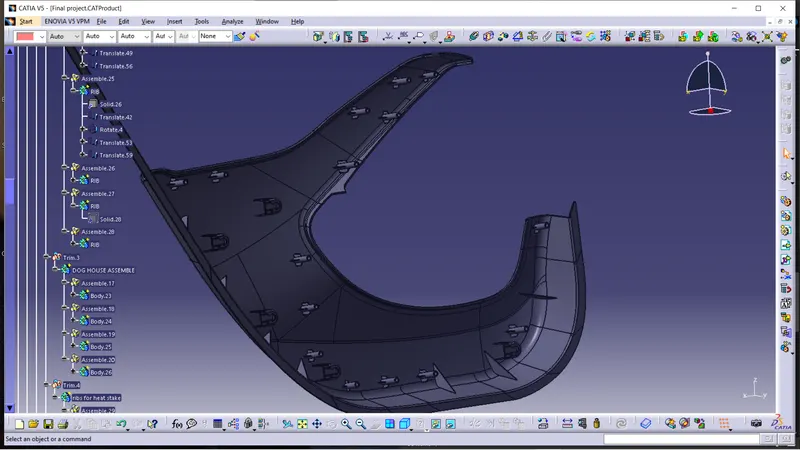
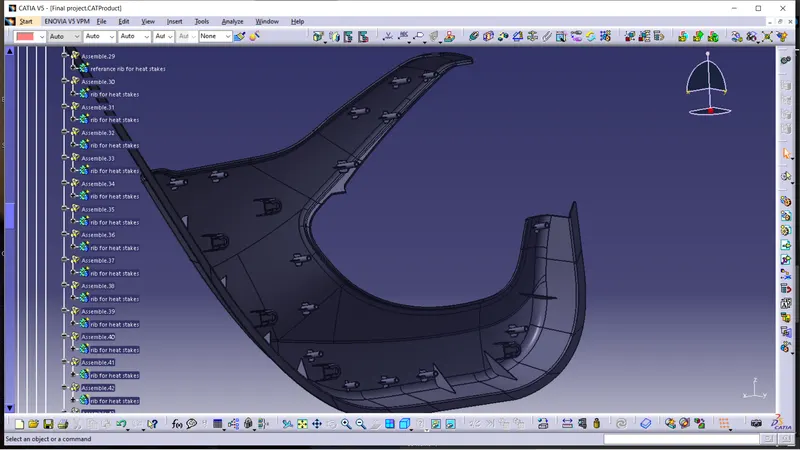
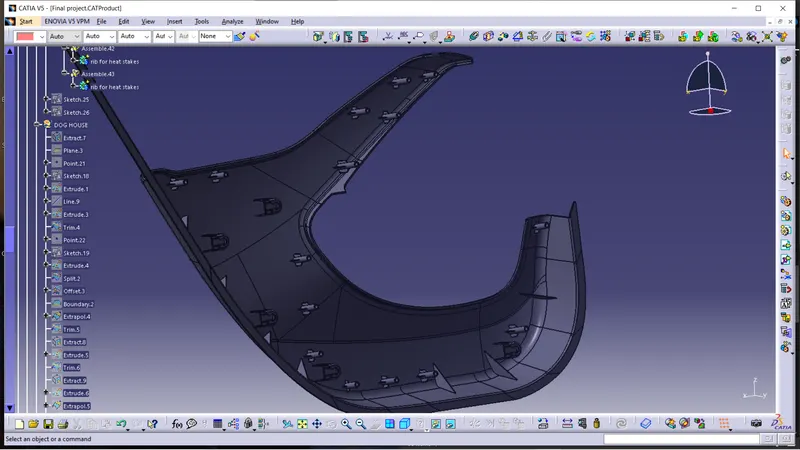
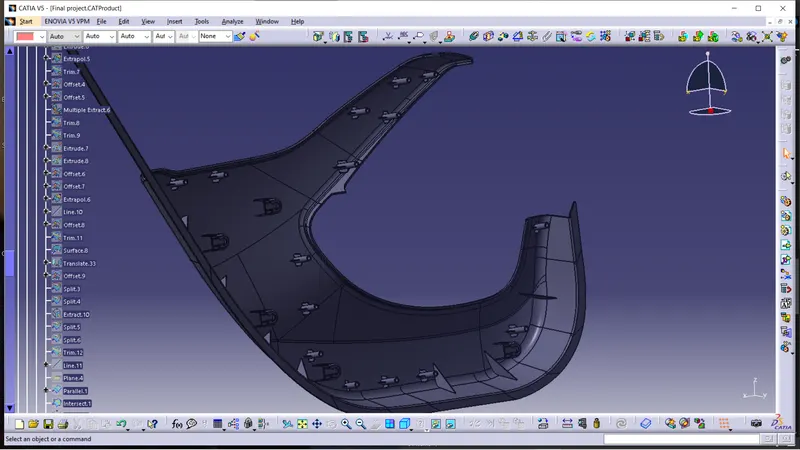
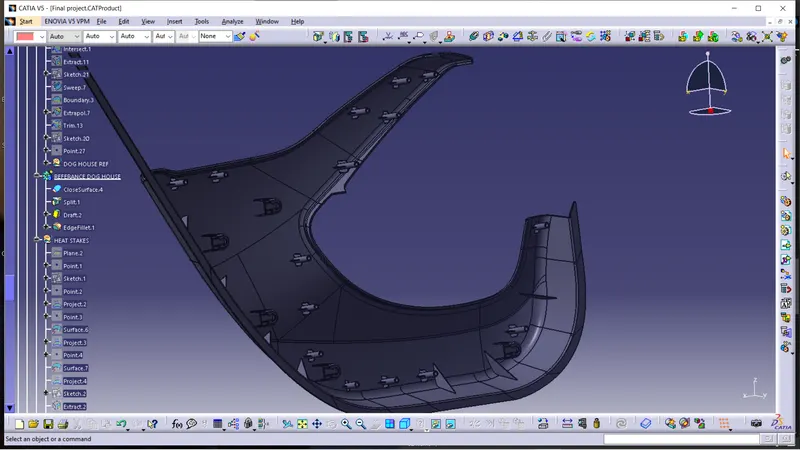
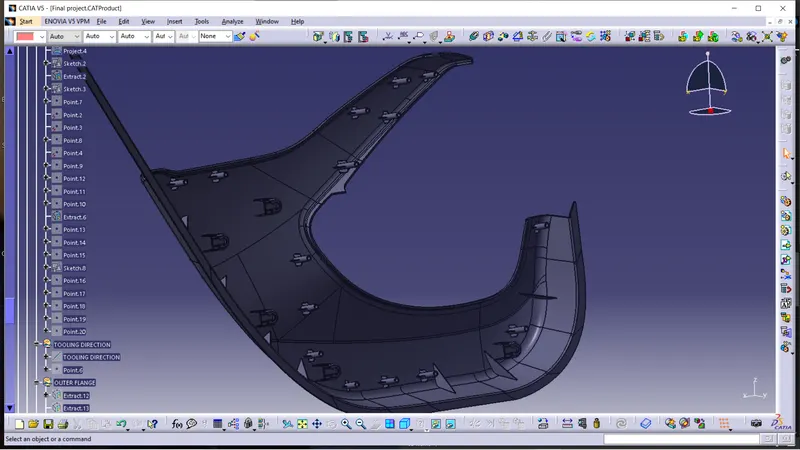
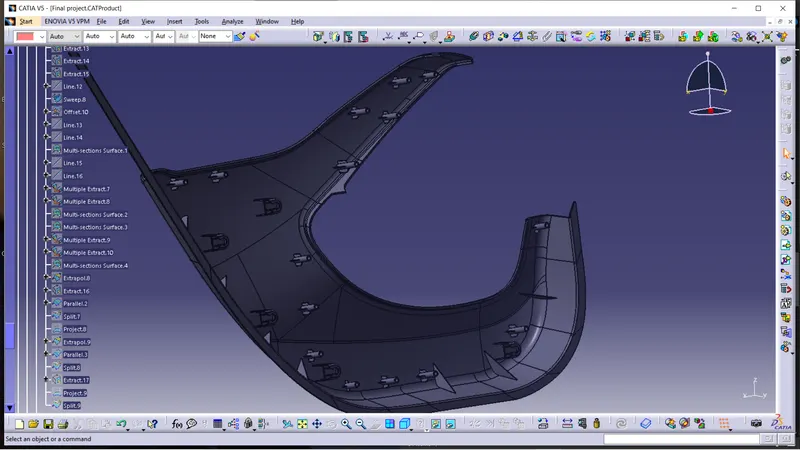
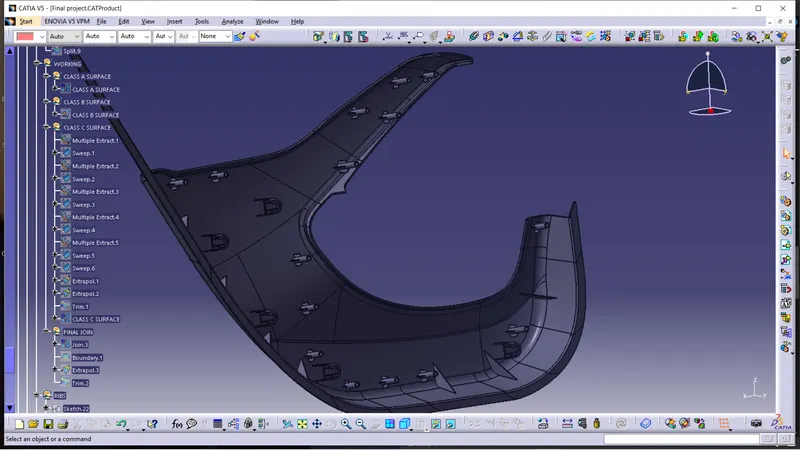
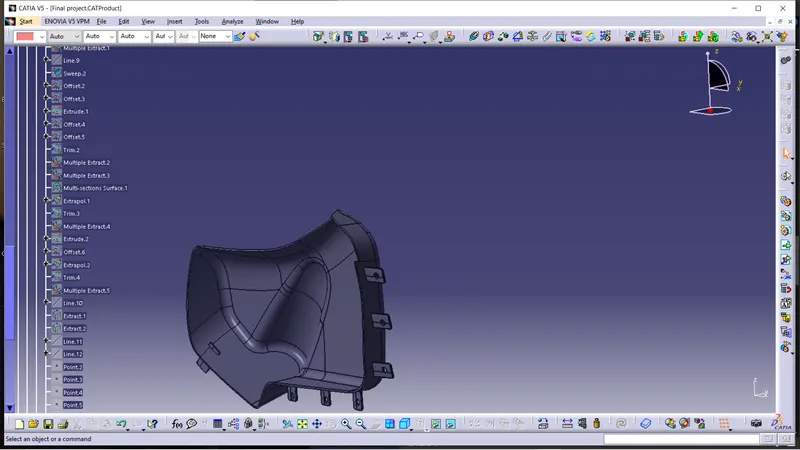
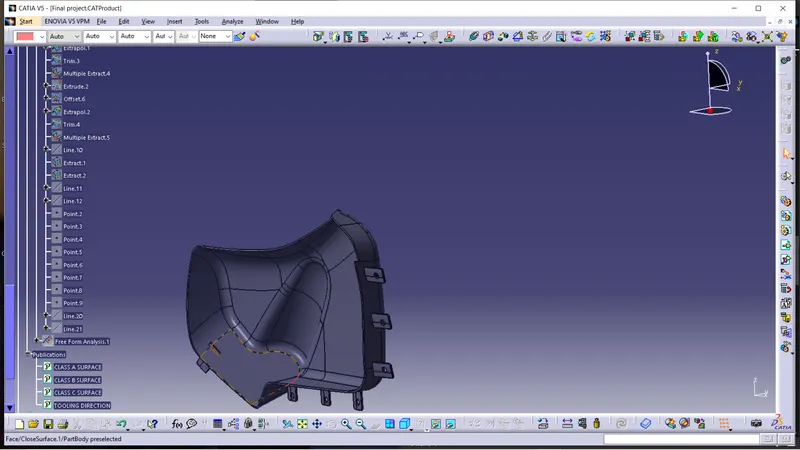
We created the door lower substrate with given master sections and class surfaces. Initially we checked the given surfaces and if there is any mistakes or irregularities in the surface, we repaired that surface. Then we created the CLASS B and CLASS C SURFACES. Then we joined the surface and created the close surface. Then we created the dog houses and heat stakes with ribs. And we created the ribs on the edges of the lower substrate for overcome the warpage effect.
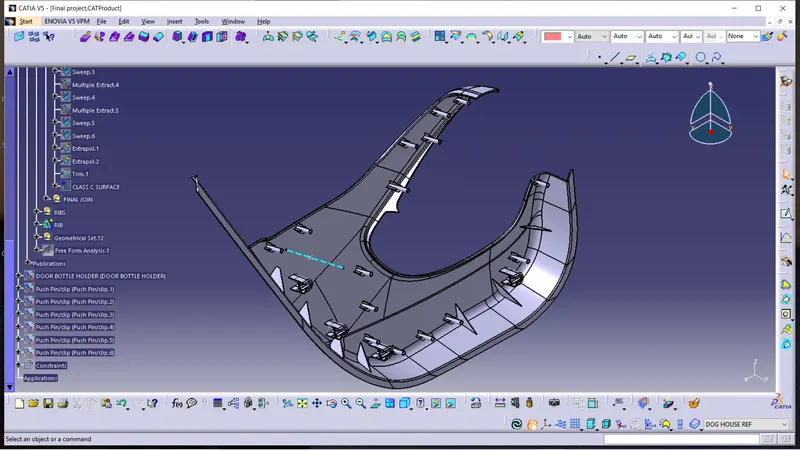
Tooling directions:-
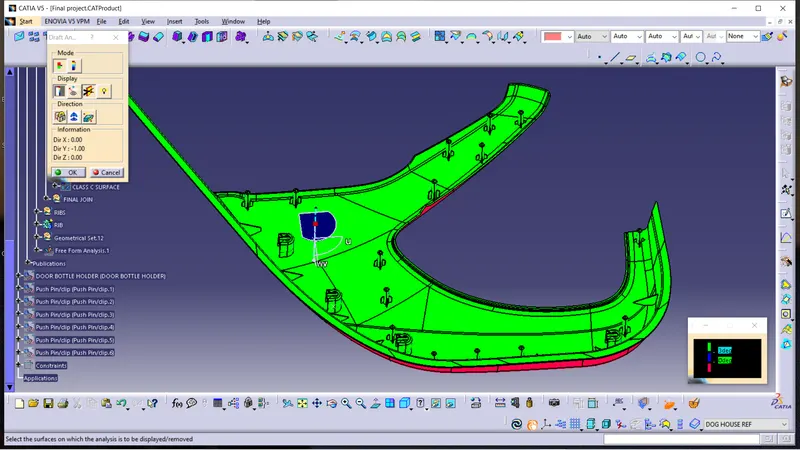
Draft analysis on part:-
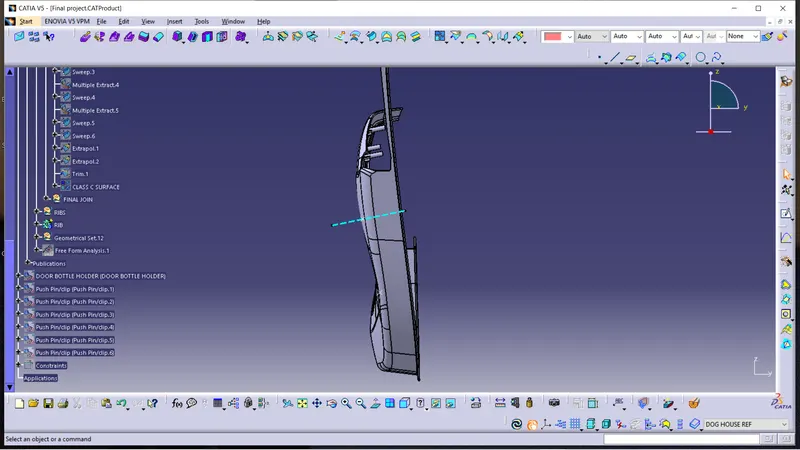
views:-
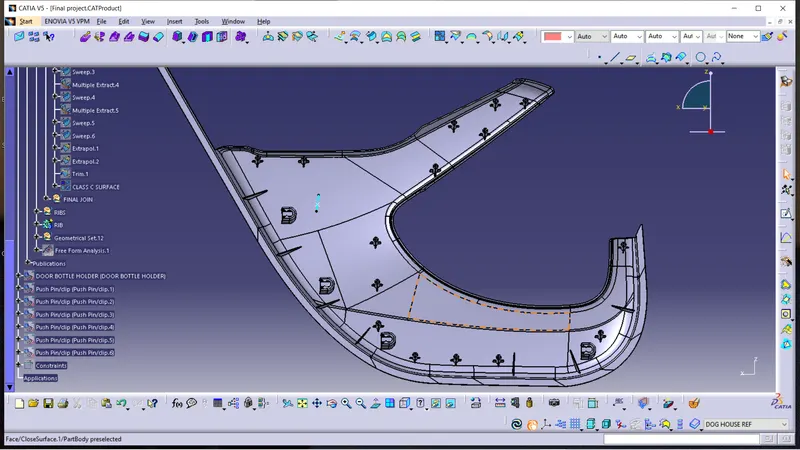
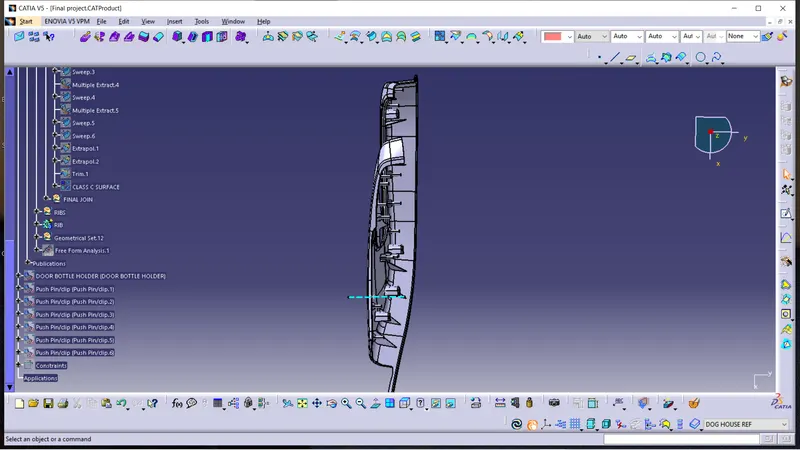
feature tree:-
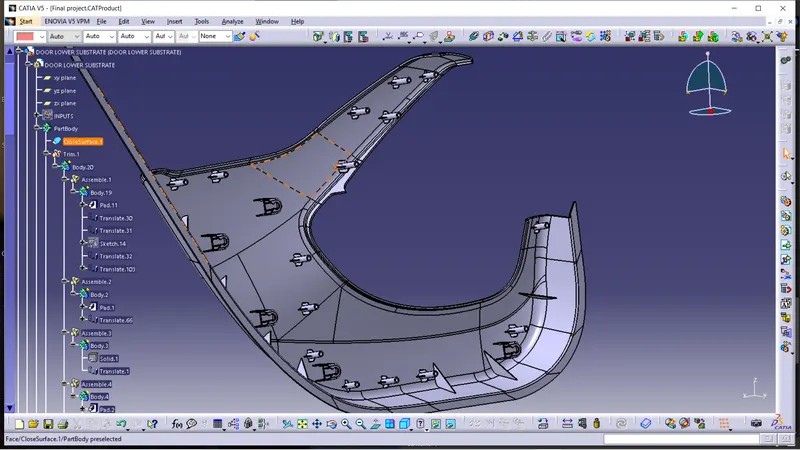
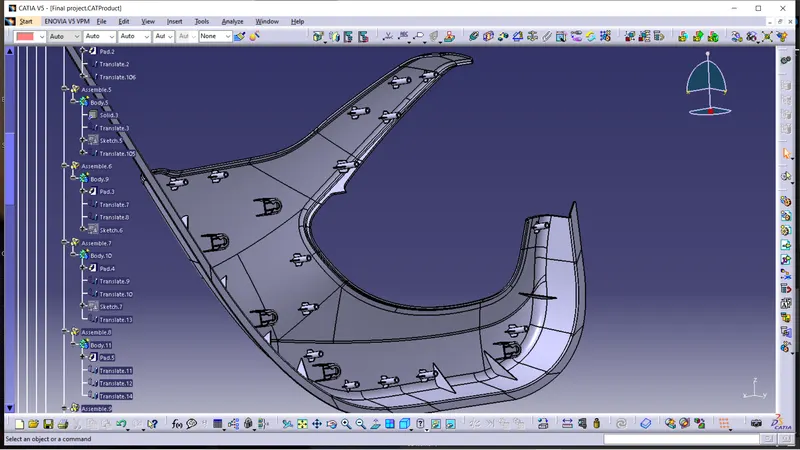
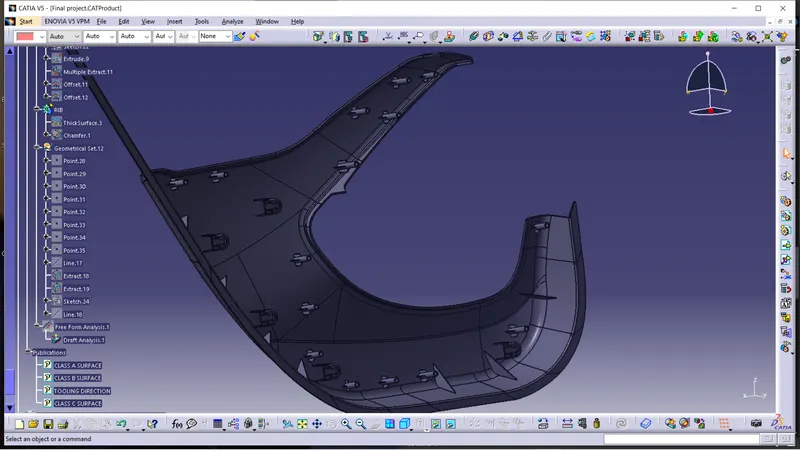
Door arm rest:-
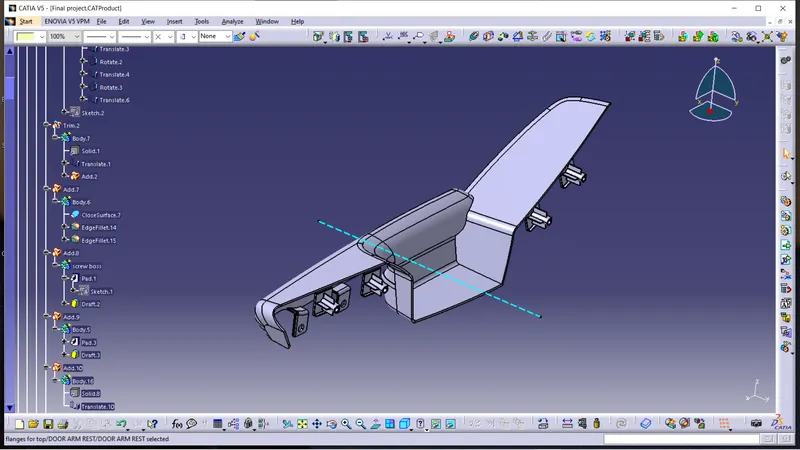
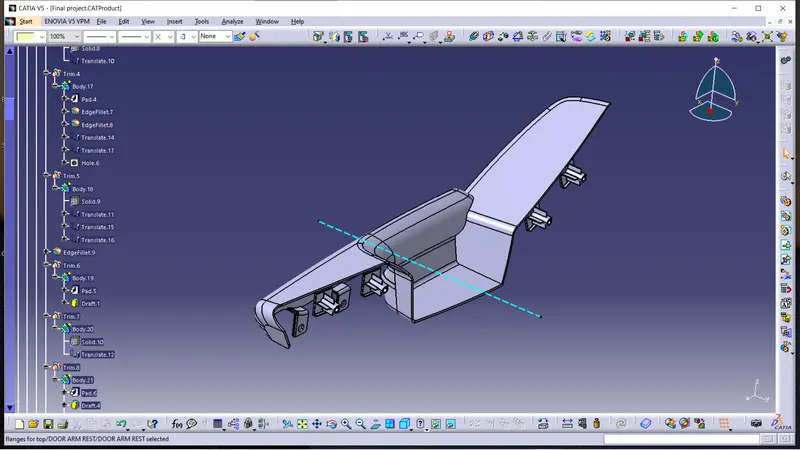
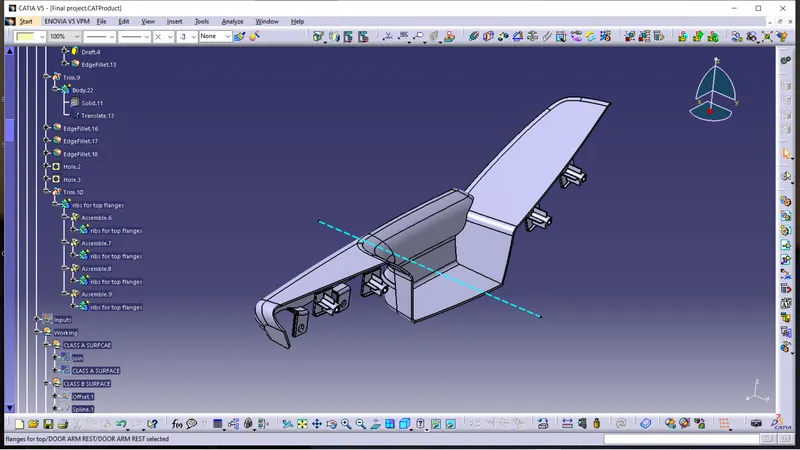
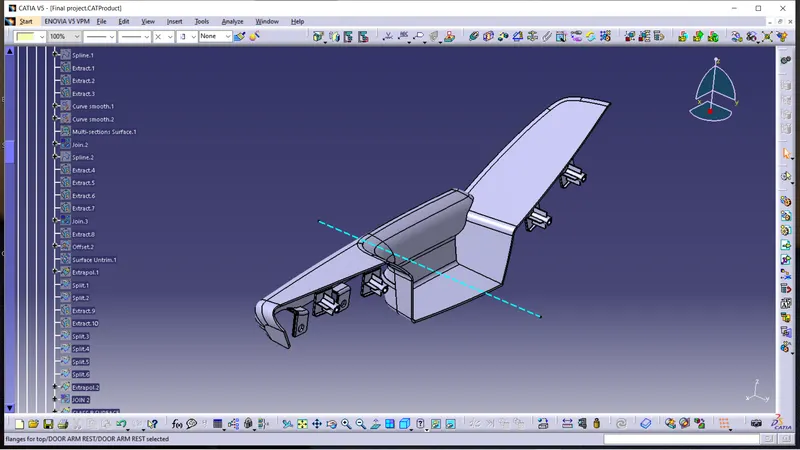
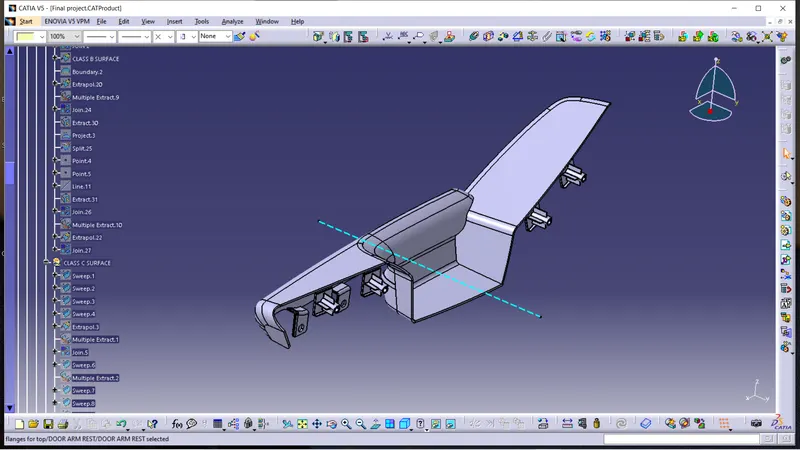
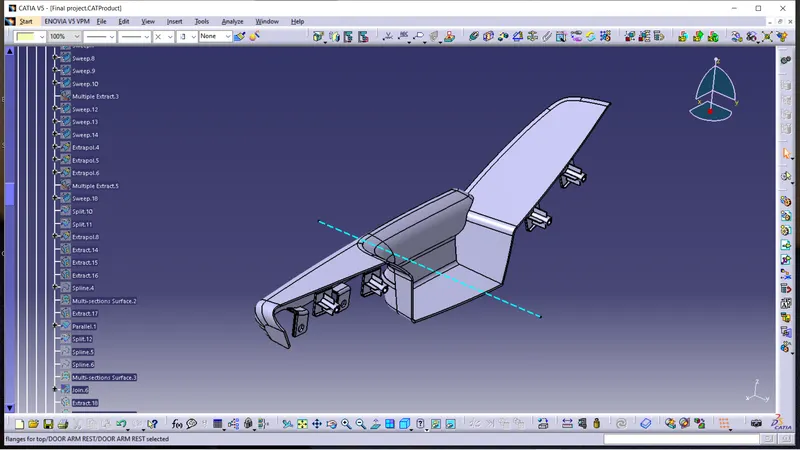
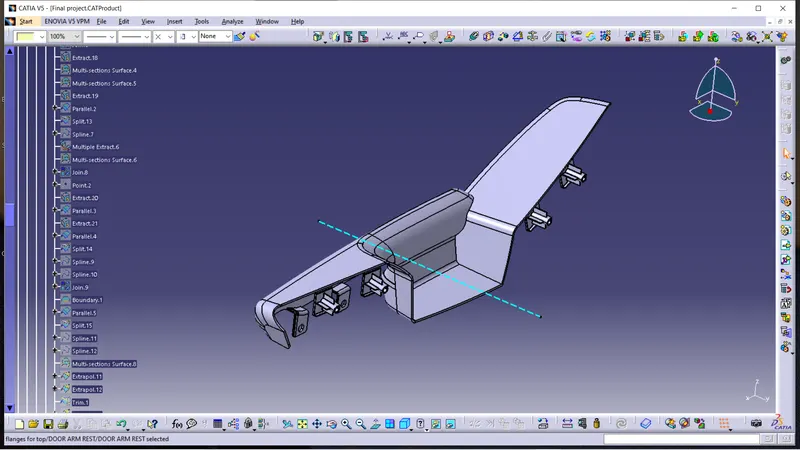
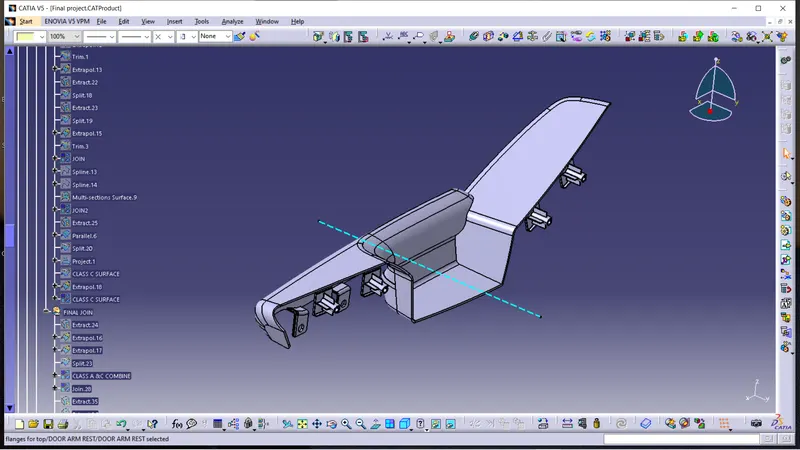
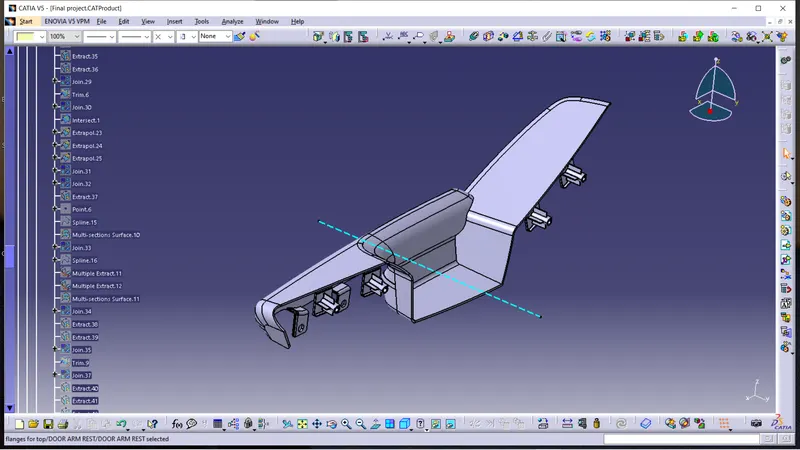
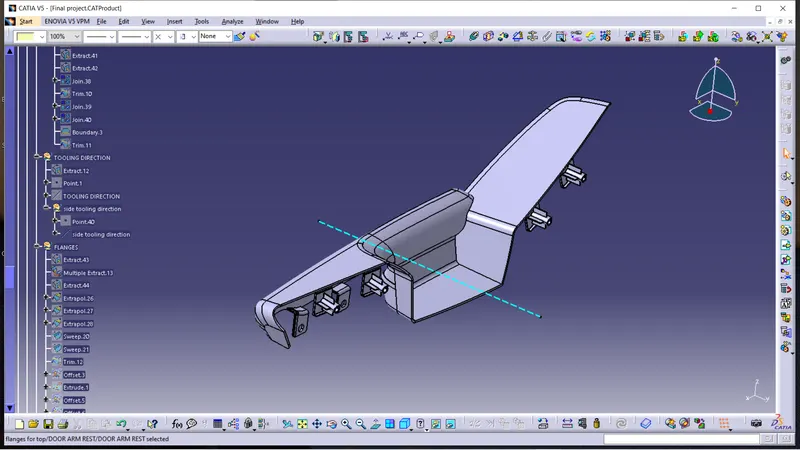
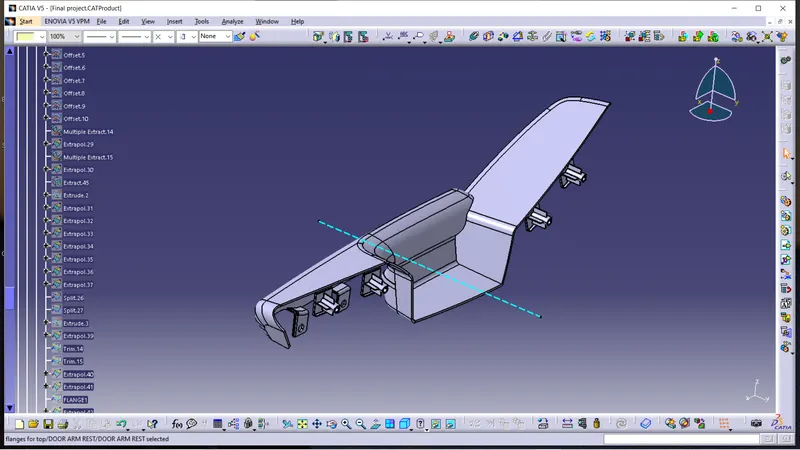
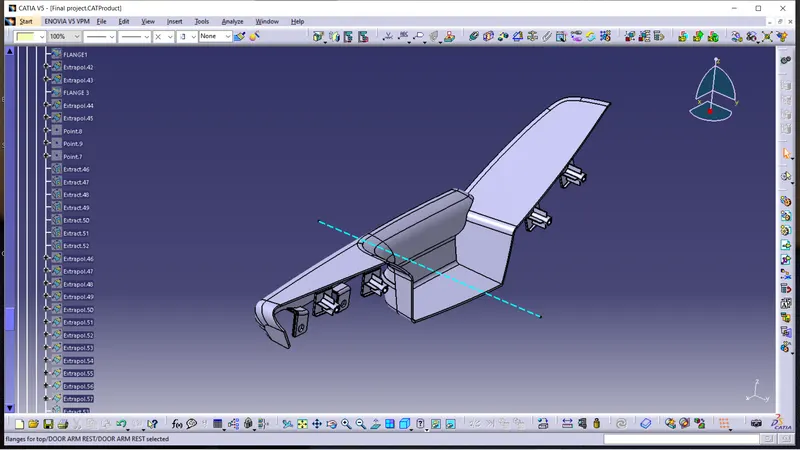
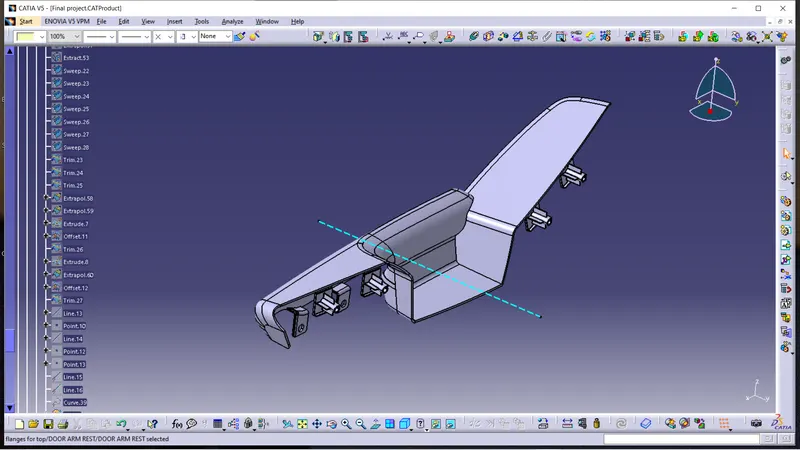
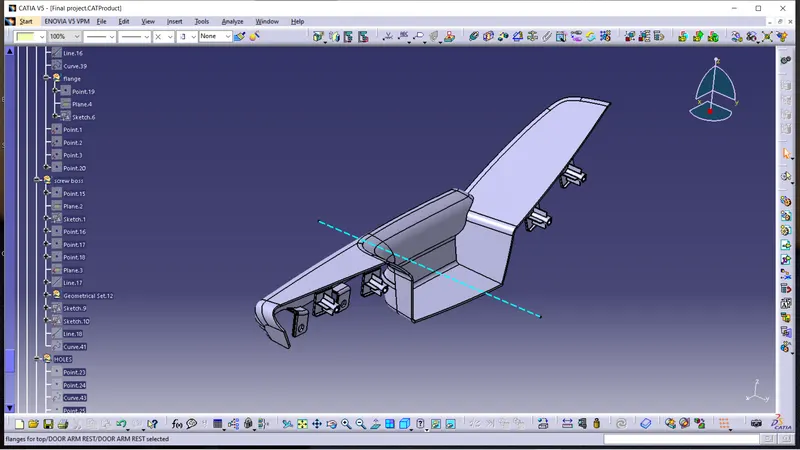
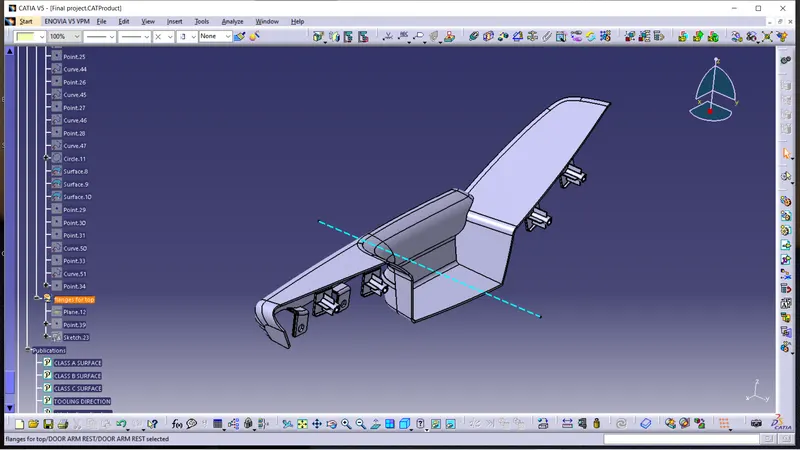
We created the door arm rest with given CLASS A SURFACE. We created the CLASS B SURFACE and CLASS C SURFACE to create the closed surface of door arm rest. Here we created some flanges on the bottom or behind for heat stakes for holding the heat stakes from the lower substrate. And we created some flanges on the top of door arm rest with screw bosses for better holding purpose. And we checked draft analysis of door arm rest. For that we created the side tooling axis and main tooling axis.
Tooling directions:-
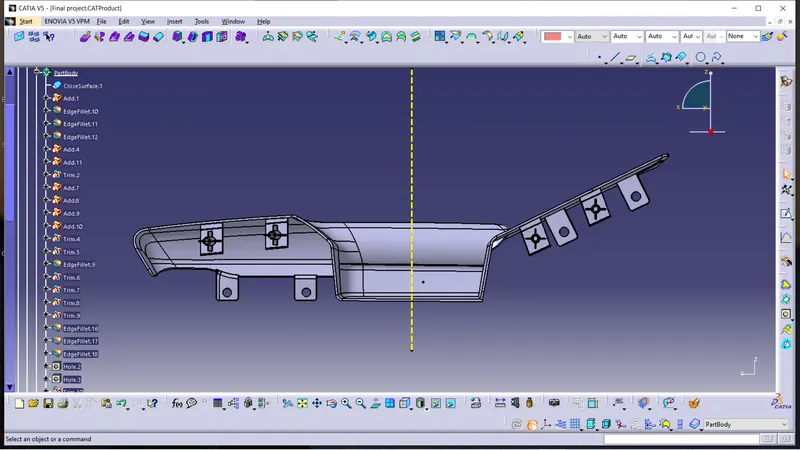
main tooling direction
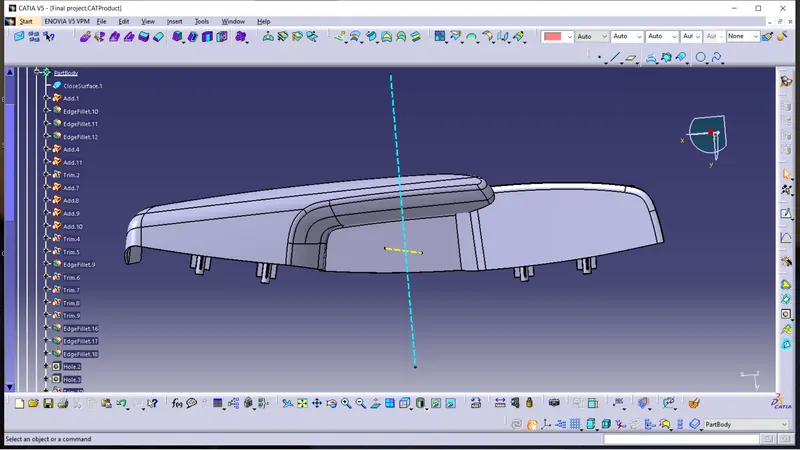
side tooling direction
Draft analysis on part:-
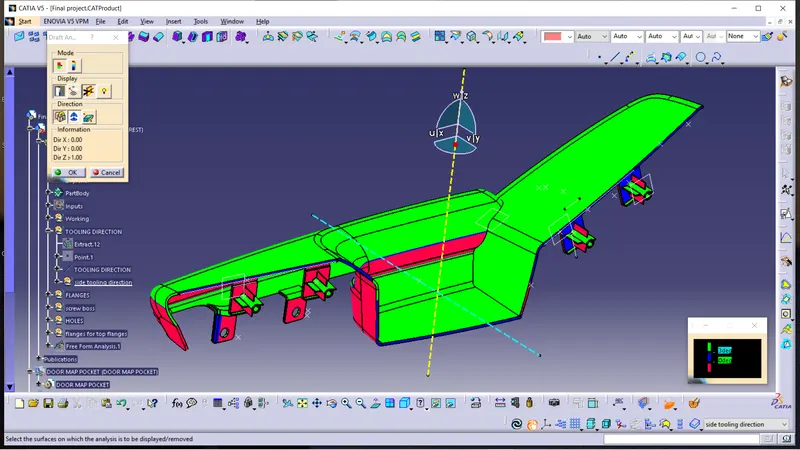
with main tooling axis
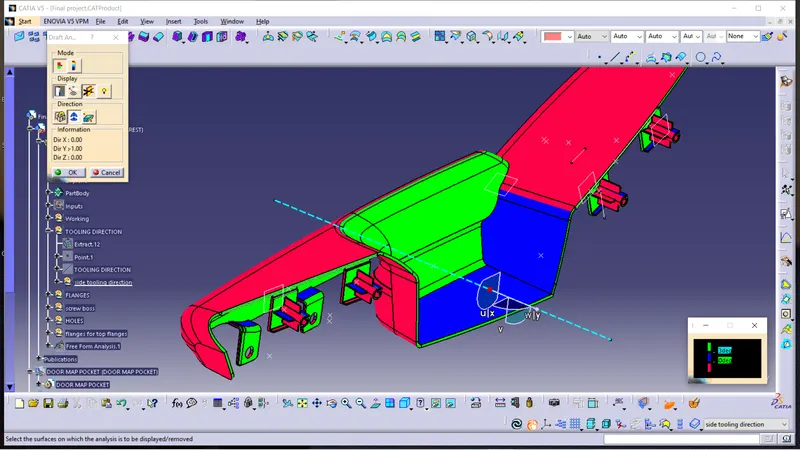
with side tooling axis
(note:- we can't clear the part with main and side tooling direction. because it is the mixture two to three parts. And it will made with some special machining process.)
views:-
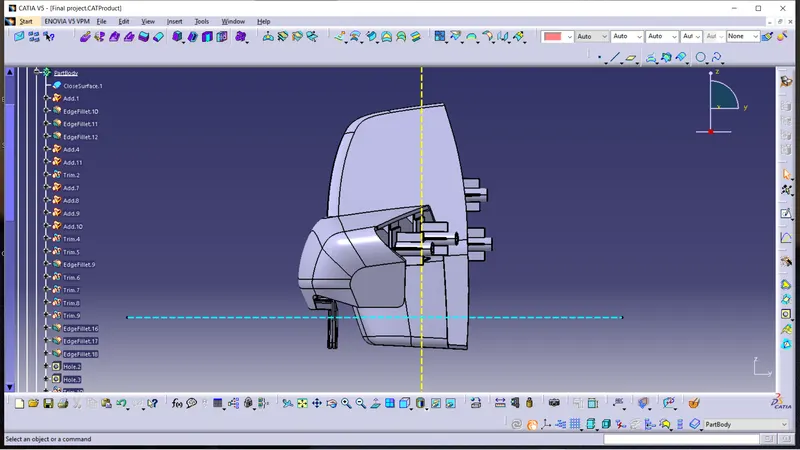
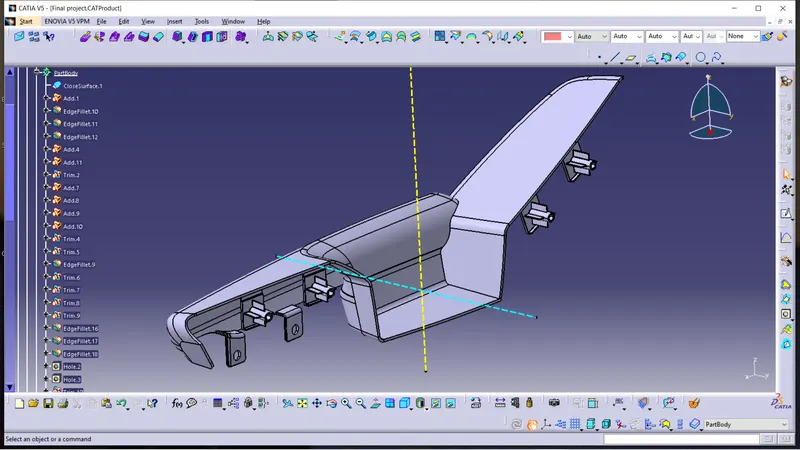
feature tree:-
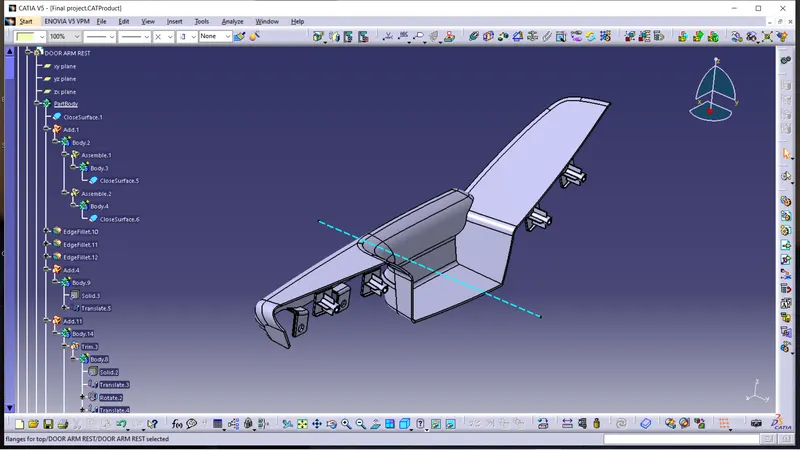
Map pocket:-
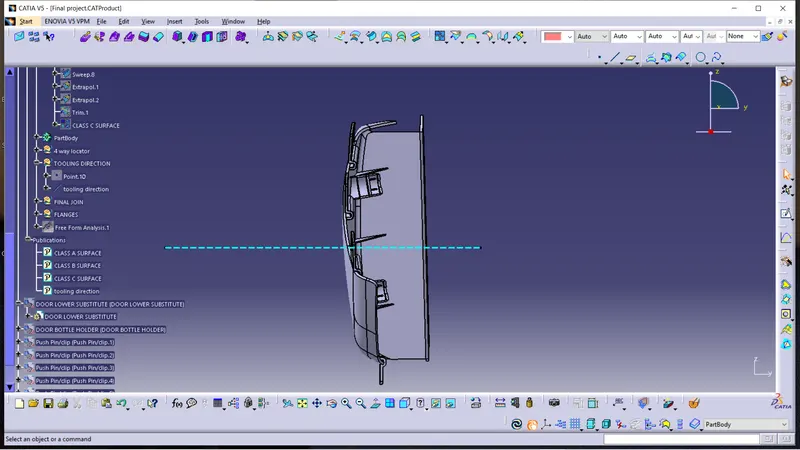
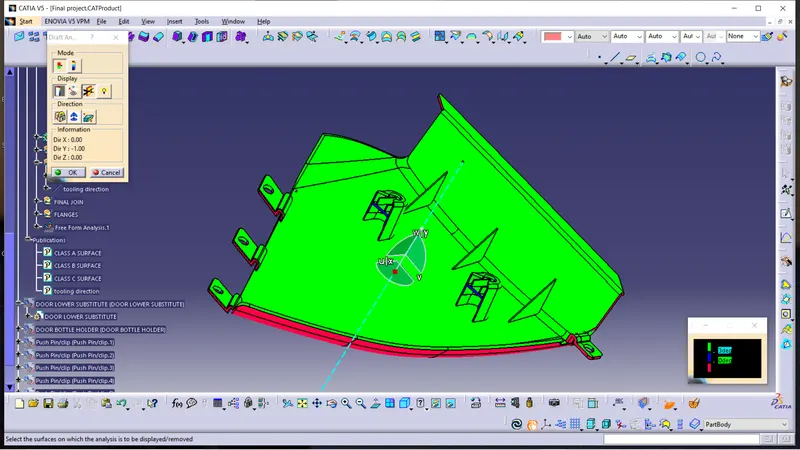
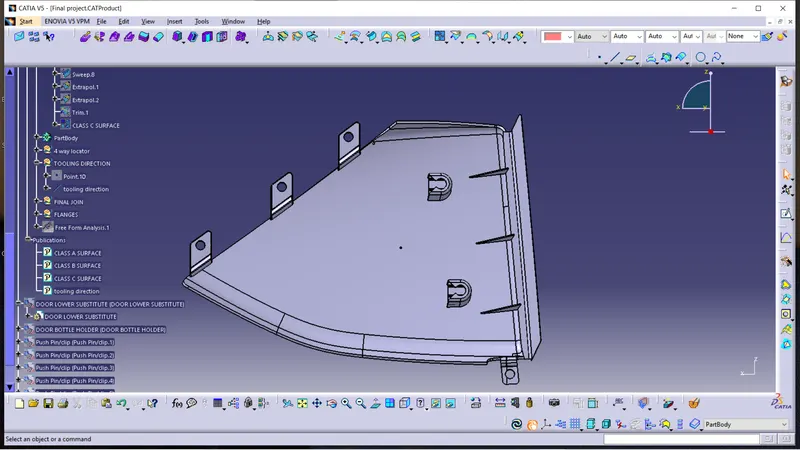
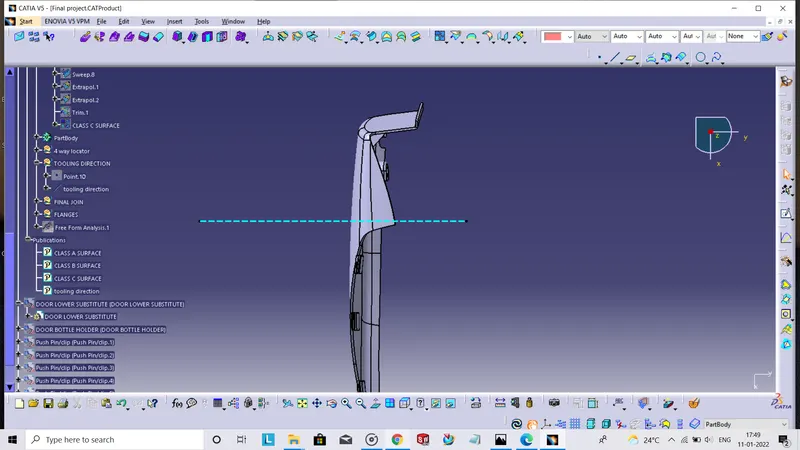
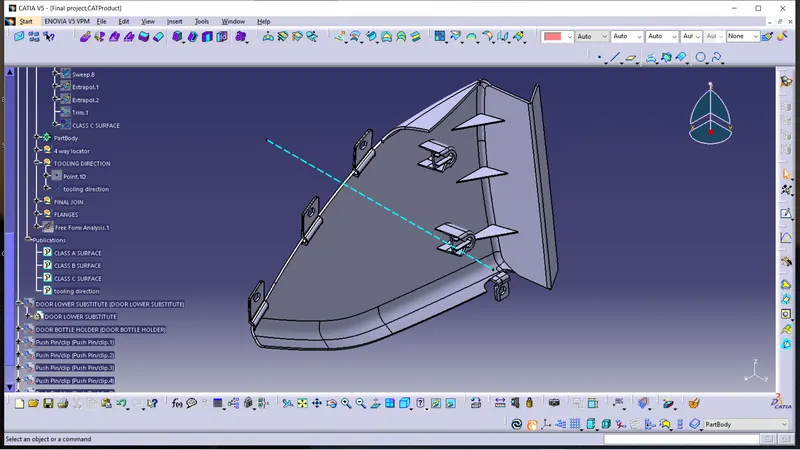
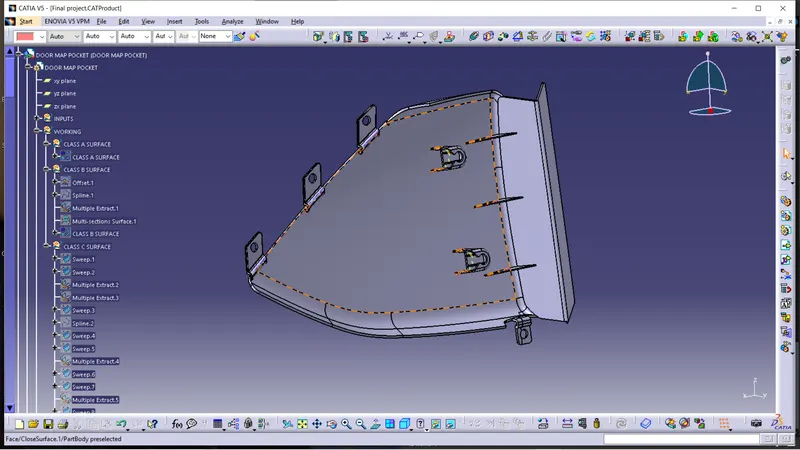
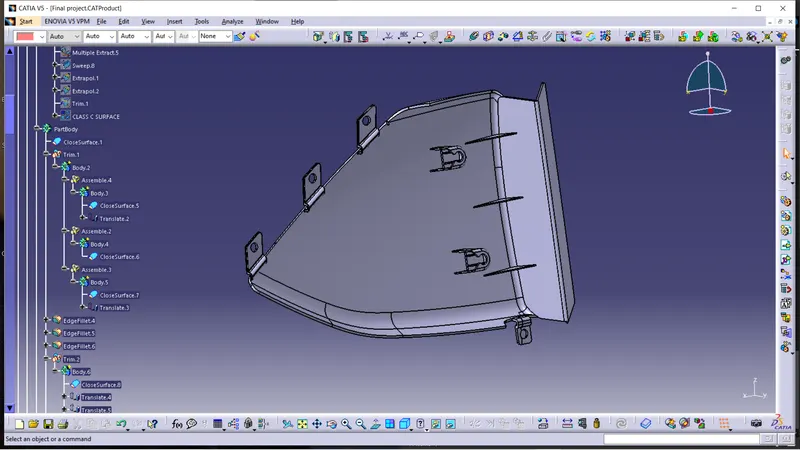
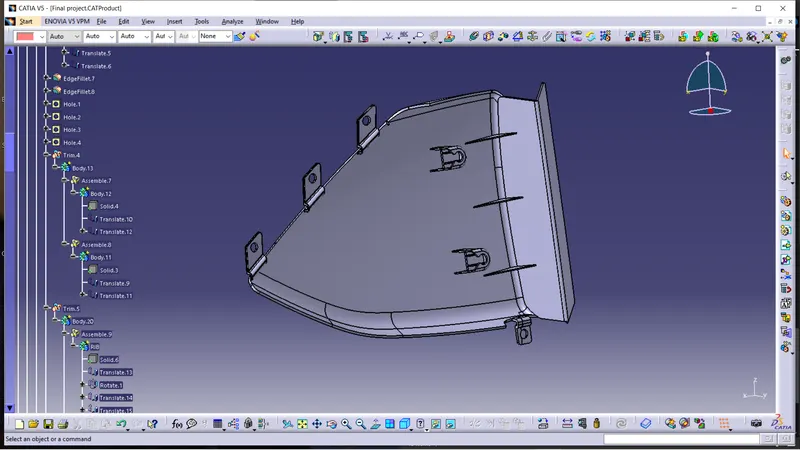
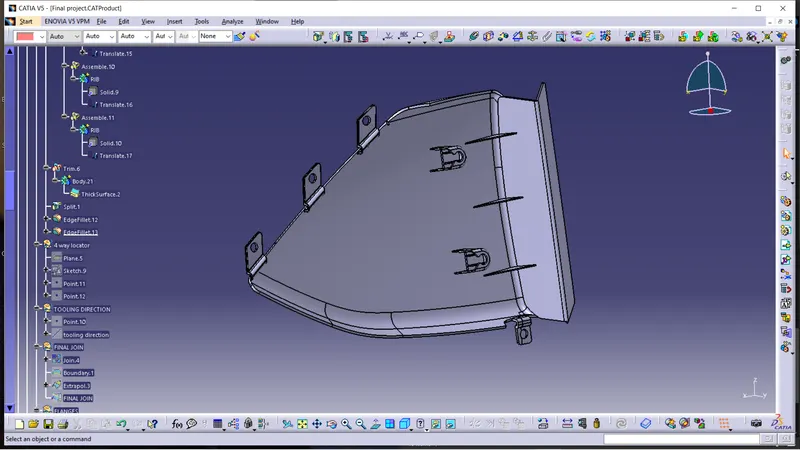
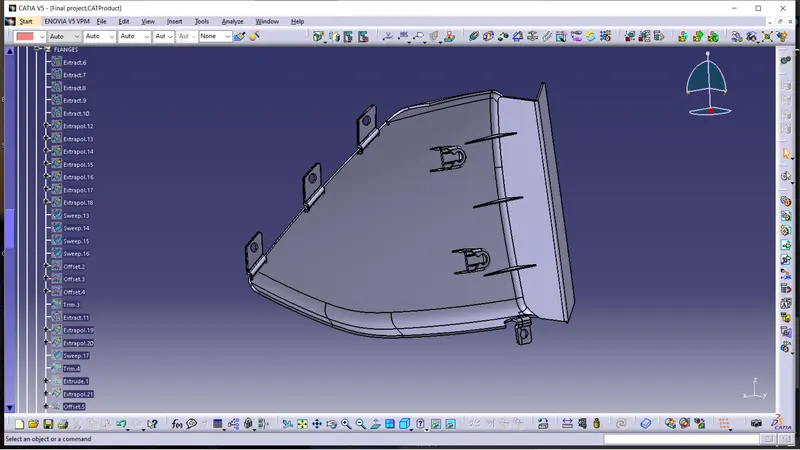
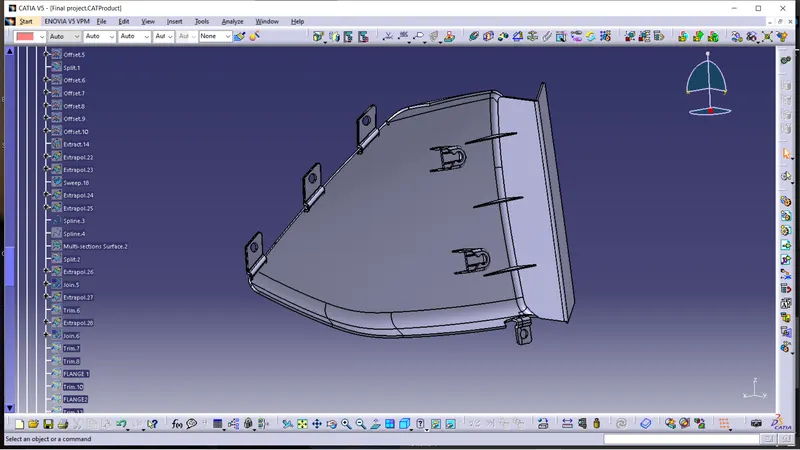
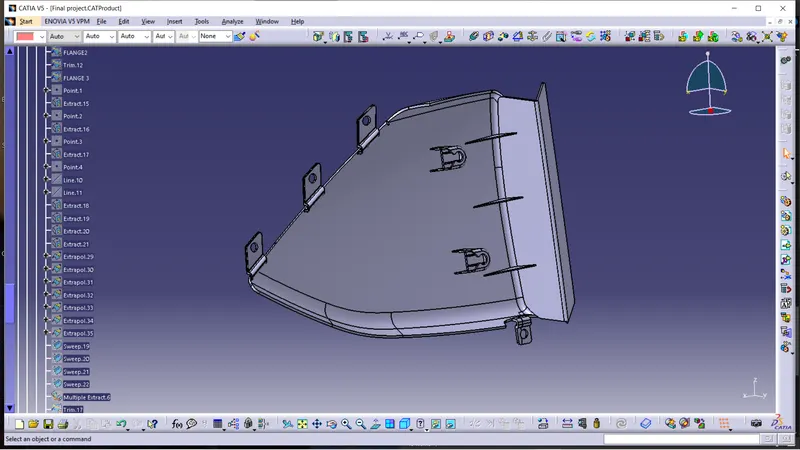
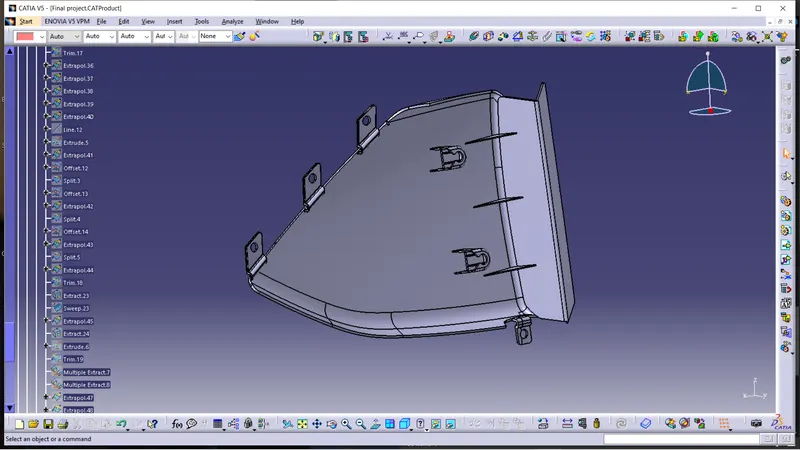
We created the map pocket with given CLASS A SURFACE. Then we created the offset for CLASS B SURFACE. Then we created the CLASS C SURFACE. Then we created the closed surface with the join of surfaces. Then we created the dog houses, ribs and flanges wherever required. We also checked the draft analysis of the map pocket with tooling direction.
Tooling directions:-
Draft analysis on part:-
views:-
feature tree:-
Bottle holder:-
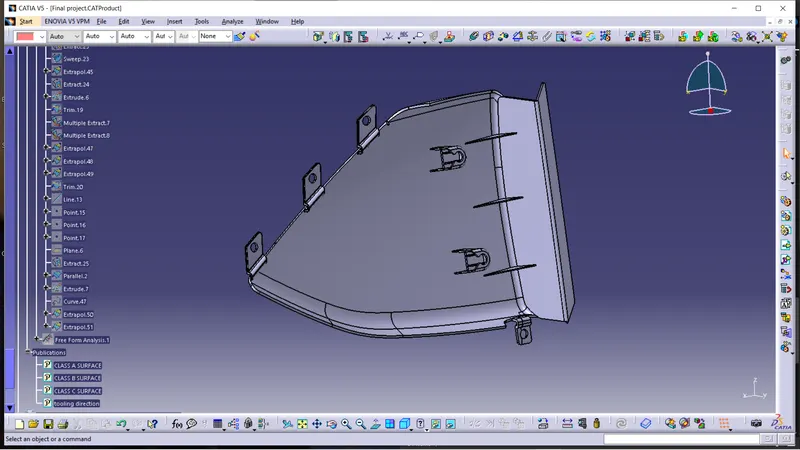
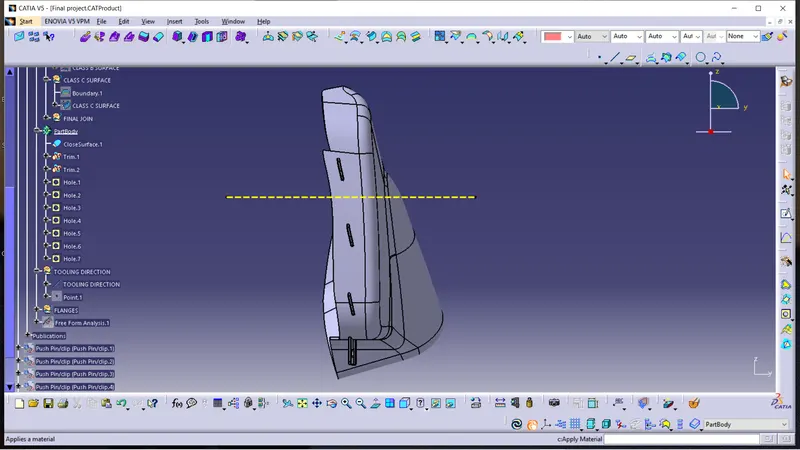
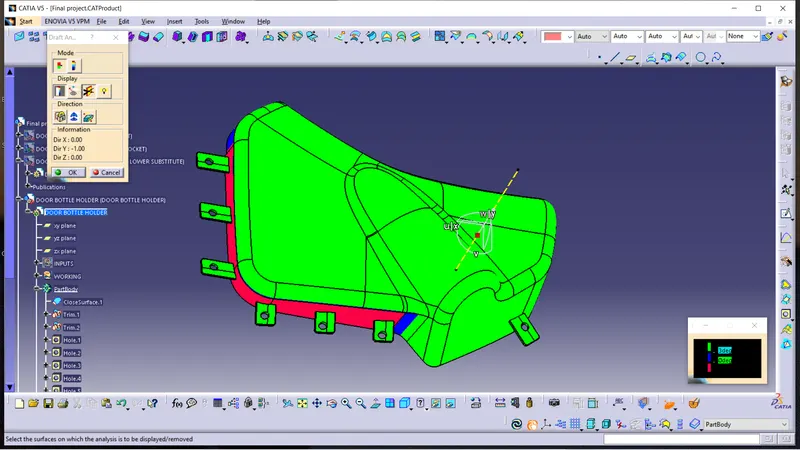
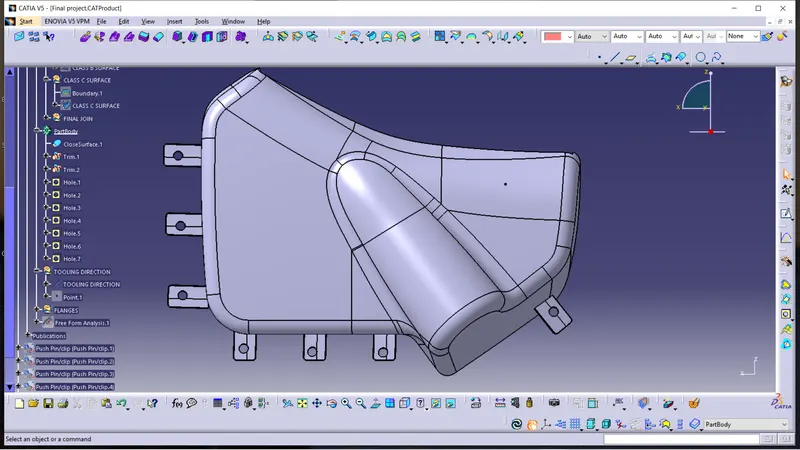
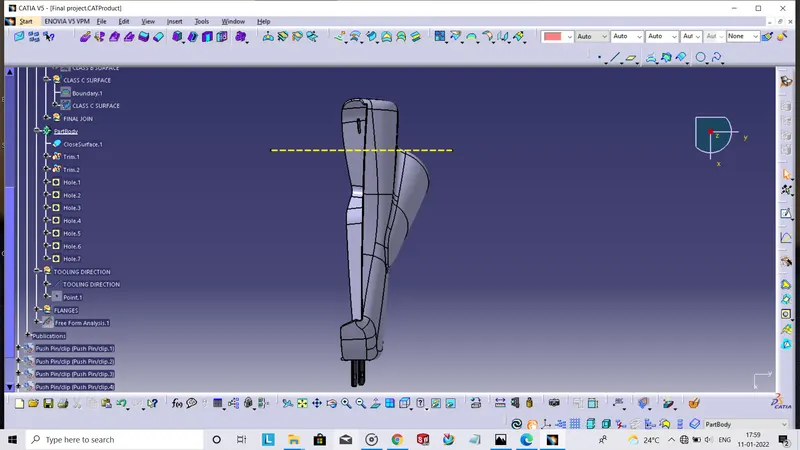
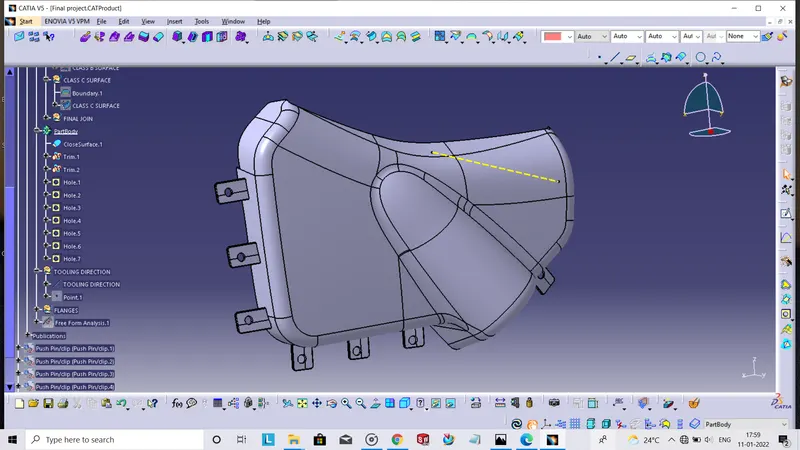
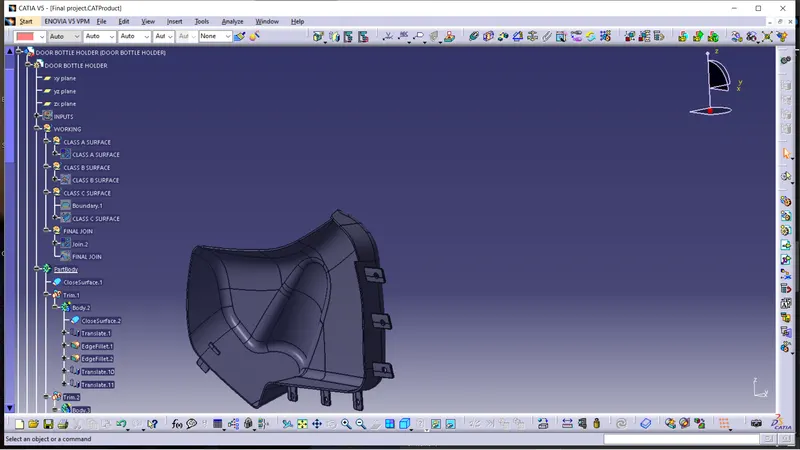
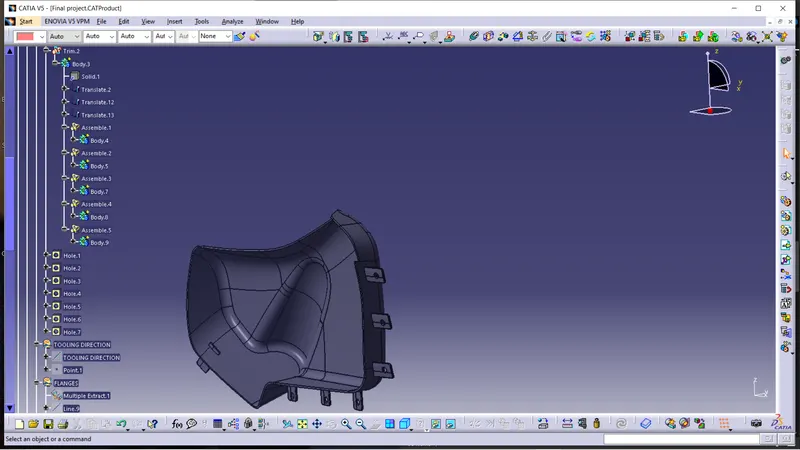
We created the bottle holder with given CLASS A SURFACE. First, We created the offset for CLASS B SURFACE. Then we created the CLASS C SURFACE. Then we created the closed surface. We also created the flanges wherever required. And we also checked the draft analysis of the bottle holder with tooling direction.
Tooling directions:-
Draft analysis on part:-
views:-
feature tree:-
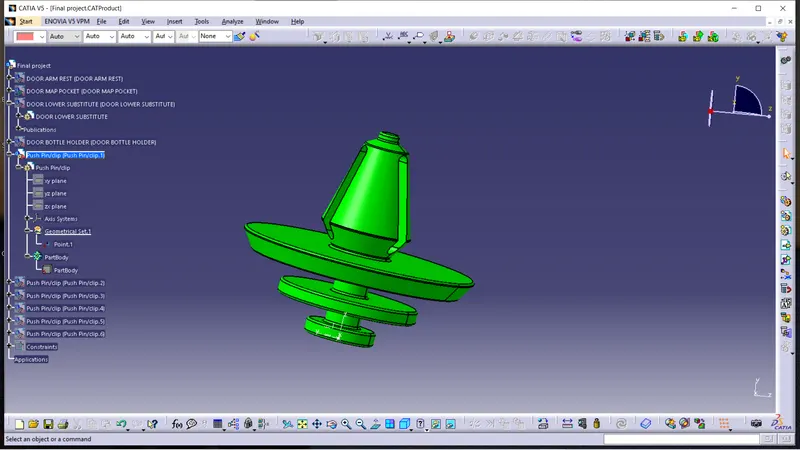
pin or push clips:-
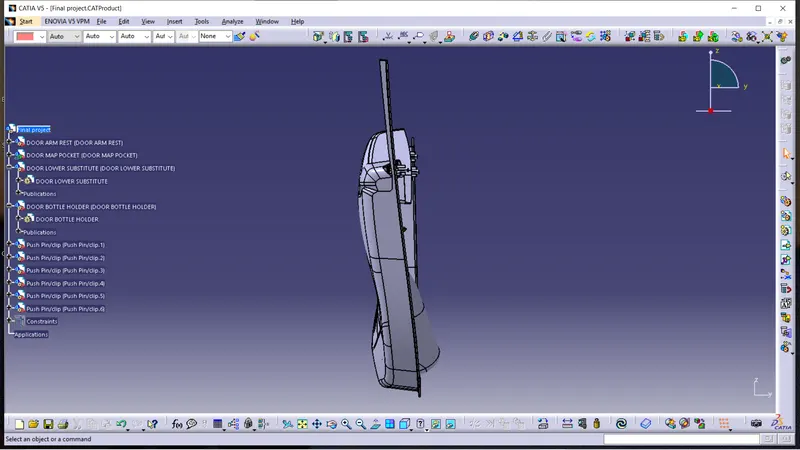
final assembly:-
views:-
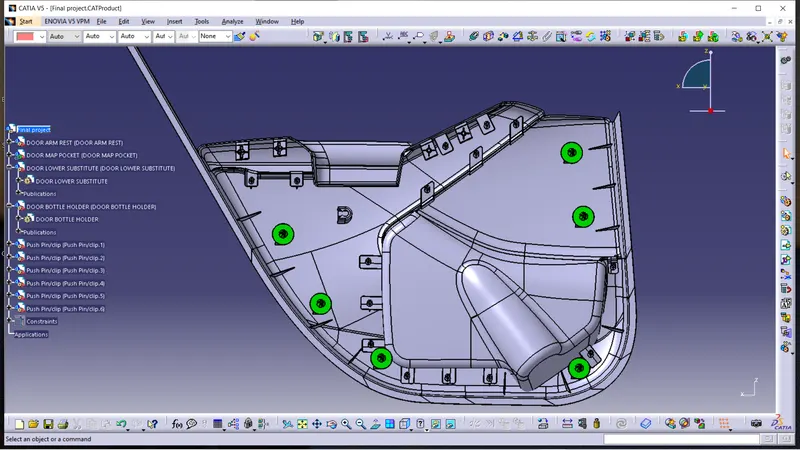
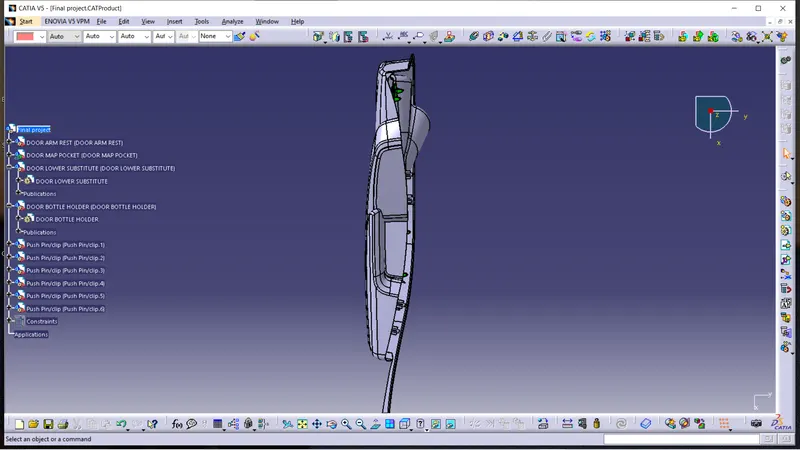
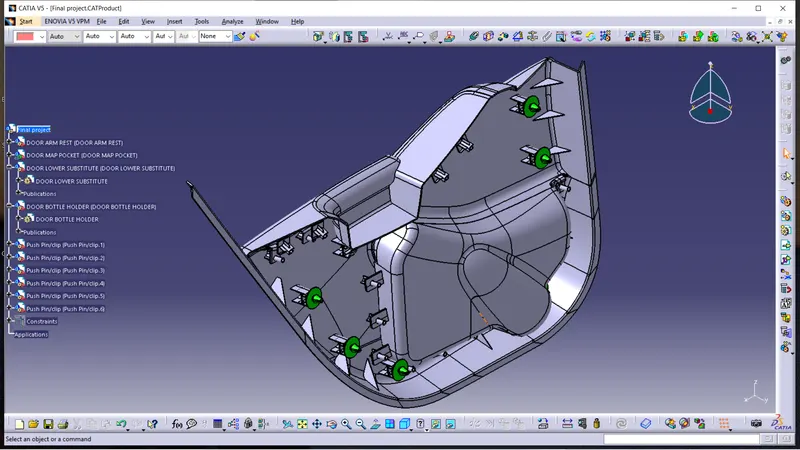
assembly constraints:-