Week 11-3D Tetra Meshing Challenge
Answer:-
Model1 component1 (2D to 3D mesh conversion):
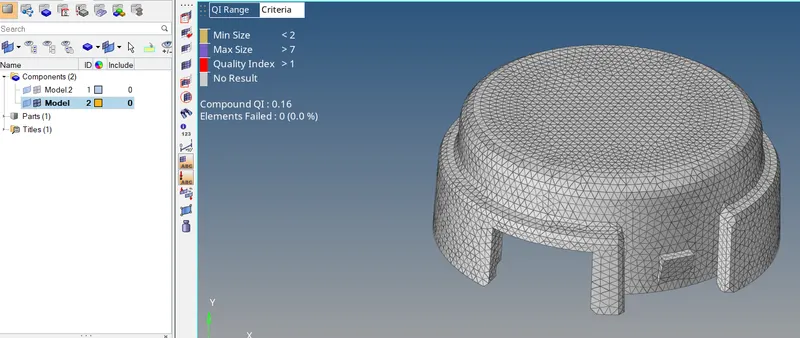
Model1 component2:
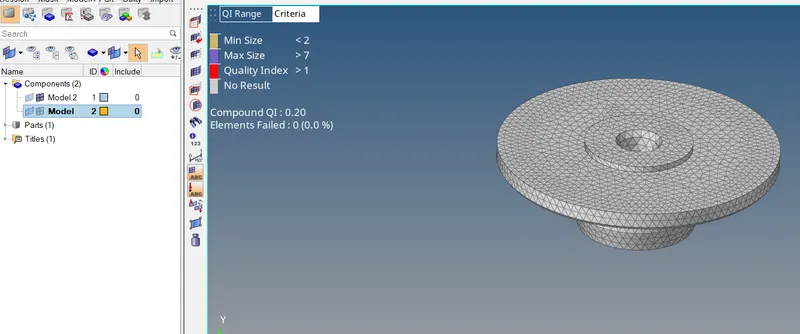
Procedure:
1.Open Hypermesh and select RADIOSS as user interface.
2.Import the stp model into Hypermesh.
3.switch off one component and perform automesh by selecting trias only type and element size as 5 and mesh.
4.Set the quality criteria by selecting criteria file settings and give the min and max element size.
5.After completion of mesh press F10 to check elements for min and max size.
6.If elements are failing then eliminate them.
7.Thenn goto Tetramesh in tool module and select Tetra mesh and select all the displayed elements and click on mesh.
8.Now the Tetra 3D mesh is created so check for tet collapse and if elements fail then use translate option and rectify the error.
9.Similarly perform for the other component.
10.Finally save the model with suitable name.
Model2(Volume Tetramesh)
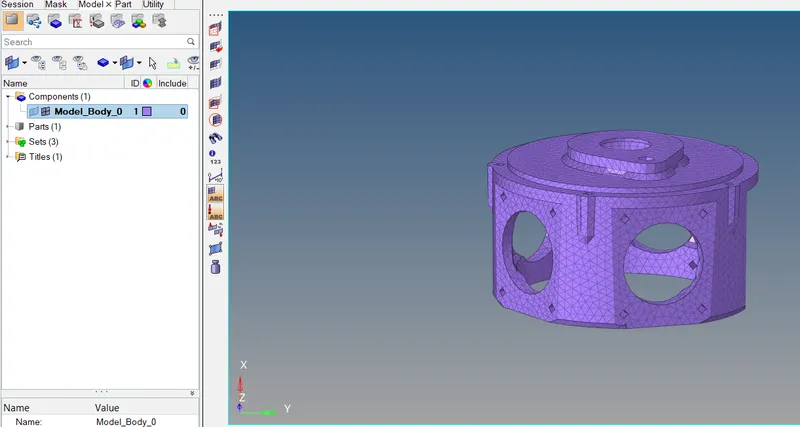
Procedure:
1.Open Hypermesh and select Optistruct as user interface.
2.Import the IGES file into Hypermesh.
3.Now goto tool and select tetra mesh and goto Volume tetra and select the solid component and mesh it.
4.After meshing of tetra elements check for tetra collapse and if elements fail eliminate them by using translate option by pressing shift+F4 from heyboard.
5.Finally save the model with suitable name.
Model3(Volume tetra):
Model3 component1 :
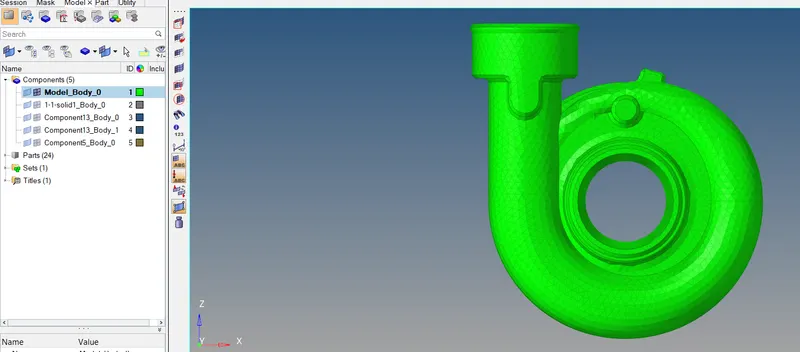
Model3 component2:
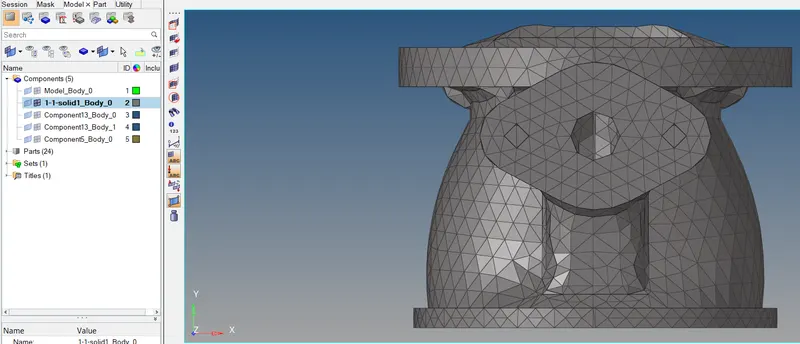
Model3 component3:
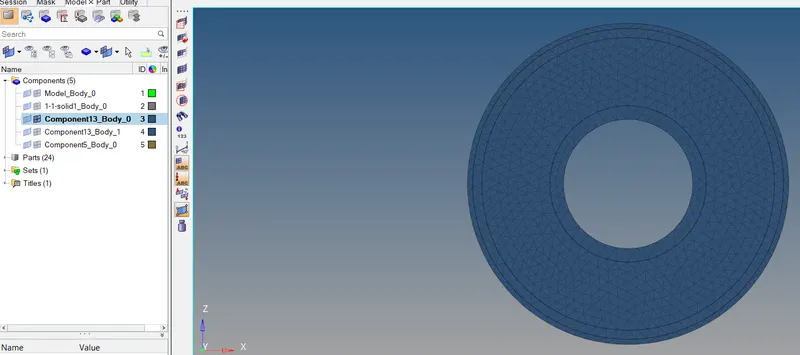
Model3 component4:
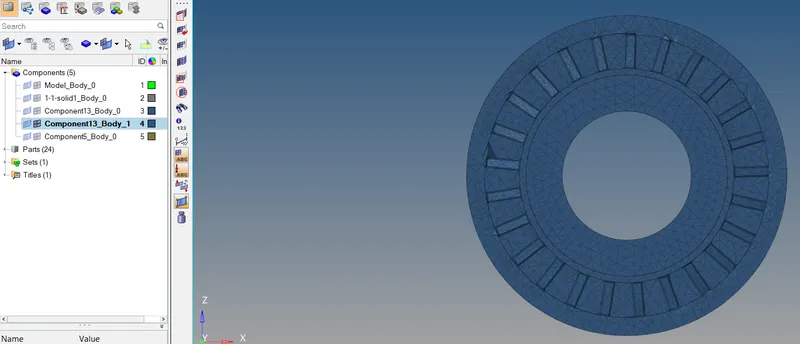
Model3 component5:
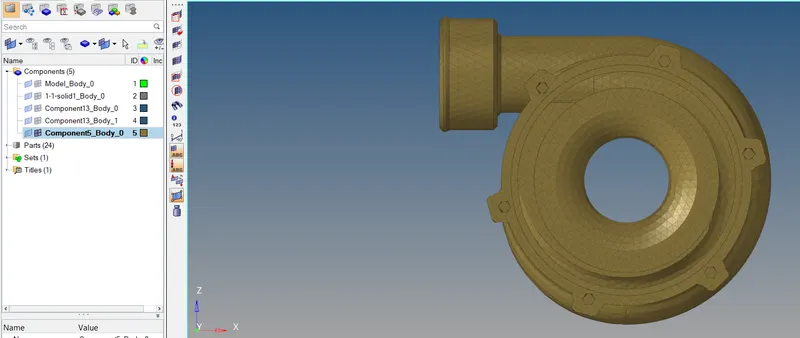
Procedure:
1.Open Hypermesh and select Optistruct as user interface.
2.Import the iges file into Hypermesh.
3.There are 6 components in this model.
4.Switch off the rest 5 components and work on 1 component.
5,Firstly goto tool and select tetramesh give the tetramesh parameters (tet collapse=0.15) and goto Volume tetra and select the component(solid/surface) and mesh it.
6.After meshing,check elements by pressing F10 from keyboard and check for tet collapse if there are elements failing rectify or minimize them by using translate option(shift+F4).
7.Similarly perform the same operations for the other components.
8.Finally save the model with suitable name.