Week 10 - Challenge 3 - Door Trim Lower with Engineering Features
AIM: Create the Door Trim Lower Plastic component through the given Class-A surface. To begin with, the tooling axis for the given Class-A Surface should be created meeting the requirements of the draft angle and at the end perform the Draft analysis on the model.
Create the Heat Stakes and the locators considering the design rules mentioned in the video for the door applique.
THEORY:
Draft: The draft is the amount of taper for moulded or cast parts perpendicular to the parting. line. Draft angles are a design consideration that makes it much easier for a part to release cleanly from a mould. A draft angle is calculated as a degree measurement (or, less often, an inch or millimetre measurement) from the vertical axis of a mould, and it helps account for thermoplastic shrinkage, a practical reality of the injection moulding process for most materials.
Draft angles are generally a requirement of injection moulding design (though there are a select few soft materials, like nylon, that can get away with draft angles of zero). The draft should be a part of the design for manufacture, and all stakeholders and contributors should be aware of its need at the outset of the design process. This includes product designers, design engineers etc and this allows considerations for design requirements to be taken into account. Any draft is always better than no draft.
Importance of Draft:
By accounting for thermoplastic shrinkage during the cooling process, draft angles significantly reduce friction between the finished, cooled part and the side of the mould, Not only does this create a much easier release process, but it also offers several other benefits, depending on the design of the part which is as follows:
• Reduces the chance of damage to the part due to friction during the release.
• Reduces wear and tear and chances of damage to the mould.
• Ensures a uniform, smooth, unscratched finish when required.
• Ensures the integrity and uniformity of other surface finishes and textures.
• Reduces overall cooling time by lessening or eliminating the need for unconventional ejection setups.
• Most, if not all, of these benefits, offer either direct or indirect overall production cost reductions.
PROCEDURE:
1. Open a given class A surface. Make sure all its borders are connected.
2. Machine axis: Create a tool axis by selecting the face from class A and using the point command to create a point in the centre of the face and create a line through the axis at that point, which seems to be a better path for the tool's direction. Now call this line the apparent axis. Create an axis system for the created point. Cut surface A and planes of the axis system. Now create the lines outside the surface that were previously directed to the creator of the false tool axis. Bisect the line to get the tool axis.
3. performed a pull analysis check of this line whether the generated tool axis is in the correct position or not. If you check the surface highlighted in green on both sides of the surface in the sketch analysis, the tool axis is in the correct position and direction.
4. Create the B surface at a distance of 2.5 mm from the given A surface. We notice that some elements are missing after the move. Fill in the missing elements using functions such as extraction, extrapolation, polynomial, etc.
Surface B will look like the below after the above procedure.
5. Using the sweep option Create a C surface as shown below.
6. Connect surface C to surface A.
7. Cut side B of the upper face to obtain a hollow body closed by faces.
8. Convert a surface frame to a subframe using the close surface function.
9. Make a sketch analysis of the solid part.
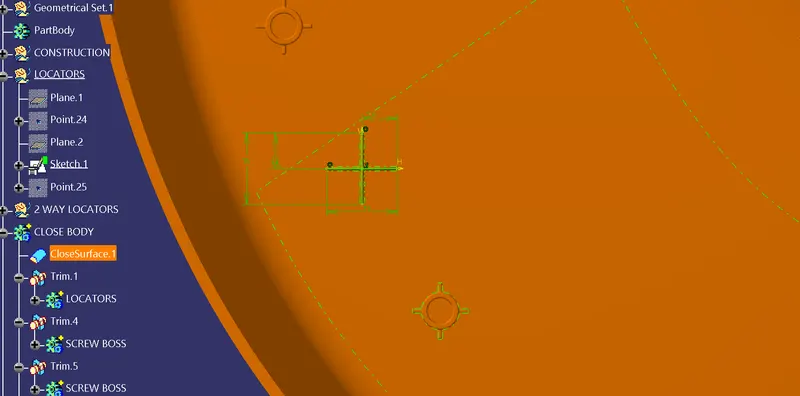
10. Create a four-way position on the frame by drawing. After creating the sketch, upload it to a height of 20 mm and thicken it to 1.3 mm and drag it 0.5 degrees to the tool axis. Give a 5mm bevel with a 45-degree bevel and a 0.20mm radius. Copy and paste 2. 4-way positioning with translation function.
11. Create a heating charge. Draw an outline on the surface. Once you've created the sketch, upload it to a height of 18mm and a draft of 0.5 degrees on each side (inside and outside), then move it to a radius of 0.20mm. Once you have created the heat pad, create ribs for support. Create the ribs by drawing an outline and uploading it to a smaller height than the thermopile and 1mm thick. After softening the ribs, draw 0.5 degrees to the axis of the tool and limit to a radius of 0.20 mm. Finally, use the side of the hot soldering iron to remove the fins that are inside the hot stack as needed.
Copy and rotate the heat charge to all locations as needed.
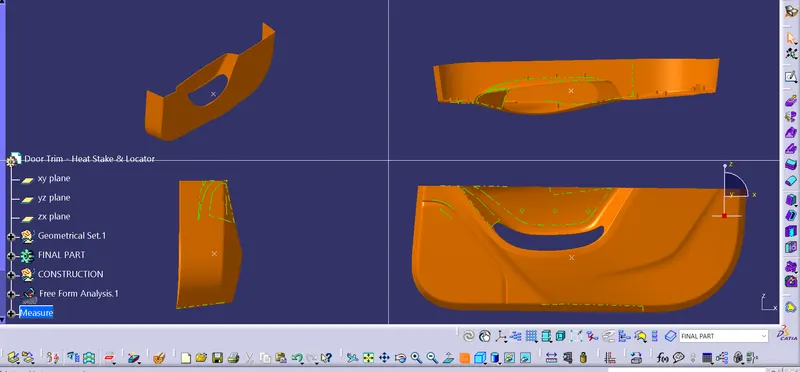
From above we can see that the component needs to be manufactured.
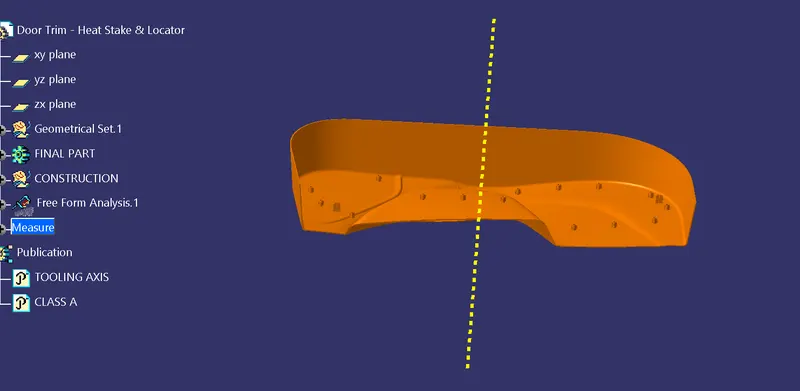
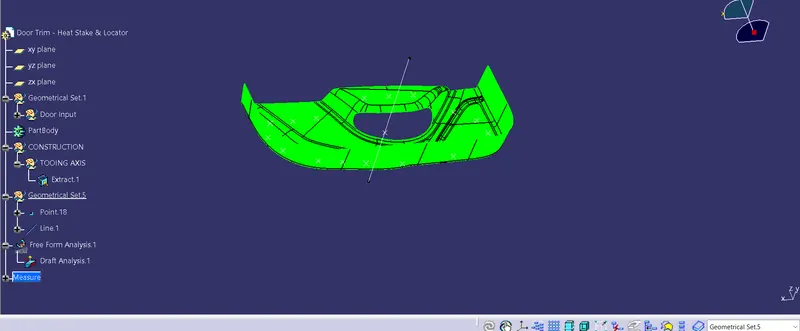
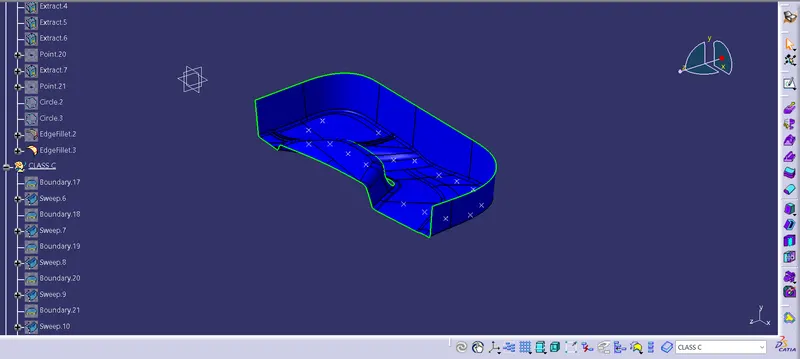
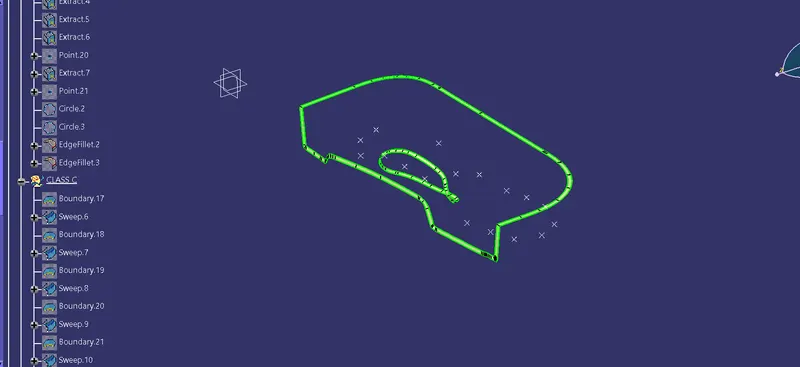
Views:
CONCLUSION:
Thus by following the above, we crate the door trim with B-class features (heat stake and locator pins).