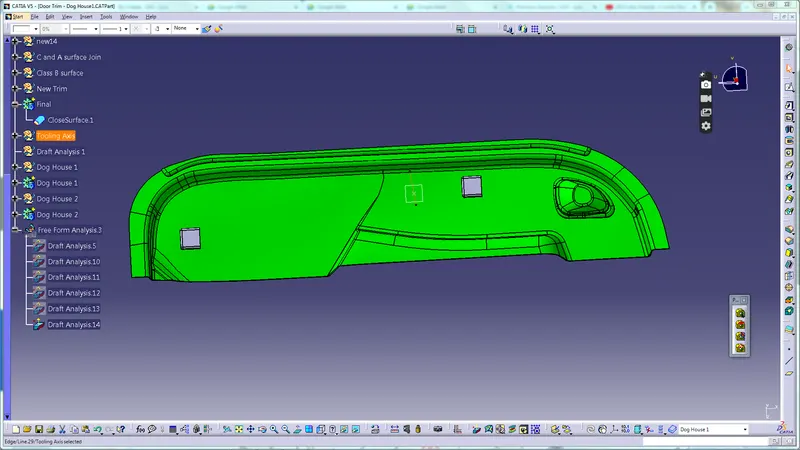
Week 10 - Challenge 2- Attachment Feature Creation (Dog House)
Creation OF Dog House Challenge
Aim:In this Challenge we have to create dog house on the door trim and then have to draft it and check it.
Class A surface
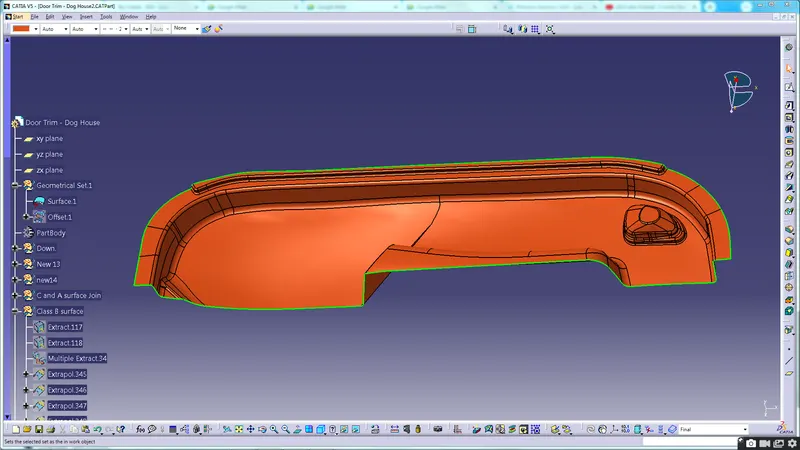
CLass B surface:
We have offseted the Class A surface by 2.5mm and created a Class B surface.Initially there were errors but we fixed them by extrapolation and trim method.
Below is the offset and then the final B surface after solving the offset errors.
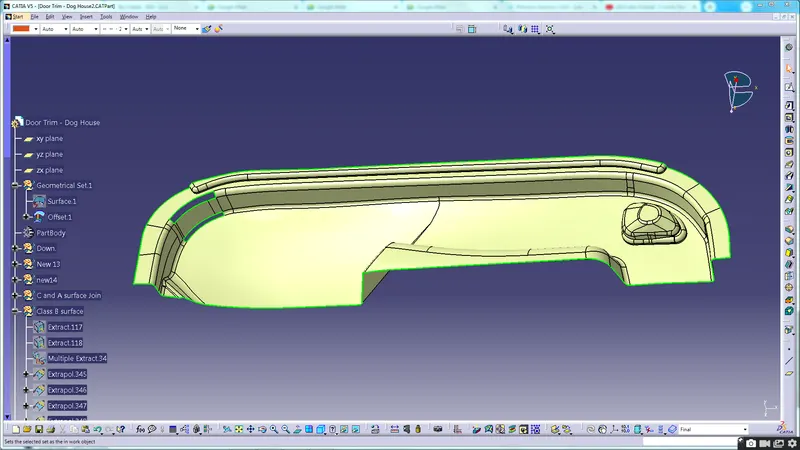
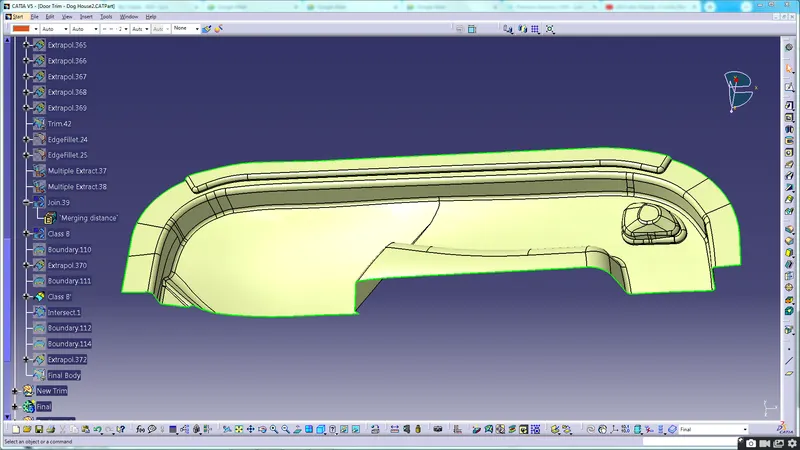
Class C surface:
The first thing is to create Sweep as given below.
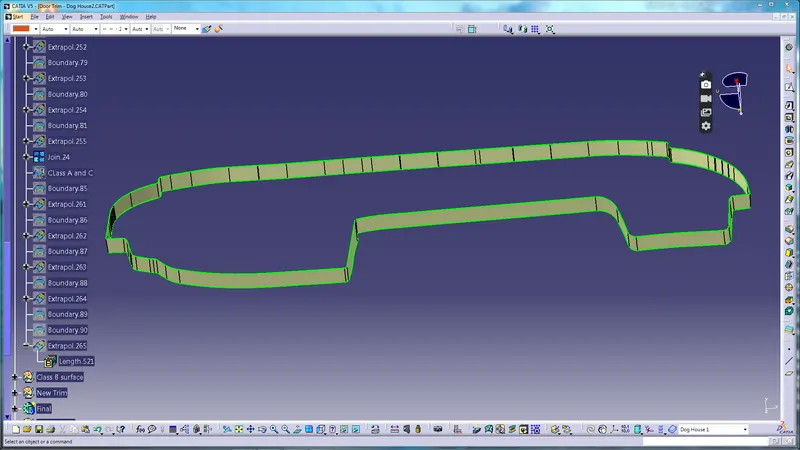
The next thing is to join Class A and C surafce.
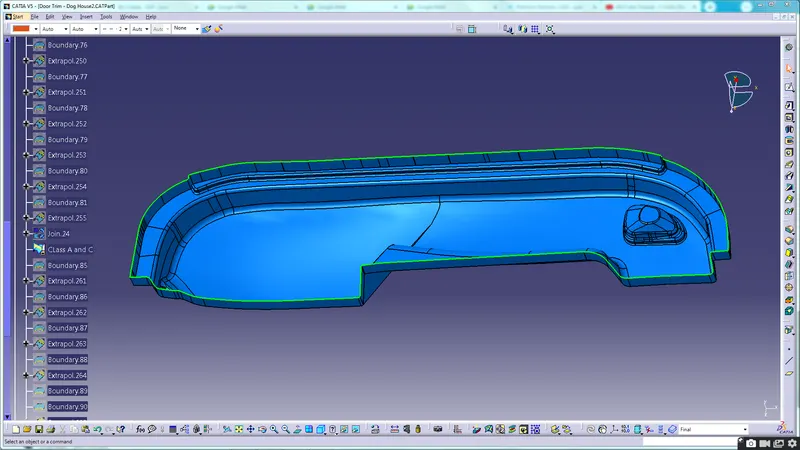
Final Trim:
Trim Class B with Class A and Class C surface.Appling close body we can get the close surface.
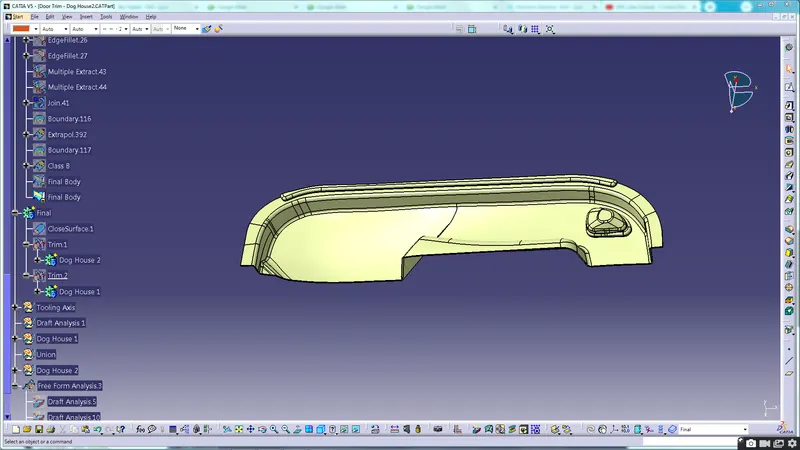
Creation Of Tooling Axis for the body:
Create point on the surface of final body.Then create a perpendicular line to the surface and using the point we have created.This is the tooling axis for the body.
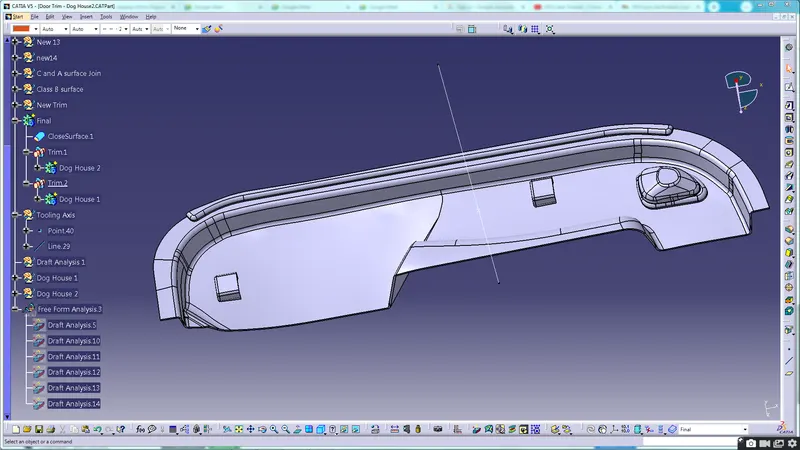
Creation Of Dog House:
For creating the dog House Below are teh steps that we have used:
- Create a plane perpendicular to the surface of the final body(as we have to create the dog house on the final body itself)
- Then create a rectangle open at one side by using positioned sketch and extrude it to a height of 20mm.
- Close the upper surface of the dog house by Multisection surface and Join it with the Extrude.
- Thicken this component in the part design by giving the thickness of 2mm.
- This is the body required for the dog house.
Creating the draft for the draft house:
The next step is to create the draft for the dog house.
- For creating the draft the dog house house create a extra side core axis that is parallel to the side faces.
- The first step is to take the outside faces and take the bottom surface as nuetral element along with pulling direction as the main tooling axis and give the draft of 1.5 degree.
- The next step is to give the inside draft by selecting the inside faces and the pulling direction as the side core axis we have create with the draft andgle of 0.5 degree.
- The next step is to give the fillets inside of 1mm and outside fillet of 3mm.
Crerating the Below surface of the Dog House(C).
- Offset the top of the dog house to height of 16mm in downward direction.
- Then offset the inward surface of dog house by 1mm.And trim these two surfaces.
- After Triming these two surfaces extrapolate the surface and splitit with the doghouse.
- We have to give draft of 0.5mm to the suface created after spliting.
This is Our required Dog House.
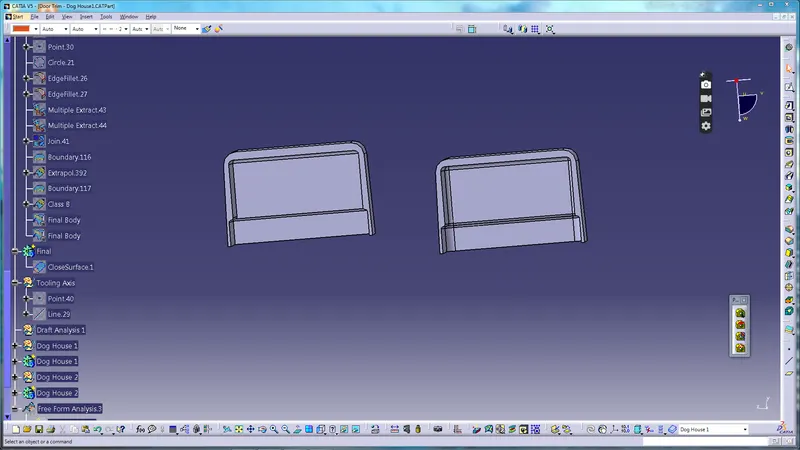
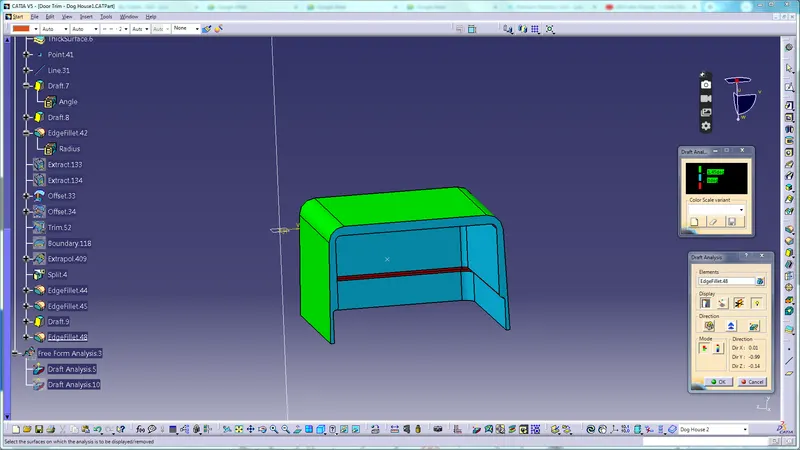
Draft anaysis of Dog House:
- The first step is to select draft analysis option.Take the cursor to the ouside face of the side face.
- Selct the compass direction and and set it onto the main tooling axis.
- Give the value of green colour as 1.45 degree as we have given draft of 1.5 degree to outside face.
- Then inverse the direction.We can see that the suface has been drafted properly.
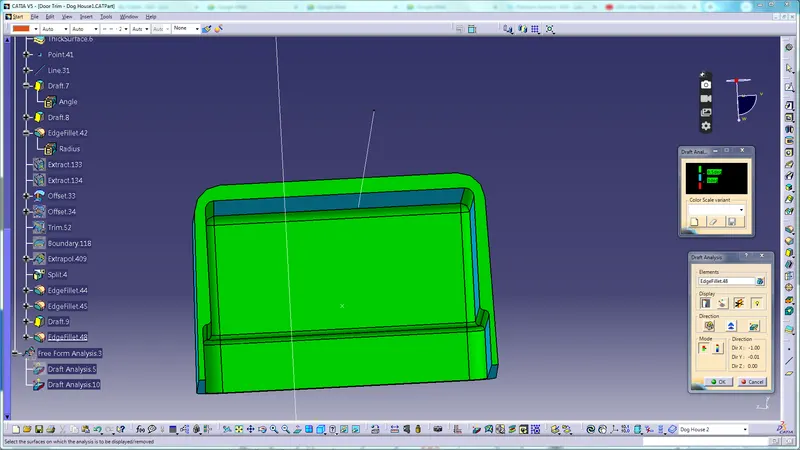
Similary give the draft analysis value of 0.5 and tooling direction as the side core axis for the inside faces and check it.
Creating the final body:
Unitrim the dog houses with solid surface we have created before.
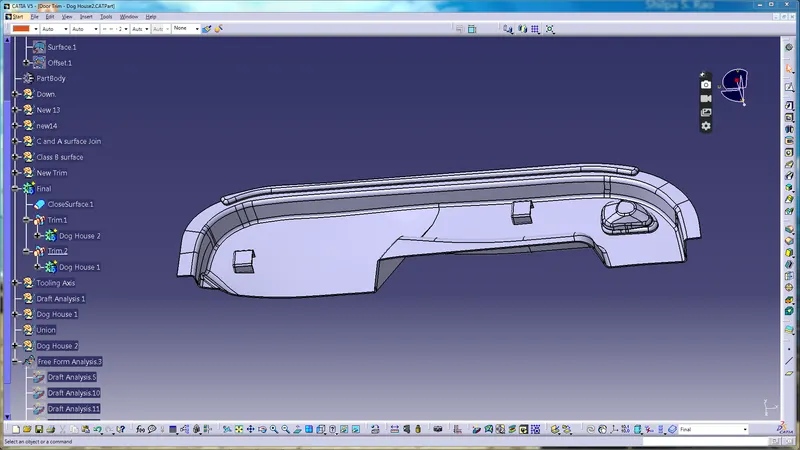
This is required body along with the dog house.
Draft analysis of the final body:
- Select the draft analysis option.Select the suface on the final body with the pointer of draft direction option.
- Place the compass on the main tooling axis and use the and enable the compass direction .
- Give the desired value of draft tin the draft angle option.And click the inverse direction.The surafce should appear green.
- In this way we have performed the draft analysis of the complete body along with the Dog House.