Week 10 - Challenge 2- Attachment Feature Creation (Dog House)
Introduction :
Creation of Dog house for the door trim considering the design rules and perform the draft analysis for Class A and create the final body component and perform the draft analysis for the total body trim and dog house.
Objectives of Dog house :
- Create the tooling axis.
- Design the Class-B and Class-C surface and joining them for creation of final body.
- Use the closed surface feature to make a solid body from the surface.
- Design with requirements of dog house and analysis them.
- Perform the draft analysis for the final component.
Tooling Axis :
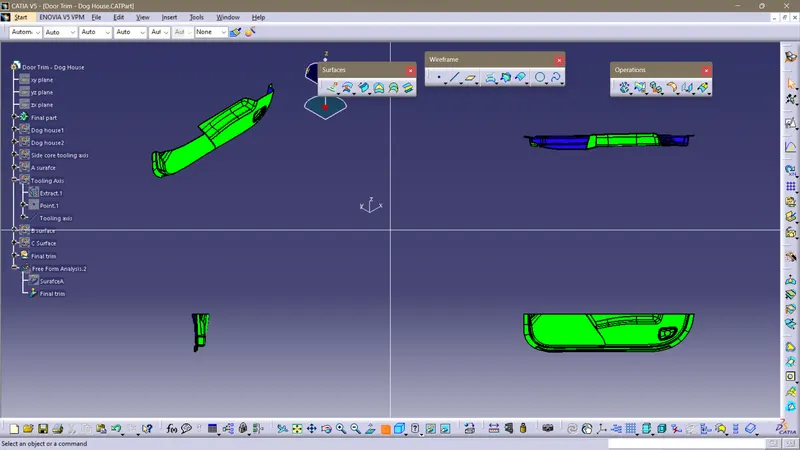
The class A is analyzed to create the tooling axis. Where the mold separates the two havles for injection moulding. Tooling direction is essential for plastic component as it decides the direction of mold separation.
To create tooling axis for the given Class A surface we should analyze the surface with the help of compass and identify in which plane it may satisfies. Actually bisecting method is used, but for time saving purpose we can use compas method for better results.Here Y direction satisfies the compass method. Then the extract of the door trim is taken and a point is subjected to the surface which is extracted, and a tooling line is drawn using the point and direction for tooling axis.
Draft Analysis:
For molded or cast parts, the draft angle is the amount of taper perpendicular to the parting line. It is measurable in degrees. Because plastic shrinks and sticks on molding surfaces as it cools, we draft the walls of the plastic component so that it ejects or breaks free from the molding surfaces more easily and without dragging. To reduce the risk of damage to the components and ensure ejection, a functional injection molding part must have drafts on both the cavity and core sides.
Nominal values for Draft angles
- 3 Degrees is a nominal draft angle.
- 5 Degrees can also be manufactured. Increasing the manufacturing cost.
- 7 Degrees is considered for Textured surface parts.
Importance of Draft in injection molding:
- Reduces the possibility of part damage due to friction during the release.
- Reduces mold wear and tear.
- Ensures a uniform, smooth, unscratched finish.
- Ensures the integrity and uniformity of other surface finishes and textures.
- Reduces overall cooling time by reducing or eliminating the need for unusual ejection setups.
Steps followed for Draft Analysis :
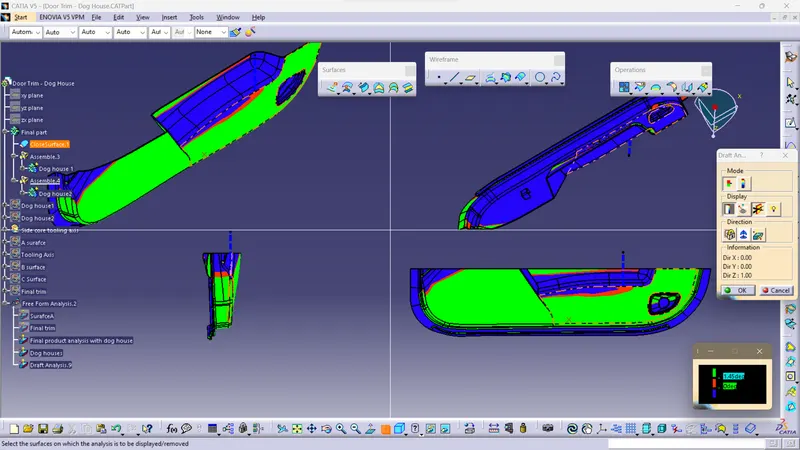
- After creating a tooling axis we do the draft analysis. Before drafting we have to make sure that in the view mode it is selected for the materials.
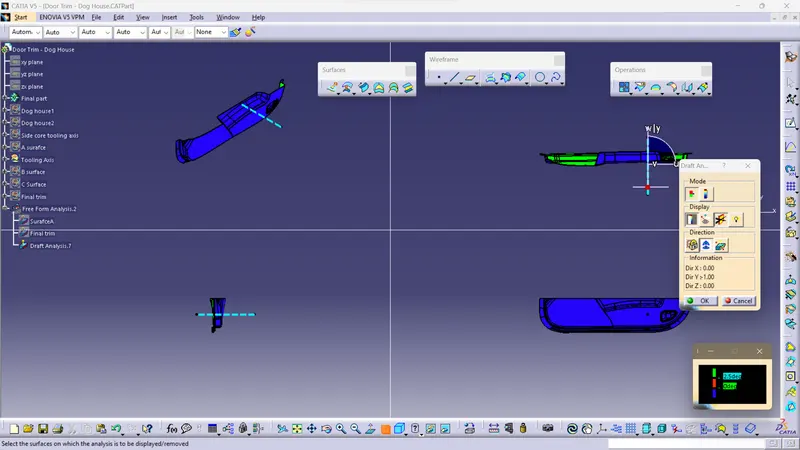
- After selecting the feature draft analysis tool we drag the compass from its position to the tool axis. Then lock the compass. After that select anywhere on the component and it will give you the result.
- We change the minimum draft for the component to 3°.
- We can use the running point option to check the angle of the component.
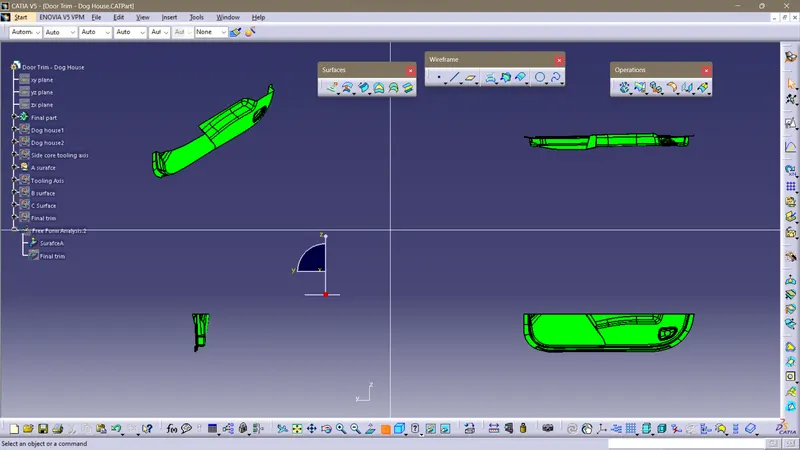
Class-B surface:
It is the offset surface of the Class A Surface the offset value depends on the thickness of the material, here the offset value is 2.5mm outward some of the surfaces give offset error and ask for offset without these subelements click okay and work on the incomplete surfaces by using the multi-section surface command, sweep and different commands used to complete the class B surface.Incomplete surface gaps in the offset, so we work on the surfaces and ensure that there is no gap in the class B surfaces.
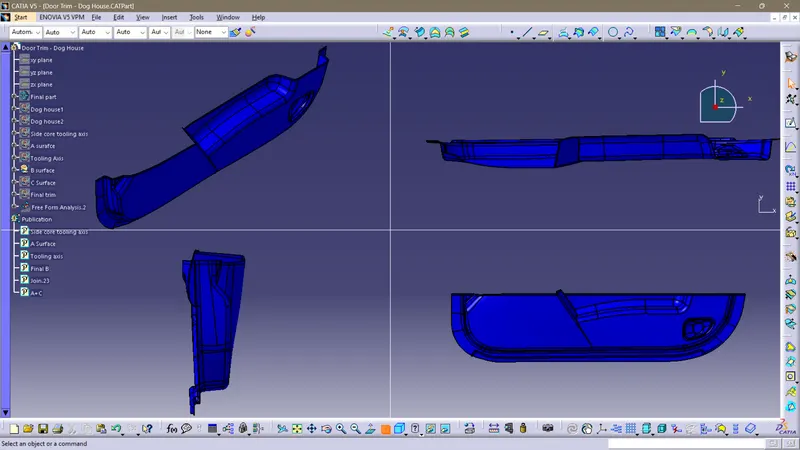
Class -C Surface :
We have to perform the sweep comand for the different boundaries and edges with sweep with draft reference as tooling axis with 3 degrees inside angle, then all the C surfaces created by using sweep comands are used to join with the join command.
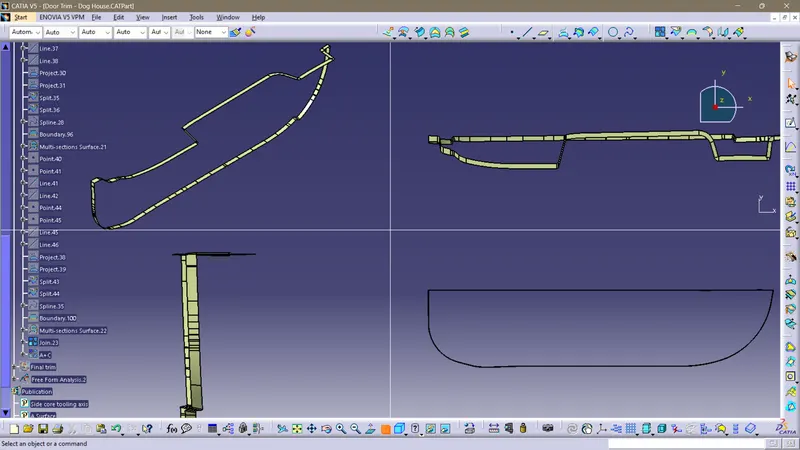
Class A+C :
The Surface A and the Surface C are used to join with each other for creation of closed surface.
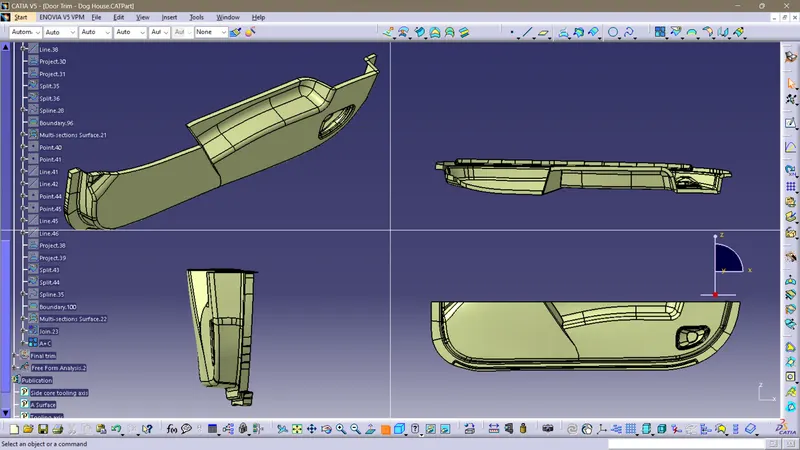
Final Trim:
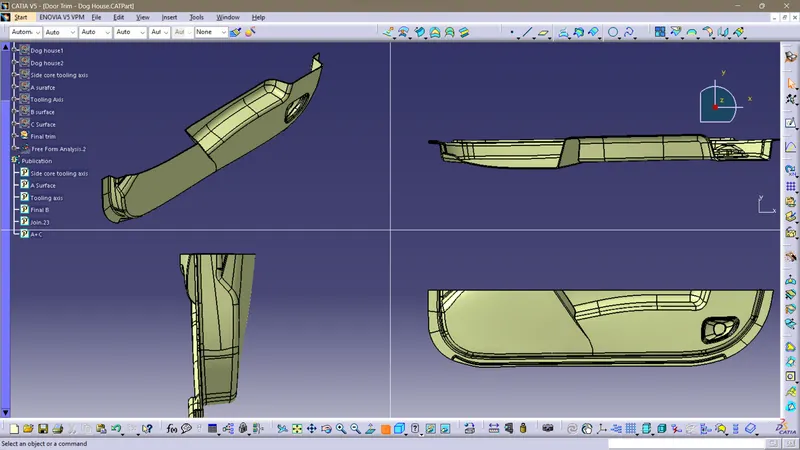
After joining A and C, we then move forward and trim A+C from the class b. After the trim we can have a final complete surface of the door trim. After that the draft analysis is done for the final product.Completion of the draft analysis then we can have the closed surface toolbar in part model for creating a surface to part model.
Dog House :
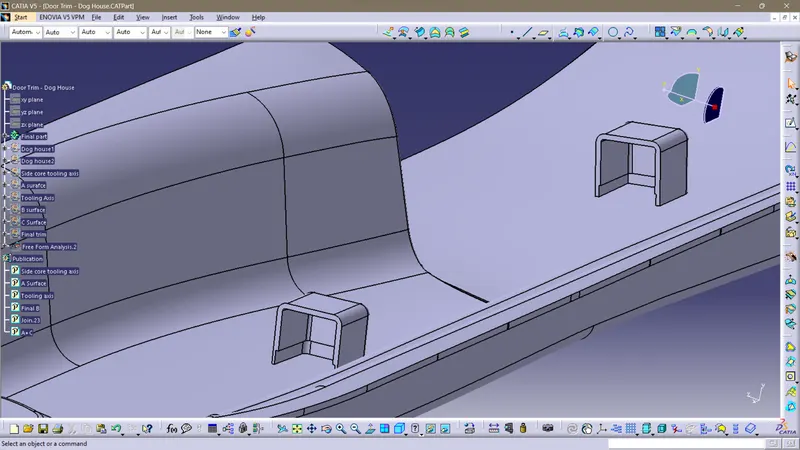
Dog house is an engineering feature used in the plastic trim design. Dog houses are used for supporting features. Sometimes other engineering features like snaps; locators, etc. are mounted on them to increase their strength. Dog house and other engineering features are built on final product.
Design rules for Dog house :
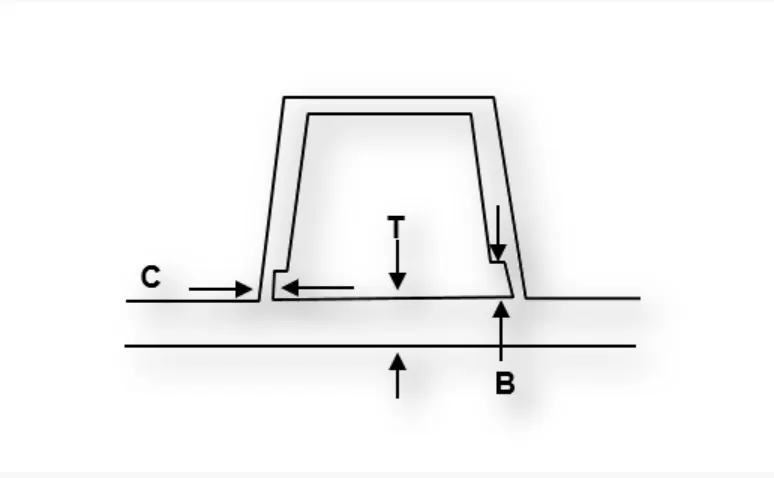
"C" is where the doghouse contacts the backside of the surface
Doghouse wall thickness at the intersection of the part wall ( C ) should be 40% or less than the main wall stock ( T ).
The height of ( B ) should be between 3.0 – 6.0 mm.
Dog house design procedure by adapting the design rules:
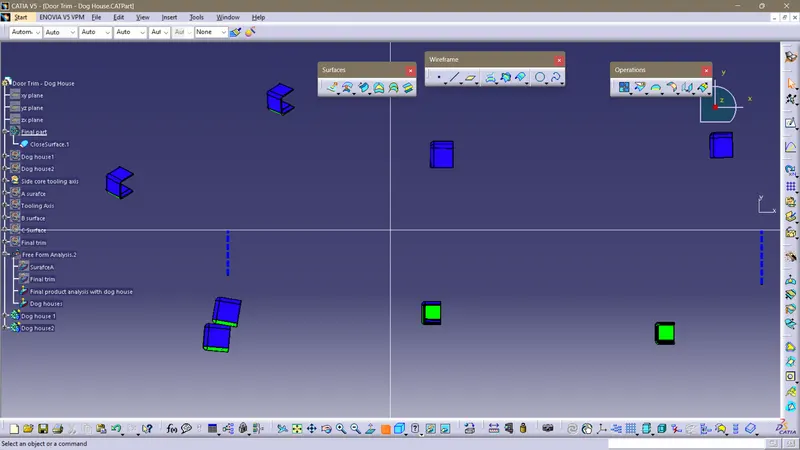
- Extract the surface on which we want to create the dog house and create a plane on the surface .
- Draw a sketch on the extracted surface and use point as the positioned point and plane as the position.
- Then apply extrude for the sketch drawn, after extruding close the upper side with multi section toolbar and close the open side of dog house.
- Then join the extruded surafces and multi sections, After joining go to part modeling toolbar and thicken the surface with 2mm thickness.
- After applying thickness the draft is created with 1.5 degree with the draft direction as the main tooling axis.
- Then the dog house is given fillets, after filleting using the main tooling axis point we should create another tooling axis in direction of y for side core tooling axis.
- Once again perform the draft with .5 mm and draft reference as the side core tooling axis for dog houses.
- After finishing the process using boolean operation assemble the dog house to the final product.
- Using the design cosiderations the dog house is prepared, with the completion of dog house we should perfom the draft analysis for the assembled part and main tooling axis.
- After main tooling axis we should once again perform the draft analysis with reference of side core tooling axis.