Week 10 - Challenge 2- Attachment Feature Creation (Dog House)
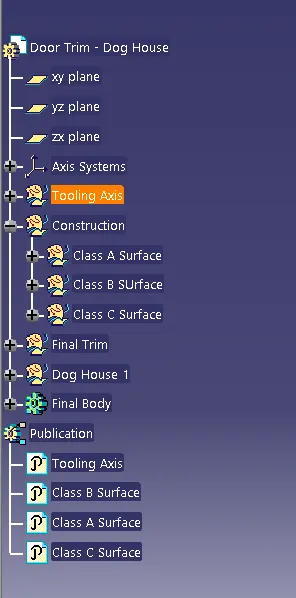
Creating Tooling Axis:-
Ensure the Class A Surface is free of gaps and has proper connectivity. Evaluate the component's orientation in the x, y, and z directions to determine the optimal tooling direction (in this case, Y). Extract a point from the base surface. Establish an axis system with the extracted point as the origin. Construct an intersection of the Class A Surface in the xy plane. Identify potentially problematic faces and create two reference lines. Generate a bisecting line using the reference lines, which will provide the tooling axis.
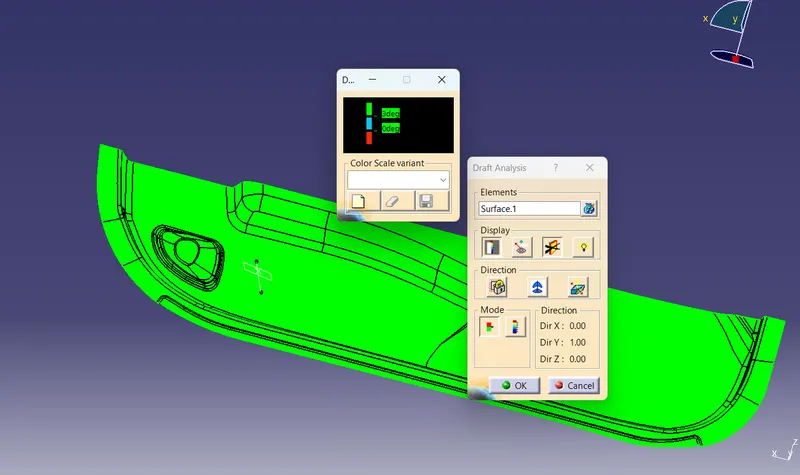
Draft Analysis:-
Draft angle is necessary for all parts that will be molded, as it permits the parts to be extracted from the mold without issue. Typically, a minimum draft angle of 0.5-1 degree is required, although 3 degrees is commonly regarded as standard practice for most applications.
Creating Class B Surface:-
for creating class B surface we should have to take offset of class a in outside direction of 2.5mm this will help us with creating thickness of the material. after offseting i will be getting some open patches, By using Commands like sweep, extrude, multiple surface extract, trim etc. by this we can close all the open patches.
Creating Class C Surface :-
As our offset surface is outside thus we will be having class A Surface in Backward direction thus we will be creating class C Surface in the direction of class A Surface, by using Sweep we can be able to create the class c surface along the direction of draft axis to get proper drafting angle.
after creating class C surface we should have to trim class (B+C) together to get a proper surface. But first we should have to consider that tere should be no open surfaces.
so as now we have all the CLass A, B, C surfaces we can create thick part by finally trimming the class (B+C) trim with Class A. by doing this we will get our desired thick part and we can close that by going to part workbench. using Closed Command.
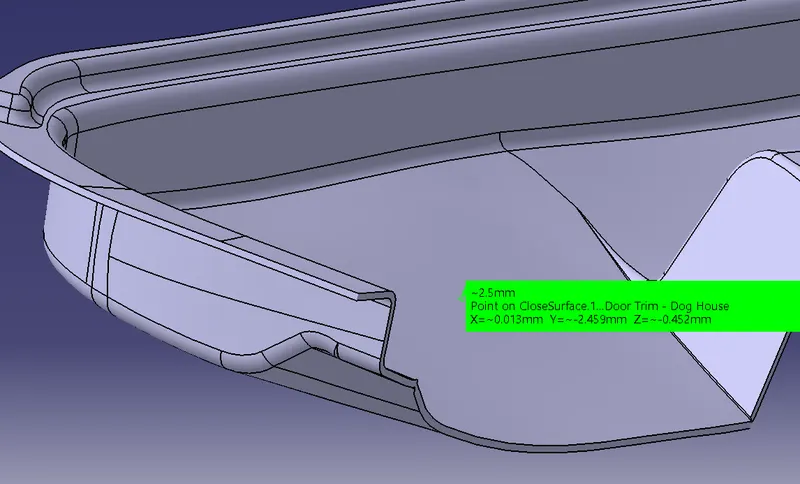
Before going forward we should have to Do the draft analysis again, for the closed surface
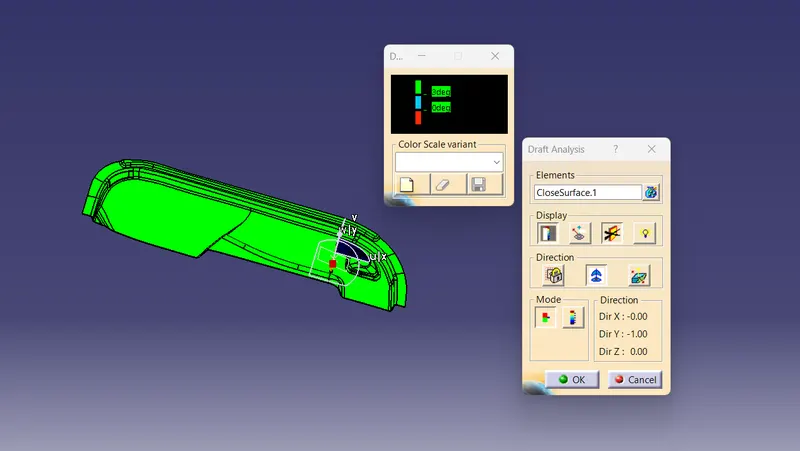
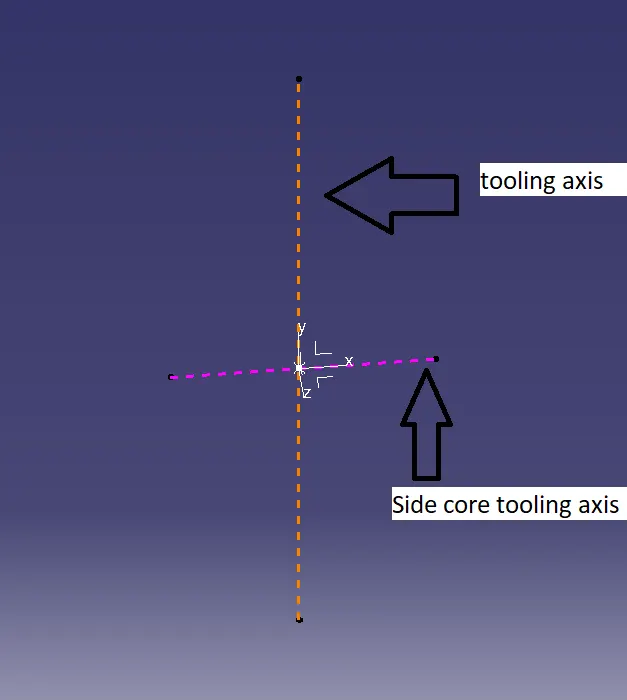
so now we are done with final part with required thickness we can start with creating the dog house As per indusrty standards. for creating we should first have to create side core tooling axis which will be perpendiculat to the tooling axis. so that the inner surface of dog house will get fine draft angle.
Side Core Tooling Axis
Here while creating the Dog House inside part will not clear the draft with main tooling axis so in order to clear the draft direction we will introduce tooing axis from the side which is prependicular to the face that is not clearing the draft in main tooling axis direction.
Dog House Creation:-
for creating dog house we will have to create a sketch of rectangle which will be open fron one side, then we will sweep it 14mm along the tooling axis and then will male it thick for 2mm, after applying thickness we will give draft of 0.5mm from all side.
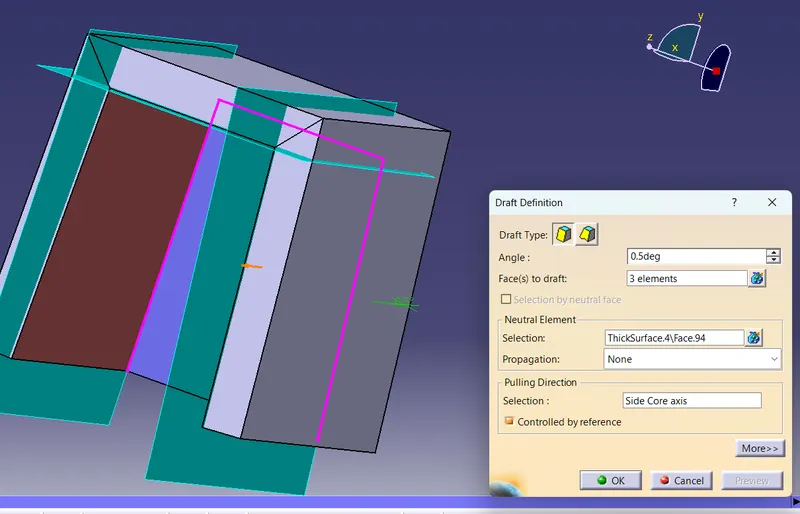
after that we will apply fillets in the edges, then we will create a part wall bt taking offset the base surface to 4mm above then by using trim command we can be able to get the desired surface to split then we can spilt the inner surface and will be getting the desired output. at base the wall thickness will be 1mm.
after completing qall this operations we can start the draft analysis for the dog house we have created
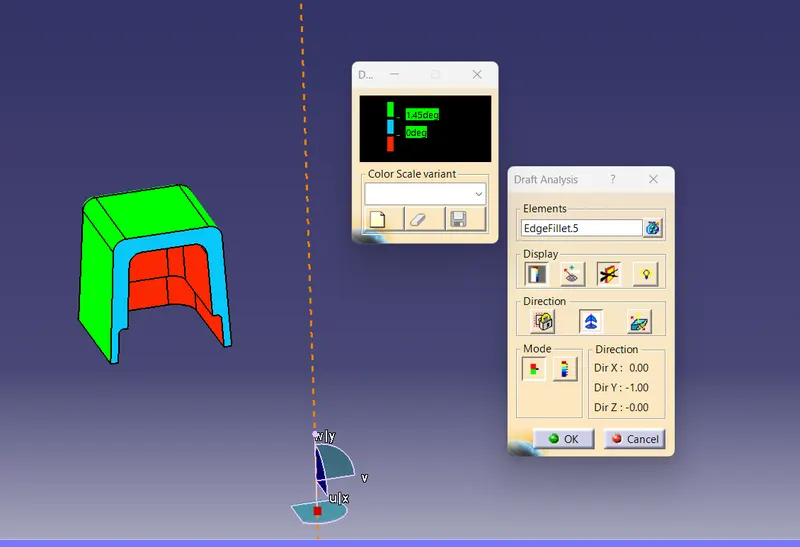
we will be checking for both tooling axis as well as side core axis but we can not create 2 draft analysis for a single part.
and after successfully getting the desired draft analysis we can assemble the dog house with the part body and for creating the another dog house we can copy the dog house 1 and paste special it on the part body thus we can create transpose the pasted dog house to the desired position, and finally joining both will be getting the required part with dog houses
which can be shown under:-
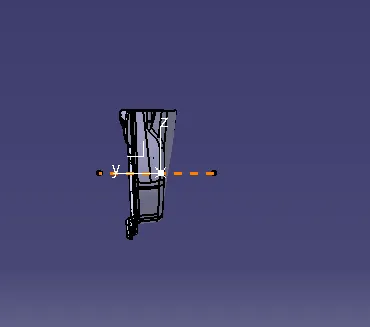
Front View:
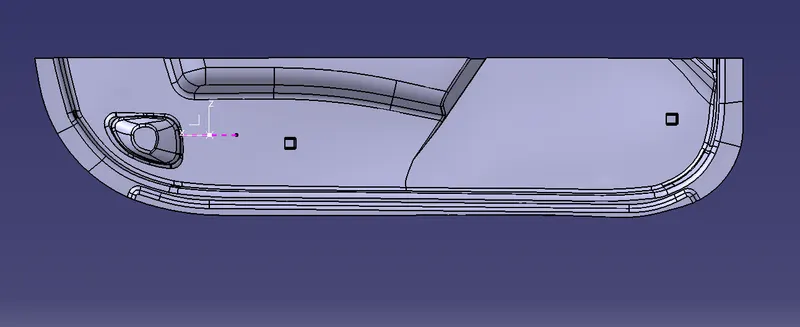
Side view:-
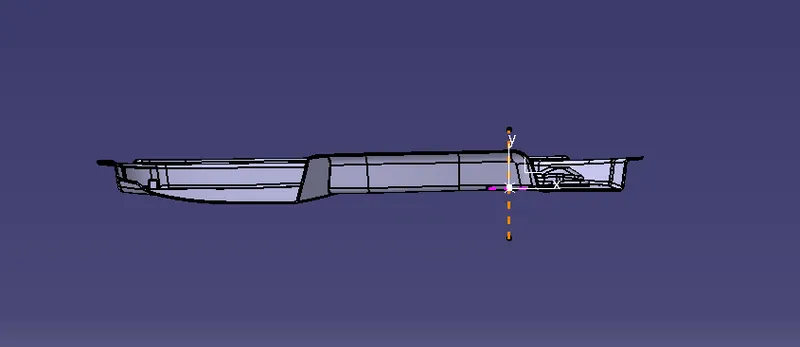
top view:-
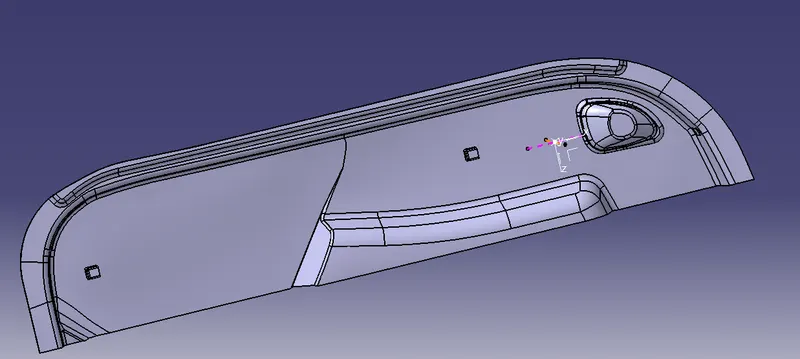
isometric view:-
Geometric Set:-