Week 10- Assembly Workbench
Aim: To convert drawings into solid parts and assemble them and convert them into assembly drawing
Assembly 1:
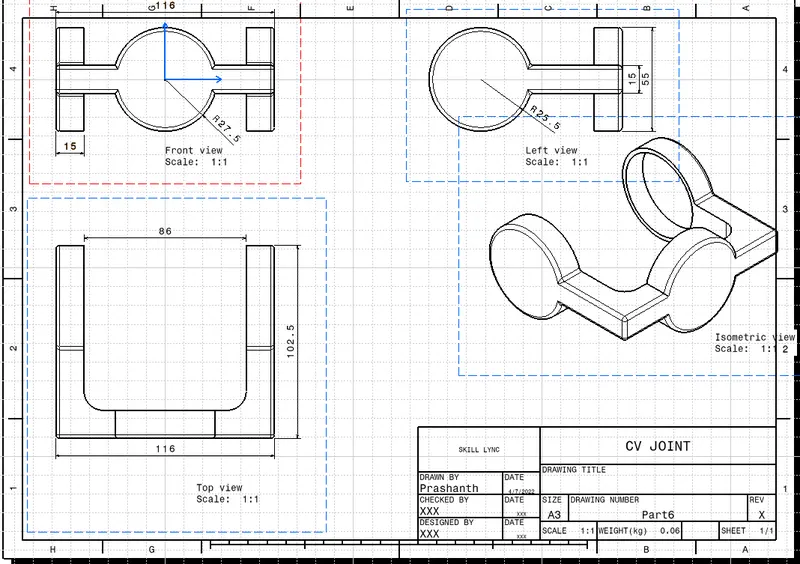
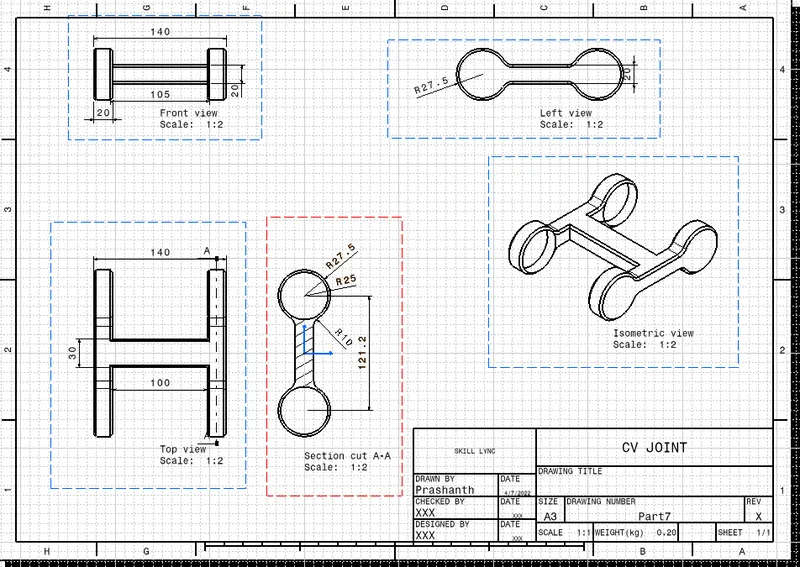
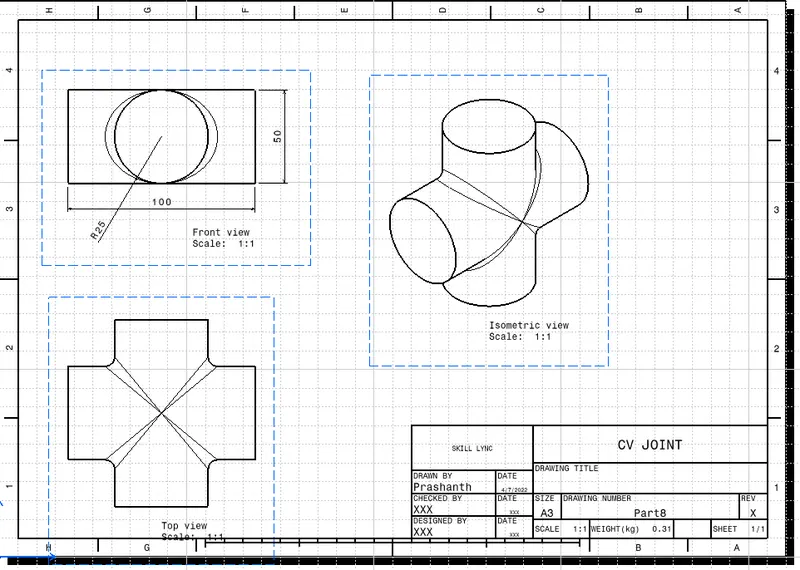
1. Converting the given 2D drawings into 3D objects in part design workbench.
2. All parts should be completed and assembly needs to be done in the assembly workbench.
3. Take the three planes and should fix them as reference planes.
4. Then we have to start giving the constraints which we have to give from the reference plane so that the other constraints will be fixed.
5. For any distance-related constraints, we need to use the offset constrain tool.
6. After the assembly is completed we have to go to the drawing workbench.
7. In the drawing workbench, we need to give the balloons for the assembled components and also we need to give the bill of materials to the components
ASSEMBLY IMAGE:
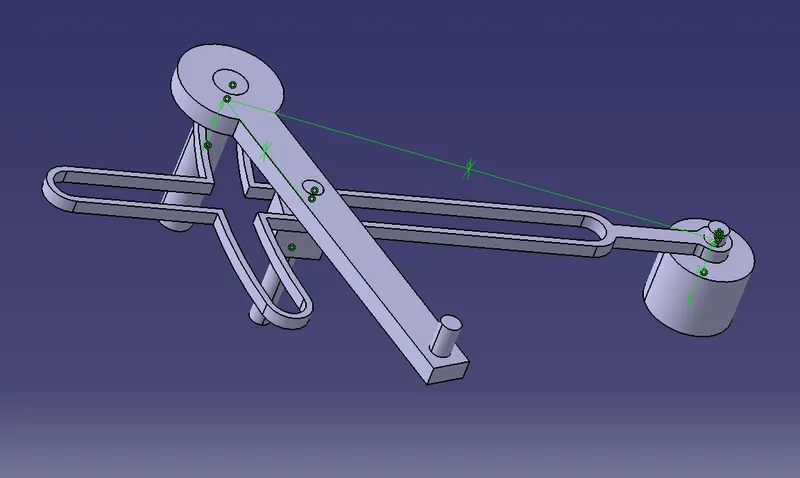
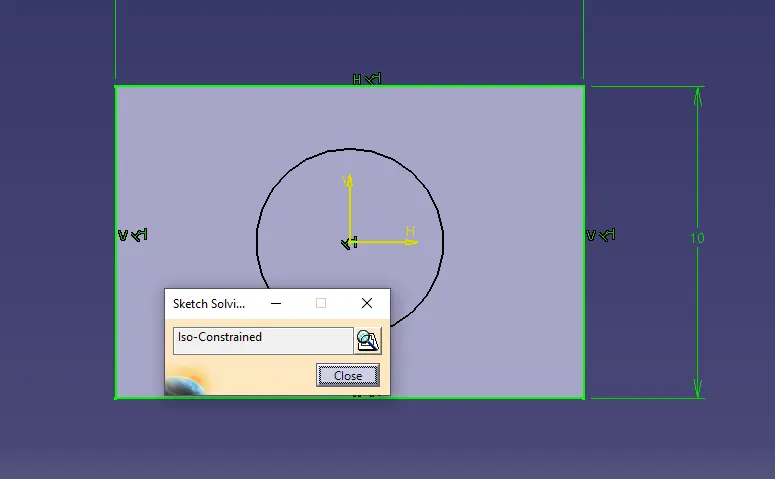
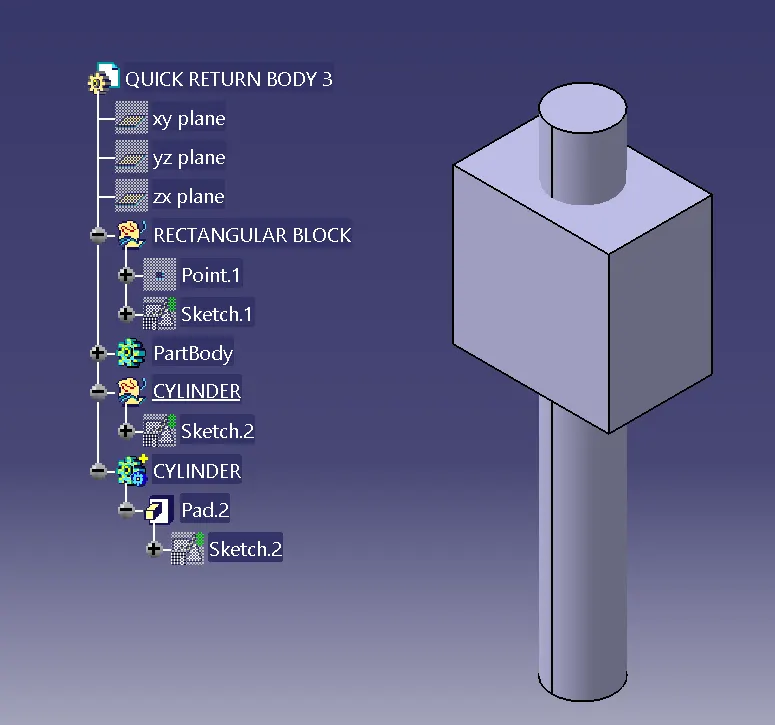
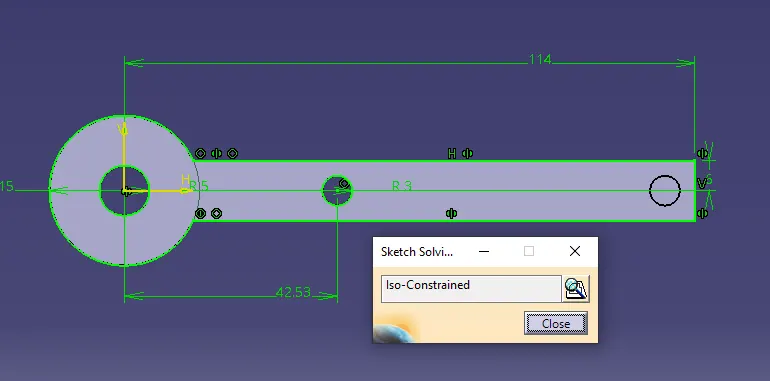
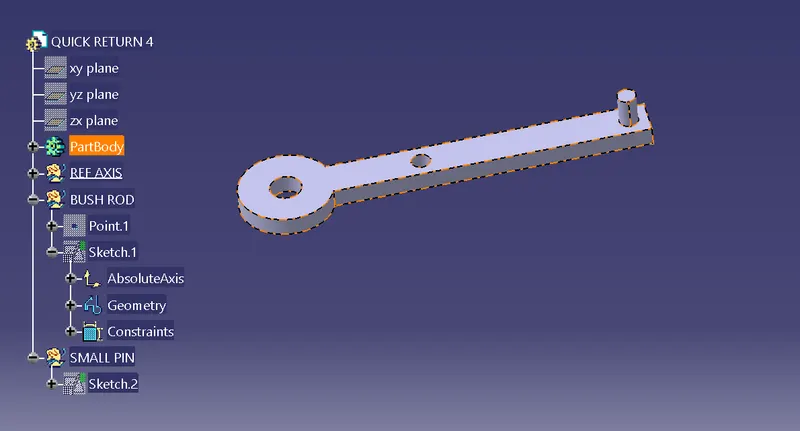
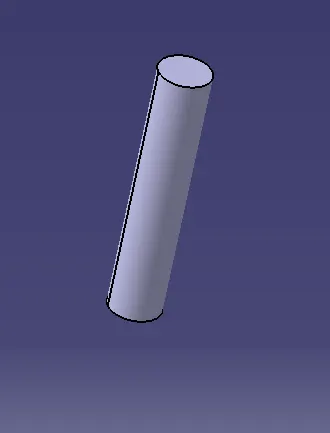
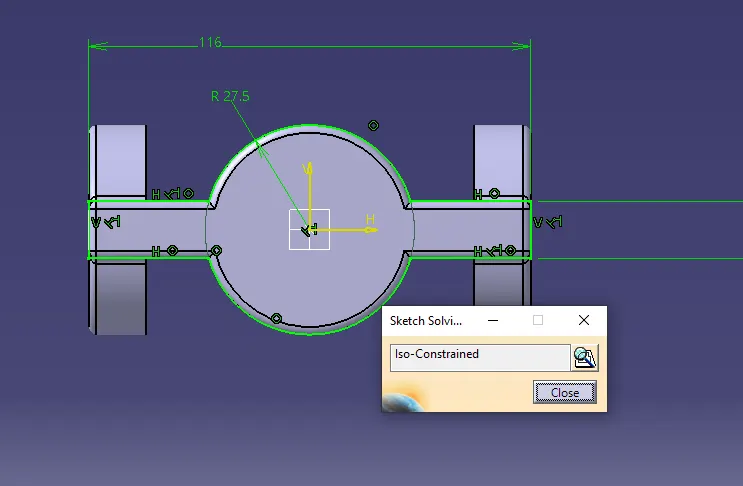
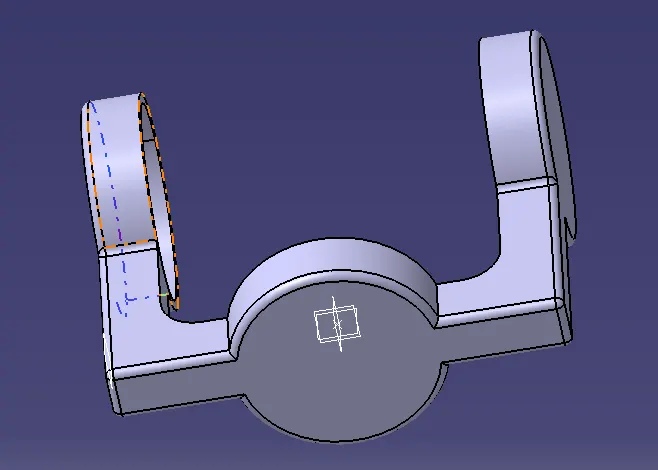
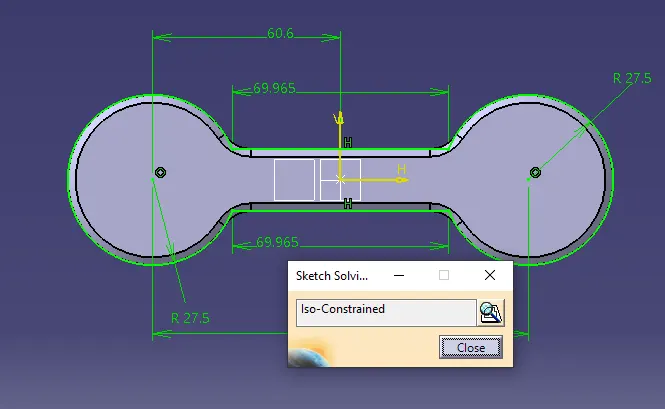
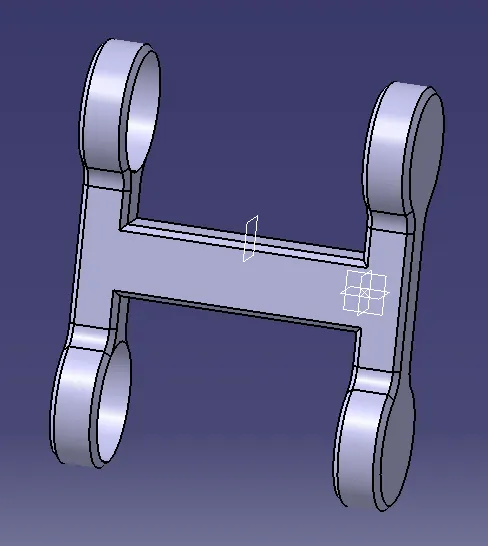
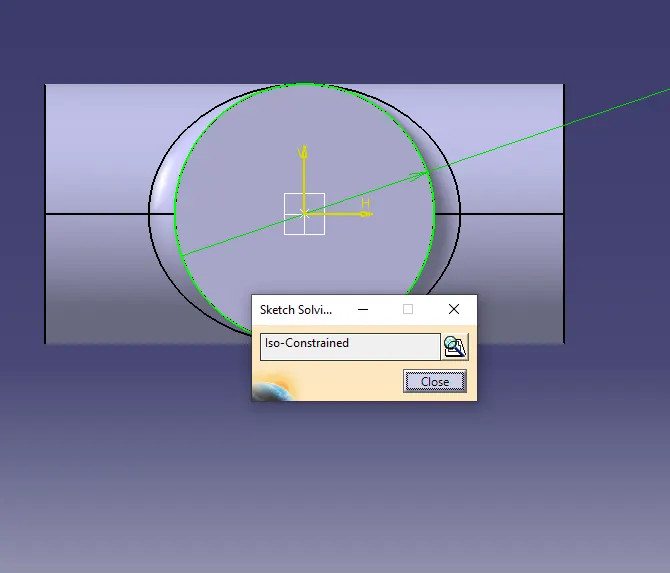
part body images with iso constrain,
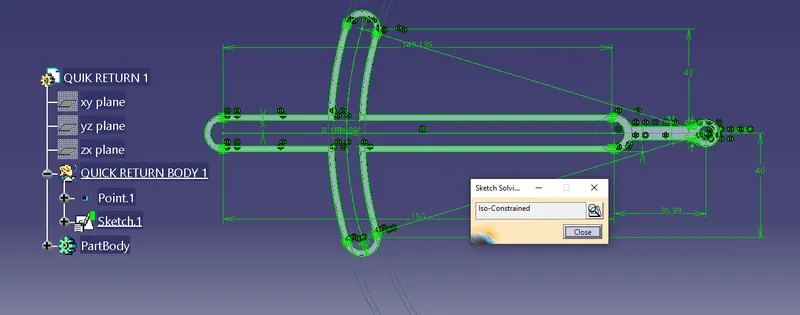
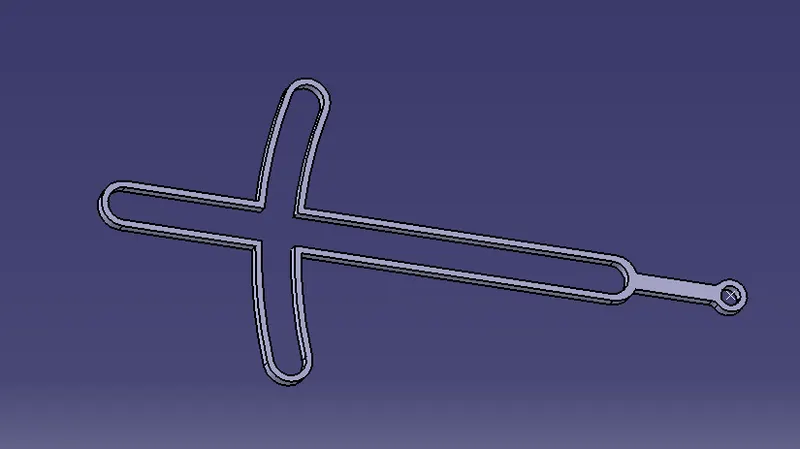
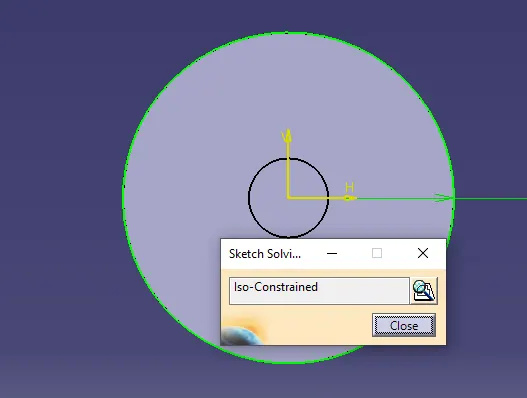
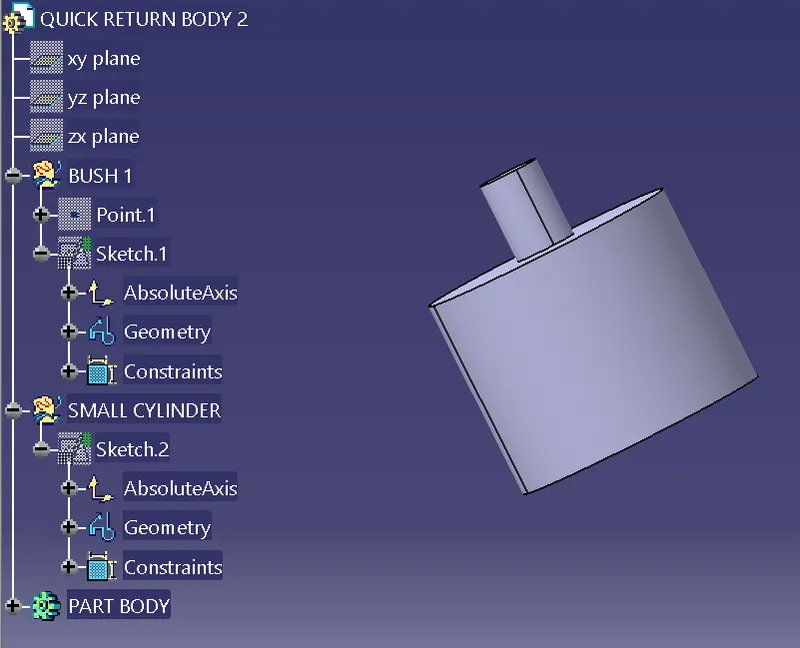
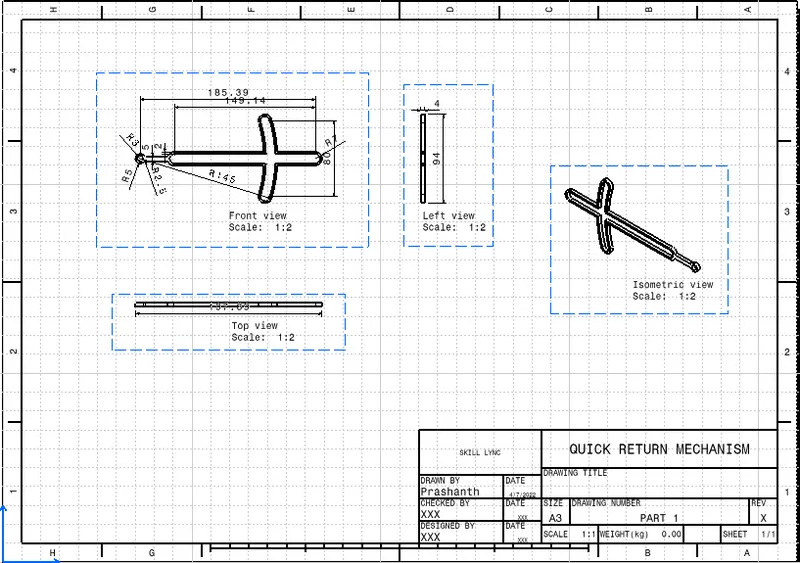
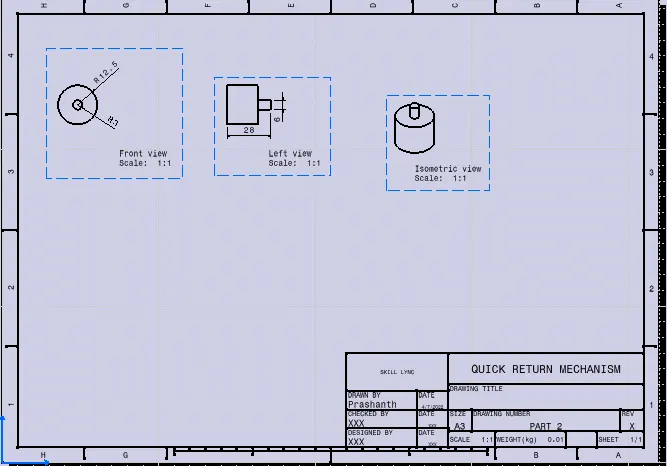
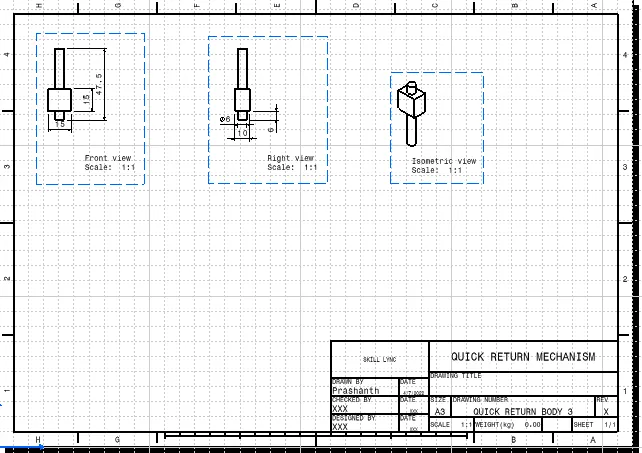
DRAWING FILES:
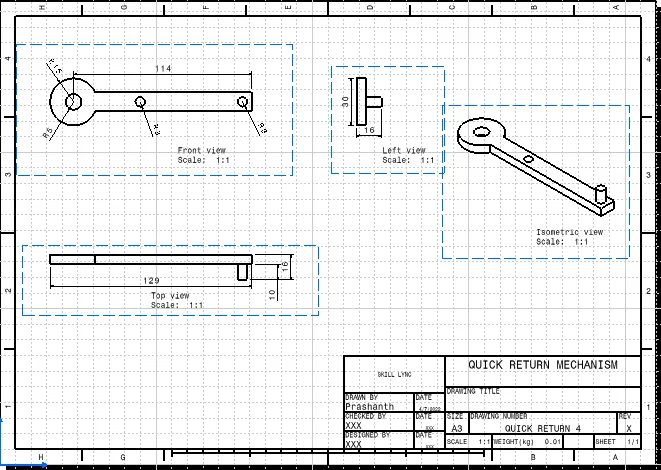
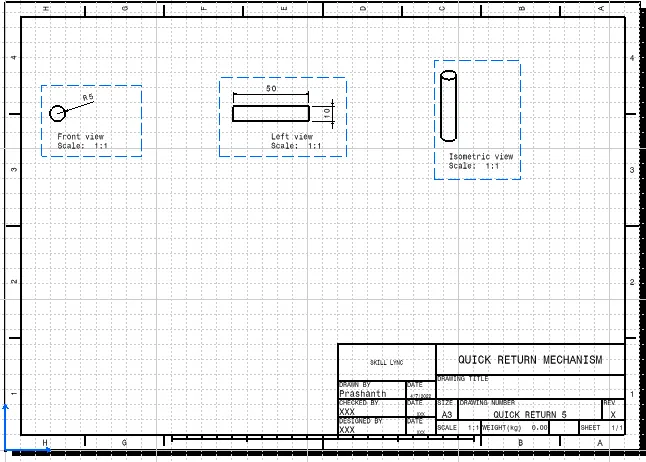
ASSEMBLY PART 2:
1. Converting the given 2D drawings into 3D objects in part design workbench.
2. All parts should be completed and assembly needs to be done in the assembly workbench.
3. Take the three planes and should fix them as reference planes
4. Then we have to start giving the constraints which we have to give from the reference plane so that the other constraints will be fixed.
5. For any distance-related constraints, we need to use the offset constrain tool.
6. After the assembly is completed we have to go to the drawing workbench.
7. In the drawing workbench, we need to give the balloons for the assembled components and also we need to give the bill of
materials to the components
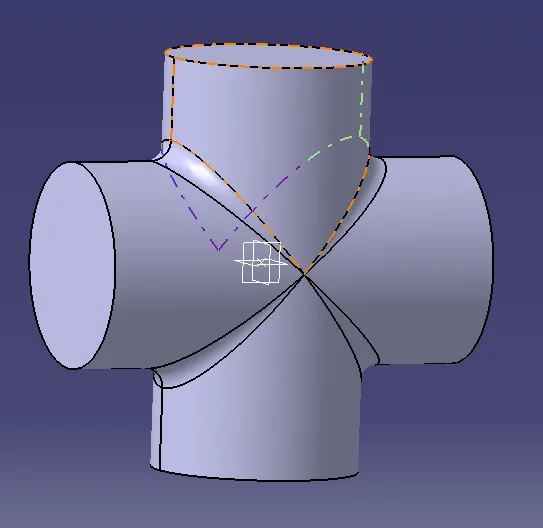
ASSEMBLY IMAGE:
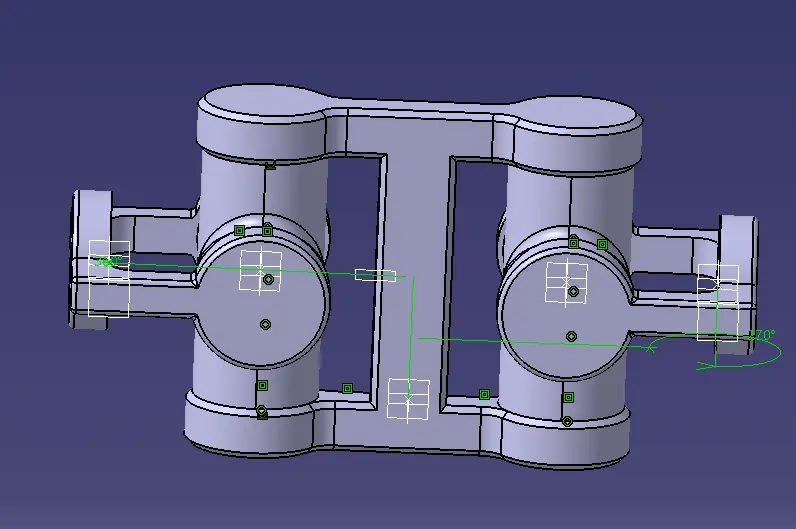
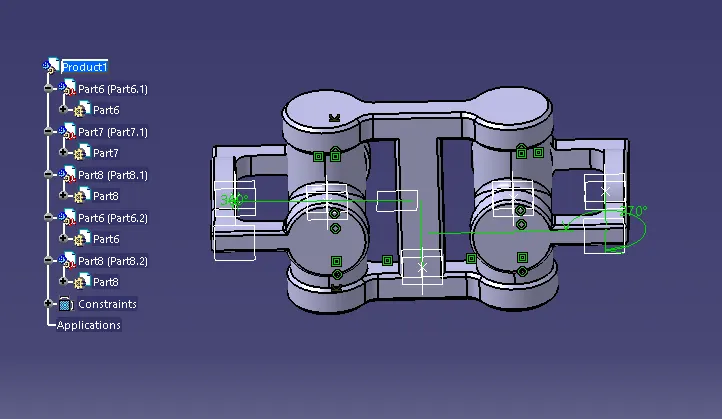
PART BODY IMAGES:
DRAWING PART FILES: