Week 10- Assembly Workbench
AIM : To create 2 assemblies according to the content covered in the course videos. You will be provided with 2D diagrams of the components and you will have to first create the individual part files and then create a complete assembly of those part files in the assembly workbench. After creating the assembly make use of the drafting tools to create a 2D drawing similar to the one given in the assignment folder.
CREATION OF DRAWING 1 :
- created the first part of drawing 1 according to the dimensions specified as shown
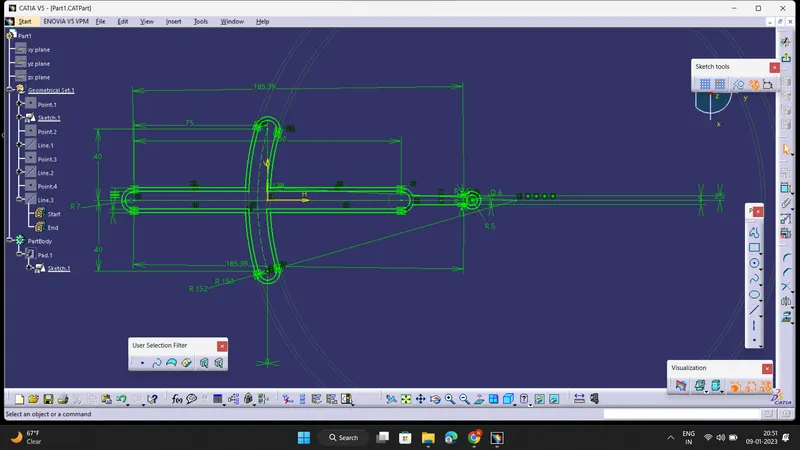
Now pad it by 4mm as shown
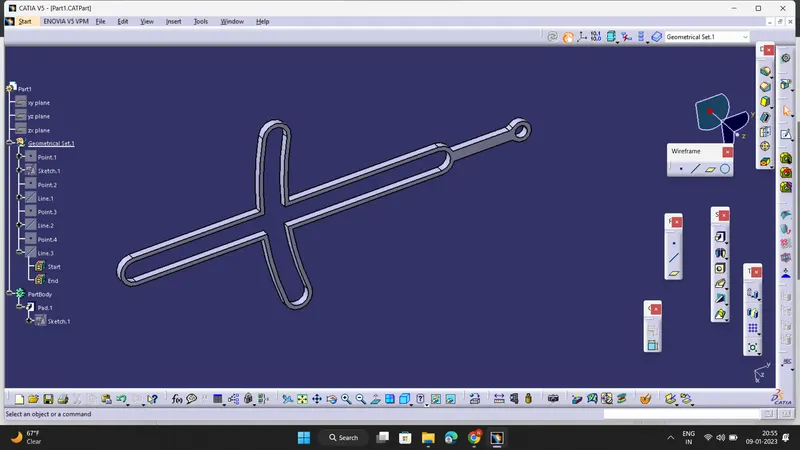
2) created the 2nd part as per dimensions as shown
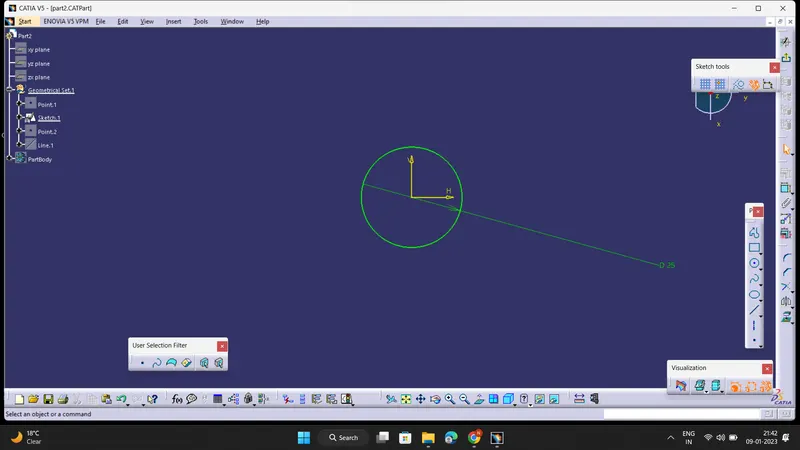
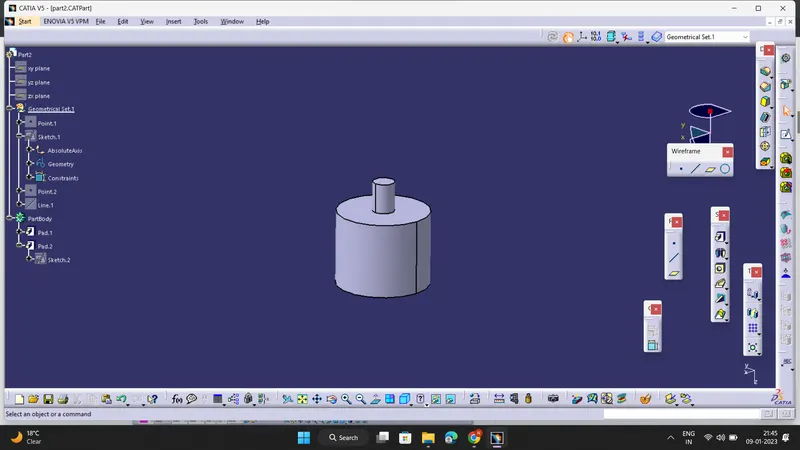
3) creation of third part
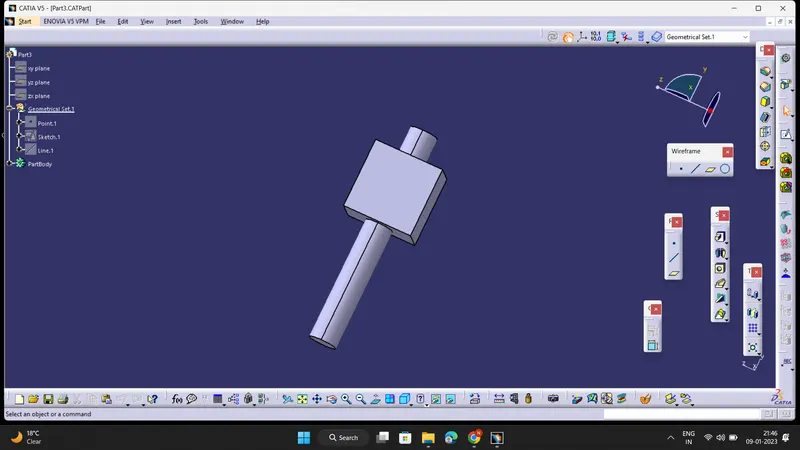
4) creation of fourth part
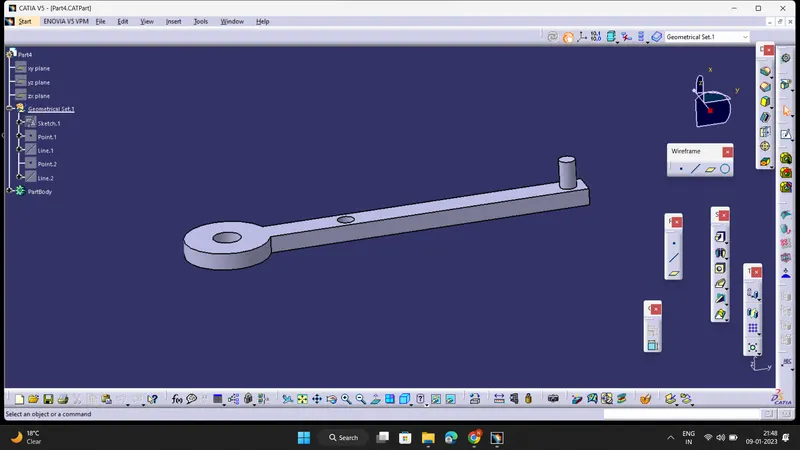
5) created the 5th part
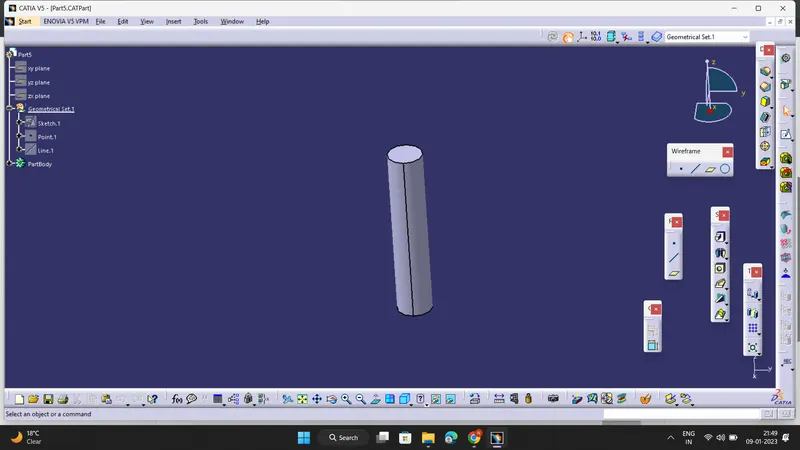
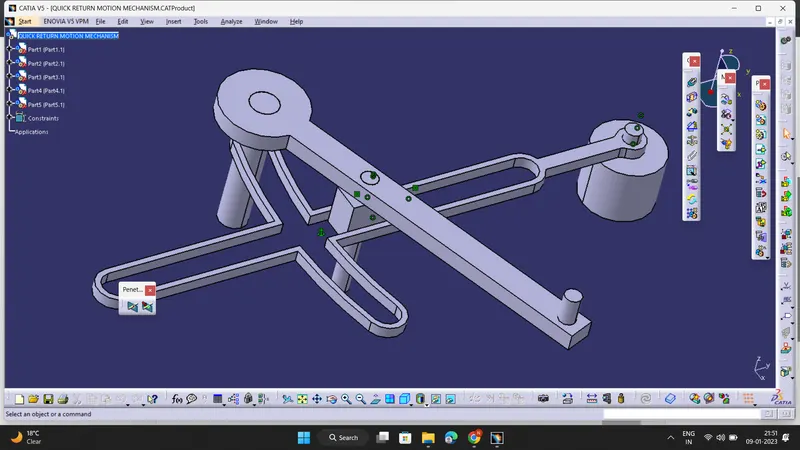
Later In Assembly workbench , I have Inserted all the parts using " insert component " and i have fixed the position of 1st part using " Fix component " . Now i have taken reference axes on individual parts about which the constraints have to be made and gave constraints accordingly using " Coincidence Constraint " , " Contact constraint " and " Manipulation " . Thus the assembly of Quick return mechanism is done as shown
ASSEMBLY OF QUICK RETURN MECHANISM :
CREATION OF DRAWING 2 :
1) CREATION OF 1ST PART :
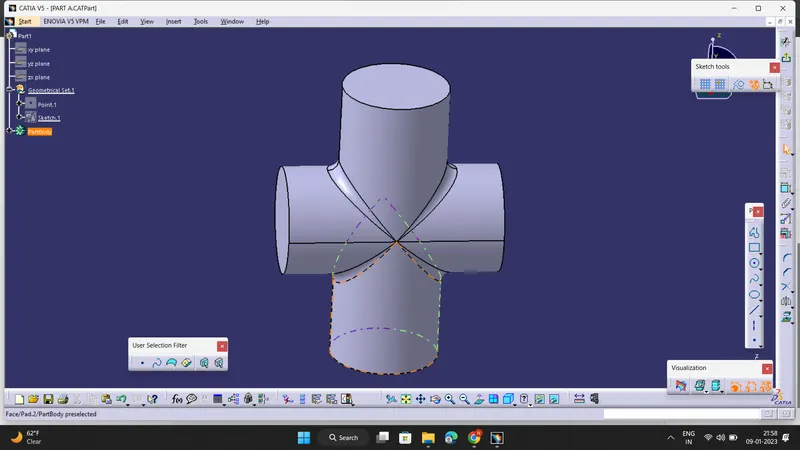
2) creation of 2nd part
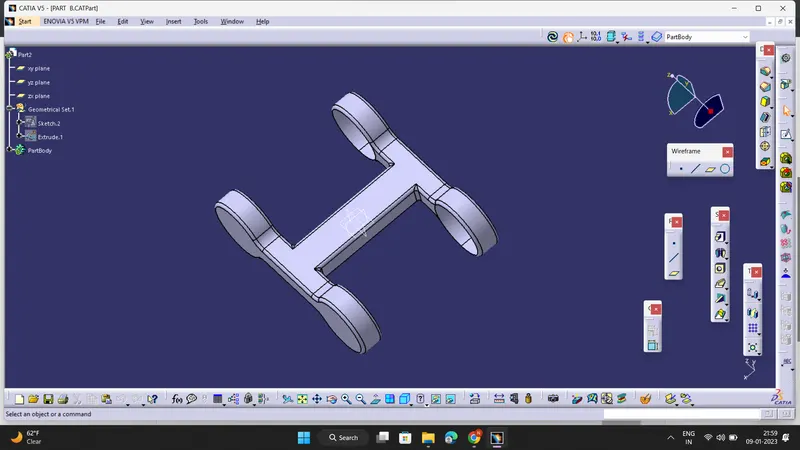
3) creation of third part of CV joint
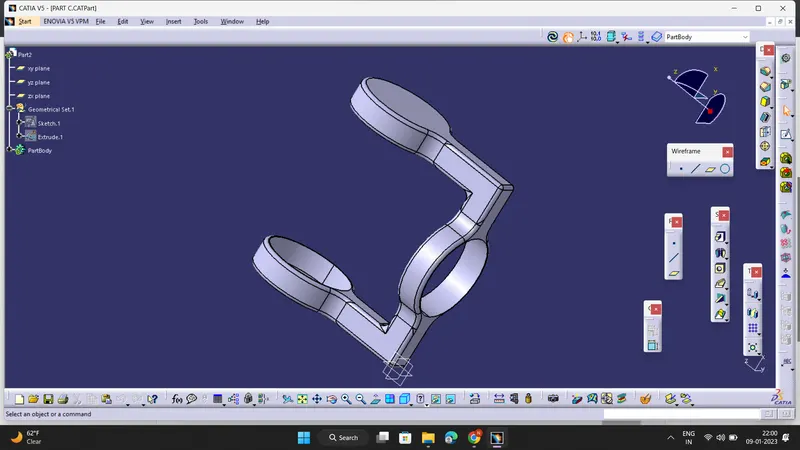
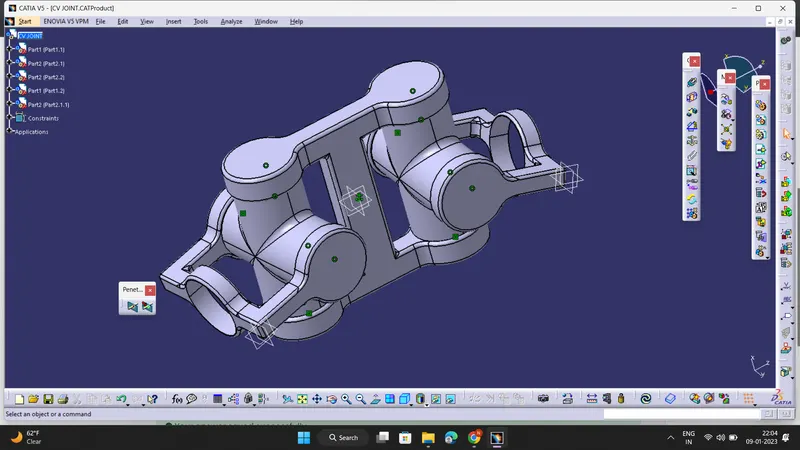
After completion of all the parts of CV joint , I have Inserted all the parts using " insert component " in Assembly workbench and i have fixed the position of a part using " Fix component " . Now I gave constraints accordingly using " Coincidence Constraint " , " Contact constraint " and " Manipulation " along the axes of individual parts . Thus the assembly of CV JOINT is done as shown
ASSEMBLY OF CV JOINT :