Week 10- Assembly Workbench
Submitted By: Syed Rizwan Ali
Course: Automotive plastic design using Catia V5
Challenge: Week 10- Assembly Workbench
ASSEMBLY: CV JOINT
Creating the parts as given in the 2D drawing into 3D -
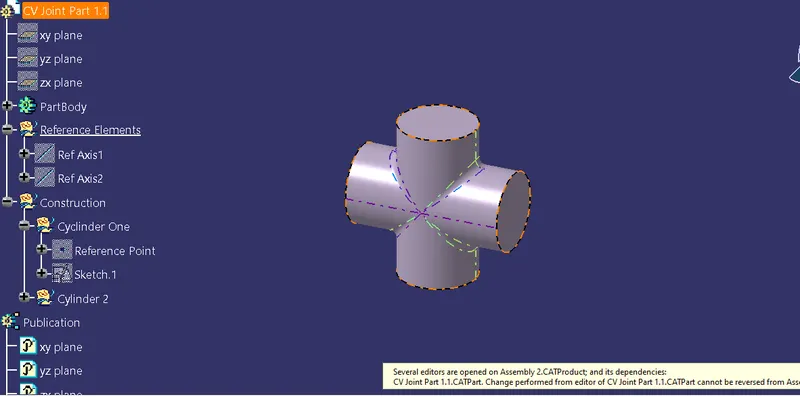
Part 1- This Part is required in 2 quantities in the assembly below is the SS for the complete part with proper tree structure.
Part 2- 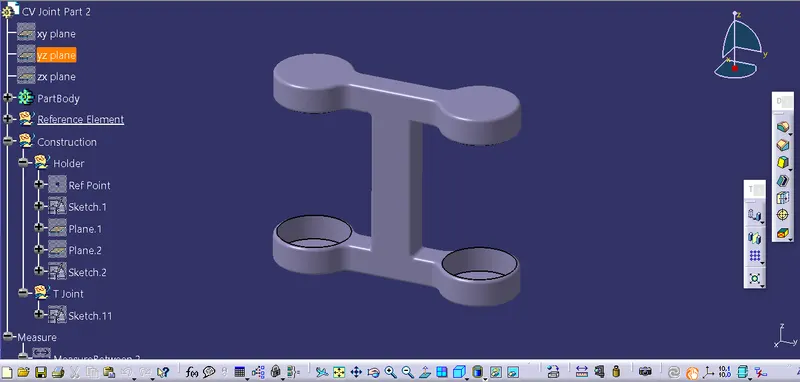
Part3 -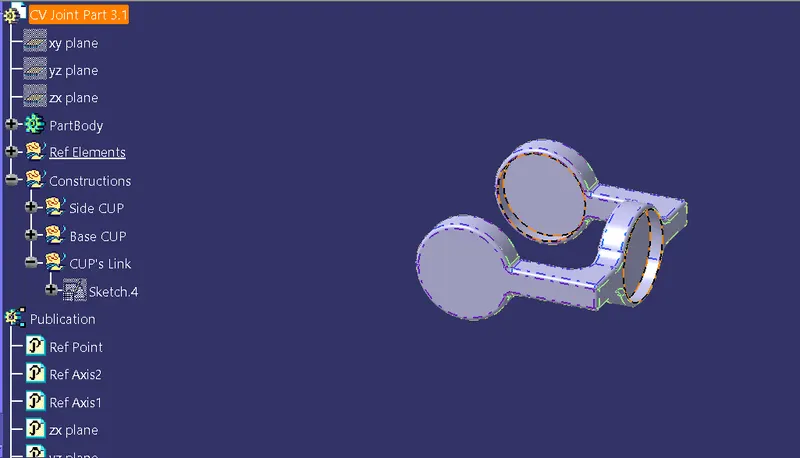
Now combining all parts together to get the complete assembly of the CV Joint.
Explanation and procedure are given below for assembly in the assembly workbench
Step 1- Open the assembly workbench and create a product using the product structure tool.
Step 2- Name the product and copy and paste the required parts into the product assembly workbench.
Step 3- Create the new part and name as Skeleton on which all the part axis going to coincide.
create the geometrical set as a reference element and name the ref point, ref axis, and ref plain.
now published them.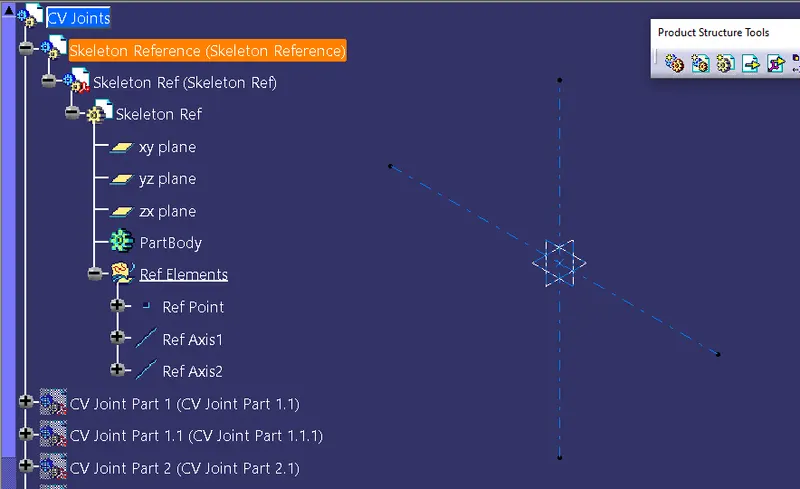
Step 4- Now anchor the skeleton element/axis.
Step 5- Now offset coincides with 60.8mm the part 1 and skeleton axis as below
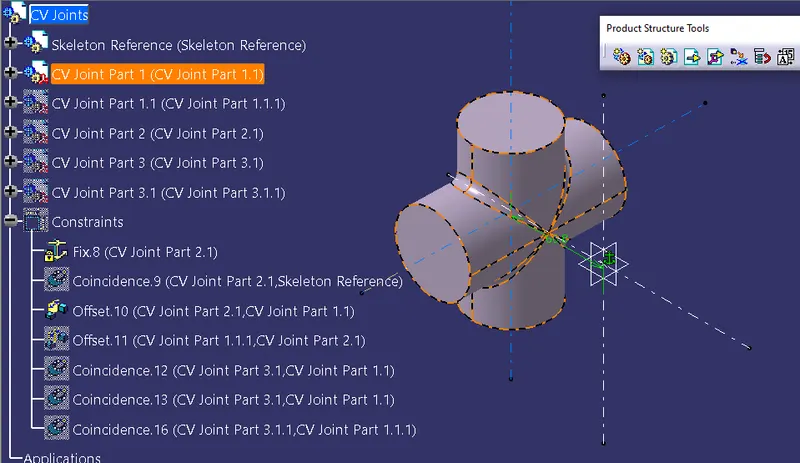
Step 6- Do the same for the second part 2.
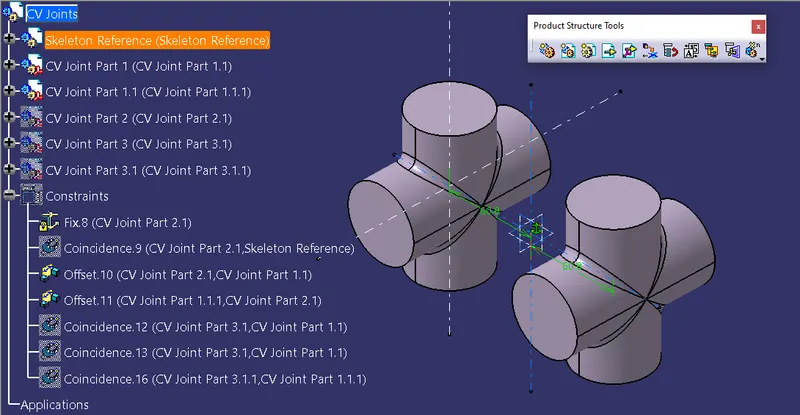
Step 7- now coincide with the main holder axis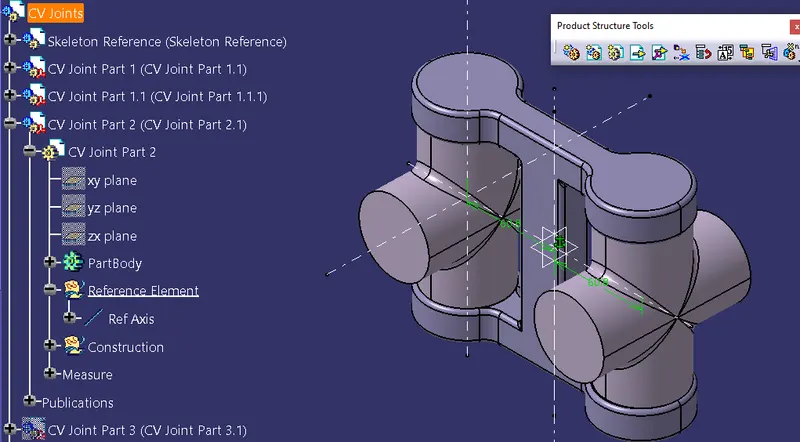
Step 8-Now coincide the side cup holders with their center axis with the center axis of the part1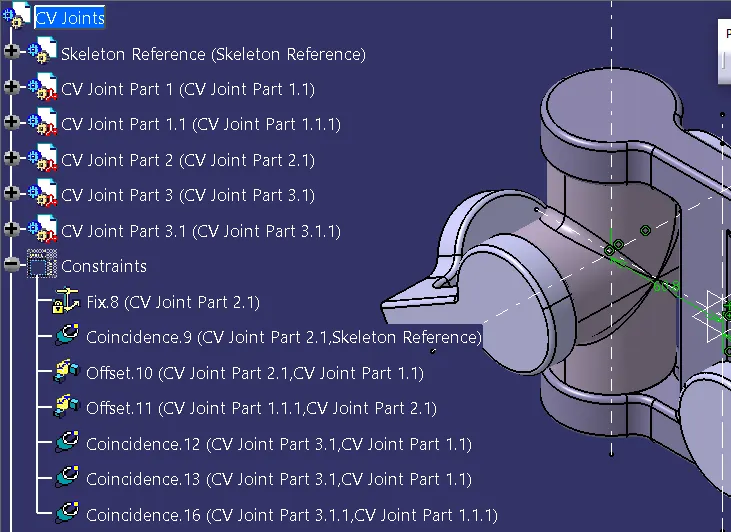
Assembly is complete and shown in below SS with proper tree structure.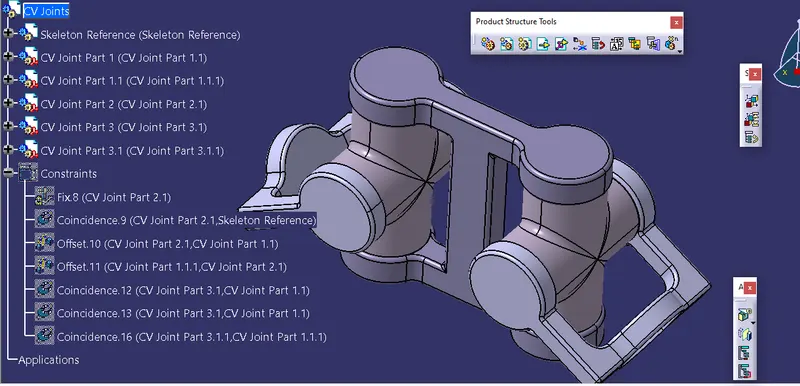
Had done the same procedure for the assembly 1 Quick return mechanism. All the required cad parts and products for both assemblies are attached in a zip folder.
===============================================================
Thank you