Week 1 Challenge
1)
AIM: Create a new project.
TOOLS:
PROCEDURE:
> Open REVIT software.
> Click on "file", a new tab will open.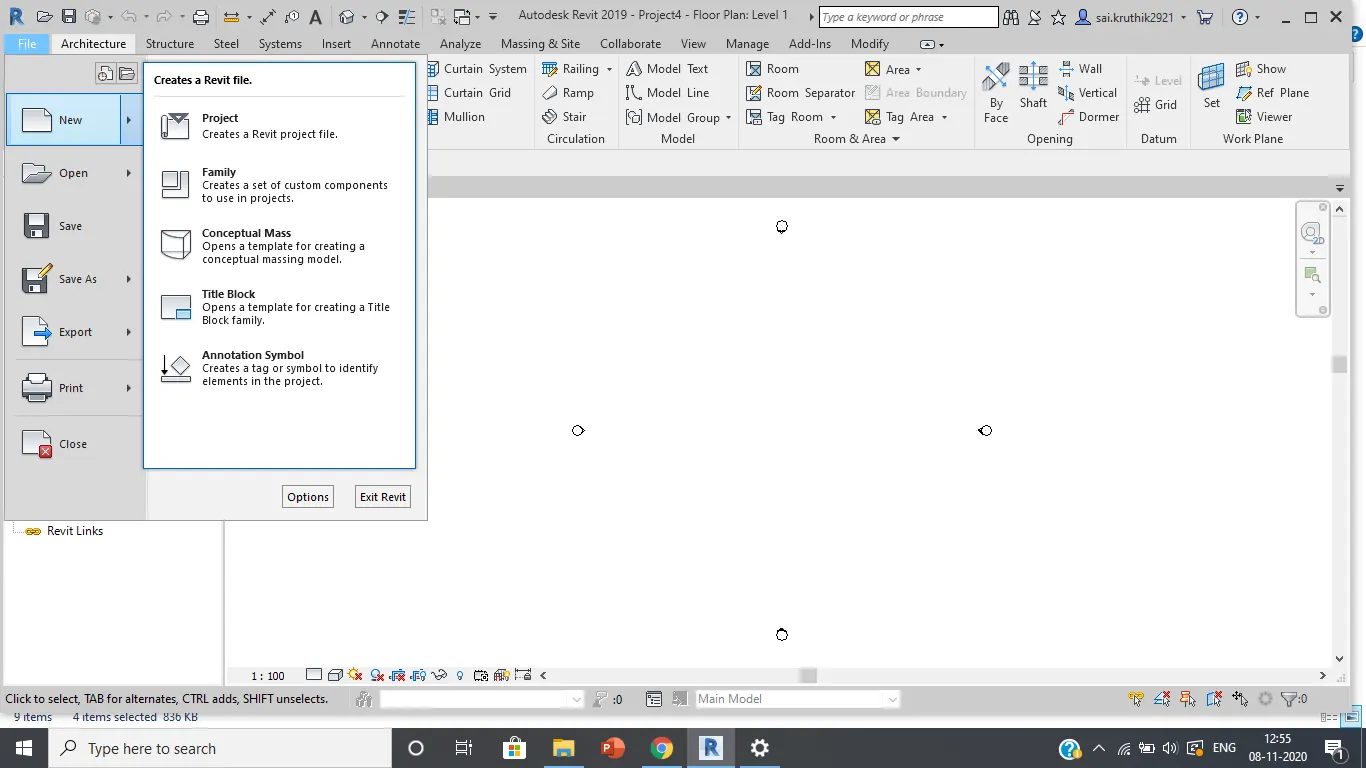
> Now click on "new" and then click on "project".
> Now click on "Architectural Template" and the click on "OK"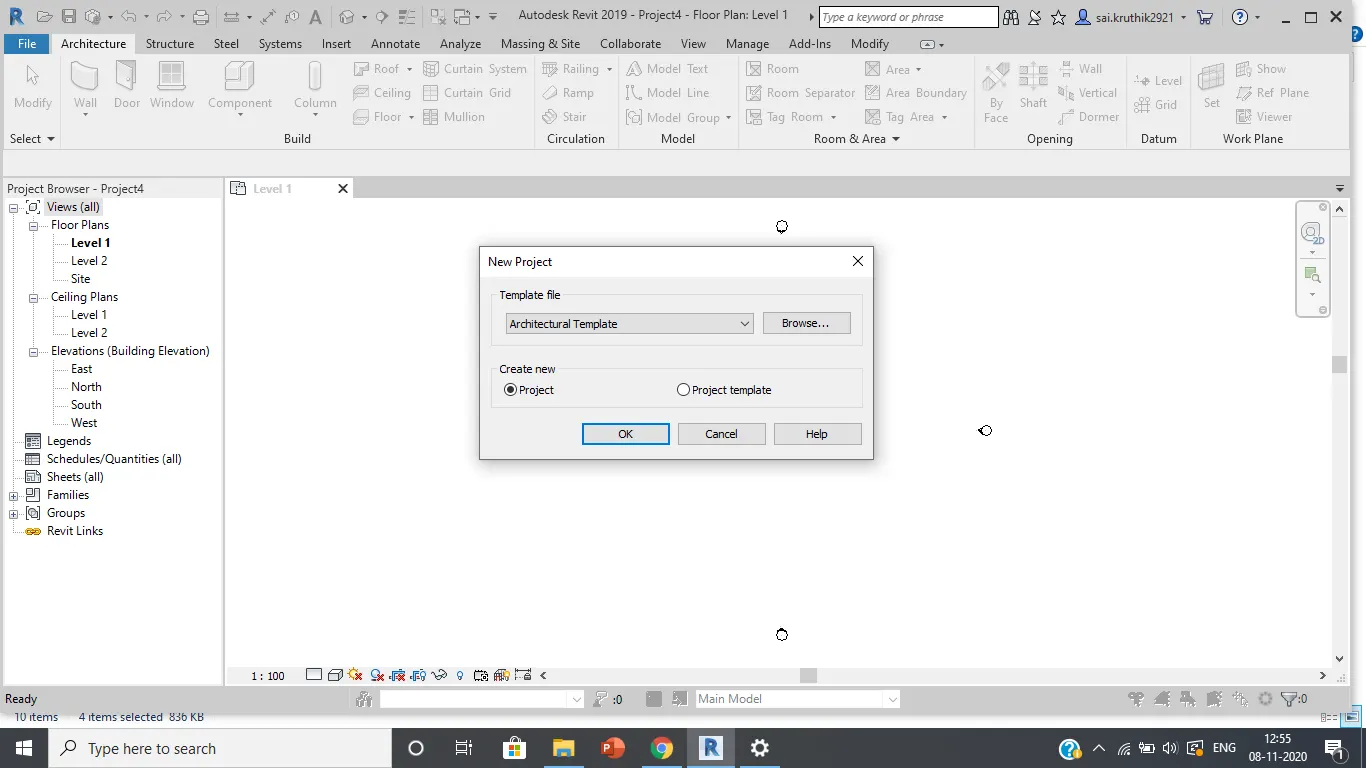
RESULT: A new project is created
2)
AIM: SAVING THE FILE
TOOLS:
PROCEDURE:
> To save the file click on the second icon beside the rev it symbol.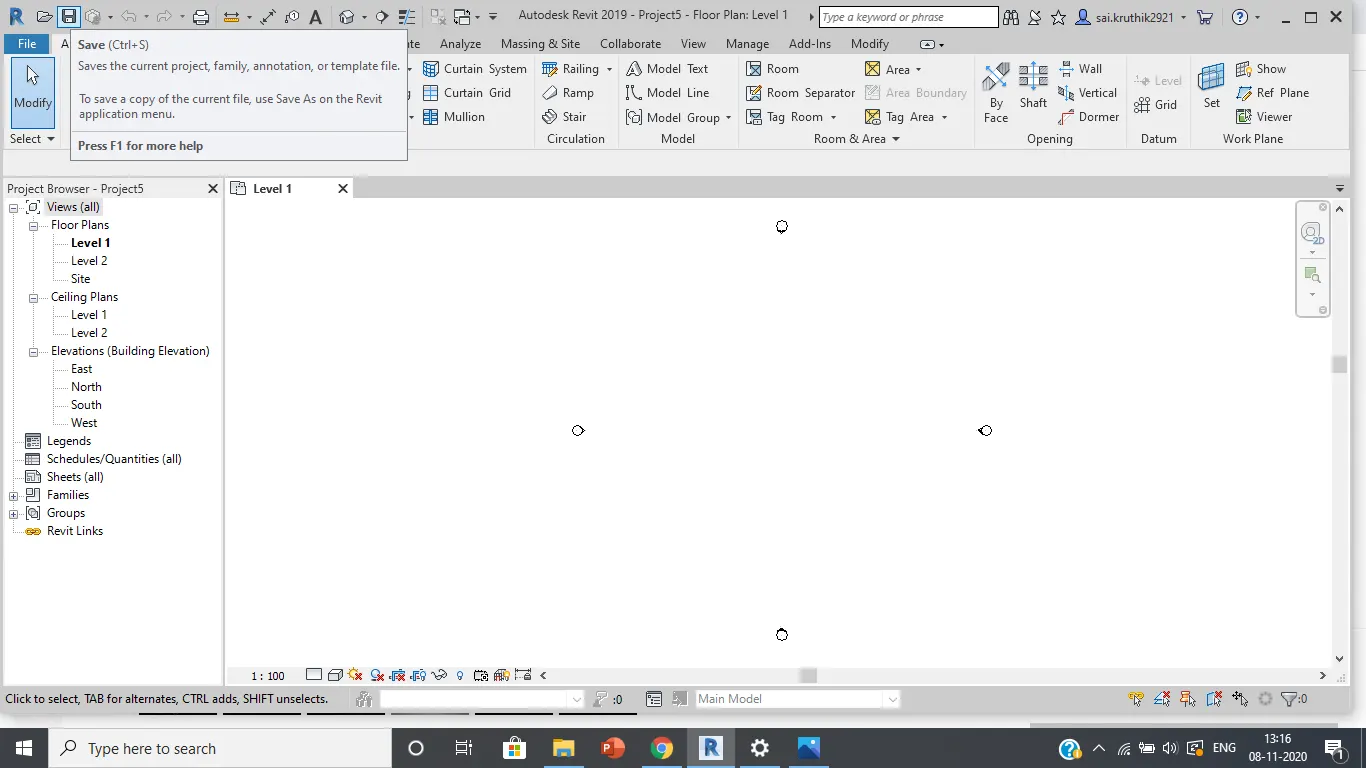
> A new tab will open and then name your project and save it.
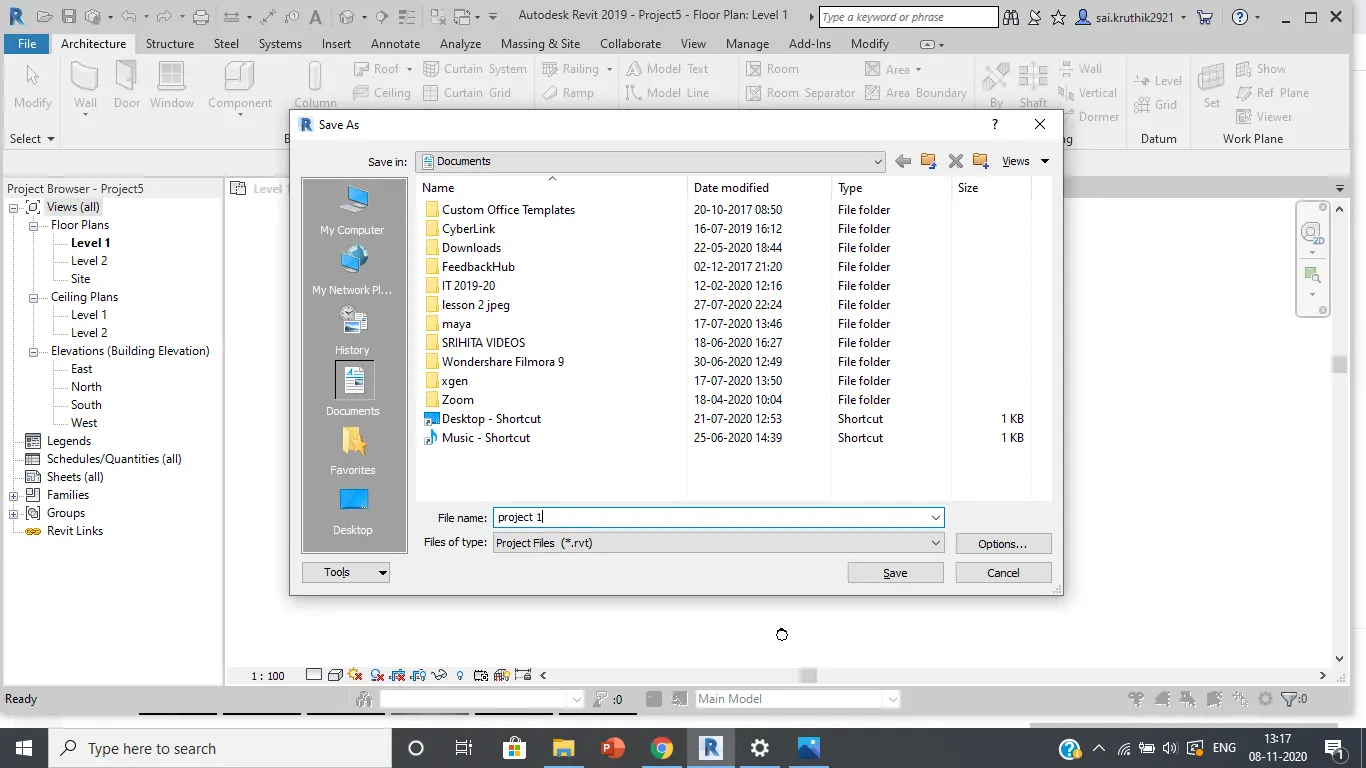
>> OR click on (Ctrl+S) and then save project
RESULT: The new project is saved
3)
AIM: CREATING A RECTANGULAR LAYOUT OF WALL 40' -0" x 30' -0"
TOOLS:
PROCEDURE:
> Under the Architecture we can find a tool named "WALL", click on it.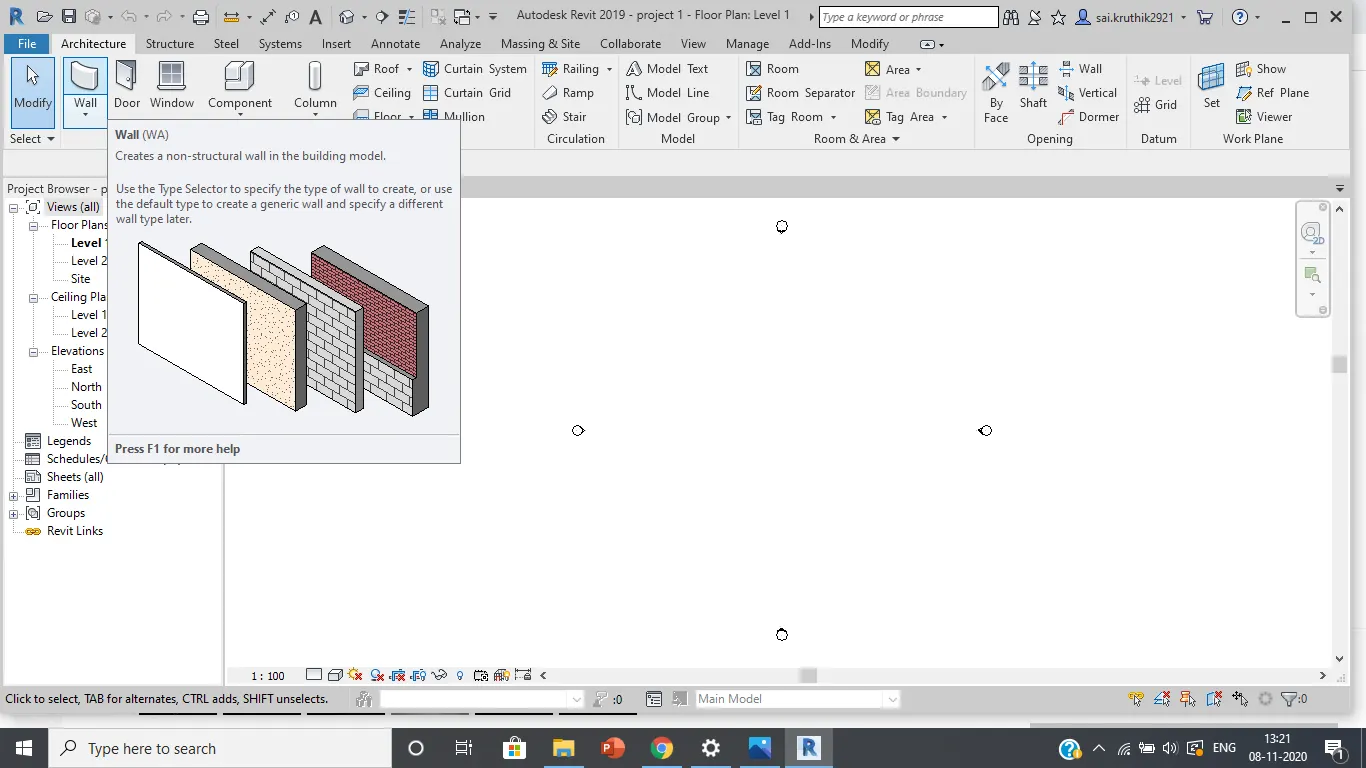
> Select architectural wall.
> Now draw the required layout ie. 40' -0" X 30' -0".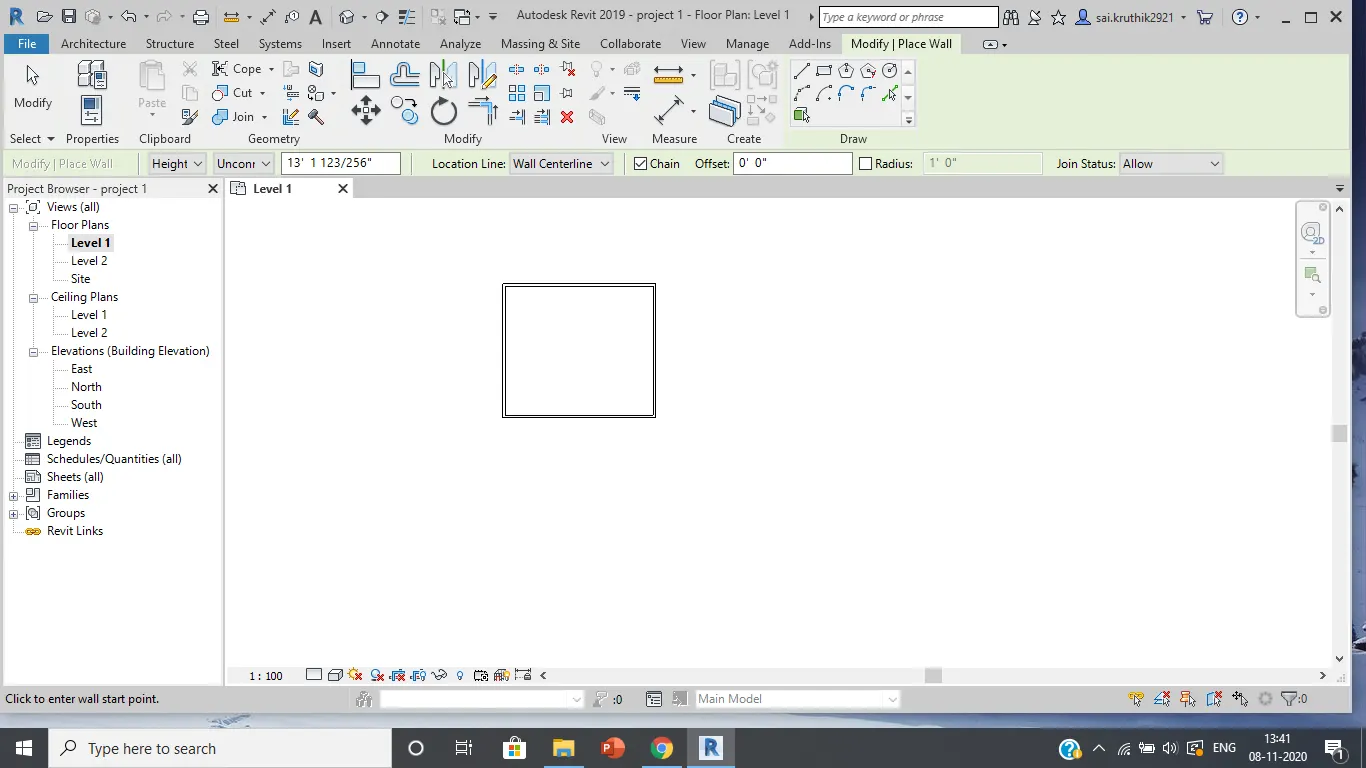
RESULT: Wall of required dimensions is drawn.
4)
AIM: ADDING DIMENSIONS TO THE LAYOUT
TOOLS:
PROCEDURE:
> To add dimensions click on "Annotate".
> Now using aligned tool add dimensions.
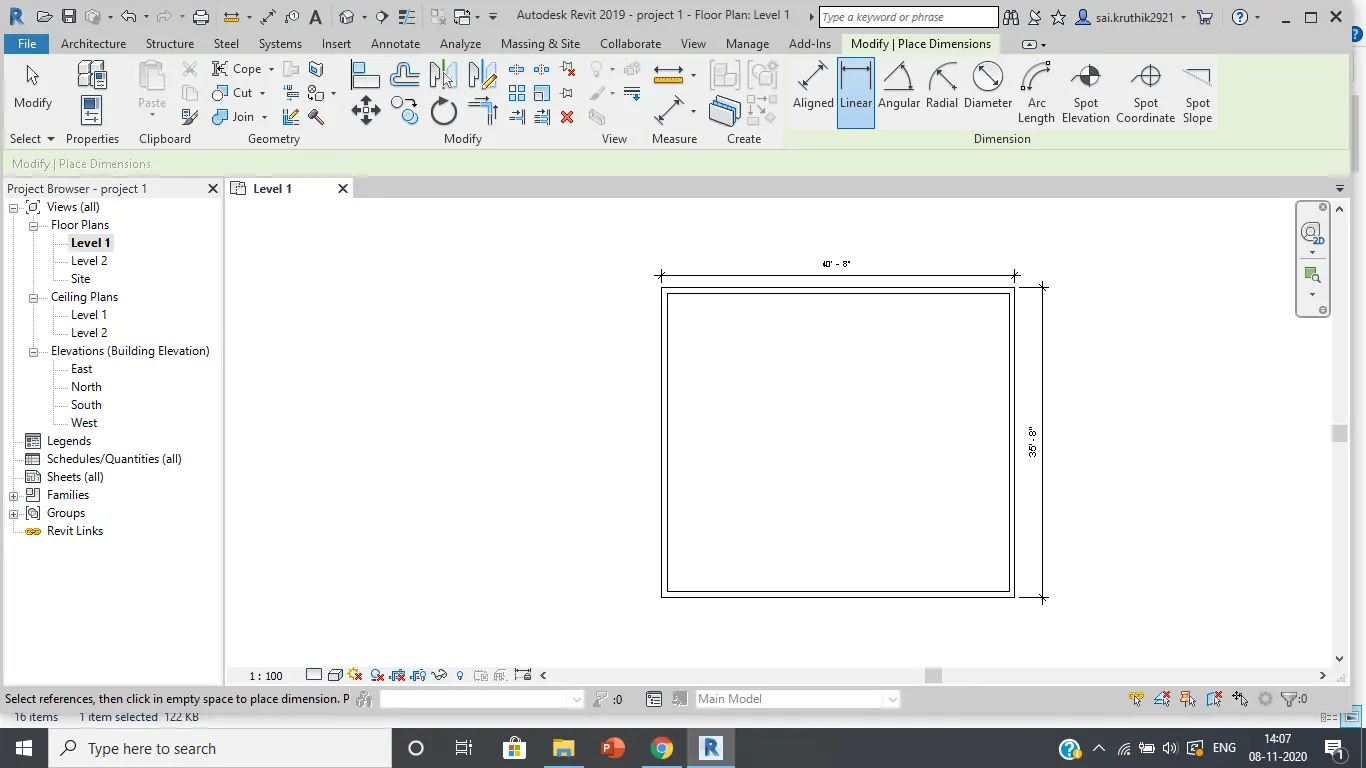
RESULT: Dimensions are added.
5)
AIM: Properties browser to switch to different wall types
TOOLS:
PROCEDURE:
> Click on any wall and then click on properties.
> now a tab will open and there we can choose the desired wall type.
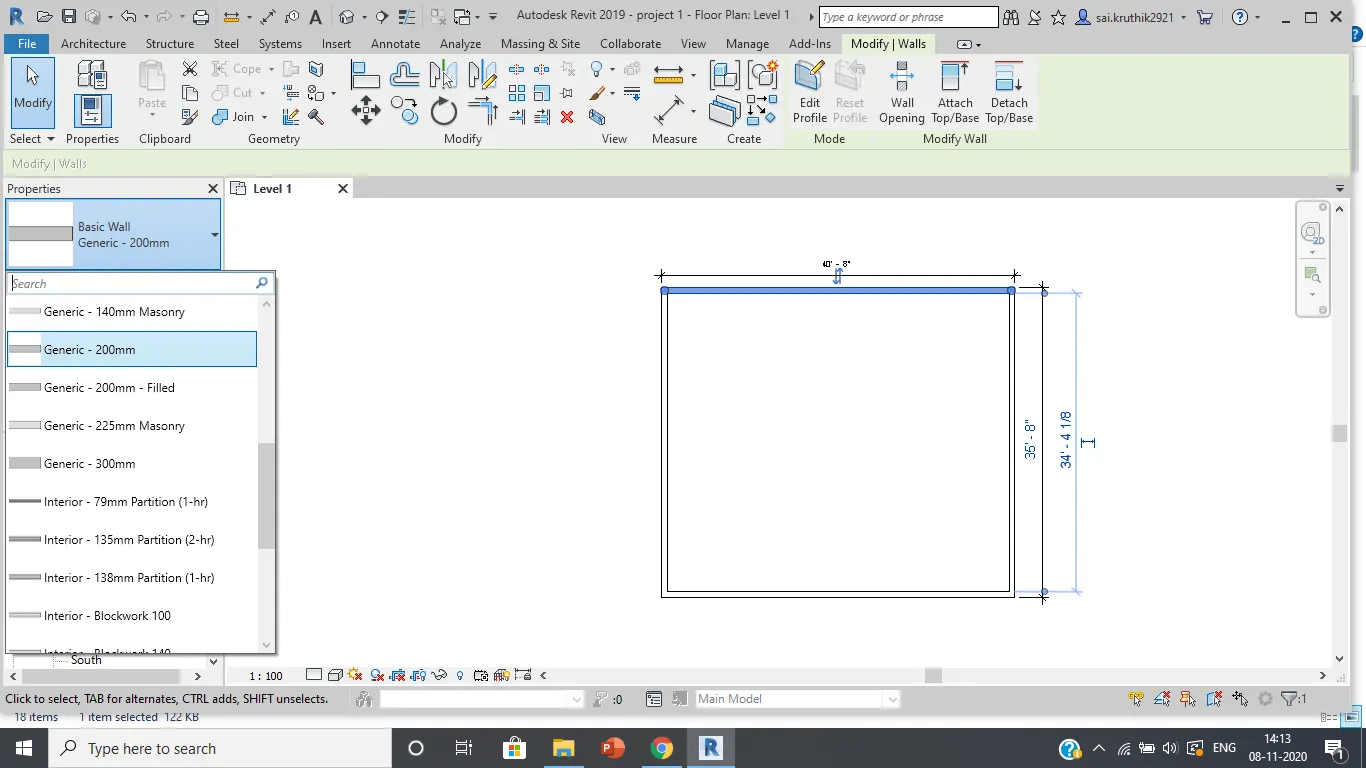
RESULT:
6)
AIM: Create a 3D view from the view tool bar and save the view with appropriate name.
TOOLS:
PROCEDURE:
> To create 3D view, click on view in toolbar.
> Click on 3D view and you will get a 3D view of your layout.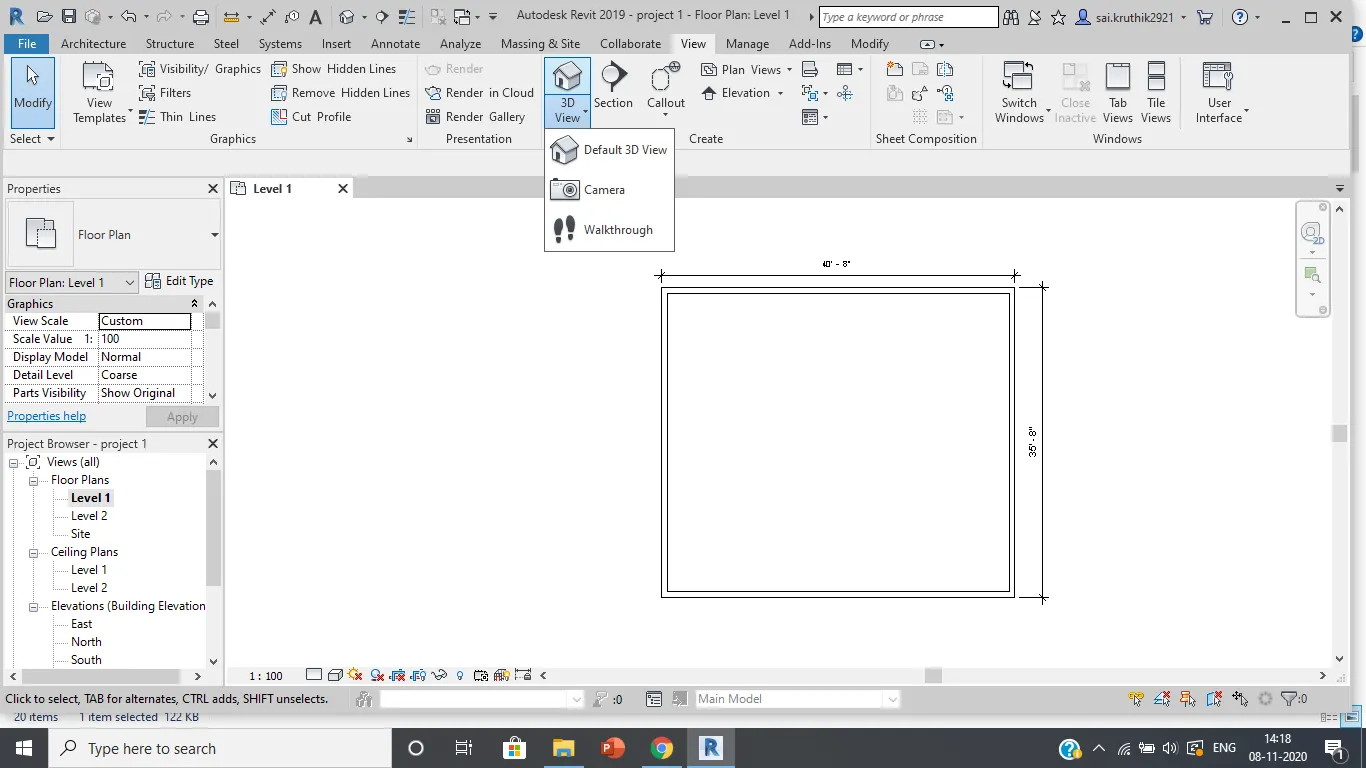
> Now click on file option and save the file.
RESULT: 3D view is created and saved.
7)
AIM: Navigate through the 3D model using view cube. Orbit/pan through the model layout created
TOOLS:
PROCEDURE:
> In the top right corner of the drawing we can see a cube through which we can view different sides from different angles.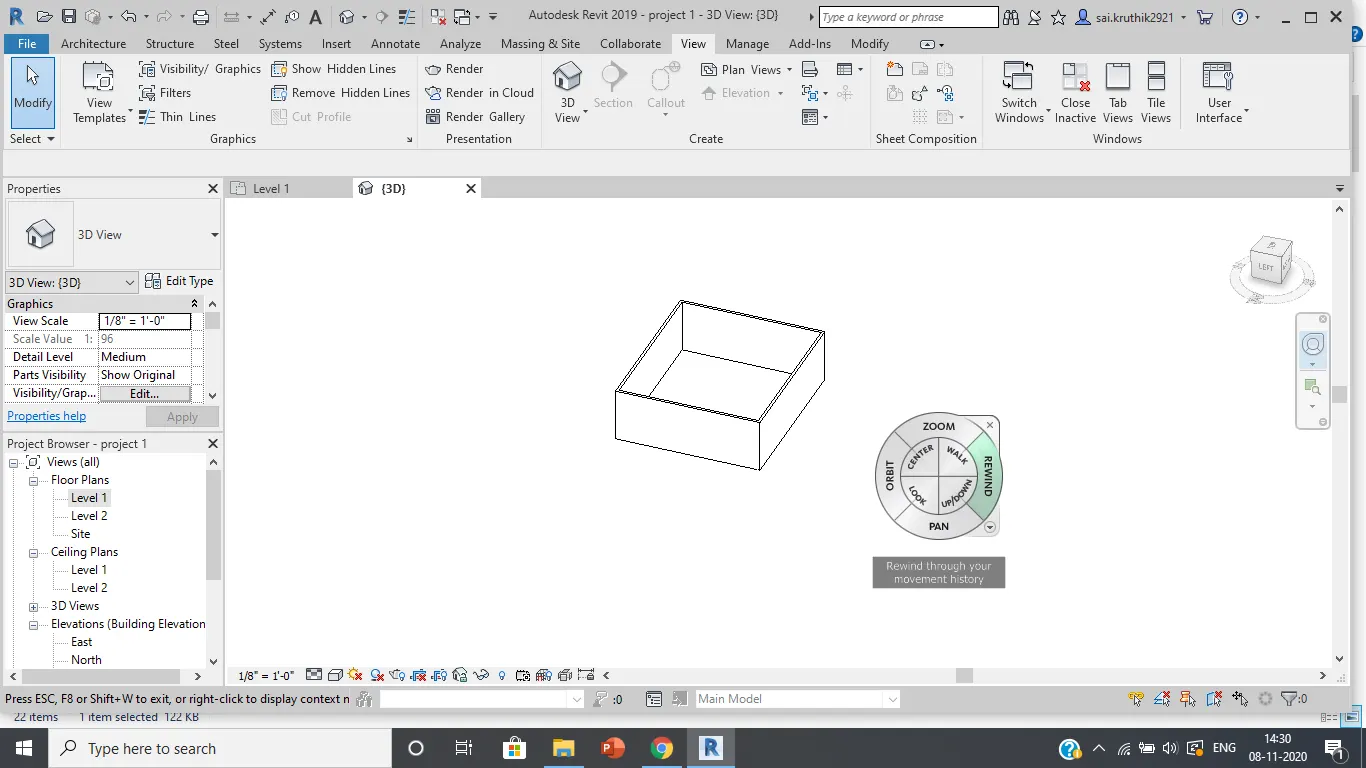
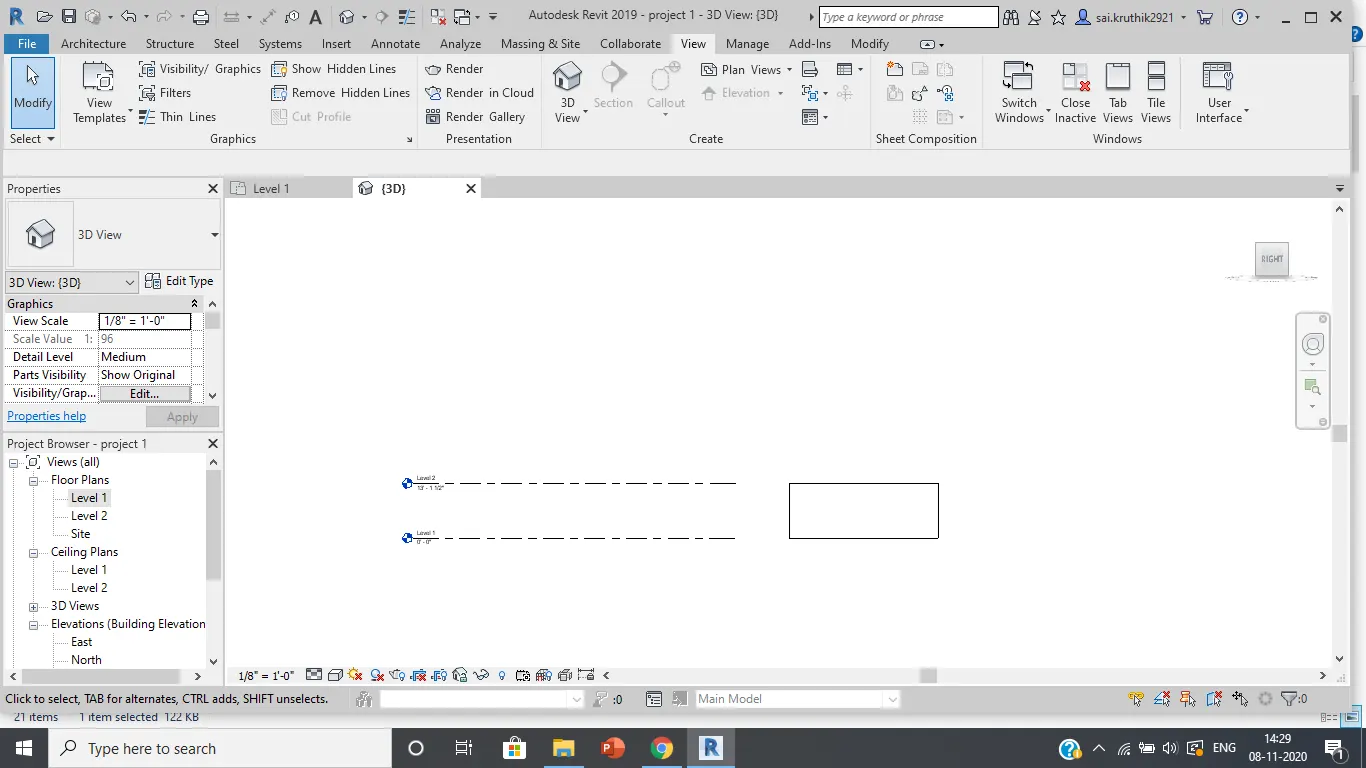
RESULT: Different views can be seen.
8)
- AIM: Use the visibility settings option below to switch model to shaded, realistic, hidden lines options
TOOLS:
PROCEDURE:
> Now click on visual style.
> A new tab will open from there we can switch model to various types.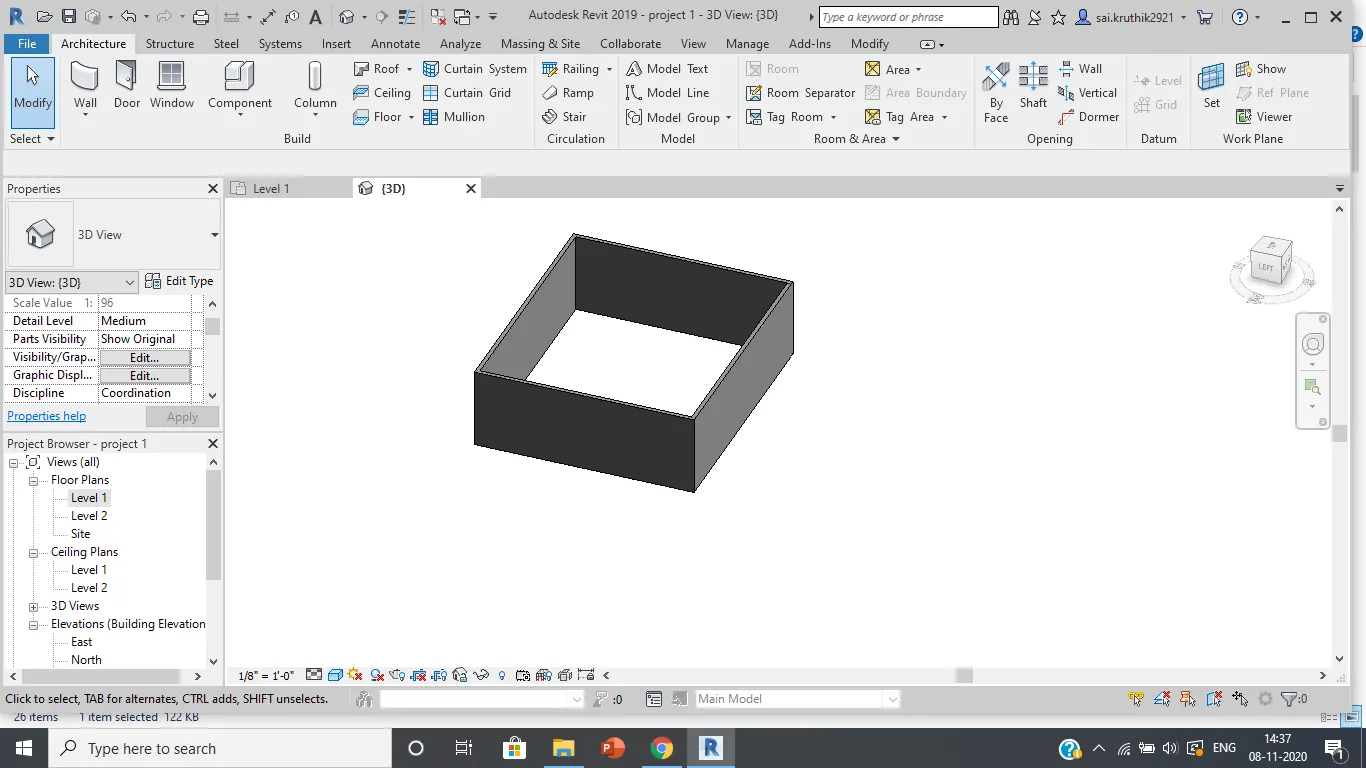
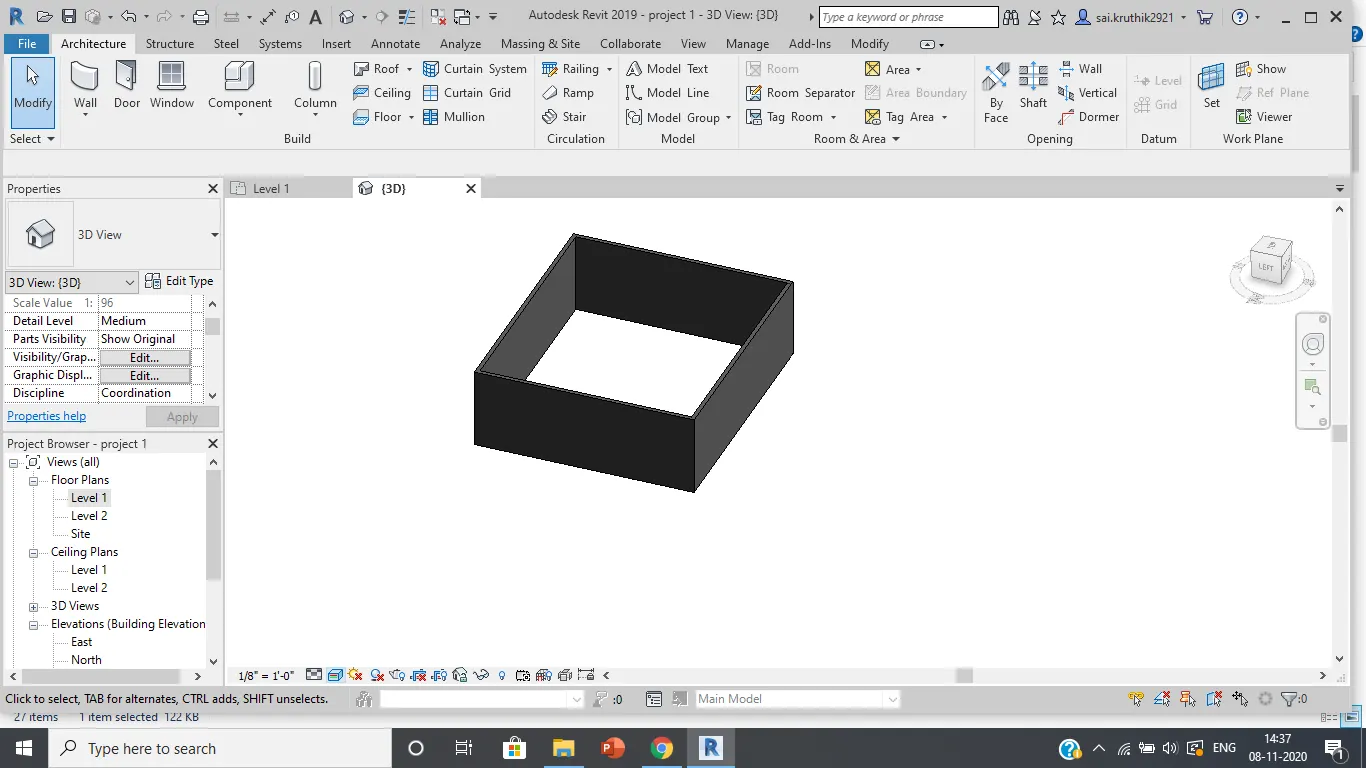
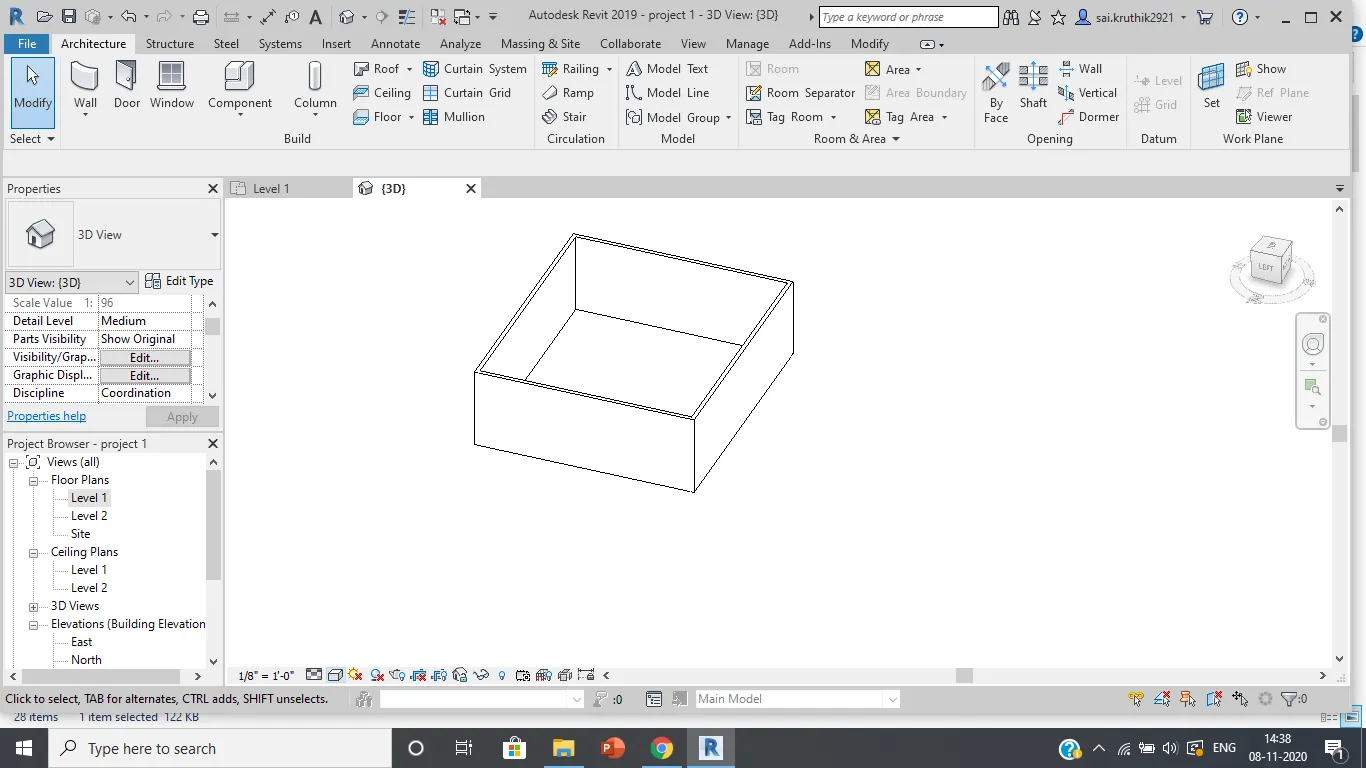
RESULT: using visual style different models are switched.
9)
AIM: Turn the sunlight on and off to view shadings in the layout created
TOOLS:
PROCEDURE:
> Now click on sun path tool in bottom left, where we can find two options sun path on and off.
> Now turn on and off sun path.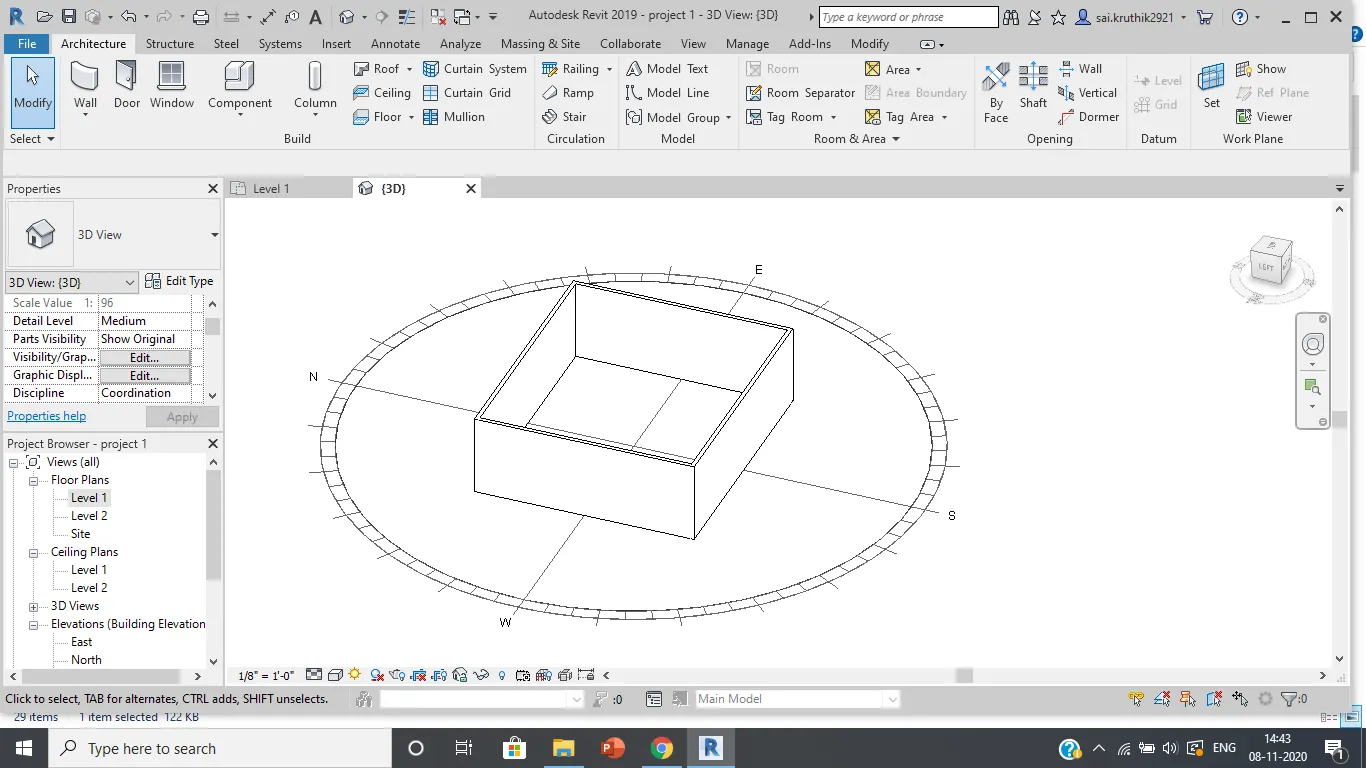
10)
AIM: Use the Manage tool bar to enter project settings, project name and project issue date.
TOOLS:
PROCEDURE:
> Open manage toolbar.
> click on project information.
> A new tab will open, select project name and project issue date.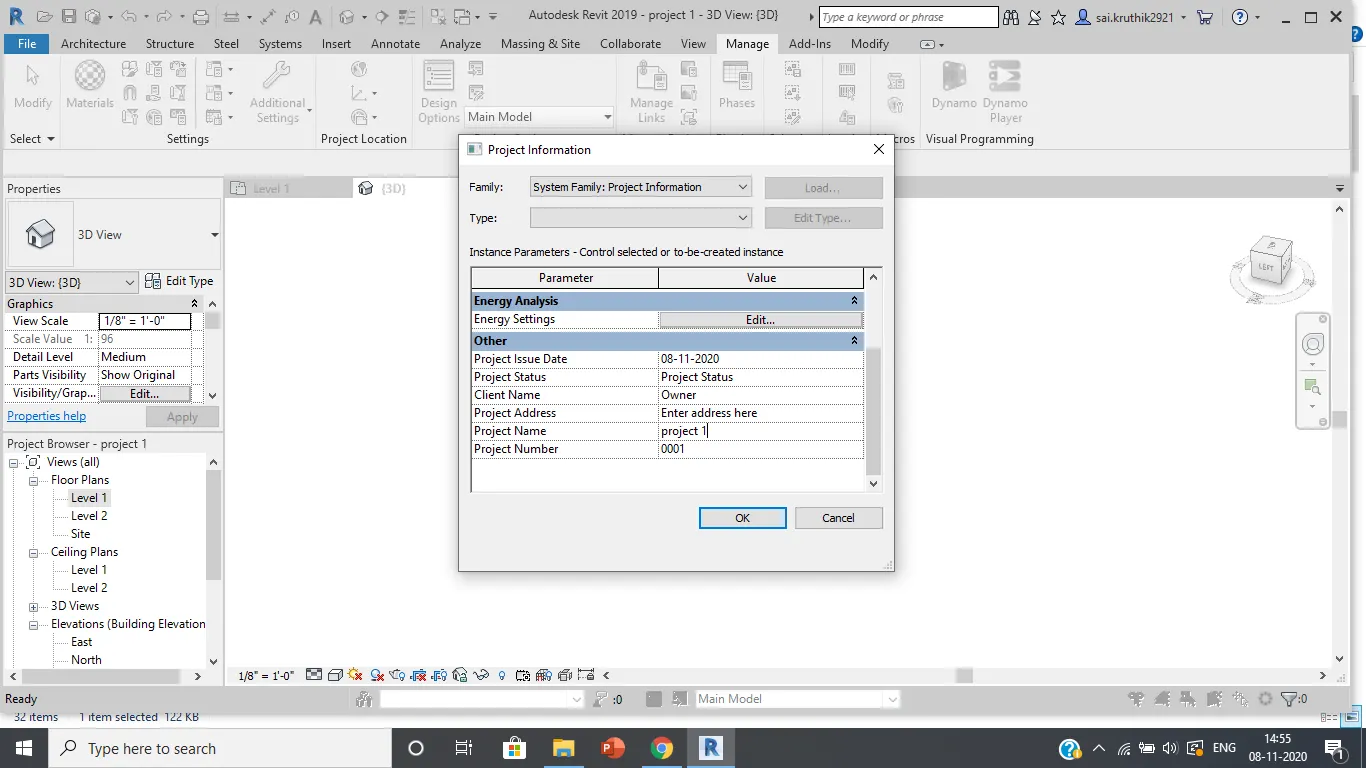
RESULT: Project name and issue date is entered.
11)
AIM: What is Analyze tool bar used in Revit? How it is beneficial for design and modelling
> Analyze tool is to create a load calculation or annual simulation report for heating, cooling, and airflow.
> It contains boundary conditions,loads, load cases, load combinations, heating and cooling loads, and etc.
> After analytical spaces are assigned, we can run a system analysis.
12)
What are the links that Revit supports to be linked to the model.
> Link REVIT
> Link IFC
> Link CAD
> Link PDF
> Link Cloud
> Link topography
> Link Image
> Manage links
13)
Why do you need Collaborate tab in Revit? How it supports modelling and its efficiency
> To link multiple revit models we can use collaborate tab.
> As we can collaborate different parts of a project, we can work on every part with high efficiency.