Week 1 Challenge
1)
AIM: Create a new project in RIVET(Architectural template) and name the project.
COMMANDS: 1.FILE
2.NEW
3.PROJECT
4.OPEN
PROCEDURE:
> Open the RIVET
> Click on the File option and then click on the project option
> Select the Imperial-Architectural Template
> Select the Browse and name it
> Click on OK
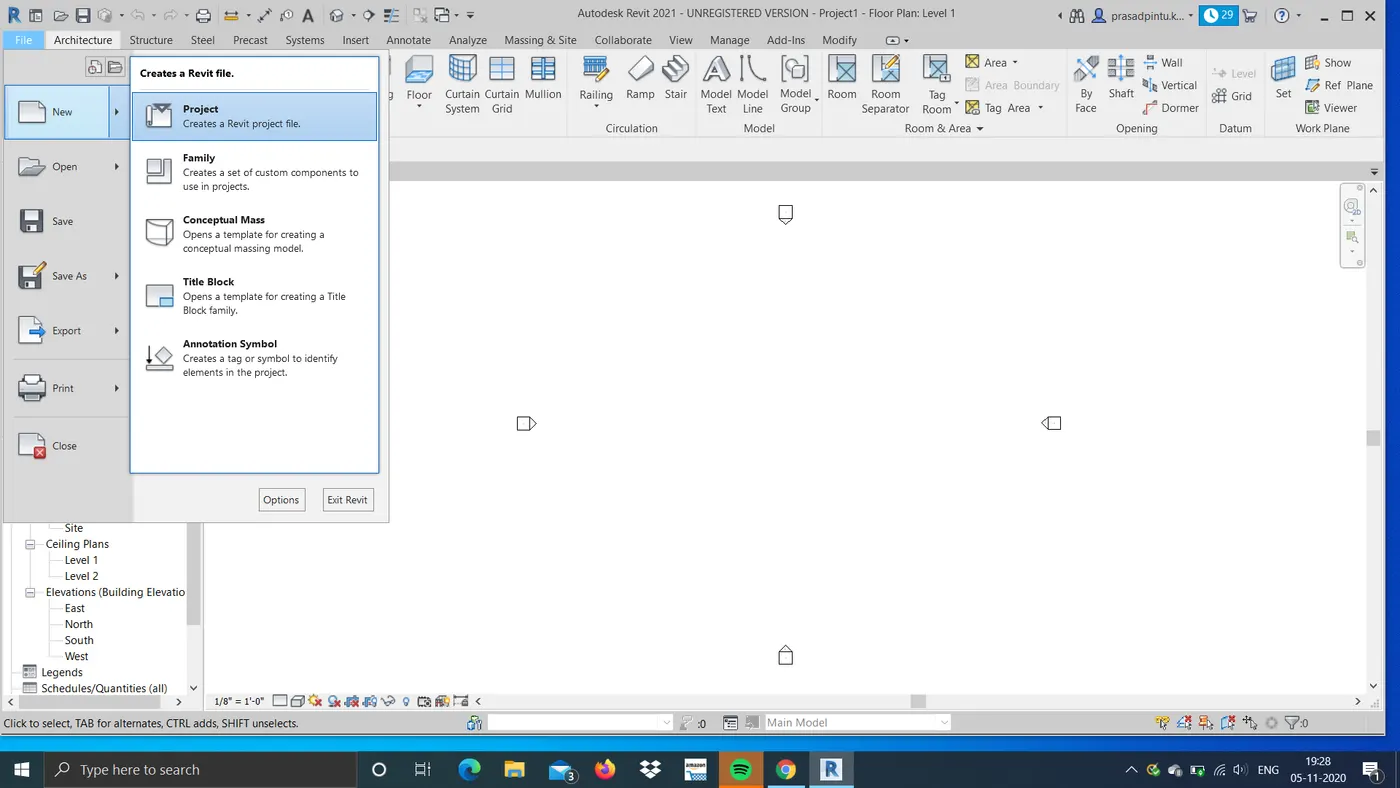
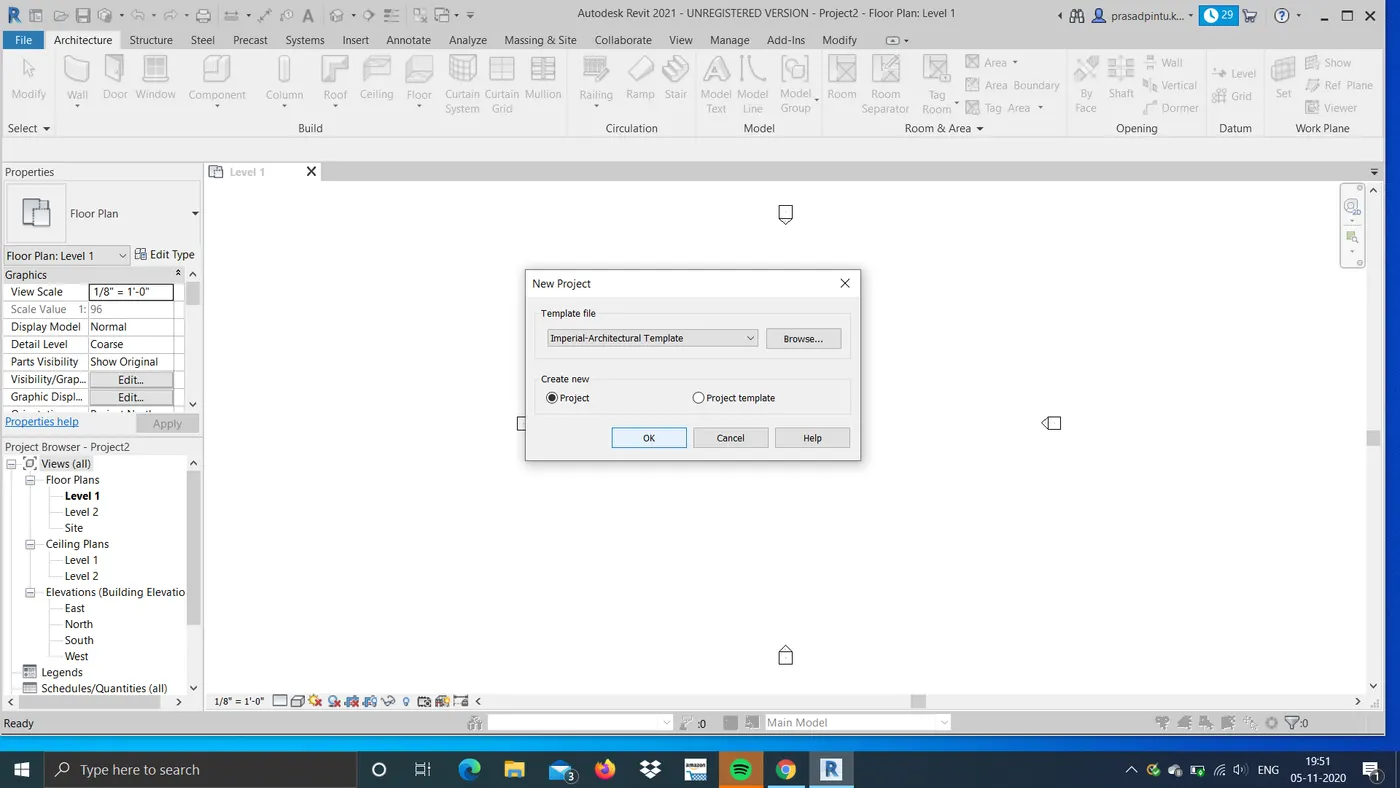
RESULT:
We have created the new project file and we given a name to that file.
2)
AIM: To save the new project file,close and open the file using the icons from file toolbar
COMMANDS: 1. FILE
2.SAVE
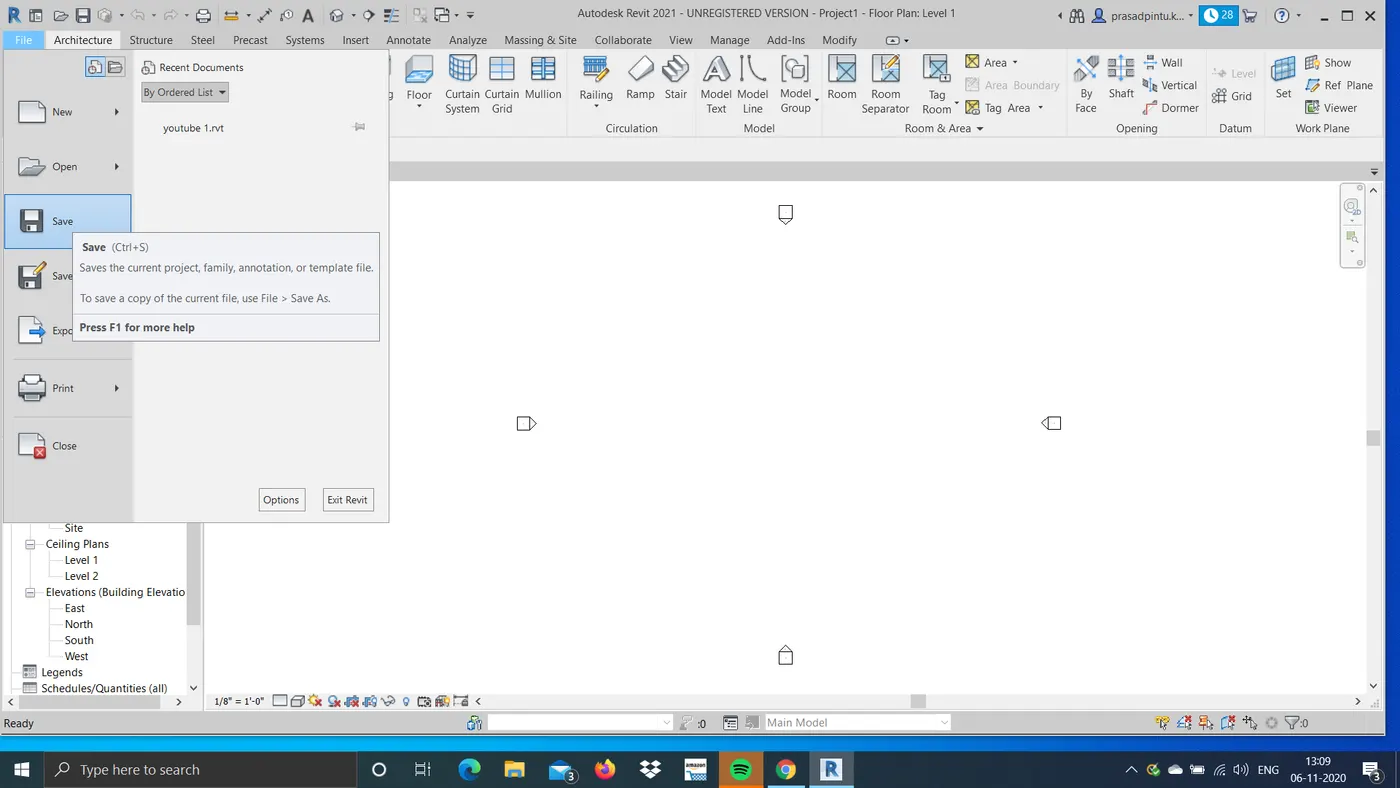
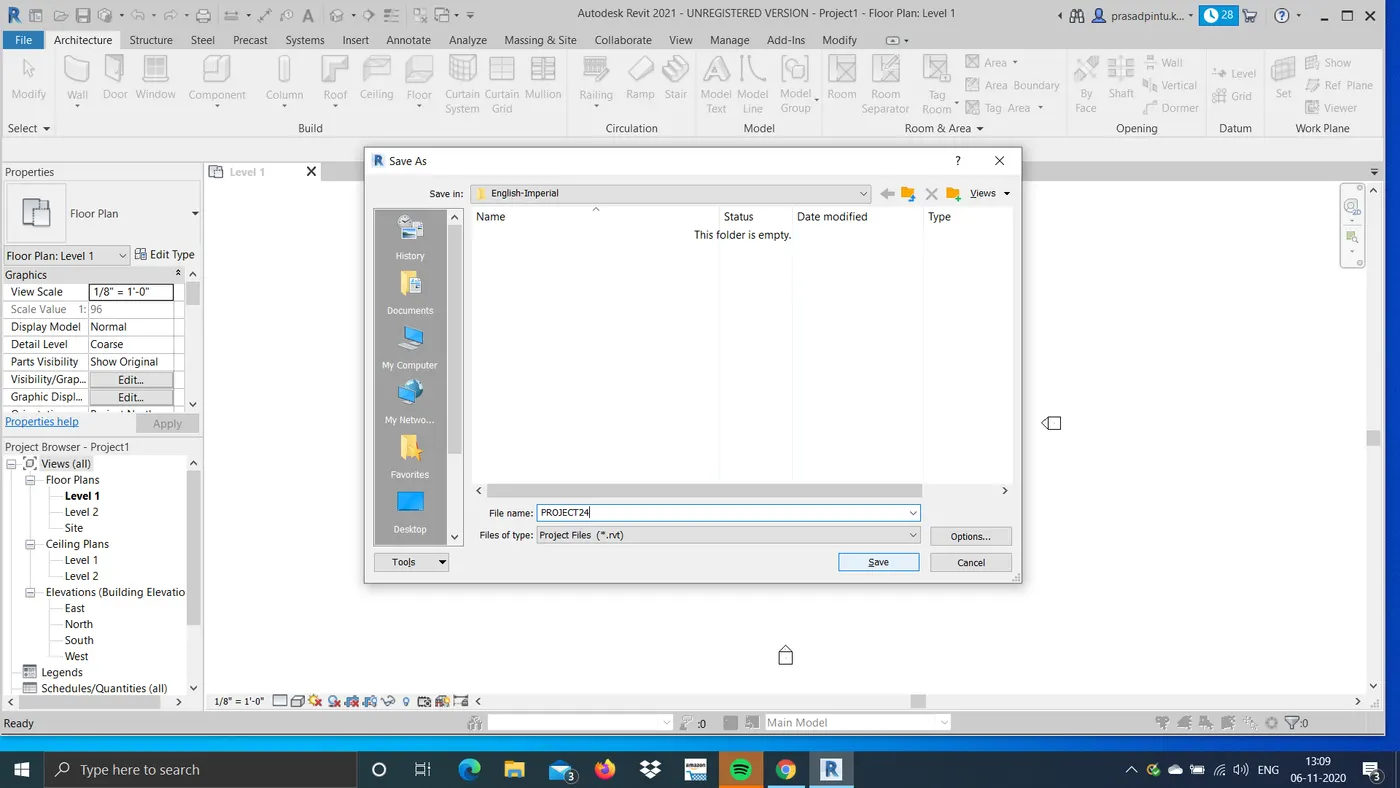
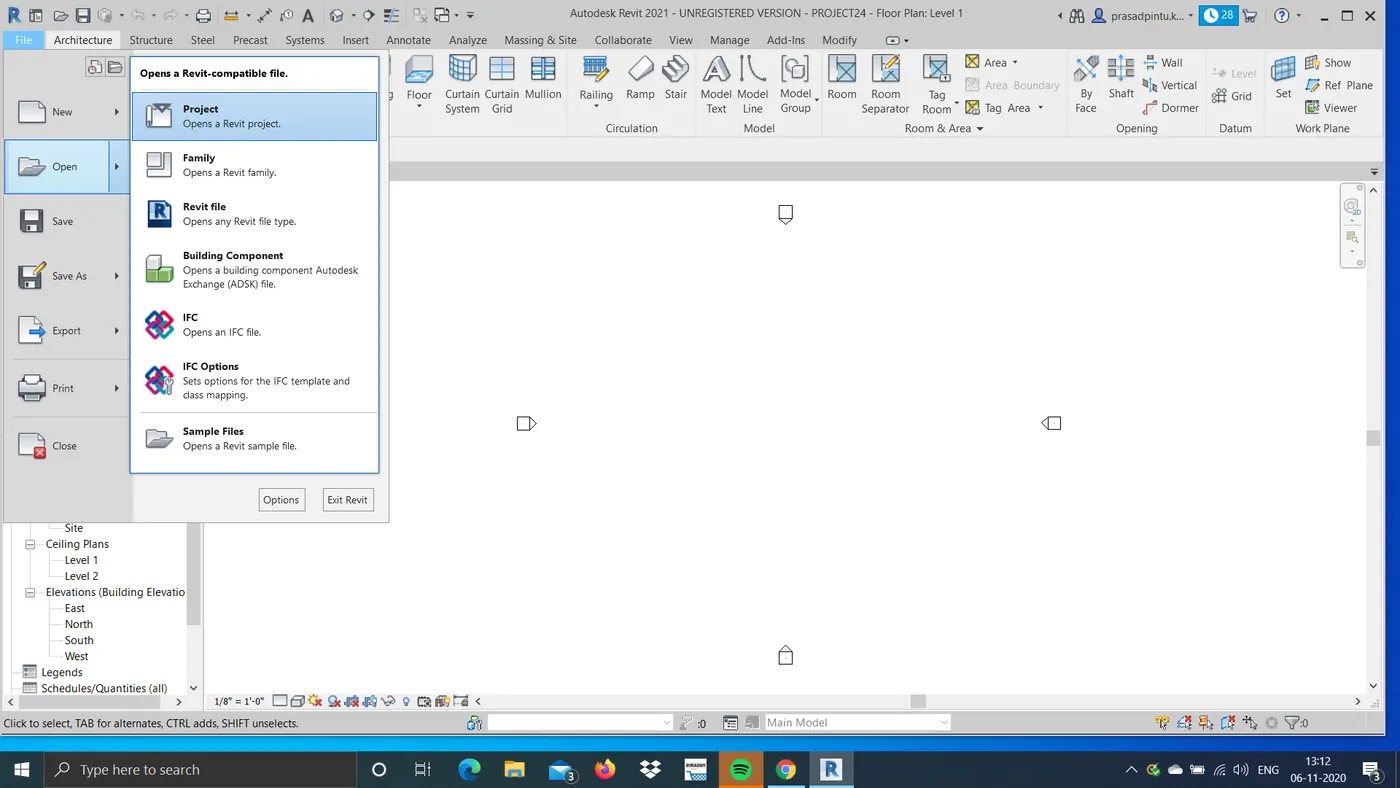
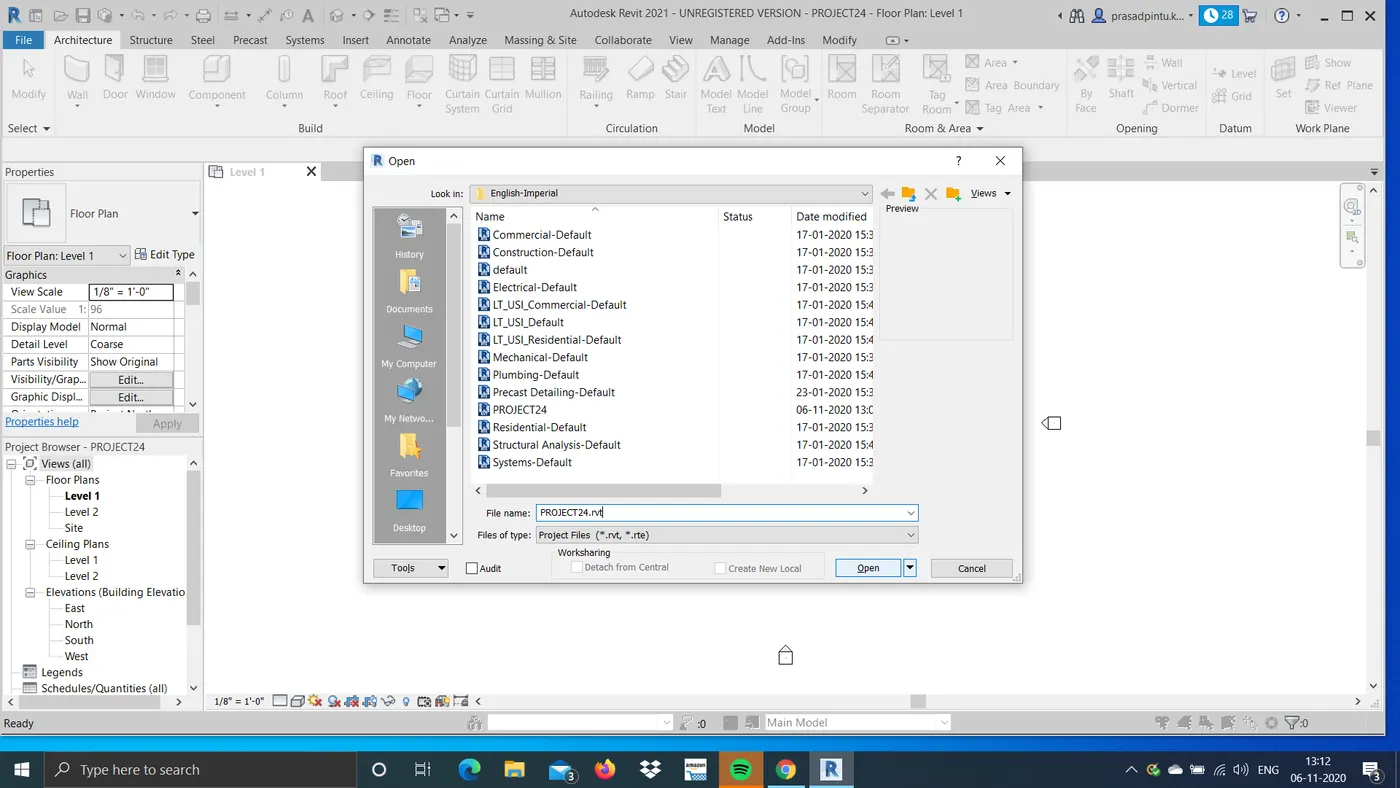
PROCEDURE:
> Click on the file option then click on save button now you have to name the file as you want
> You have to specify the file where you want to save
> Click on OK
> You have saved the file if you want to open the file
> You have to click on the File option select open and type the name of the file you saved
> Click on OPEN
RESULT: You have saved the new project file and you can close and open the new project file.
3)
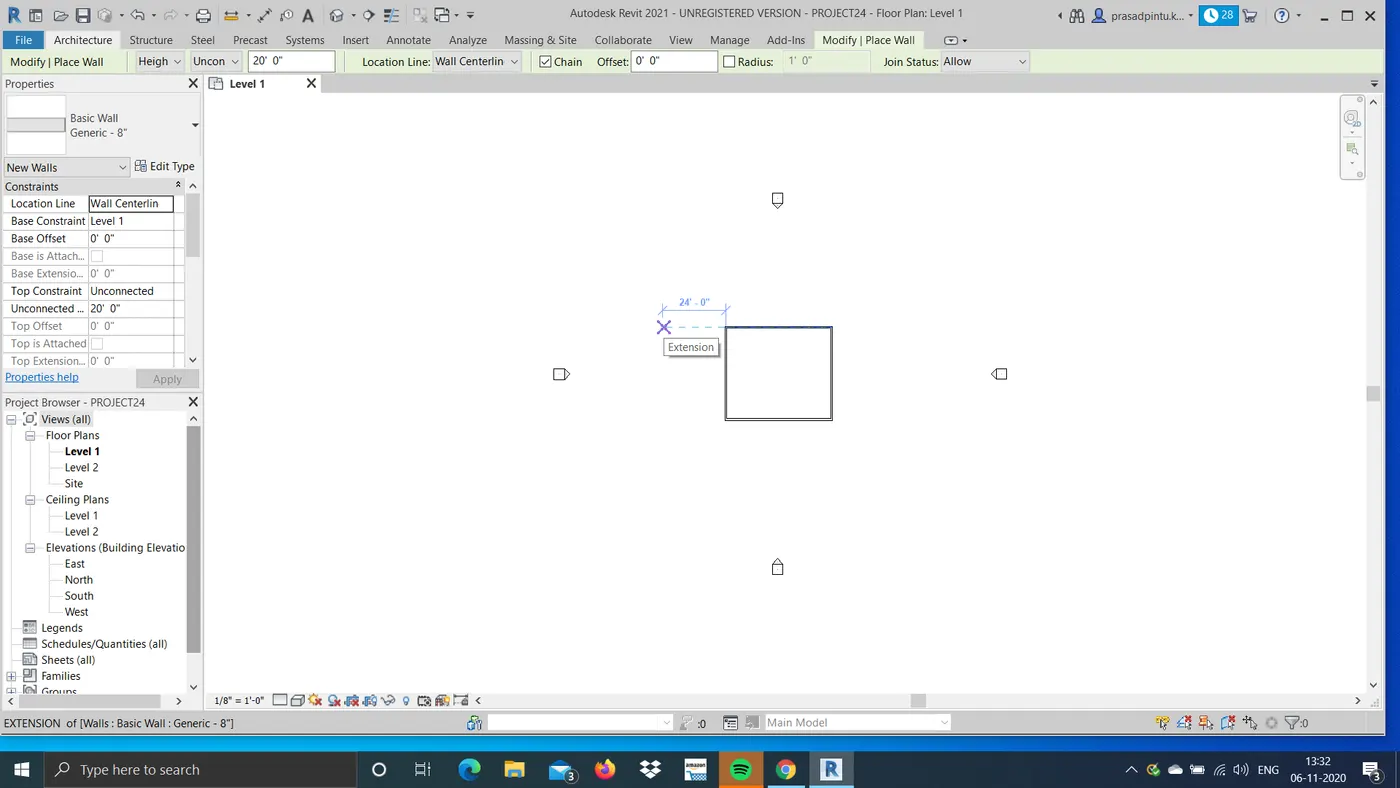
AIM: Draw a Rectangular shaped wall of size 40'00" X 35'00"
PROCEDURE:
> There are several templates in REVIT on the top left side you have to select the Architectiral Template
> Select the wall option
> I have selected the Basic wall Generic-8" you can select the wall as per your wish
> Move your cursor on the drawing sheet and place the curor and click onsome specific place
> You can draw a wall now,specify the distance as 40'00" horizontally and then 35'00" downwards
> Repeat the same as 40'00" left side and 35'00" upwards
> You can draw a wall as convieniently you want
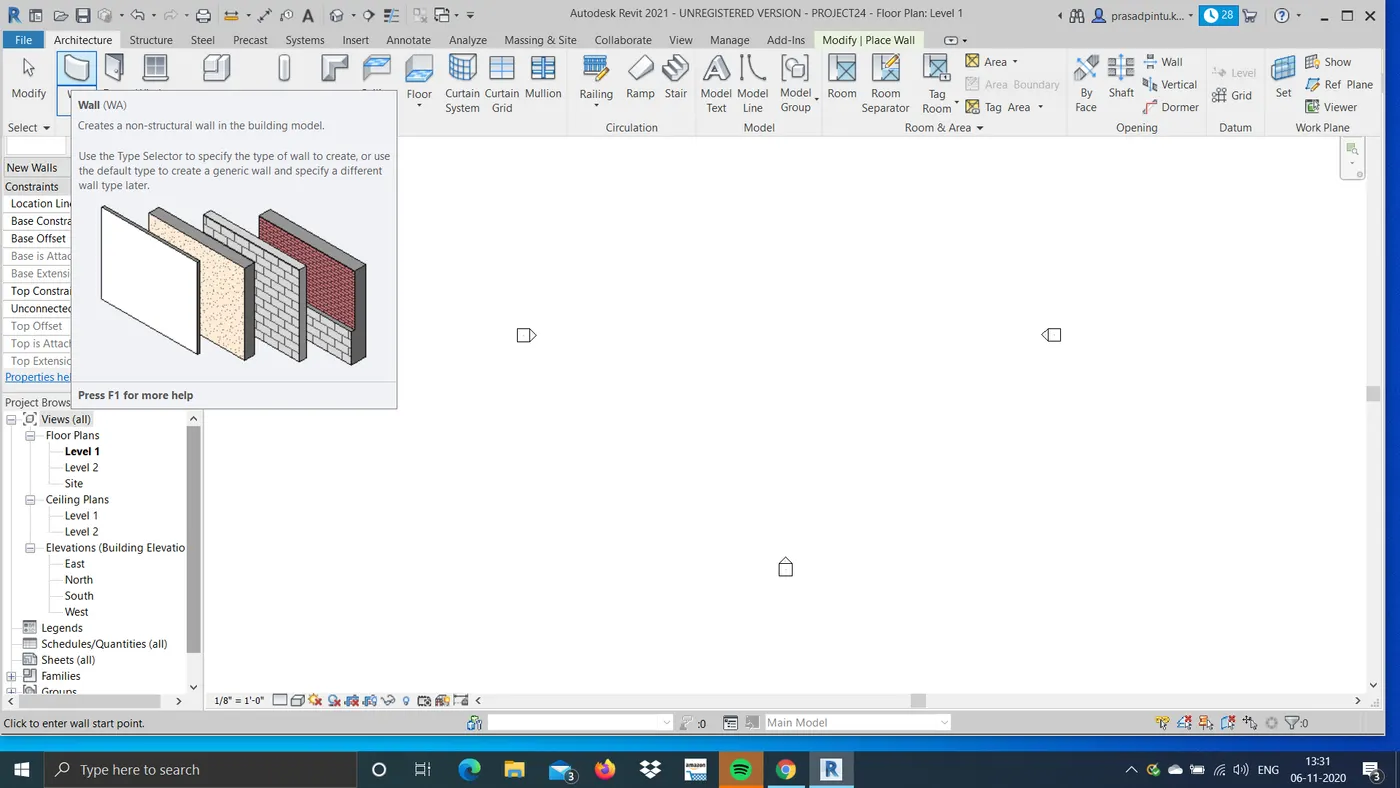
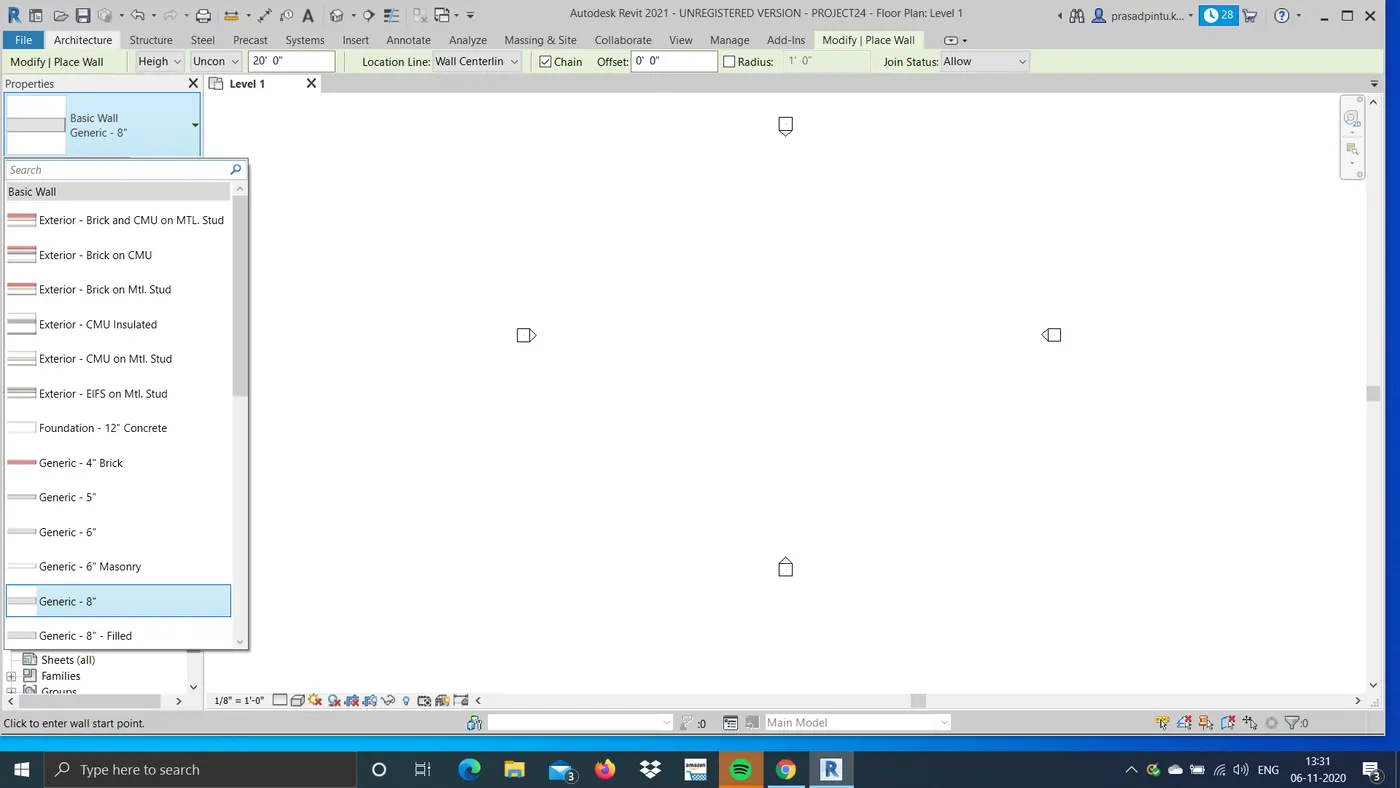
RESULT:
4)
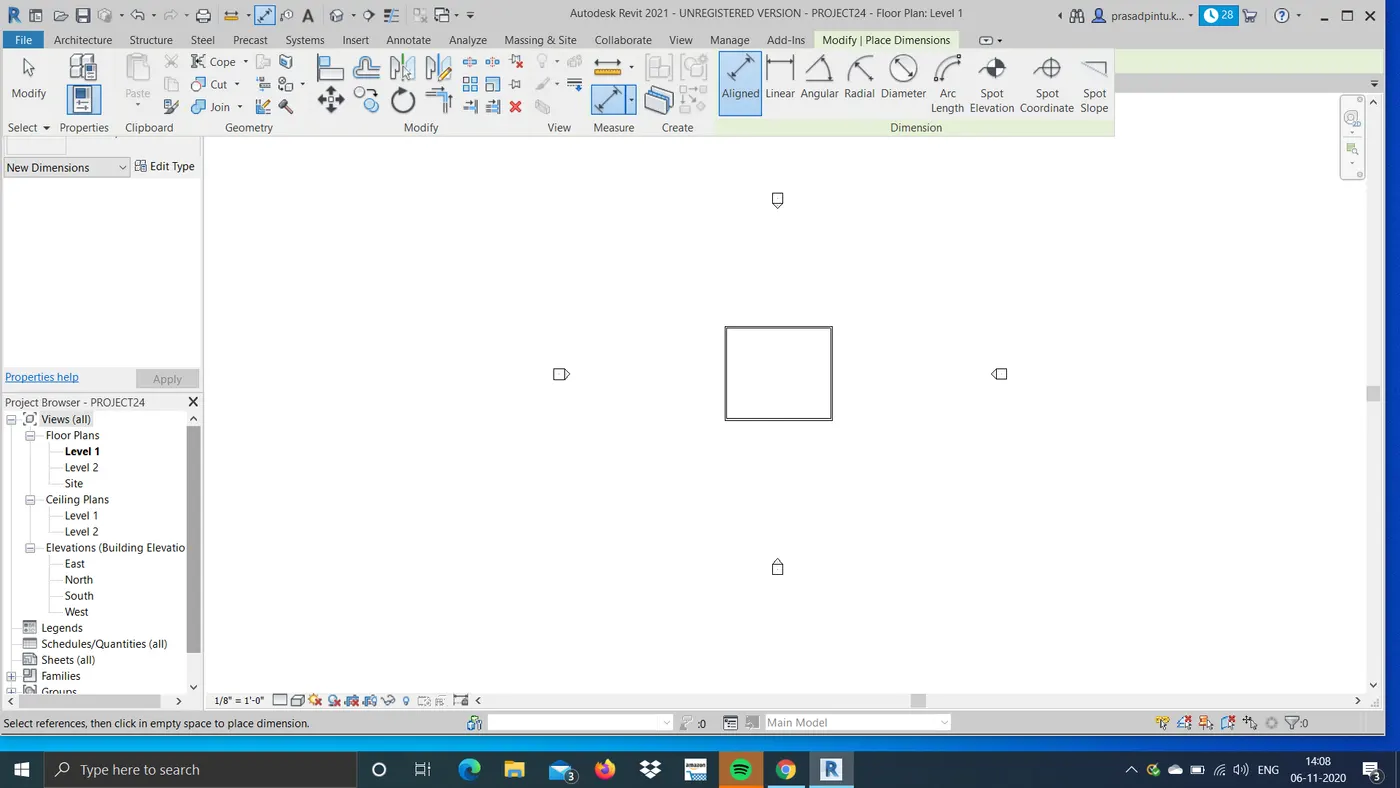
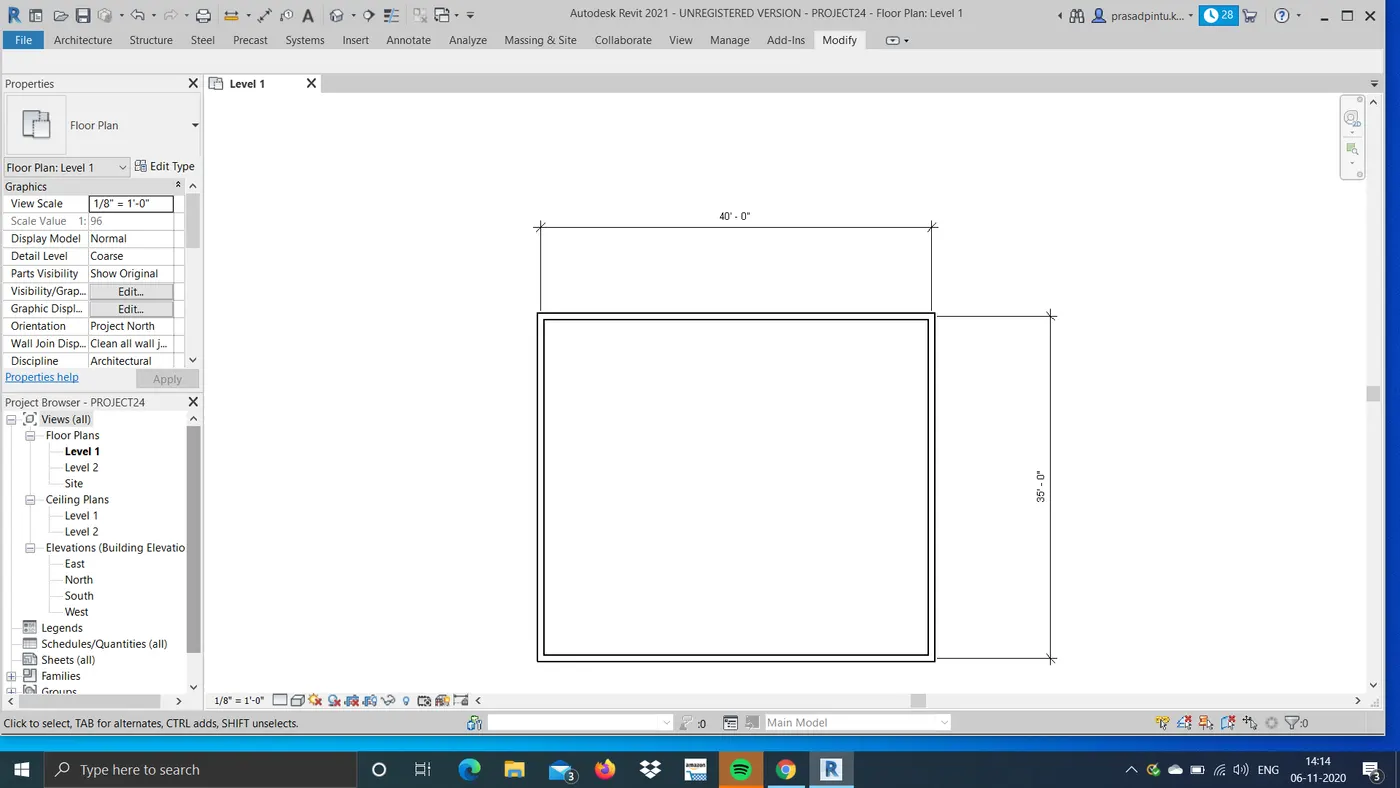
AIM: Use the Allign tool bar and add the dimensions
PROCEDURE:
Select the allign tool bar and lick on that
Now specify the cursor where you want to know the dimensions
Select on bpth the ends
Now you can see the Dimensions
RESULT:
5)
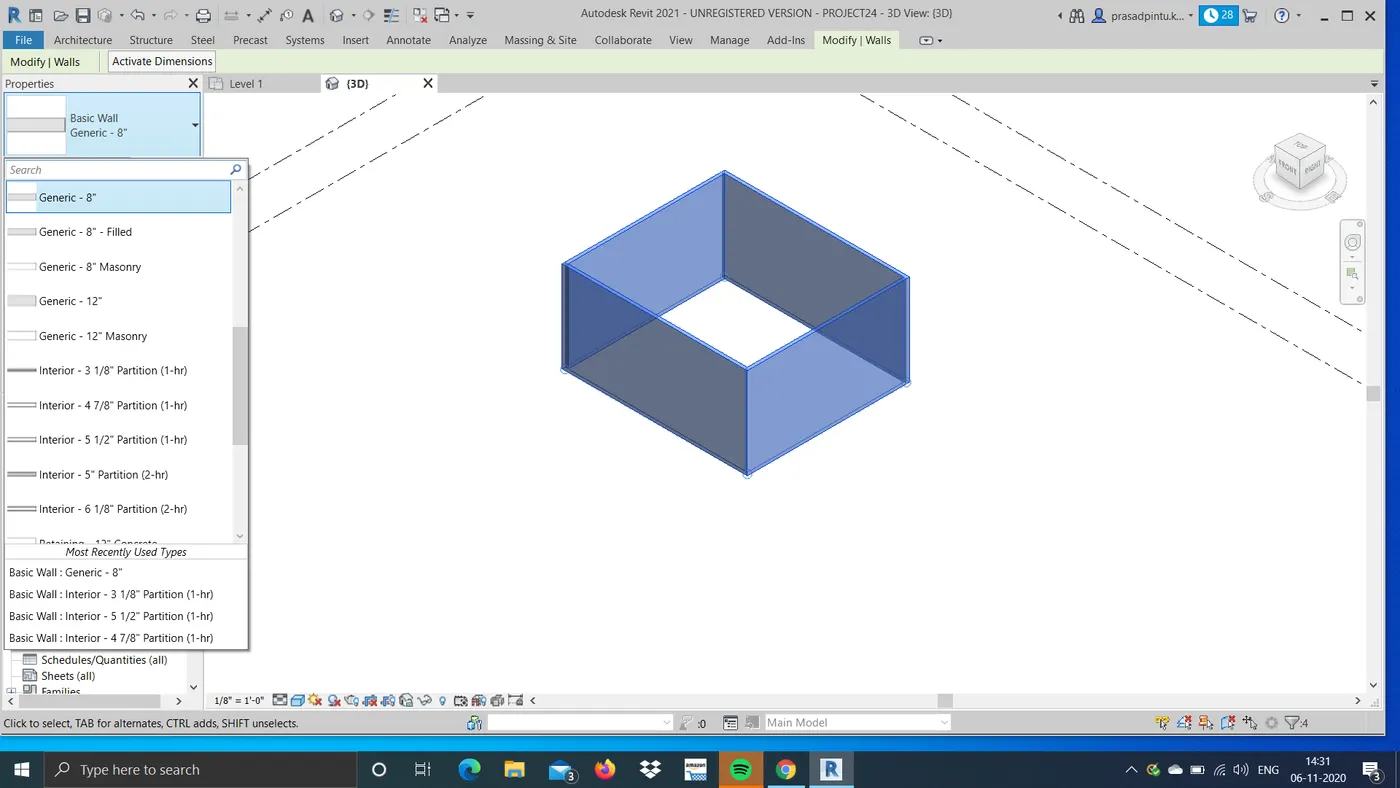
AIM: Use the properties browser to switch different wall types
commands: Properties on Ribbon wall
PROCEDURE:
Generally you can do this by 2D and 3D views
In 2D you have to select one side of the wall and on left side properties of wall is available select the type you want on the options
It is easy to do by the 3D view select the total wall ans change the size of the wall ass you want in the wall properties
RESULT:
6)
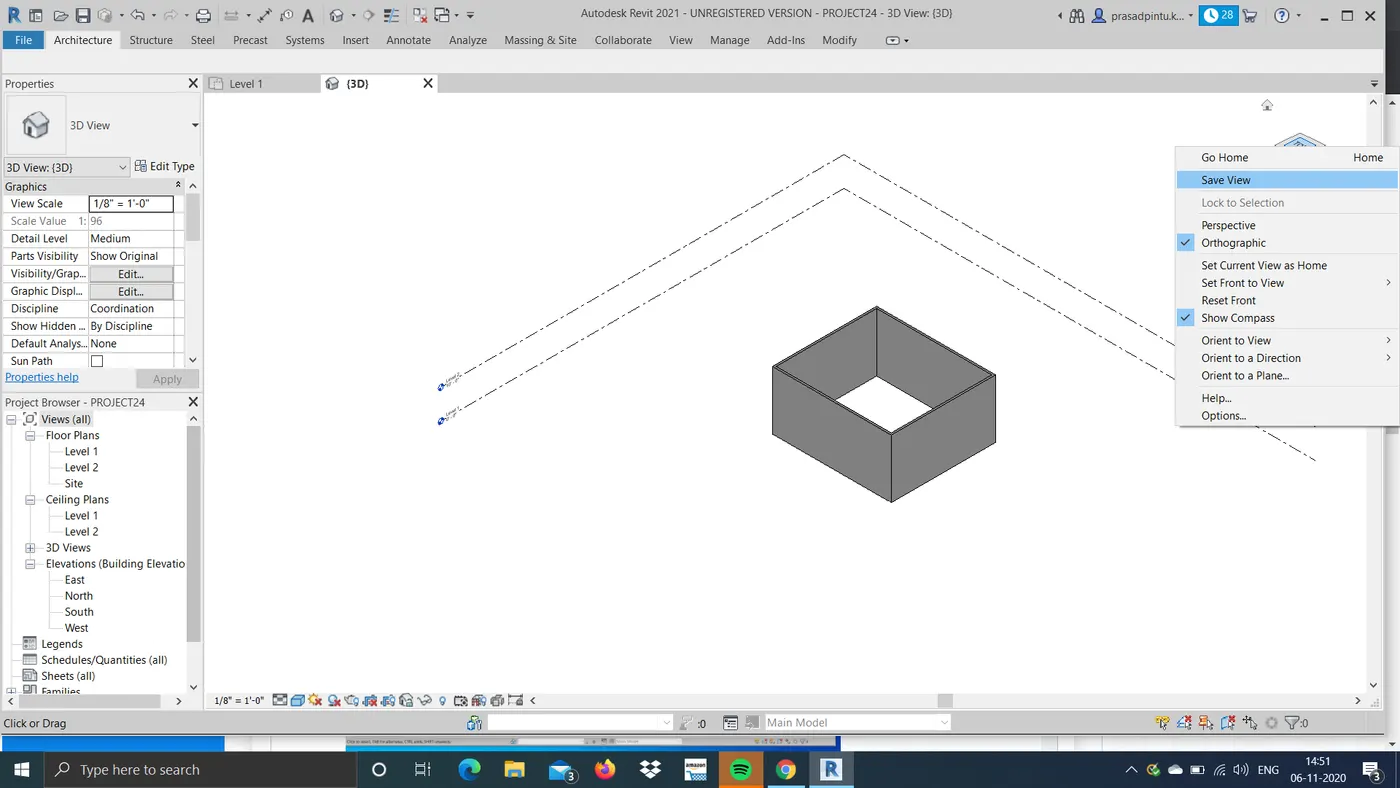
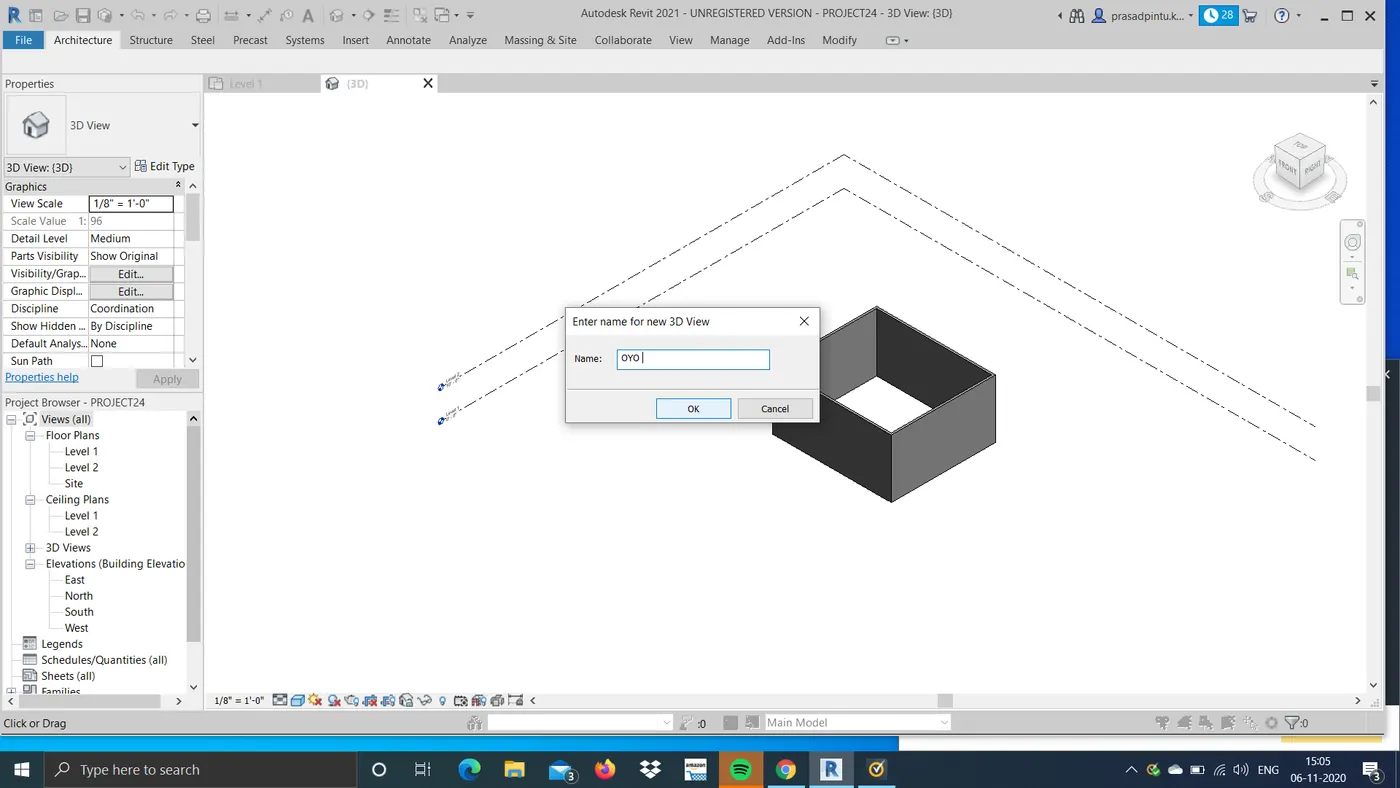
AIM: Create a 3D view from the view tool bar and save the 3D view
COMMANDS: VIEW
3D
VIEW SAVE
PROCEDURE:
Click on the view toolbar then you have to select the 3D view option.Right click on the ucs bar click on the save view option
Name the file and click on OK
RESULT:
7)
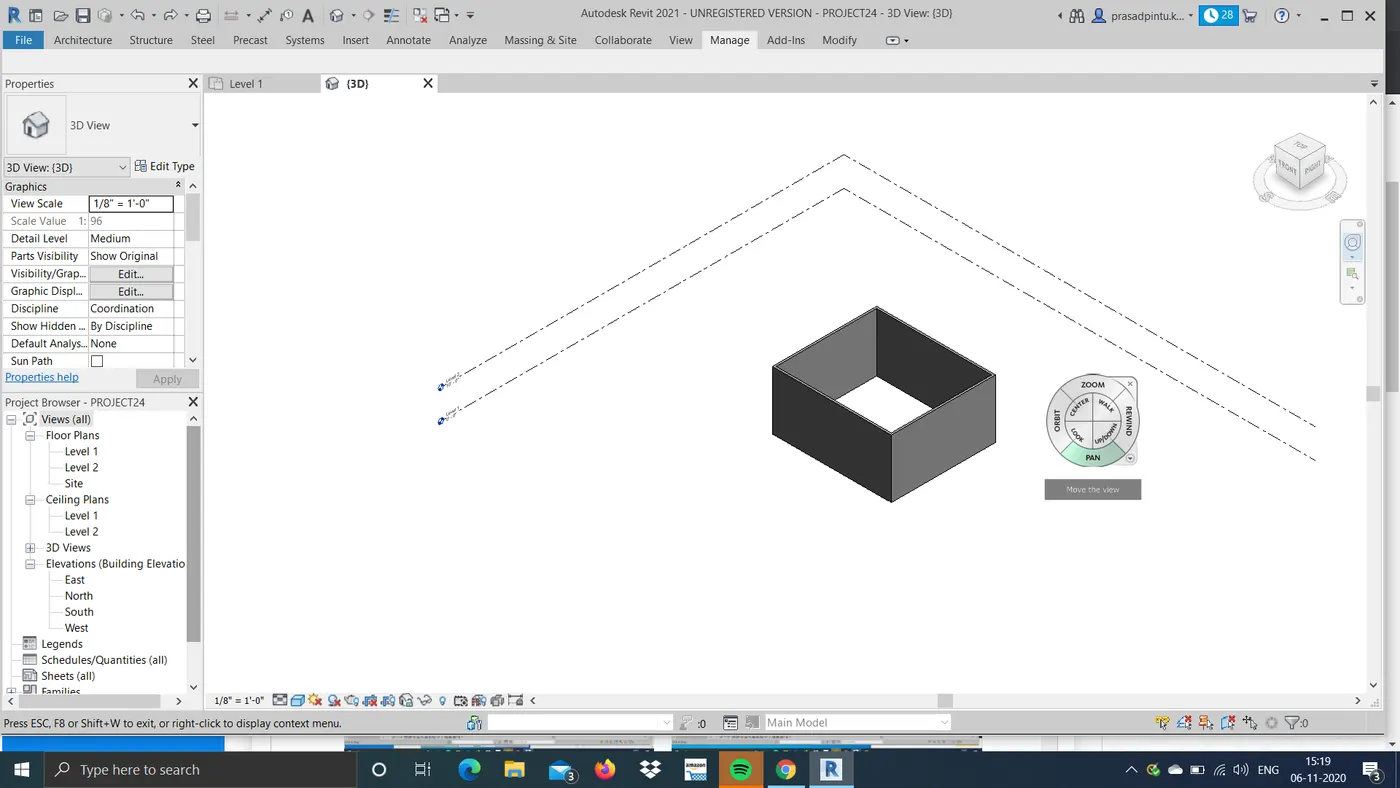
AIM: Navigate through 3D model using view cube
COMMANDS: VIEW
NAVIGATION WHEEL
PROCEDURE:
Click on the view tool bar select the 3D view
Click on the Navigation Wheel
Drag the 3D model whichever Direction you wanna see
RESULT:
8)
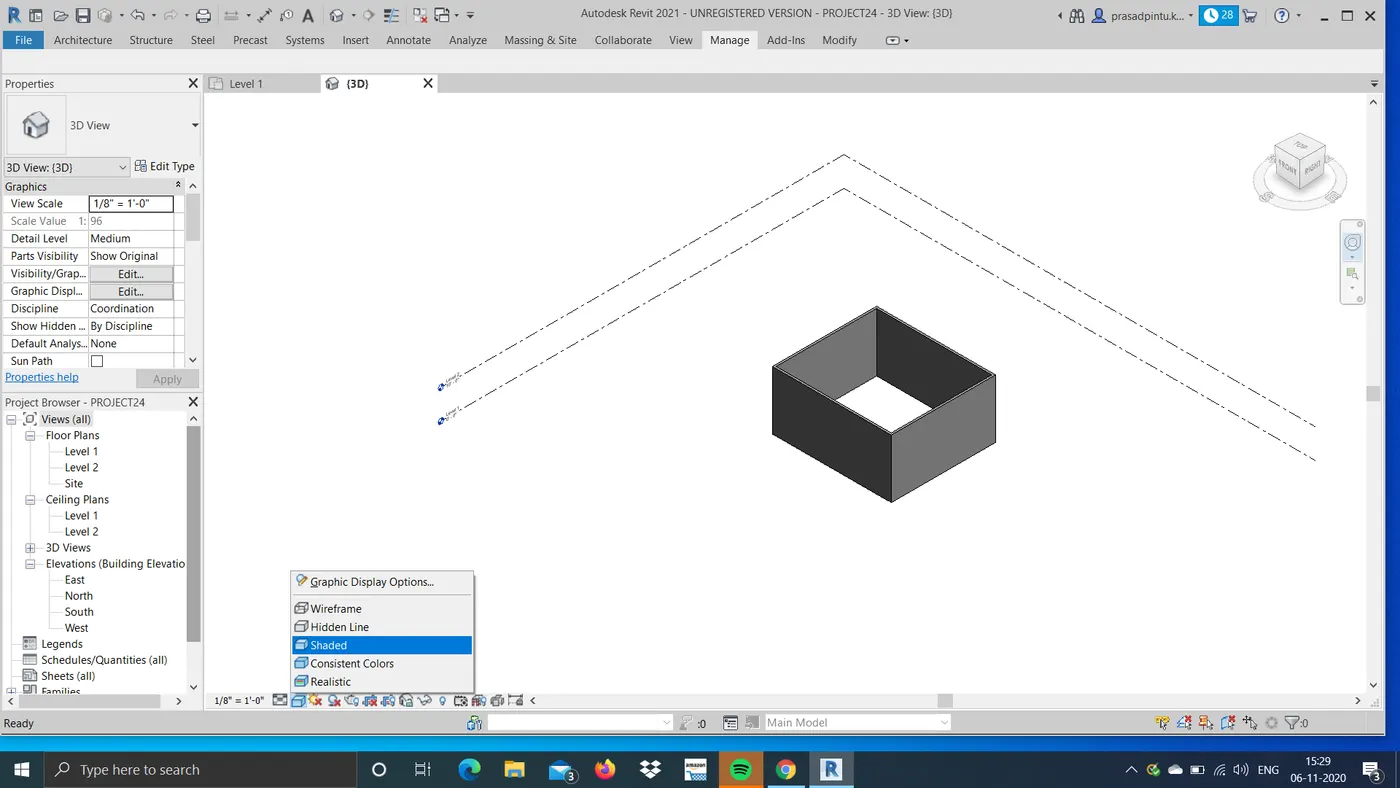
AIM: Use the visibility setting options to switching model to shaded,hidden lines and realistic options
COMMANDS:VISUAL STYLE OPTION
PROCEDURE:
Open the 3D model
on the bottom left you can see the visual style option
Click on the visual style option and select the Shaded or Realestic or Hidden lines
RESULT:
9)
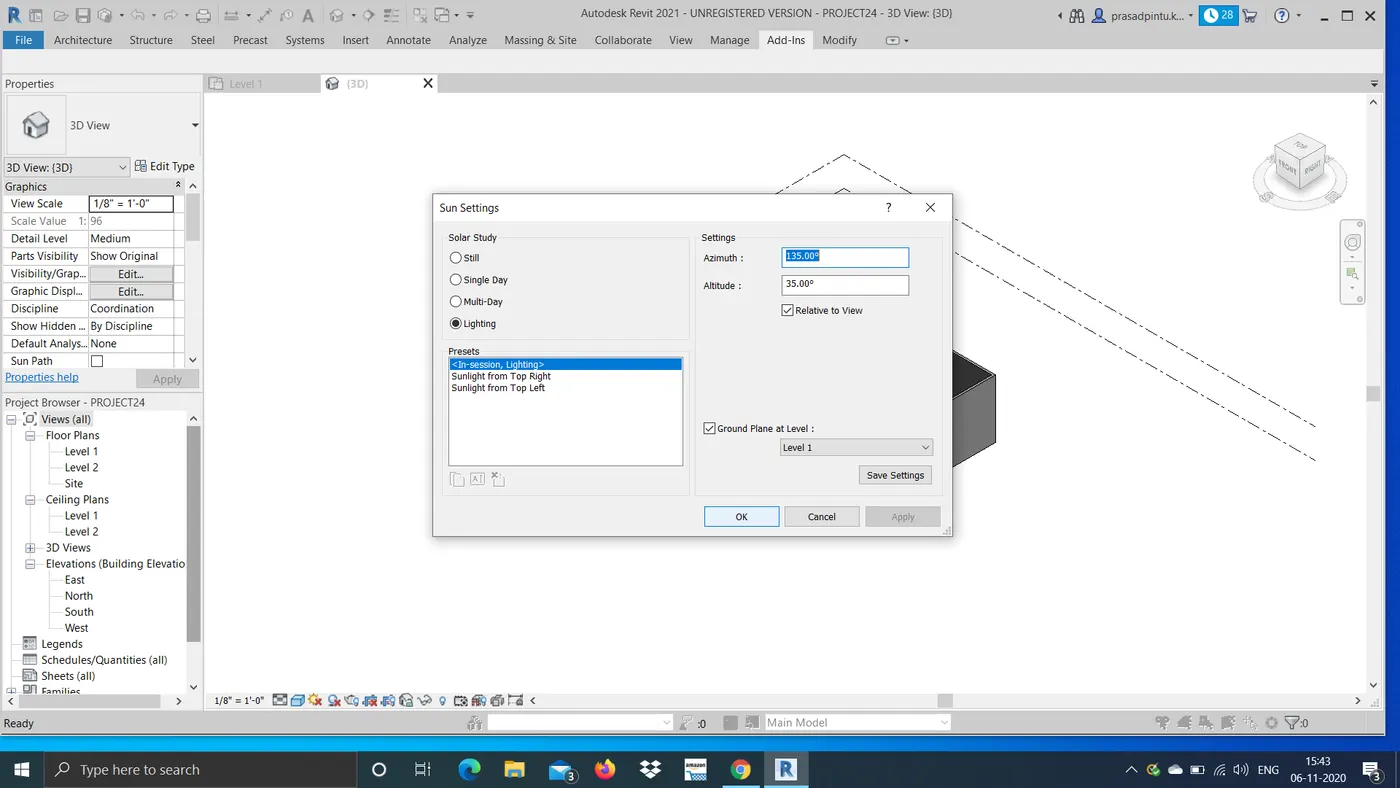
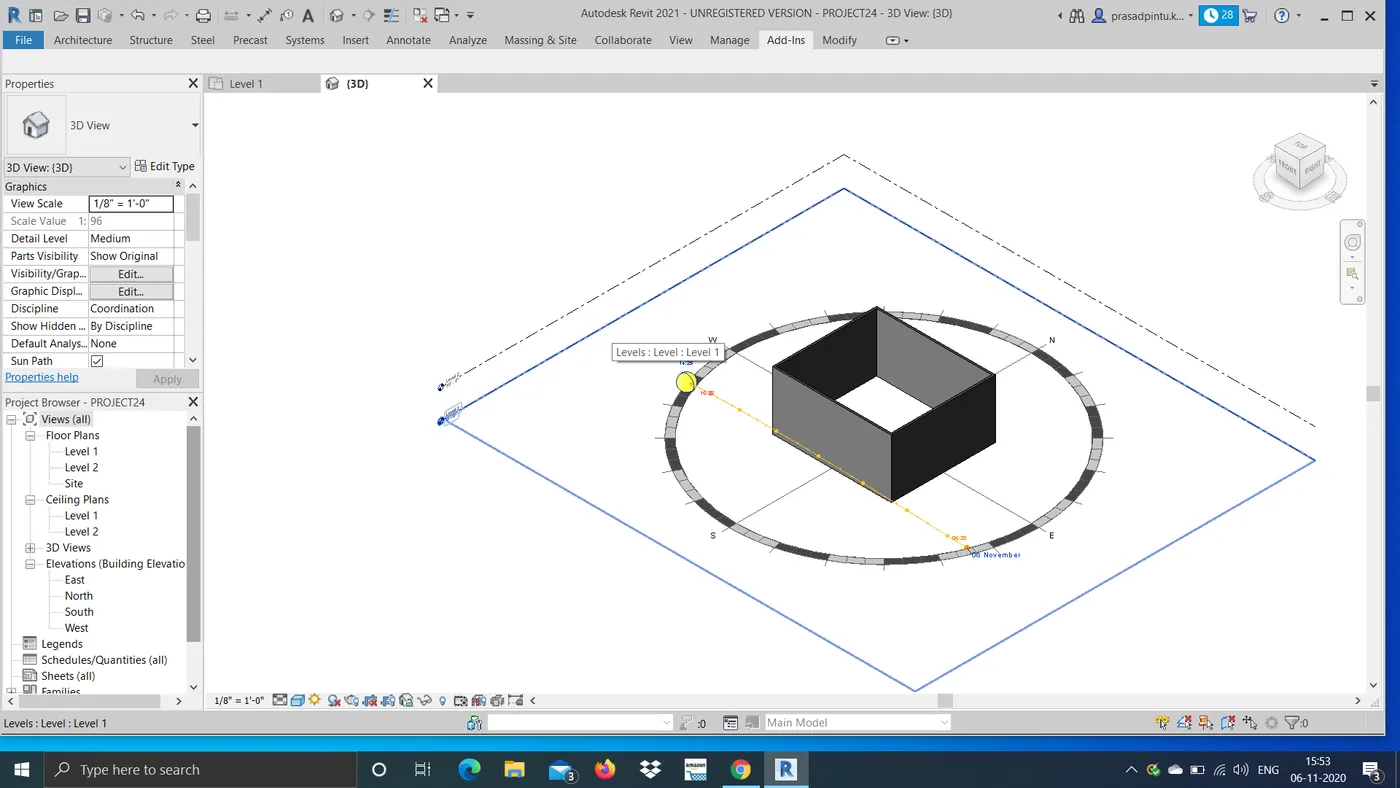
AIM: Turn the sunlight on and off to view staddings in the layout
COMMANDS: SUNPATH SETTINGS
PROCEDURE:
Open the 3D view
On the bottom you can see the Sun path seetings it is located on the left bottom
Click on the option
Select the option you want
Click on OK
RESULT:
10)
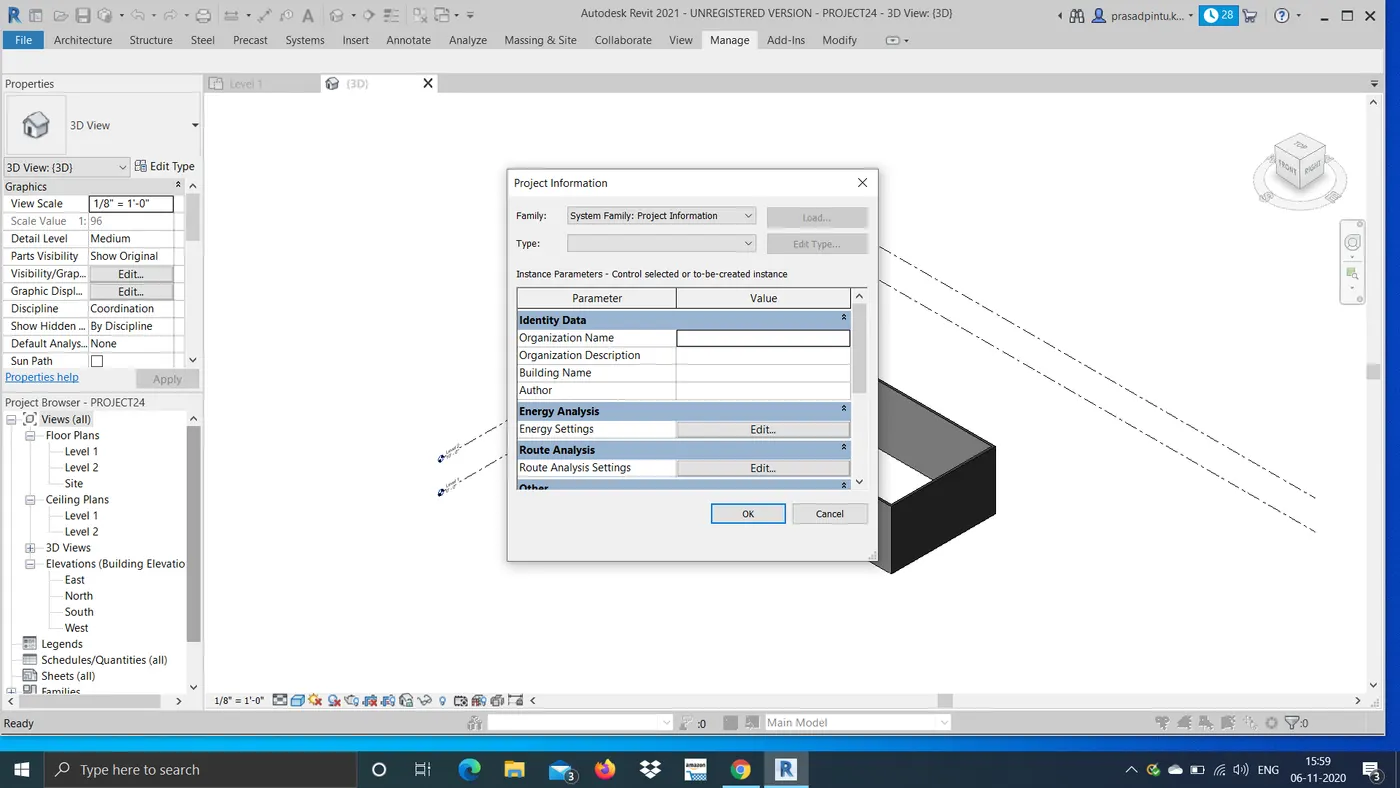
AIM: Use manage tool bar to enter project settings,name,issue date
COMMANDS:MANAGE
PROJECT INFORMATION
PROCEDURE:
Click on the manage toolbar
Select the project information
Name the projrct and issue date
Click on OK
RESULT:
11)
The Analyse tool bar is helped to combine different loads in structures,boundary conditions,load combinations etc..
It helps to detect load failures,it is used to analyse the structure with all the different loads and gives the analysis of the result.
12)
1.LINK IFC
2.LINK CAD
3.LINK TOPOGRAPHY
4.LINK REVIT
13)
Collabration is a cloud based service which allows users inside or outside the network to collabrate on the Revit model.
With this collabaration tab many users can work on the same plan and by doing this the time is saved means more efficient productivity within less time.