Usage of Navigation tool , Timeliner and Clash Detection test using Naviswork
1)
AIM
To create the Architecture & Structure Project file developed by you in Week 6 to 8. Export the Revit architecture and structure model to Navisworks.
INTRODUCTION
this is created using revit software and naviswork manage software and the details are explained in detail.
PROCEDURE
open the revit software.
open the architecurual file and structural file
after selecting the file export the file to NWC file.as shown in the fig below.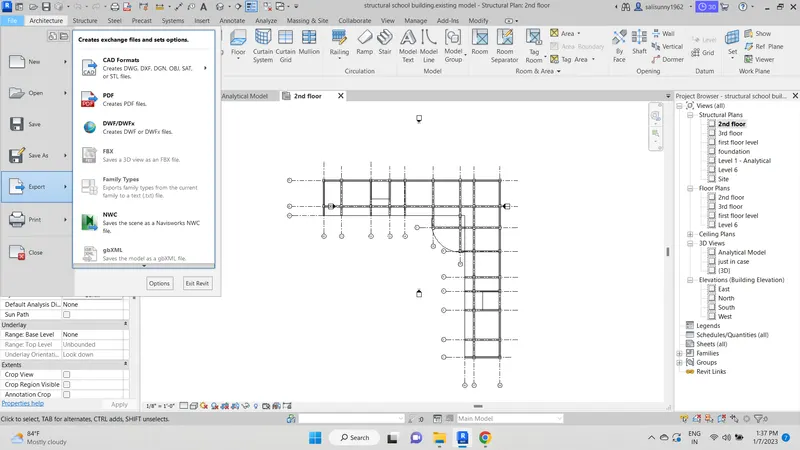
select the file in the ribbon bar export the file the file to NWC.
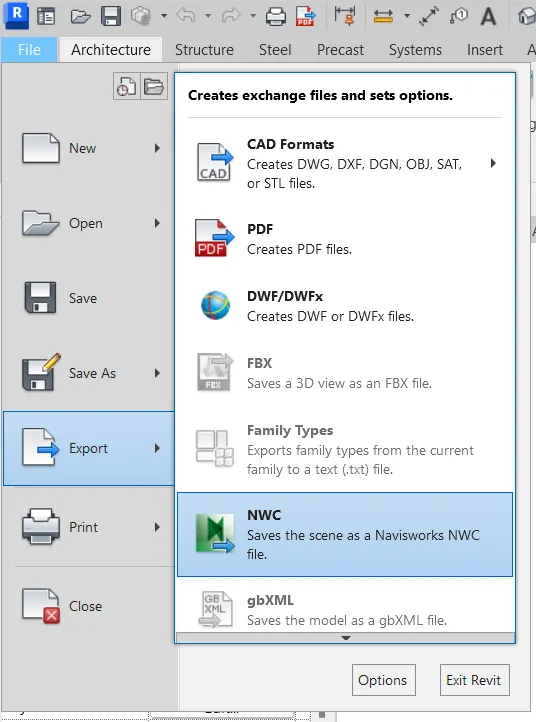
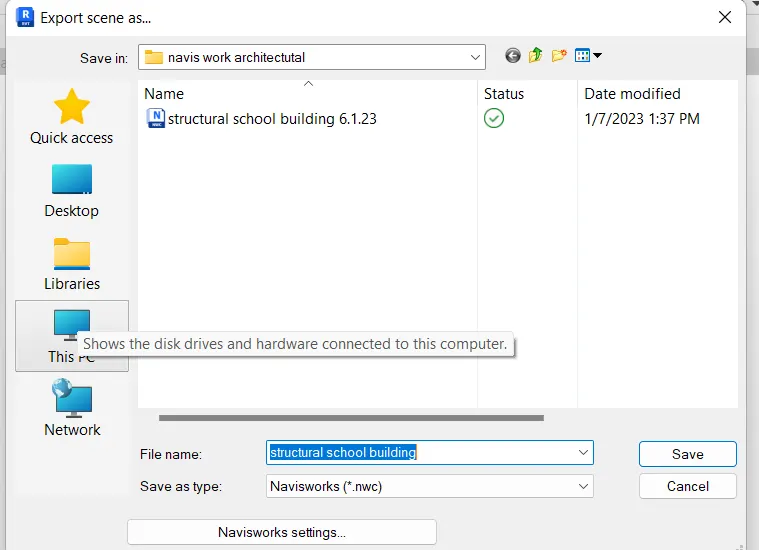
RESULT:The following architectural model and structural model is exported to Naviswork file is completed.
2)
AIM
To create using Navigate Tool to walk around the model and walk through the rooms created and record your moving as animation in your Navisworks file.
INTRODUCTION
This file is created using naviswork 2023 and the details are explained in detail.
PROCEDURE
open the naviswork software.
open the architectural template.
select the file in the architectural template.
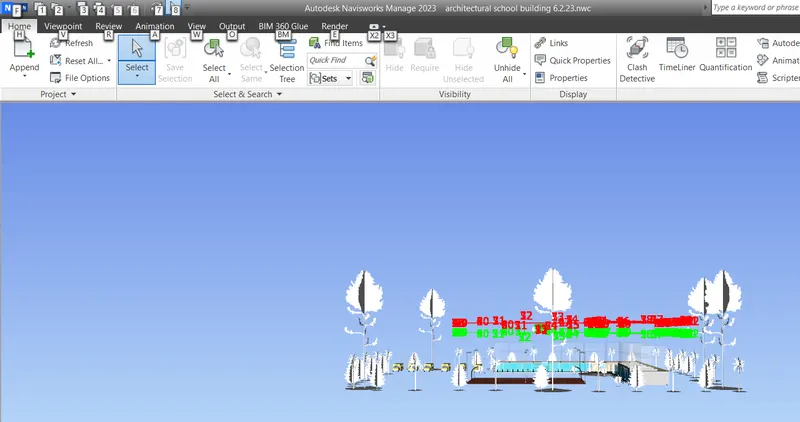
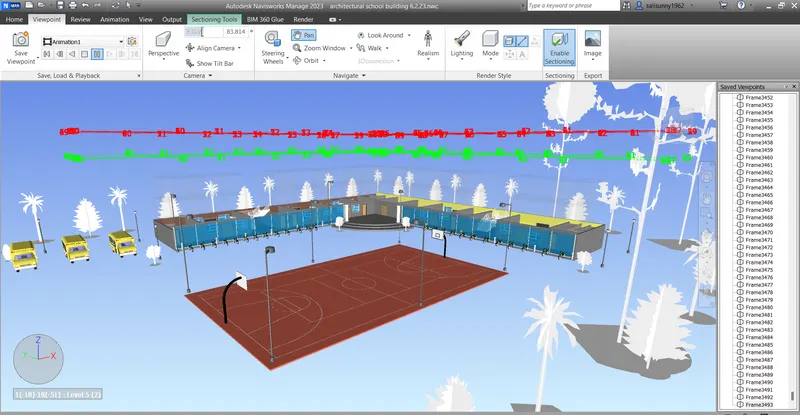
select the viewpoint in the ribbon bar.
save the view point in the viewpoint ribbon bar.

Select the record button in the ribbon bar as shown in the fig below.

The frames is identified in the saved viewpoints as shown in the fig below.
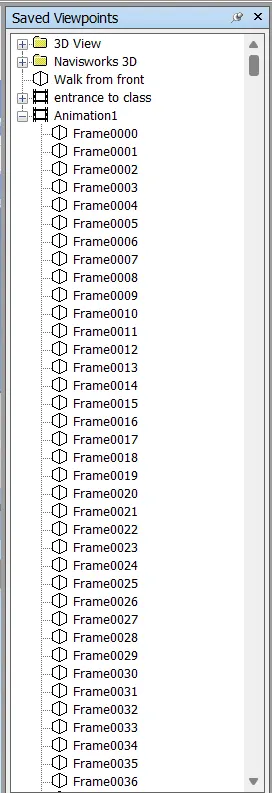
RESULT: The following walkthrough is compelted and the animation video is completed.
3)
AIM
To create using Navigate tool to use Realism feature to walk through the model and record your moving as animation in Navisworks file.
INTRODUCTION
The file is created using naviswork 2023 and the details areexplained in deatil.
PROCEDURE
open the revit software.
export the file to NWC file.
open the naviswork 2023
open the architectural file in the naviswork file software.
select the file in the viewpoint.
select the realism in the viewpoint ribbon bar.

A man appears on the center of the screen.
that shows the camera angle to set the frames where the frames are aligned.
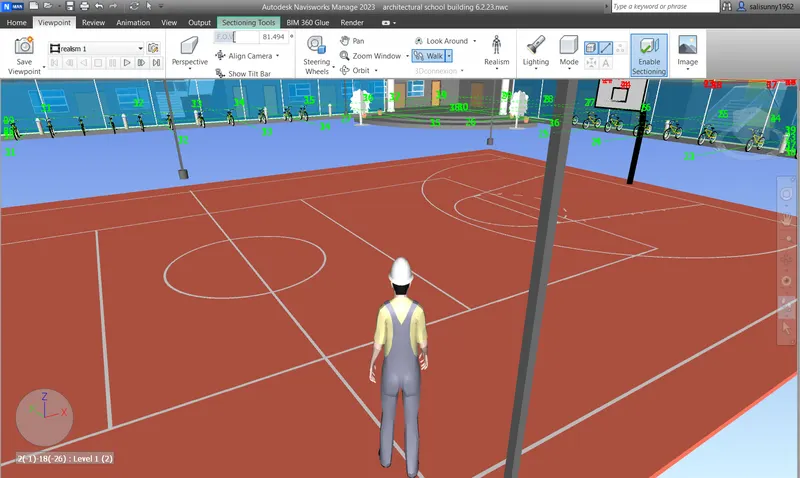
the saved frames are visible in the saved view to the right corner of the plane.
as shown in the fig below.
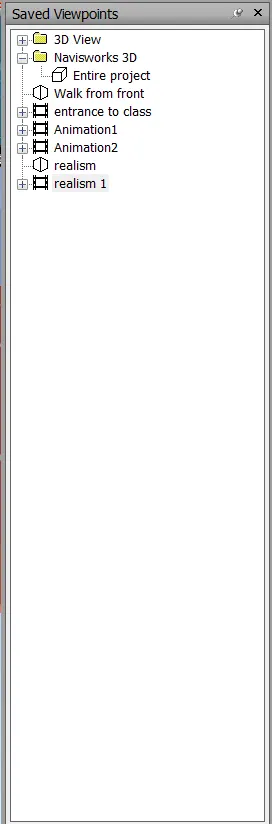
RESULT: The following realism feature is created and walk through is completed.
4)
AIM
To create the Embed both architecture and structure *.nwc file to your Navisworks file. Create a clash detection test between the two models.
INTRODUCTION
This project is created using revit software and naviswork 2020 and the details are explained in detail.
PROCEDURE
Open the revit software.
Export the file to NWC file.
open the naviswork 2023 and open the architectural file
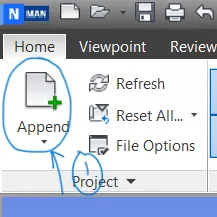
while opening the architectural file selct the append tab and select the structural file.
A) run the clash test in the clash detective test.
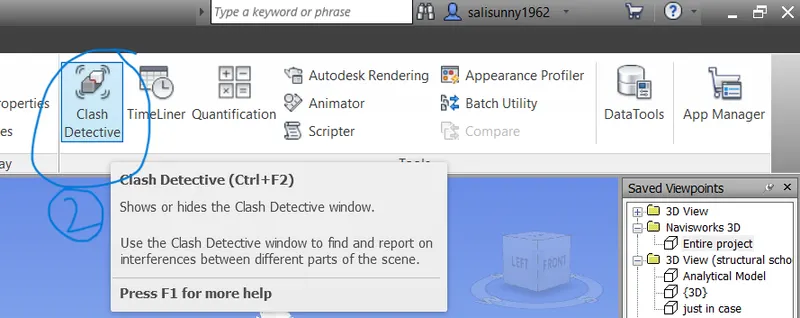
B) the clashes between two models.
run the test to test the clash detection in the file as shown in the fig below.
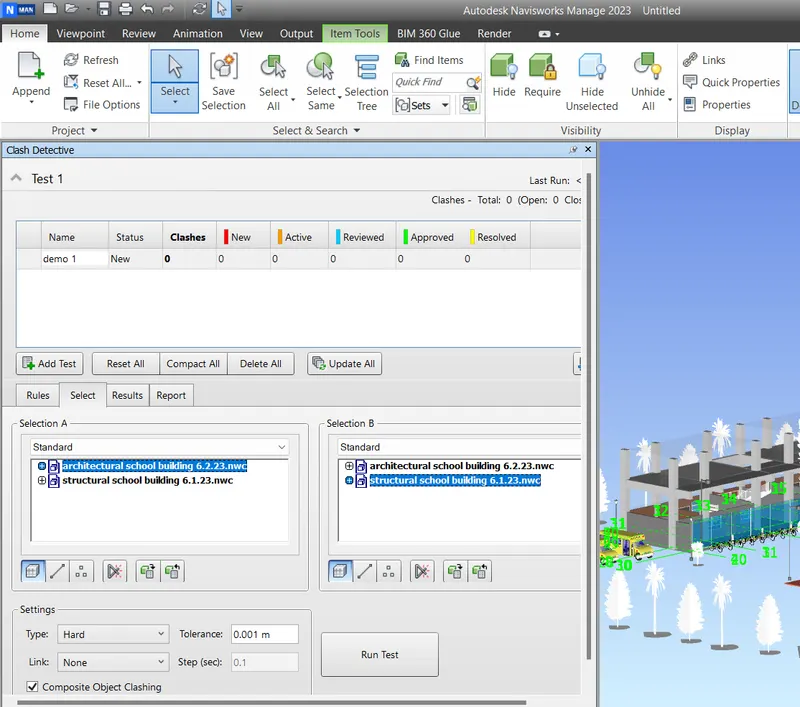
C) the clashes are listed below between the models.
The clashes can either be approved and reviewed an can be active.
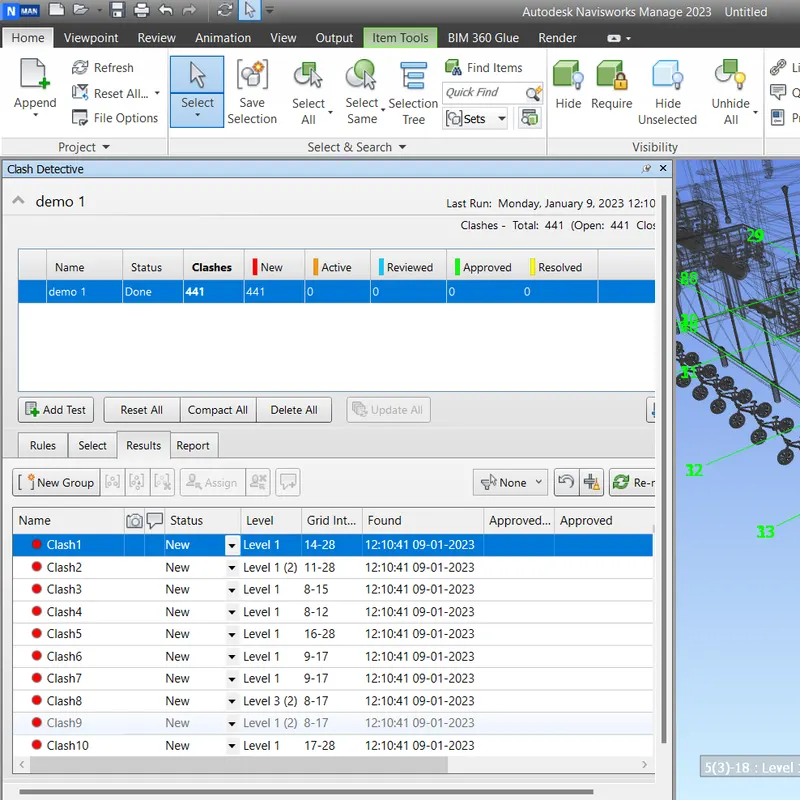
e)The list is clash detection is resolved.
F) The colors are signified are accepted in the clash
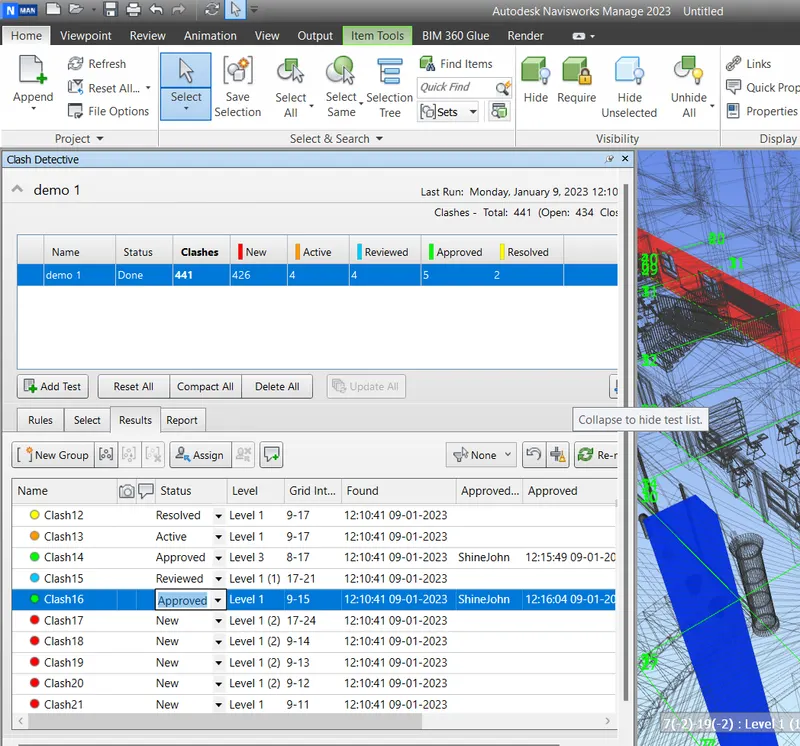
RESULT: The clash test is performed and the clashes are identified in the models is completed.
5)
AIM
To create the Timeliner feature in Navisworks prepare a schedule for the project developed in week 6 to 8 by adding reasonable assumptions for task start date and end date and simulate the task completion as a visual simulation. Record it and save the timeline simulation to Navisworks file.
INTRODUCTION
This model is created using revit software and Naviswork 2023 file the deatils are explined in detail.
PROCEDURE
Open the revit software.
Export the file to NWC file.
open the naviswork 2023 and open the architectural file
while opening the architectural file selct the append tab and select the structural file.
select the timeliner option to set the timeline in the taskbar.

A tab appears in the bottom as shown in the fig below.
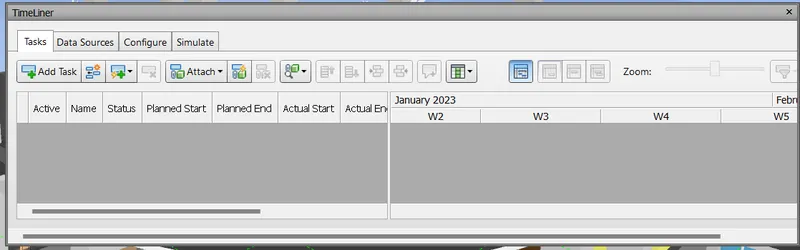
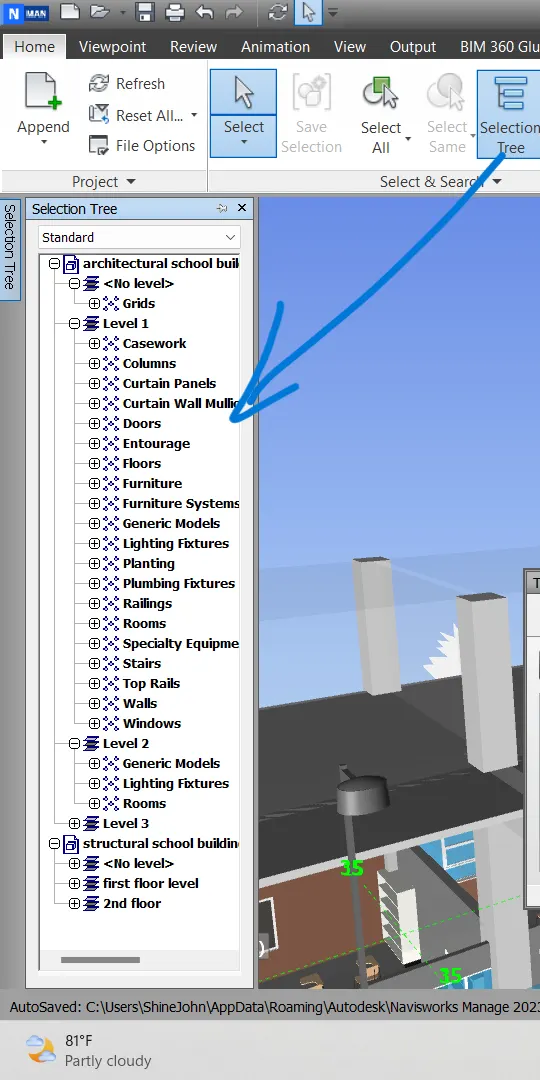
select the selection tree to selct the model to the timliner as shon in the fig below.

selction tree includes from the ground level to the top level of the floor.
adding of task in the timeliner as per the date and time.
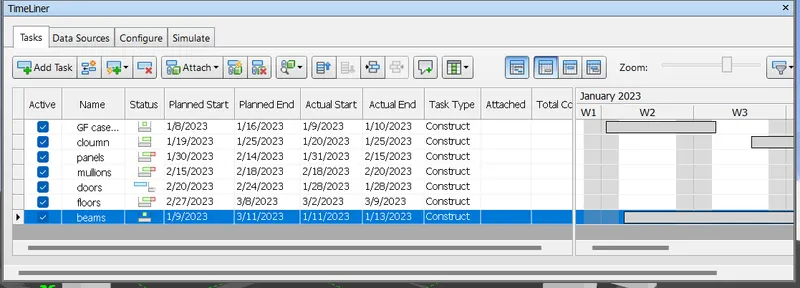
Attaching of single elements in the timeliner according to the foloowing task as shown in th fig below.
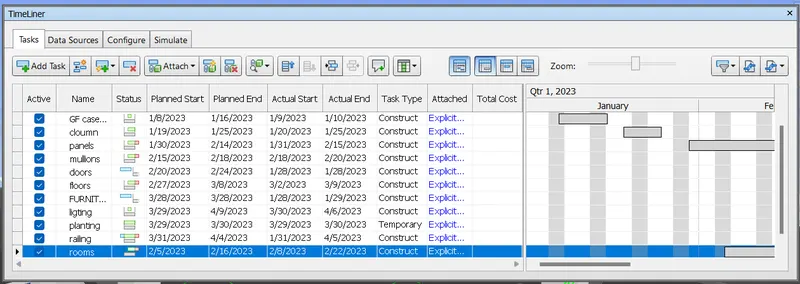
RESULT: The following single elements are attched to the timeliner as per date and time is created and completed.