Usage of Navigation tool , Timeliner and Clash Detection test using Naviswork
Q.1
AIM - Use the Architecture/ Structure Project file developed by you in Week 6 to 8. Export the Revit architecture and structure model to Navisworks Cache file following the export settings discussed in class.
PROCEDURE -
- 1st open the revit software and open the week 6 challange file i.e school building project.
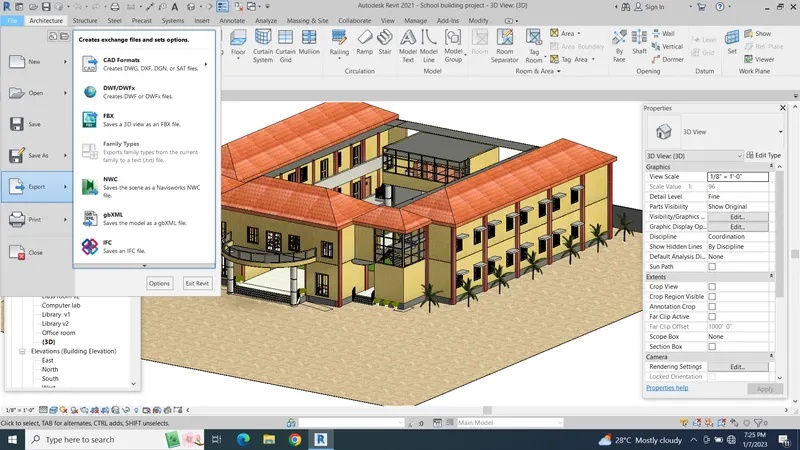
- Go to 3D view and click on file tab.
- Then click on export option and we have option of NW.
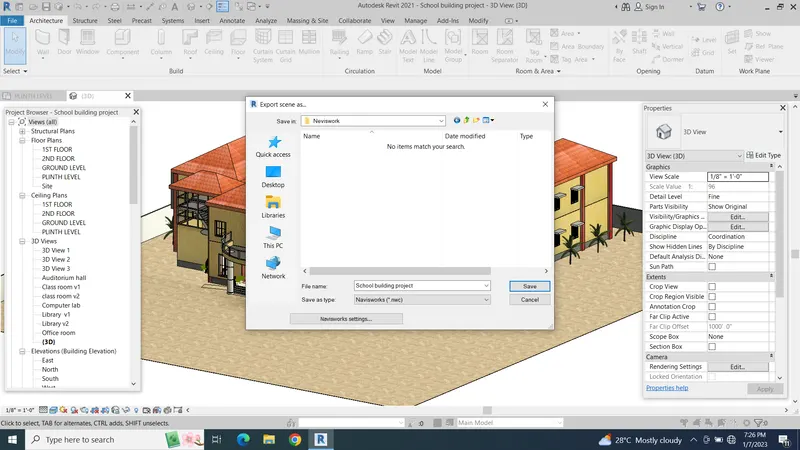
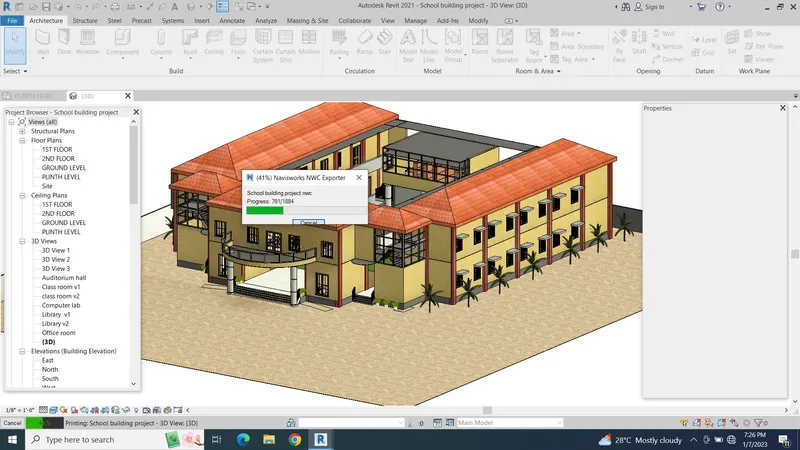
- Click on it and select the location where to convert the file and then click on save.
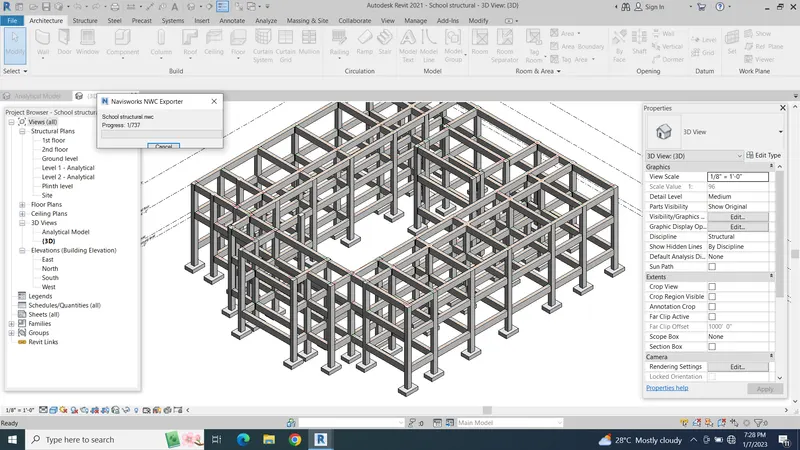
- Repeat the same process for strcutural file too.
RESULT -
Q.2
AIM - Use Navigate Tool to walk around the model and walk through the rooms created and record your moving as animation in your Navisworks file.
PROCEDURE -
- Open the neviswork software.
- Click on file option and import the file which we exported in NWC format.
- Now go to viewpoint option and click on walk option.
- Set the camera from where you start the walkthrough.
- Then click on save viewpoint and start the recording.
- Using mouse and keyboard arrows record the walkthrough.
- To view the recording go to animation tab click on the saved viewpoint and play the video.
RESULT -
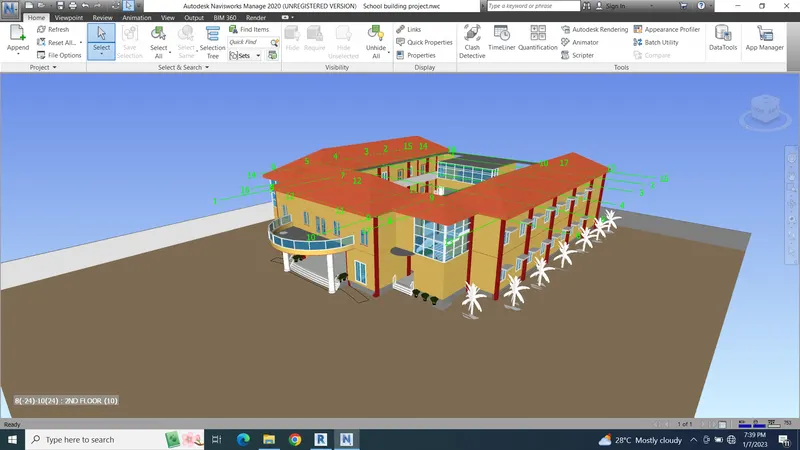
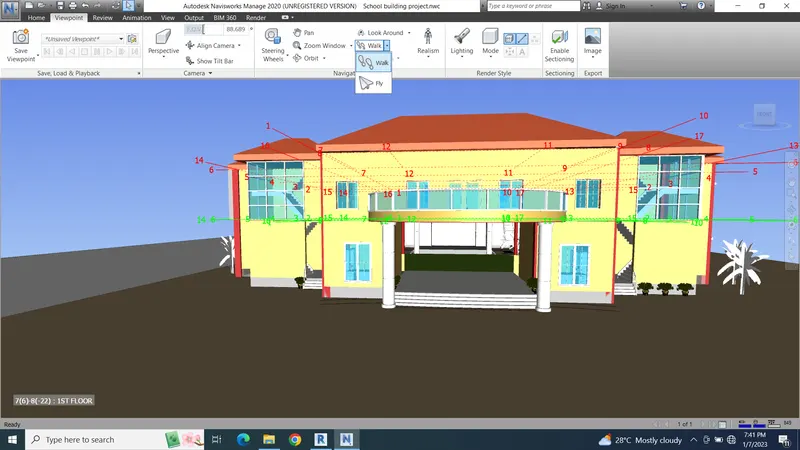
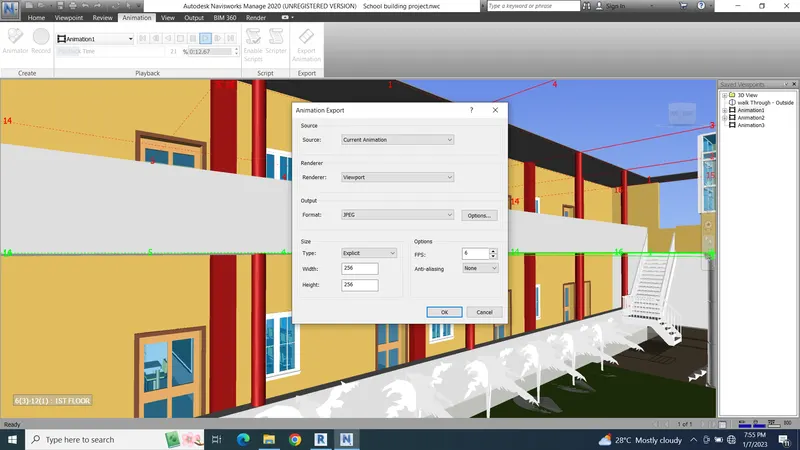
Q.3
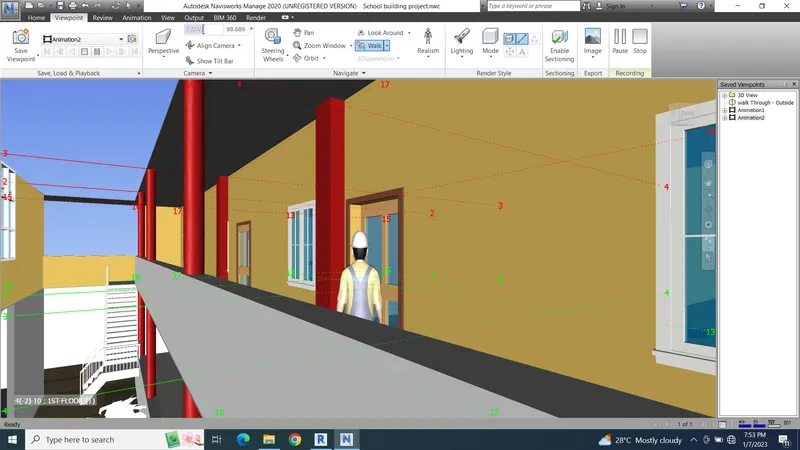
AIM - Use Navigate tool to use Realism feature to walk through the model and record your moving as animation in Navisworks file.
PROCEDURE -
- Open the neviswork software.
- Click on file option and import the file which we exported in NWC format.
- Now go to viewpoint option and click on realisum.
- A 3D real man will apear on the screen.
- Set the camera from where you start the walkthrough.
- Then click on save viewpoint and start the recording.
- Using mouse and keyboard arrows record the walkthrough.
- To view the recording go to animation tab click on the saved viewpoint and play the video.
RESULT -
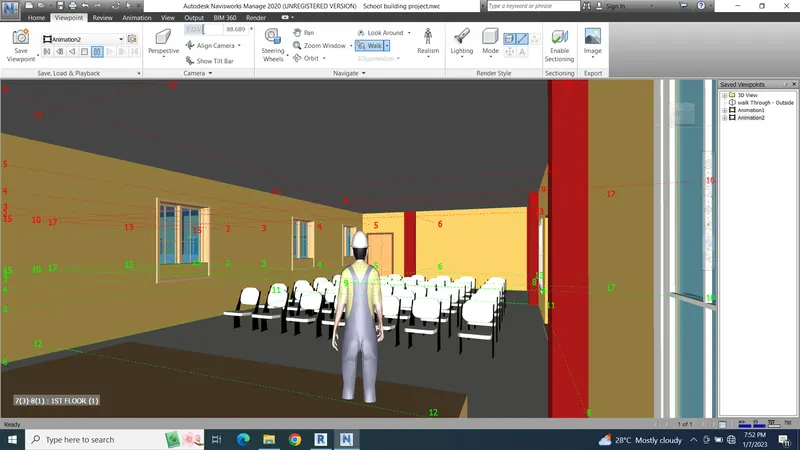
Q.4
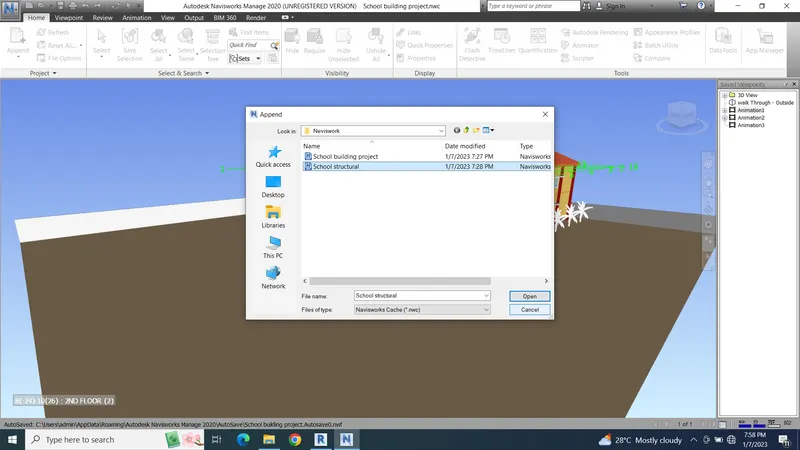
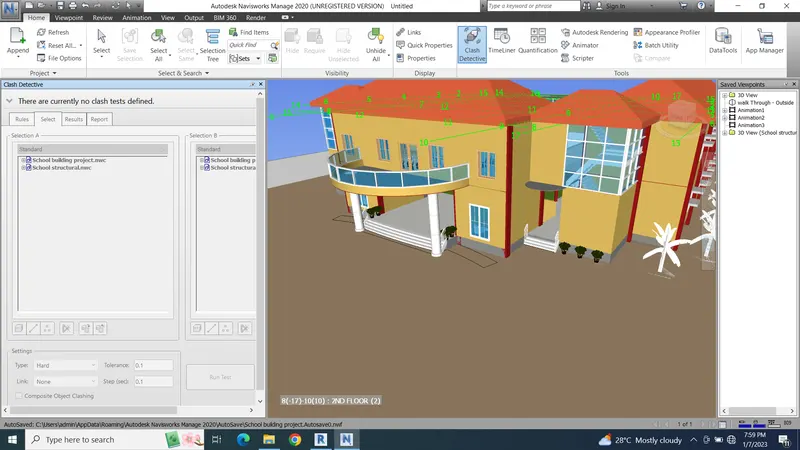
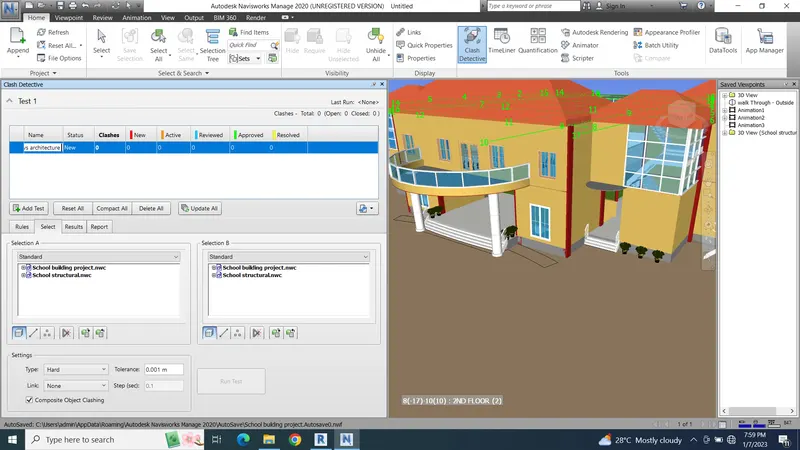
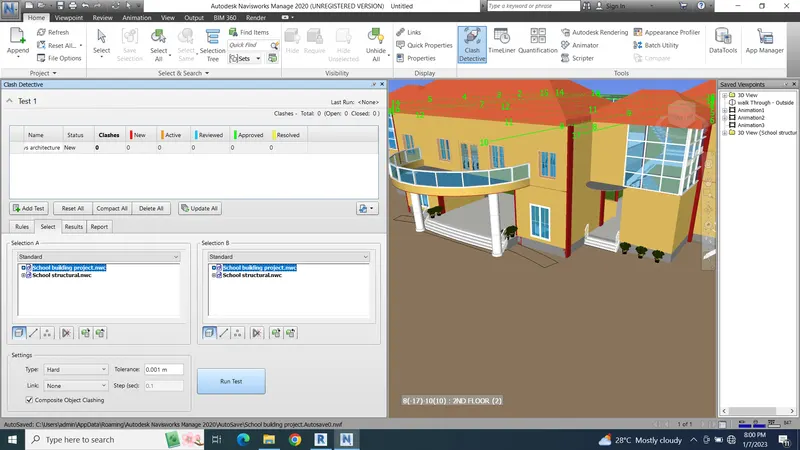
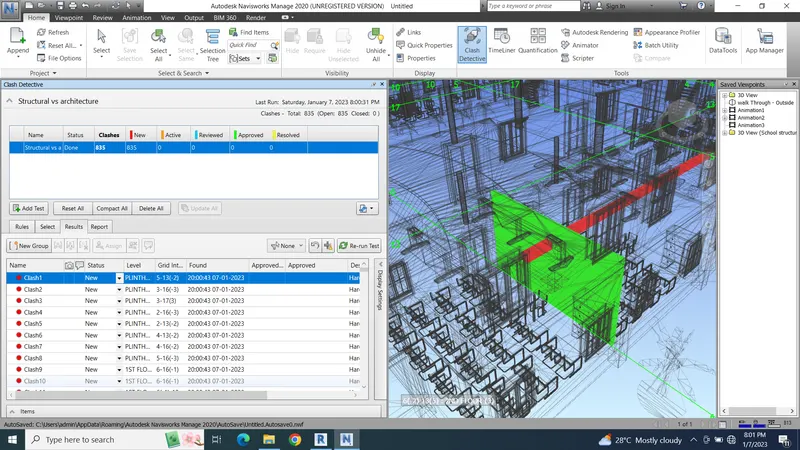
AIM - Embed both architecture and structure *.nwc file to your Navisworks file. Create a clash detection test between the two models.
PROCEDURE -
- For clash detection test link both architectural and structural model in the neviswork software.
- For the click on append option and open the structural file.
- Then click on Clash detection option for clash detection test.
- Click on test and give proper name to the test.
- Then slelect the parameters between those you want to conduct the test.
- Then click on run test.
- Once the test is completed you will see the clashes give them proper status.
RESULT -
Q.5
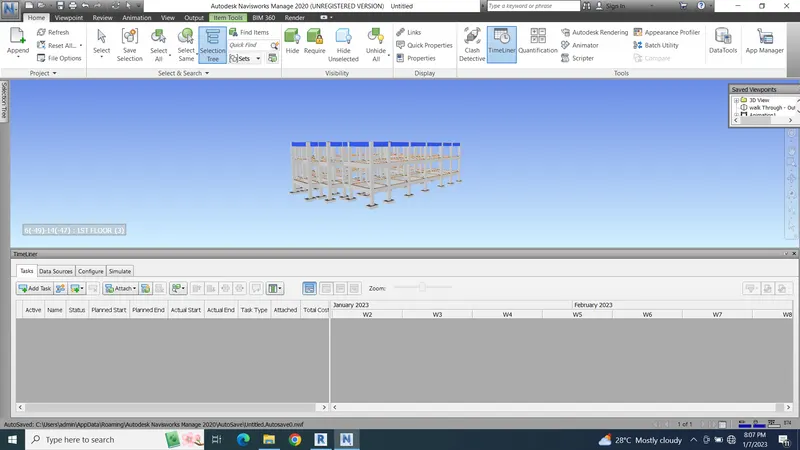
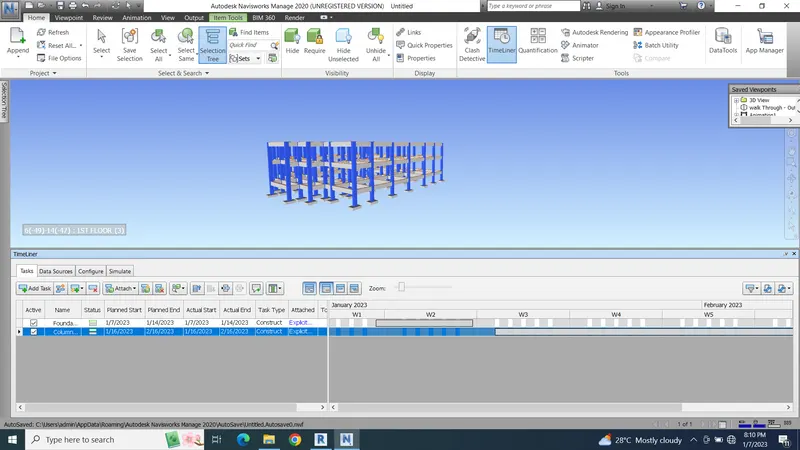
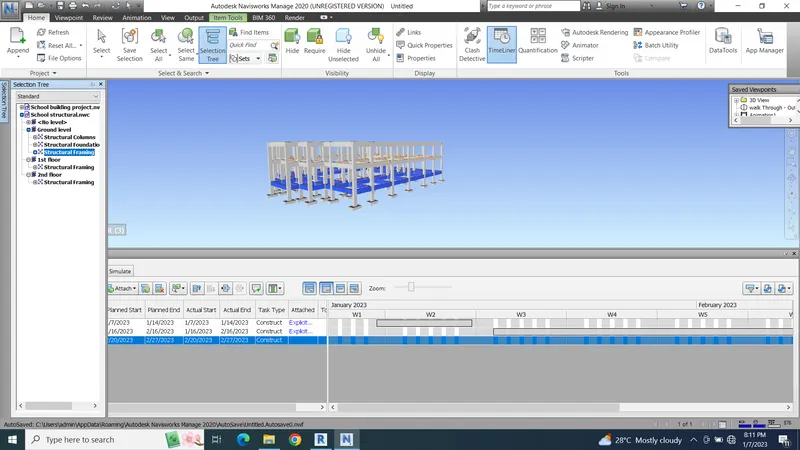
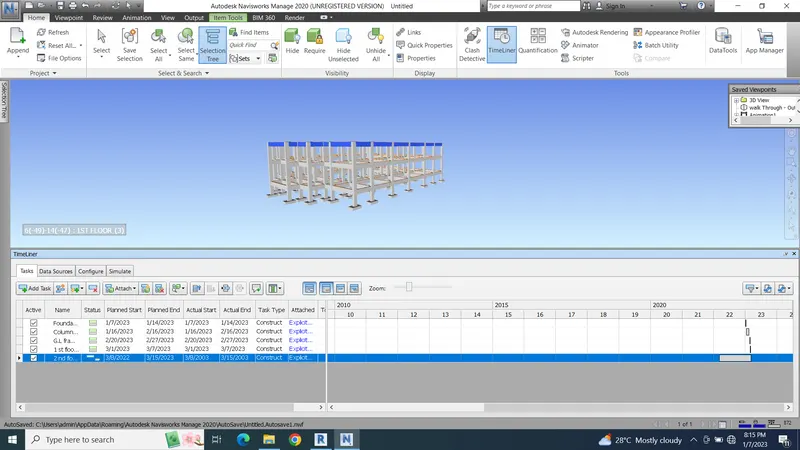
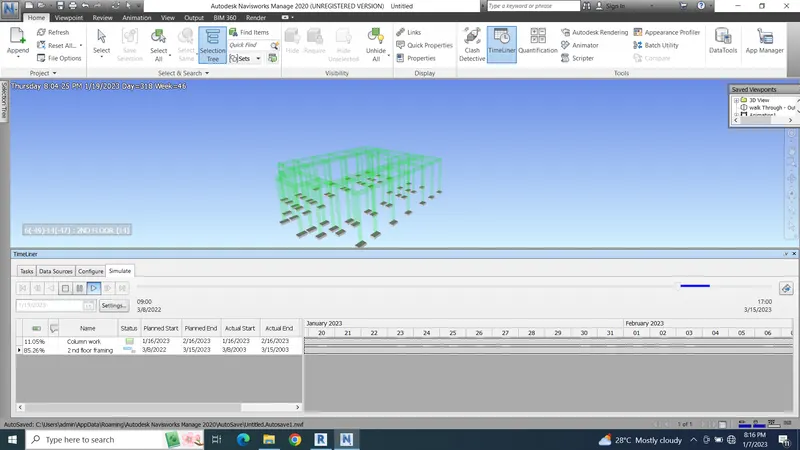
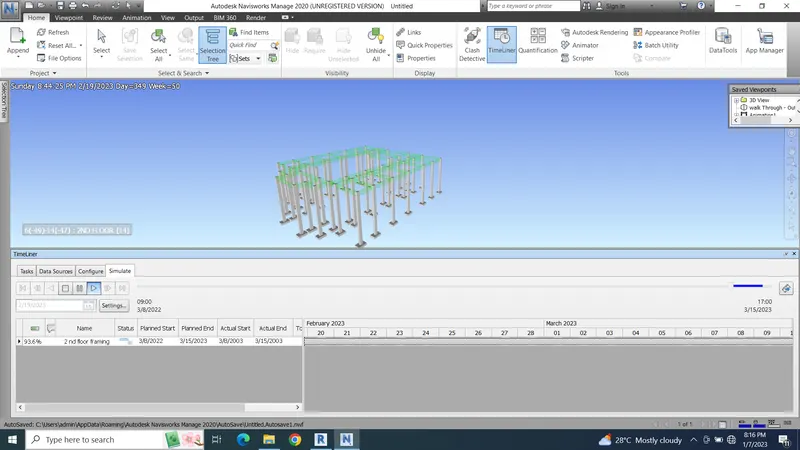
AIM - Using the Timeliner feature in Navisworks prepare a schedule for the project developed in week 6 to 8 by adding reasonable assumptions for task start date and end date and simulate the task completion as a visual simulation. Record it and save the timeline simulation to Navisworks file.
PROCEDURE -
- For preparing schedule click on the time liner option.
- Also for selecting the elements click on selection tree.
- Click on add task give proper name to the task.
- THen set the planed start and planned end date.
- Then set the actural start and end date of work.
- Then select the task type.
- Then select the elements and attach these elements in time liner.
- Repeat the same process for all the tasks.
- once all task are done go to simulate option to view the video of time liner.
RESULT -
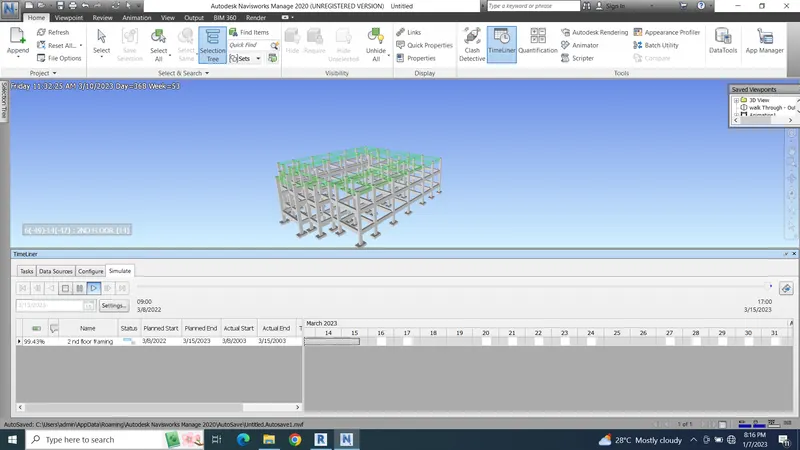
Also attaching naviswork file with this