Usage of Navigation tool , Timeliner and Clash Detection test using Naviswork
Aim:-
1) Use the Architecture/ Structure Project file developed by you in Week 6 to 8. Export the Revit architecture and structure model to Navisworks Cache file following the export settings discussed in class
INTRODUCTION :- the Architecture/ Structure Project file developed by you in Week 6 to 8. Export the Revit architecture and structure model to Navisworks Cache file following the export settings
PRODUCER :-
1. Open the Revit File And open the Architecture Plan
2.open the Architecture File
3.Go to the file And Go to the Export file
4.And Cleck the NWC
5. The Architectural And Structural File Export the NWC File
6. And Save the File Any file in this Cumputer
7. I have convert Revit file in to The Neviksworks
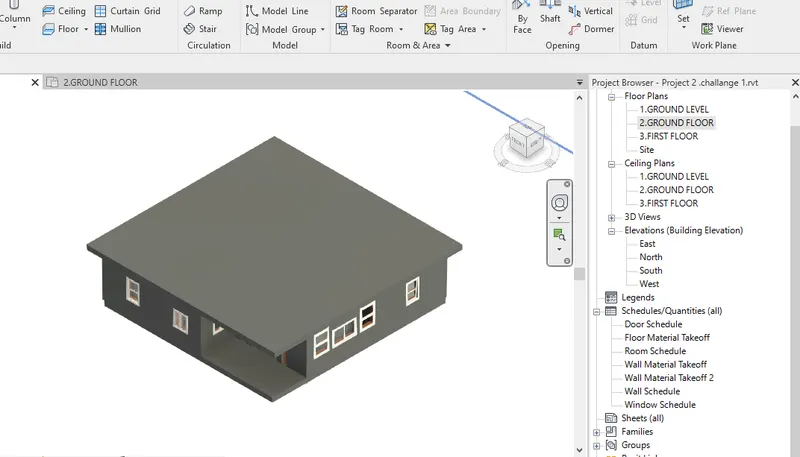
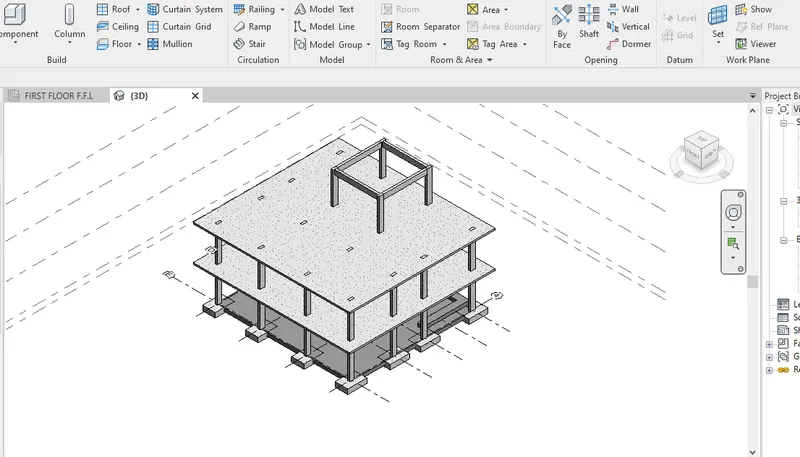
1. This is my Structural plan
2.And The Structural File Export the NWC File
3. Than Same proceess of Structural File
4. Convert into the Revit In to the Neviksworks
1.Save The Architectureal And Structureal File
2. This File Is Save Create a new Folder and Save this file
RESULT:-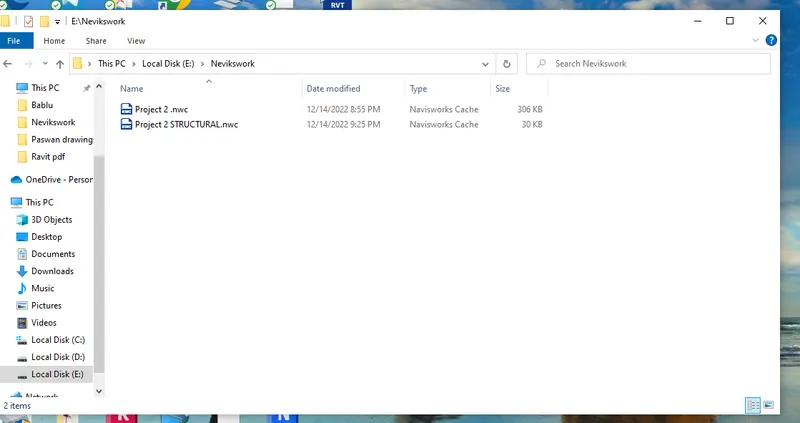
Aim:-
2) Use Navigate Tool to walk around the model and walk through the rooms created and record your moving as animation in your Navisworks file
INTRODUCTION :- Tool to walk around the model and walk through the rooms created and record your moving as animation in your Navisworks file
PRODUCER :-
1.Just open Neviksworks File
2.First Of all Export The NeviksWorks File
3.Architecture File Is Export The NeviksWorks File
4.Go to the Neviksworks
5. Go to the file And open the file
6.Than Surch for Save Naviksworks file Export in revit
7. Than Architecture File Is Export The NeviksWorks File
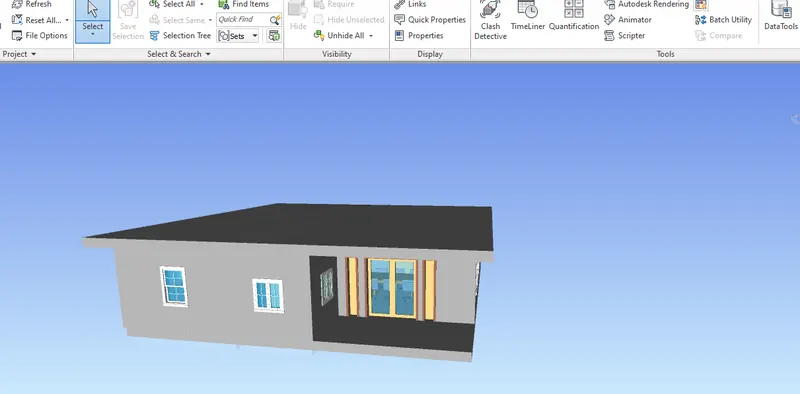
1.I have need to wolk Through model
2.Go to the view point tab
3. Than choose the Wolk and cleck
4. Than Enter The Living Room Help of mouse Curcer
5.And Slowly Check the View Of the Holl And Bed Room
6.Just using The Scrol buttom Of the mouse
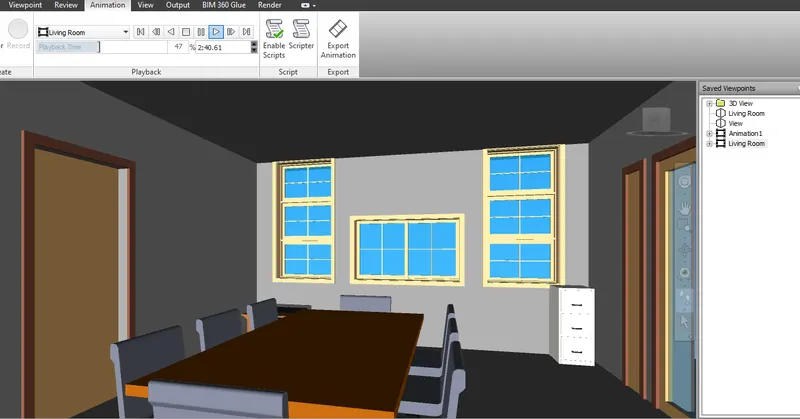
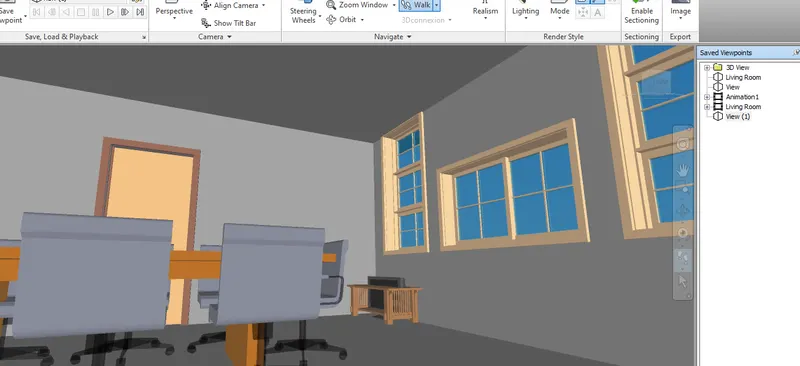
1.Go to the View point
2. Select the Recod Animation
3. Than Recod Animation View of the Living room And Bed room
4.Just using The Scrol buttom Of the mouse
5. Go inside of the building
6.Just The Recoding Stop Than Save the Recod
7. Than Go to the Animation Tab And And Watch The video
Result:-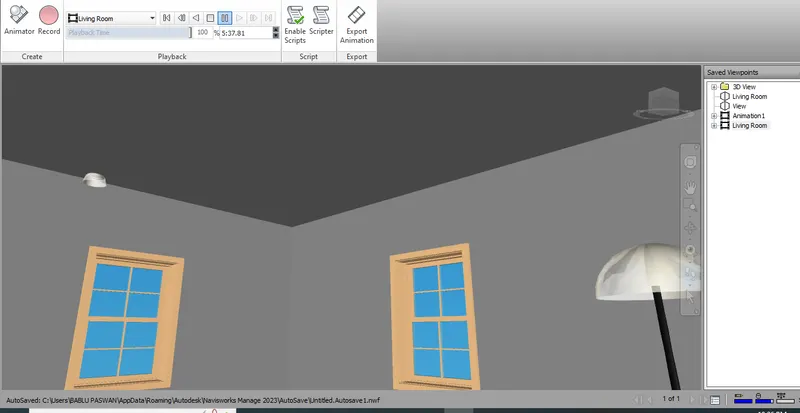
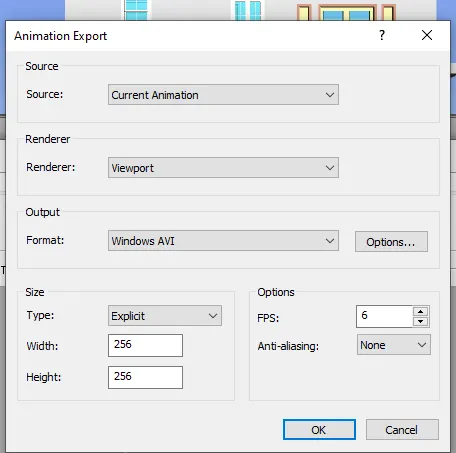
1. Than Export The Video
2. Than Local File
3. Save this video Your Computer
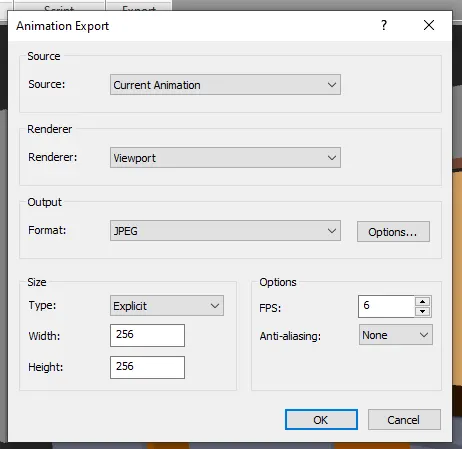
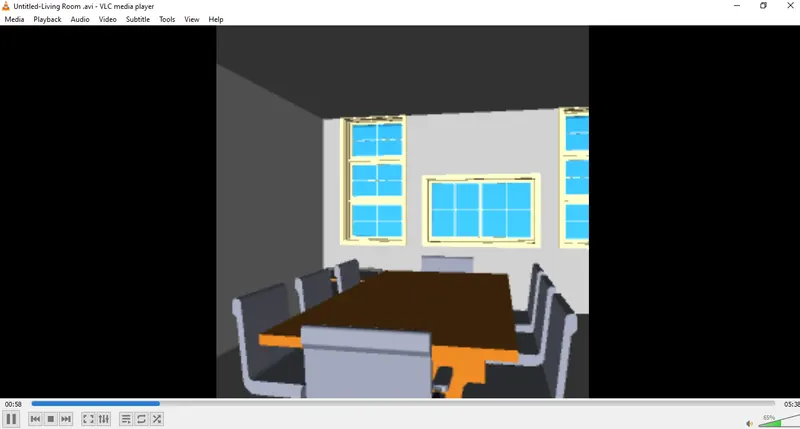
1.Than Watch This video
2. This video is Local cumputer File save
Aim:-
3) Use Navigate tool to use Realism feature to walk through the model and record your moving as animation in Navisworks file
INTRODUCTION :- Navigate tool to use Realism feature to walk through the model and record your moving as animation in Navisworks file
PRODUCER :-
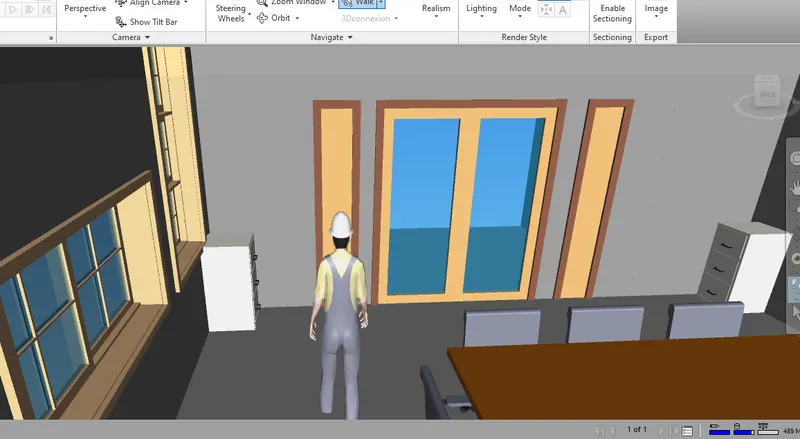
1.Just go to view point opation
2. After Than select Realism
3.Just Cleck The Scrolldow Button
4. Than Enter The Any room Of the building
5.Choose The Third Porison
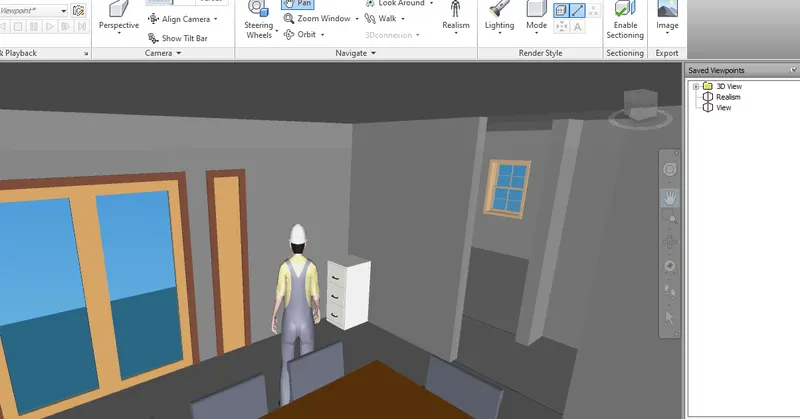
1.Than Select The view point
2. Than Select The save opation
3. Change The Rename of Realism
1.Go to the View point
2. Select the Recod Animation
3. Than Recod Animation View of the Living room And Bed room
4.Just using The Scrol buttom Of the mouse
5. Go inside of the building
6.Just The Recoding Stop Than Save the Recod
7. Than Go to the Animation Tab And And Watch The video
Result:-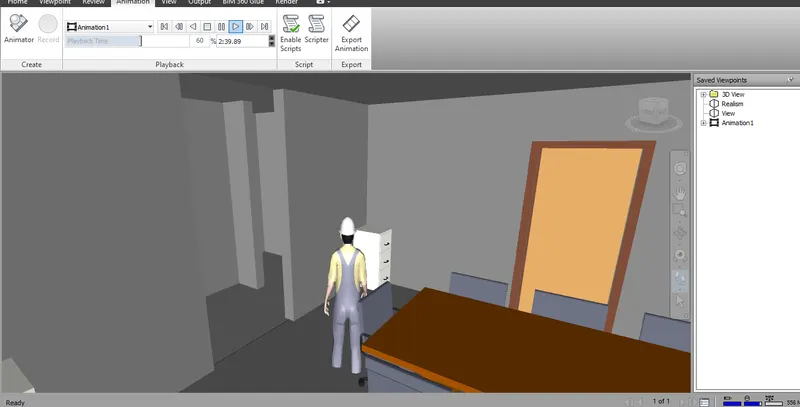
Result:-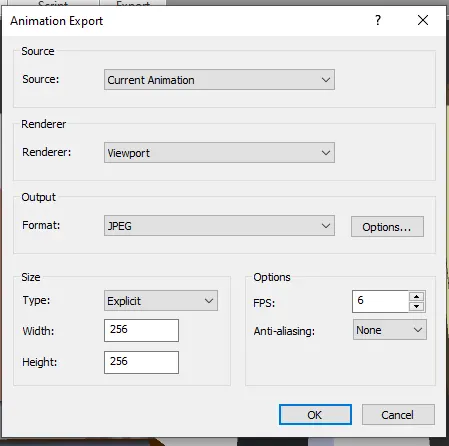
Aim:-
4) Embed both architecture and structure *.nwc file to your Navisworks file. Create a clash detection test between the two models
a. Run the Clash Detection Test
b. Study the clashes between the two models
c. List which of the clashes could be approved
d. List which of the clashes could be neglected ( will be taken care later)
e. List which of the clashes can be resolved
f. Save the results after color coding the clashes to the Navisworks file
g. In case of resolution annotate the clash and save the view to defined views in Navisworks
INTRODUCTION :- Embed both architecture and structure *.nwc file to your Navisworks file. Create a clash detection test between the two models
PRODUCER :-
1. Open The neviksWorks
2.Than Choose the Architecture plan
3. And Add the Structural Model in the Same neviks works
4.Than Add the Structural model
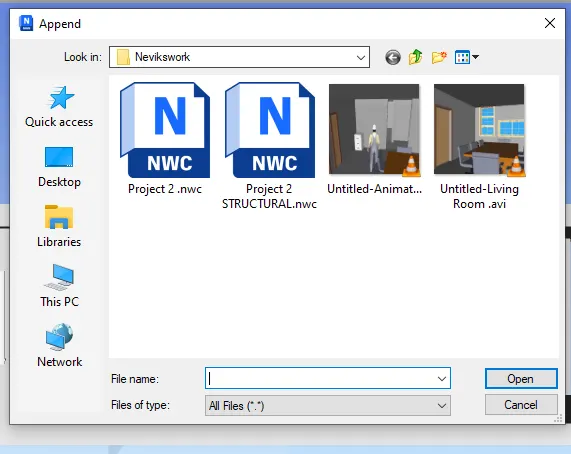
1.Add The File Architecture And Structural File
2.Go to the Clash Detection
3.Than Select The one
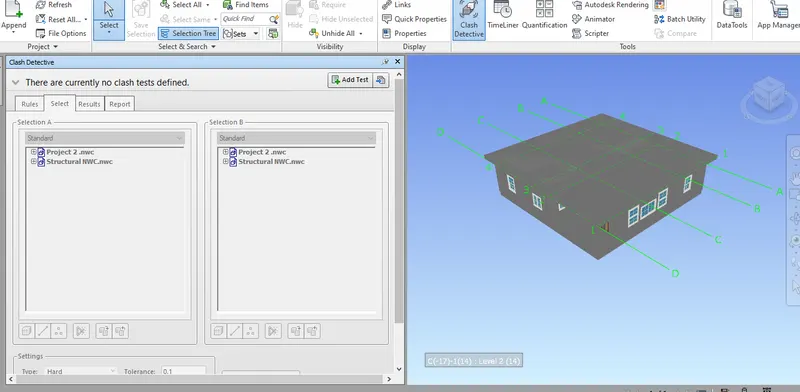
1.Choose The Add Test
2.Than Open the Test Column
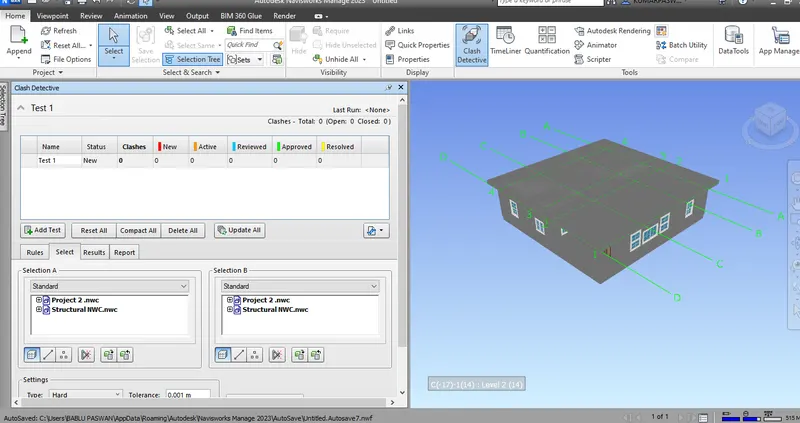
1.Add The Test
2.Select the A Architecture File
3. Than Select B Structural File
4. Than Select the Surface Tab
5.Than Run test
Result:-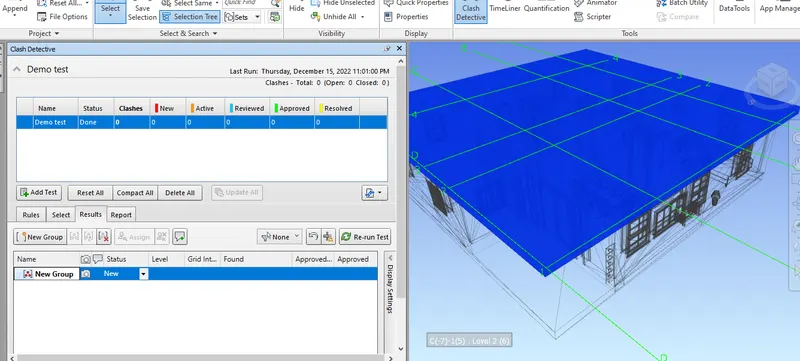
Aim:-
5) Using the Timeliner feature in Navisworks prepare a schedule for the project developed in week 6 to 8 by adding reasonable assumptions for task start date and end date and simulate the task completion as a visual simulation. Record it and save the timeline simulation to Navisworks file
INTRODUCTION :- the Timeliner feature in Navisworks prepare a schedule for the project developed in week 6 to 8 by adding reasonable assumptions for task start date and end date and simulate the task completion as a visual simulation. Record it and save the timeline simulation to Navisworks file
PRODUCER :-
1.First of all open the NaviksWorks
2. Than Add the Architecture File
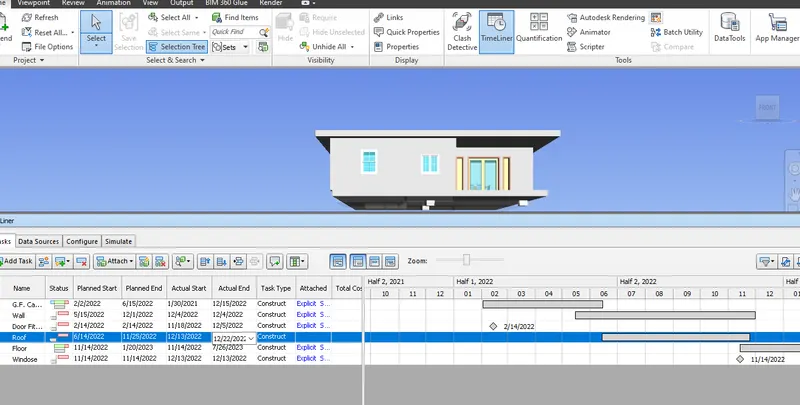
3.Go to the Home tab And Select the timeliner
4.Go to the select the Selection tree
5. And Choose the Ground Floor
6.Than Second Floor
7. Roof Level
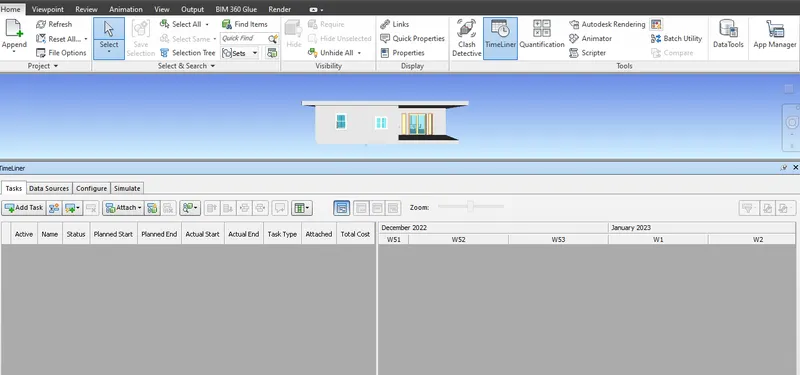
1. First add The Task
2. Add The Task Ground Floor
3.Second Add the Wall
4. Add The Door fiting
5.Add the Roof
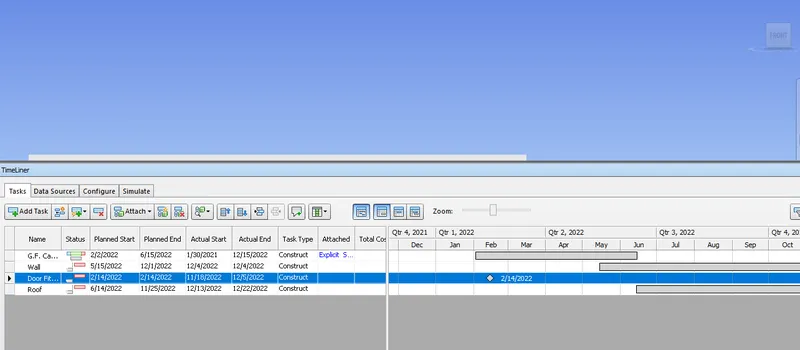
1.Just go to the Slmulated
2.Than Cleck the video
3.Than start one by -one floor ,Wall , First ,Ground floor And other,
REsult:-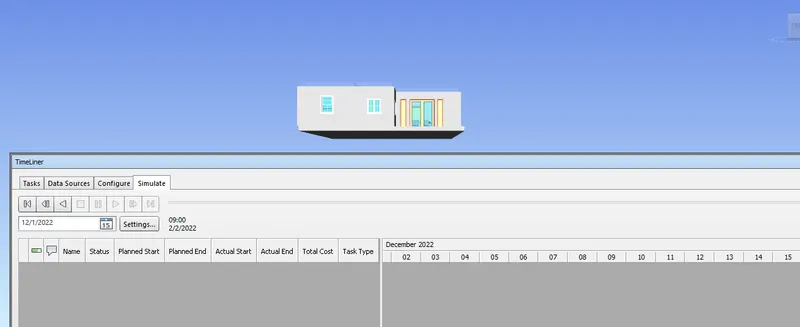
1. Than Save The animation video
2.And Save the Video In Any File in computer file
Result:-