Usage of Navigation tool , Timeliner and Clash Detection test using Naviswork
Ans 1.
- Aim : Use the Architecture/ Structure Project file developed by you in Week 6 to 8. Export the Revit architecture and structure model to Navisworks Cache file following the export settings discussed in class.
- Introduction : Exporting of revit file in naviswork cache is done by naviswork exporter utility.
- Procedure :
- Choose file option in revit.
- Then choose export option.
- In export option choose exporting type as "NWC" for navisworks.
- Save it with proper name in your destination folder.
- Results : File is exported in Naviswork format respectively by following above procedure shown in images.
Ans 2.
- Aim : Use Navigate Tool to walk around the model and walk through the rooms created and record your moving as animation in your Navisworks file
- Introduction : Walkthrough the exported model in naviswork by walk tool given in viewpoint tab.
- Procedure :
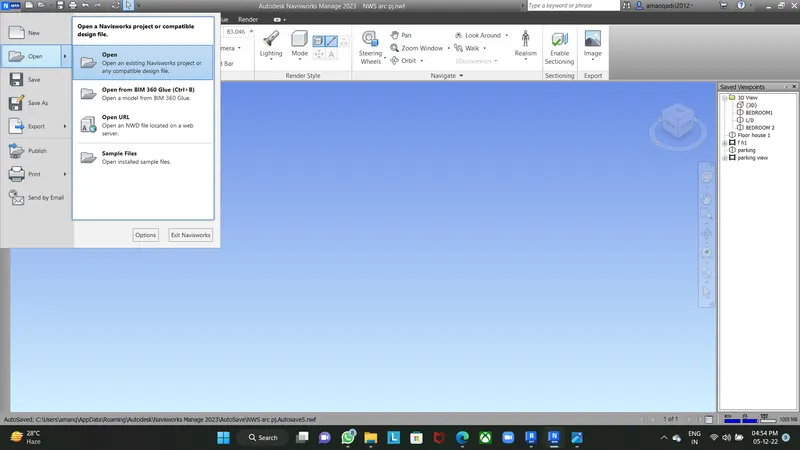
- Open Naviswork manage.
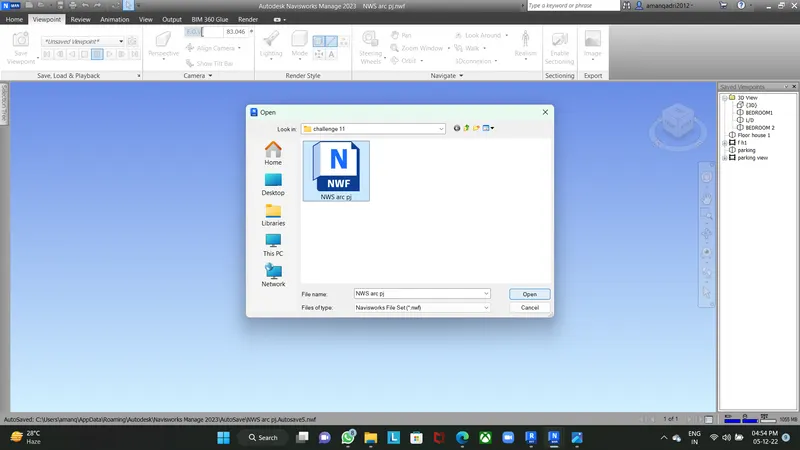
- Choose open file.
- Click on open option.
- Open your naviswork file from destination folder.
- Go to viewpoint tab.
- Choose walk option.
- Save the view from where you want to start walkthrough in camera symbol option.
- Open camera option.
- Choose record option to start recording your walkthrough.
- Walk according to your views.
- For stop the recording choose stop option in tabs.
- Go to animation tab to see your walkthrough video by playing it.
- You can export this animation in to your device memory by given formats in exporting options.
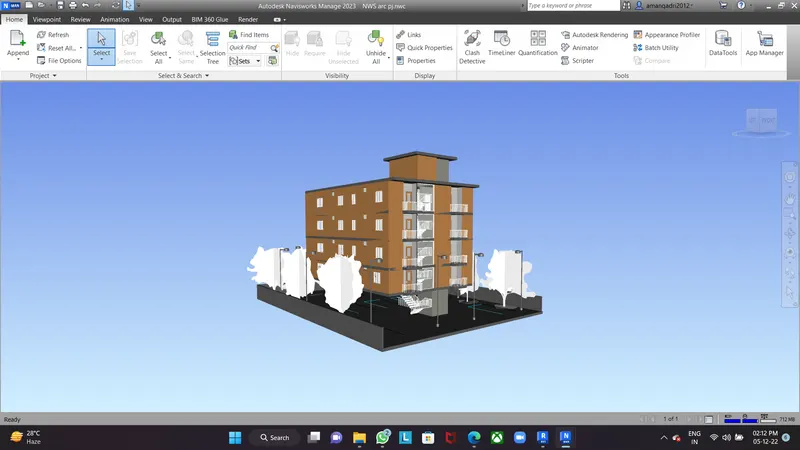
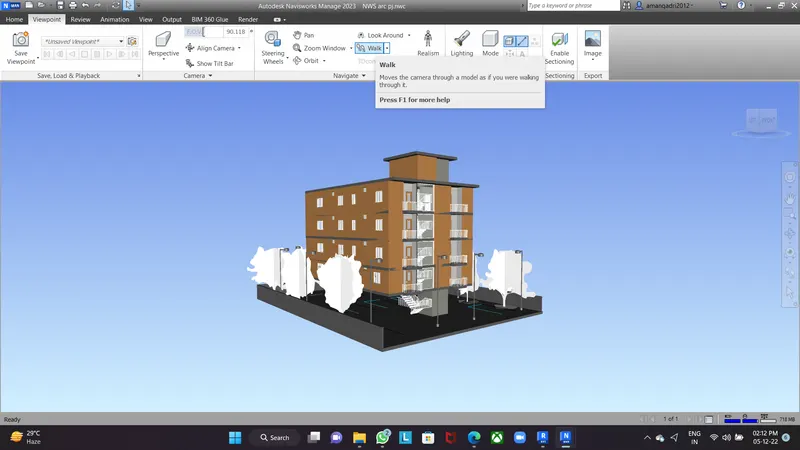
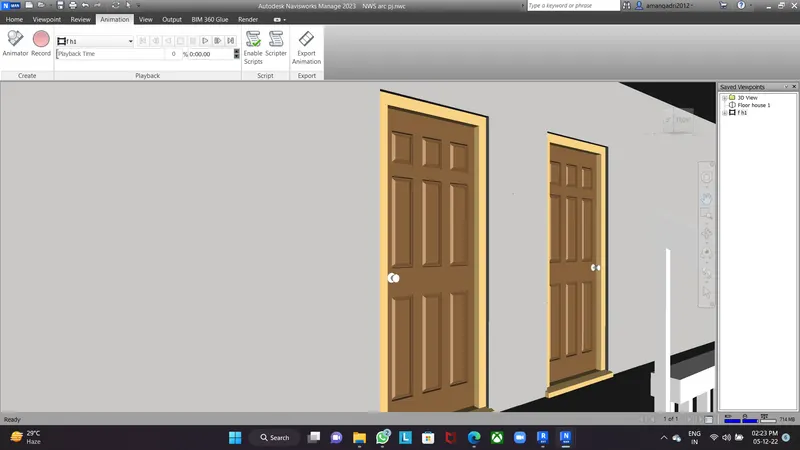
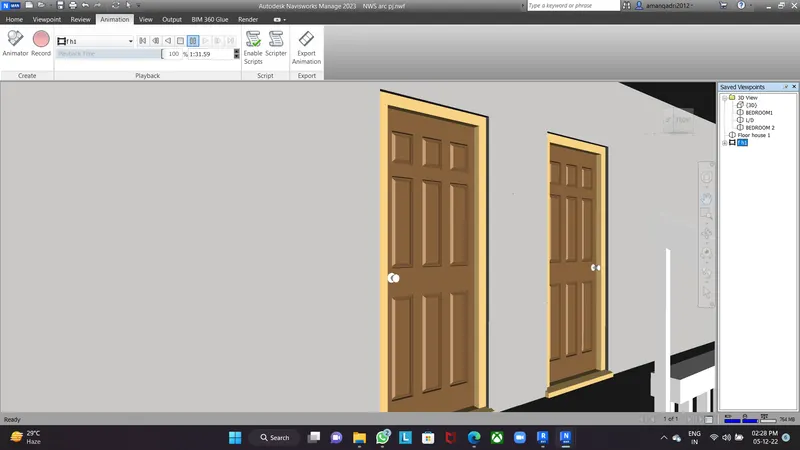
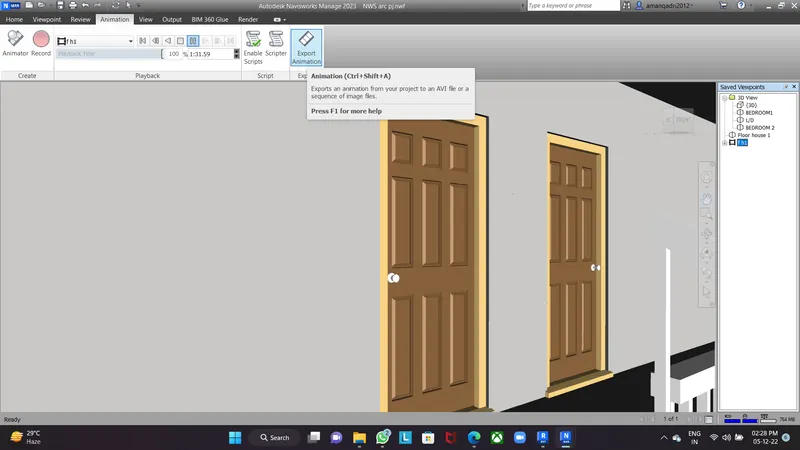
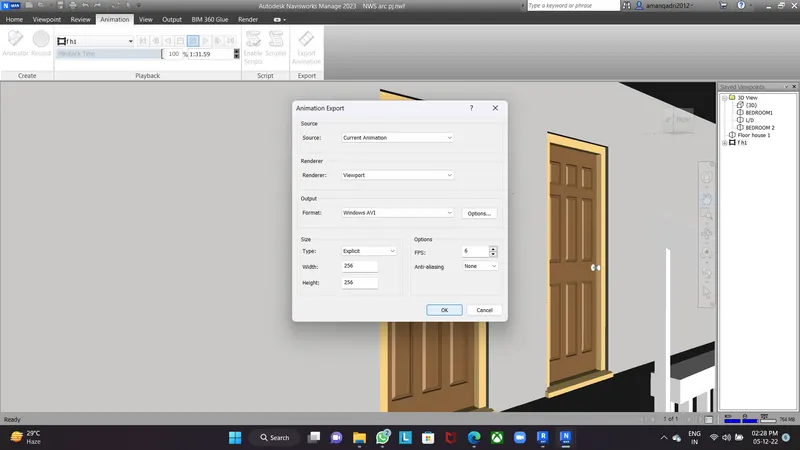
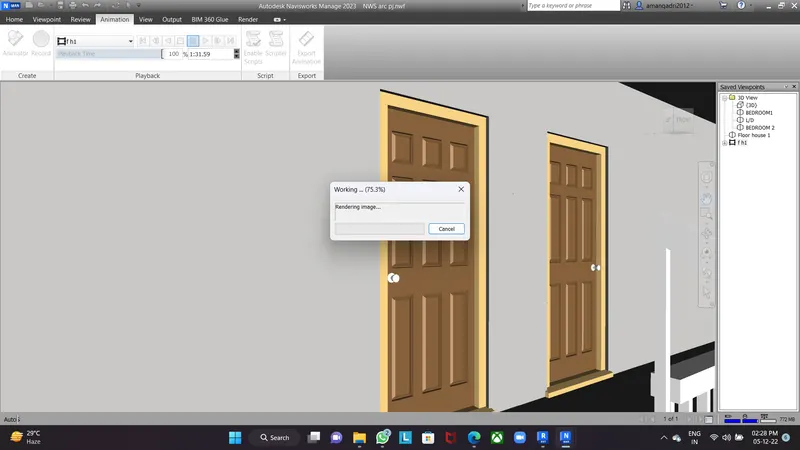
- Results : Walkthrough is created in Naviswork manage respectively by following above procedure shown in images and video.
Ans 3.
- Aim : Use Navigate tool to use Realism feature to walk through the model and record your moving as animation in Navisworks file.
- Introduction : Exporting of revit file in naviswork cache is done by naviswork exporter utility.
- Procedure :
- Go to viewpoint tab.
- Choose Realism option.
- In that, choose third person option then, a person will appears on your screen.
- Open camera option.
- Save the view from where you want to start walkthrough in camera symbol option.
- Then choose walk option to make move the person.
- Choose record option to start recording your walkthrough.
- Walk according to your views.
- For stop the recording choose stop option in tabs.
- Go to animation tab to see your walkthrough video by playing it.
- You can export this animation in to your device memory by given formats in exporting options.
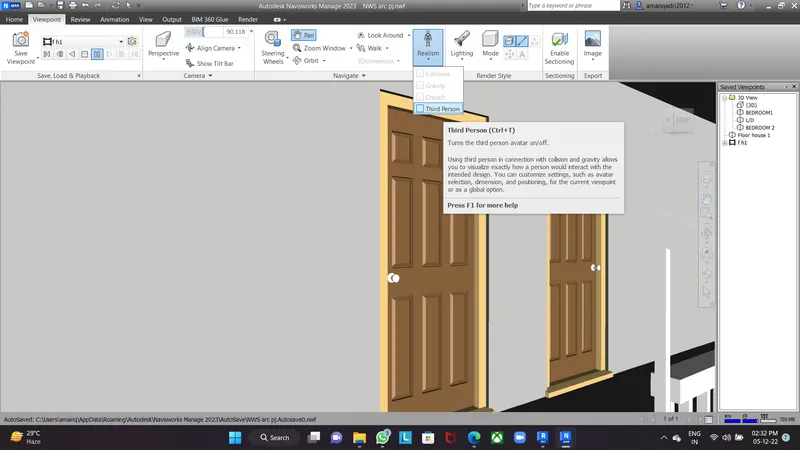
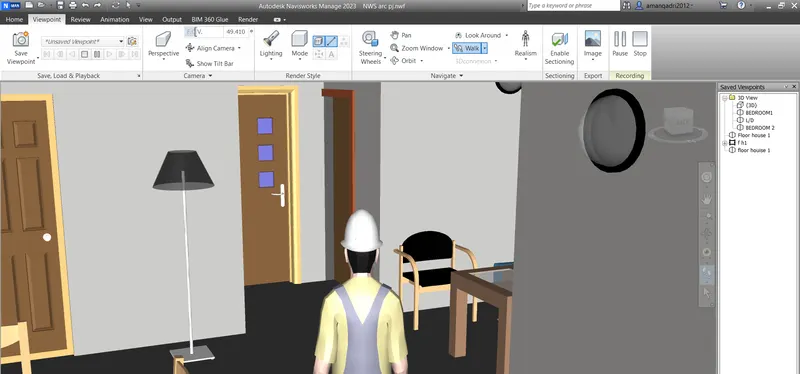
Further is shown in attached animation video.
- Results : Realism Walkthrough is created in Naviswork manage respectively by following above procedure shown in images and video.
Ans 4.
- Aim : Embed both architecture and structure *.nwc file to your Navisworks file. Create a clash detection test between the two models
a. Run the Clash Detection Test
b. Study the clashes between the two models
c. List which of the clashes could be approved
d. List which of the clashes could be neglected ( will be taken care later)
e. List which of the clashes can be resolved
f. Save the results after color coding the clashes to the Navisworks file
g. In case of resolution annotate the clash and save the view to defined views in Navisworks
- Introduction : Walkthrough the exported model in naviswork by walk tool given in viewpoint tab.
- Procedure :
- Open clash detective in Home Tab in navisworks manage.
- Then a clash detective window will open on your screen.
- In that choose add test option to add test of your respective file.
- After that choose your file from a window which opened after adding test.
- Then Run test.
- After that it will detect all the clashes present in your model.
- Then you will check every clash accordingly in your model,
- At the end give status of your clash such as new,active,reviewed,approved,resolved.
- Finally save the clash detective test.
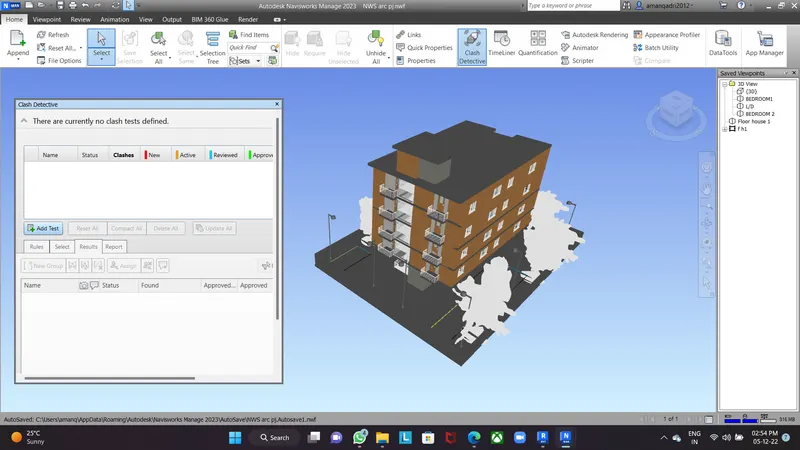
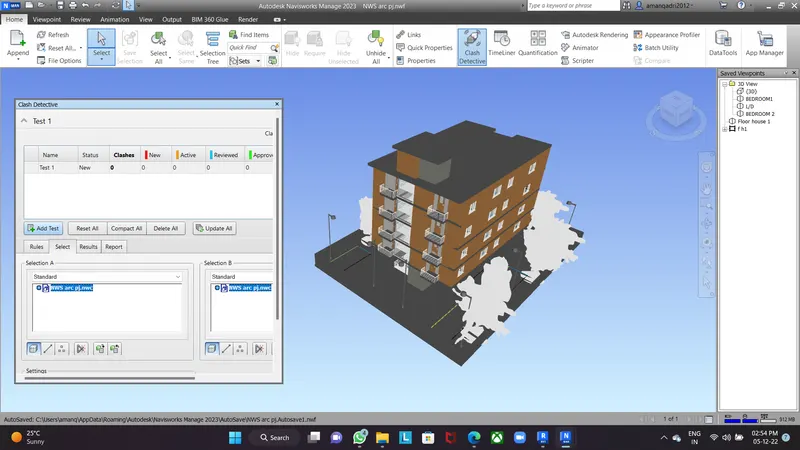
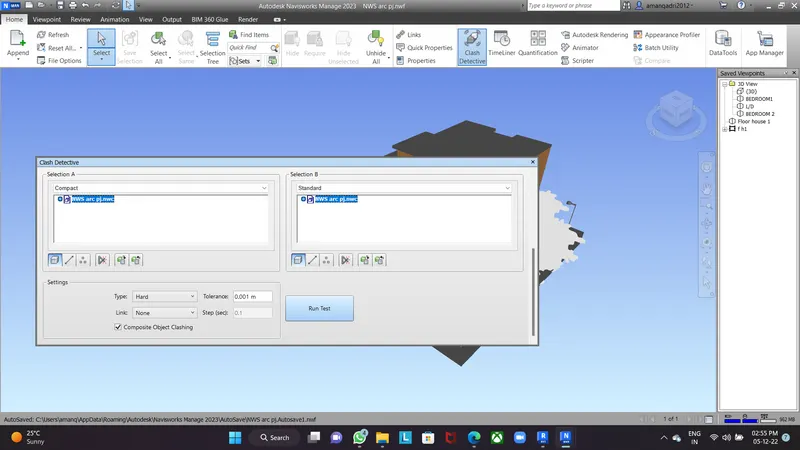
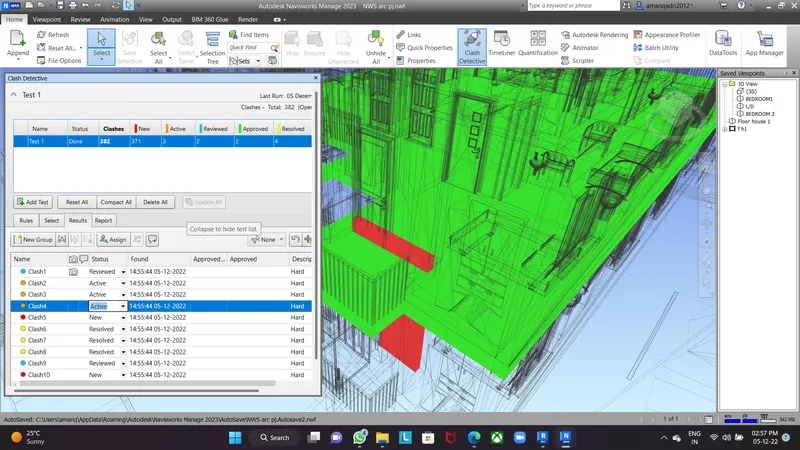
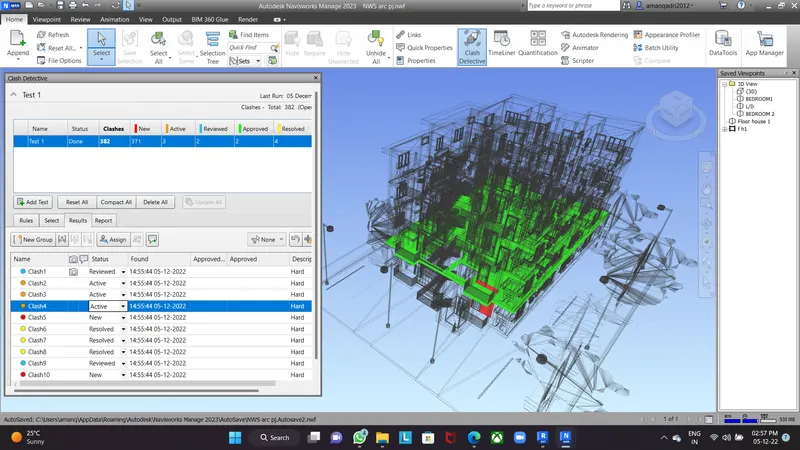
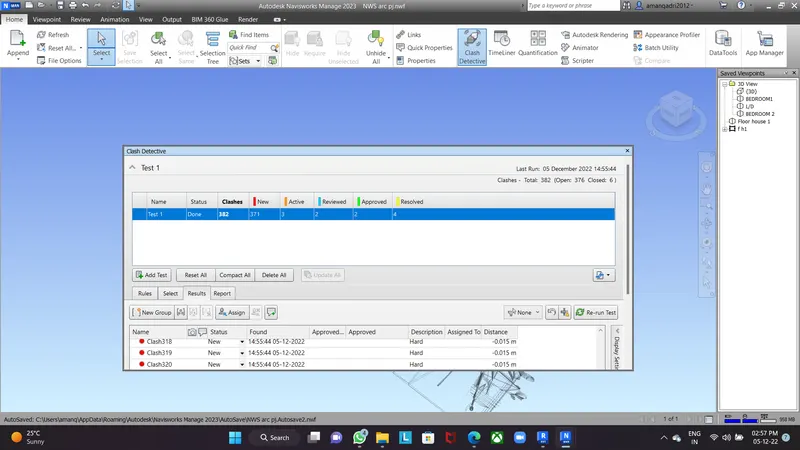
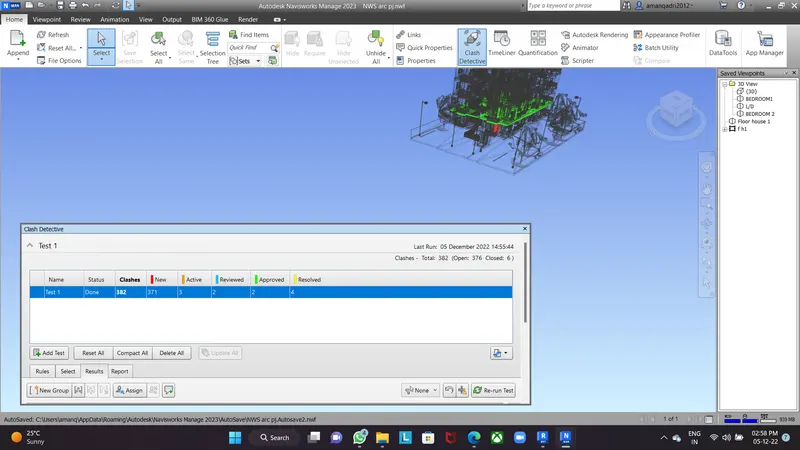
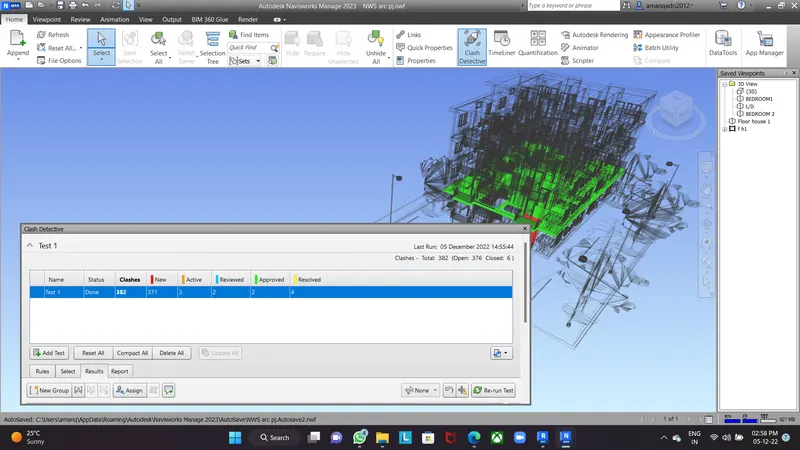
Results : Clashes has been detected through testing of files and further work is to be done on the clashes to improve it by giving statuses in Naviswork manage respectively by following above procedure shown in images.
Ans 5.
- Aim : Using the Timeliner feature in Navisworks prepare a schedule for the project developed in week 6 to 8 by adding reasonable assumptions for task start date and end date and simulate the task completion as a visual simulation. Record it and save the timeline simulation to Navisworks file.
- Introduction : In Navisworks we can prepare a timeliner schedule for the project developed previously and simulate it start and end date by timeliner tool given in Home tab.
- Procedure :
- Open Timeliner in Home Tab in navisworks manage.
- Then a timeliner window will open on your screen.
- In that add task according to your construction process.
- Assign name,date and time,actual date and time,task type.
- Then attach file in attach option of timeliner by selecting according to your construction process.
- After assigning you can simualate it in the form of animation video from start to end of the project.
- You can export this animation in to your device memory by given formats in exporting options.
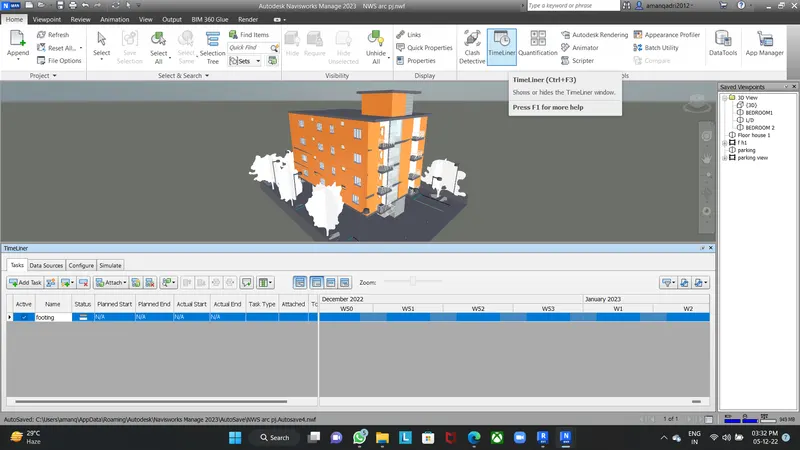
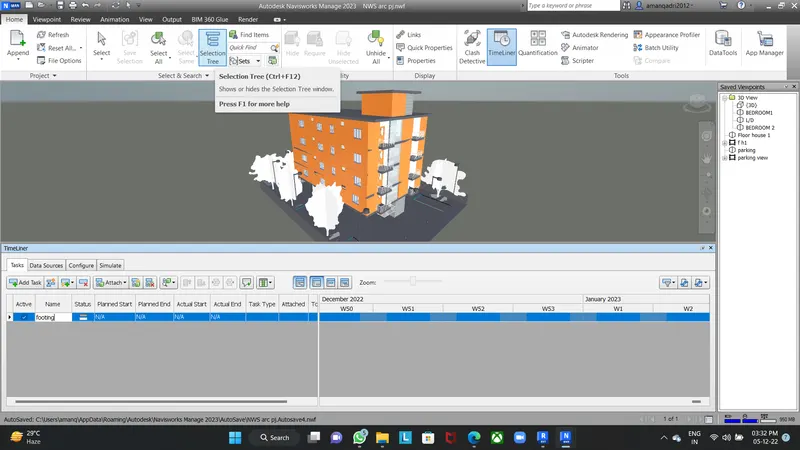
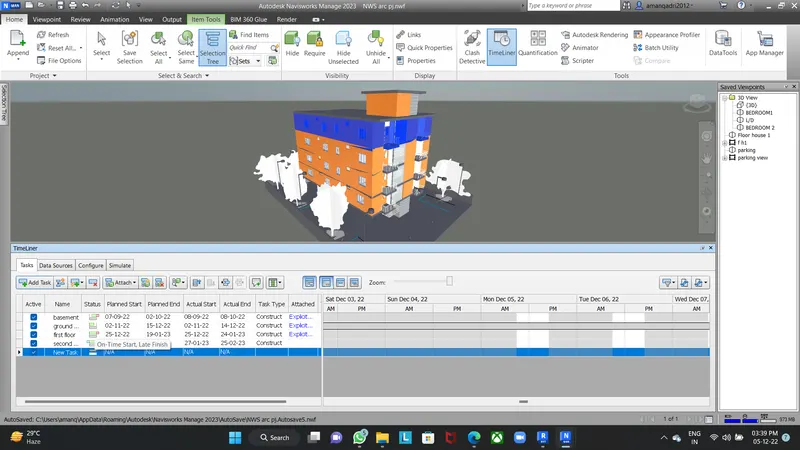
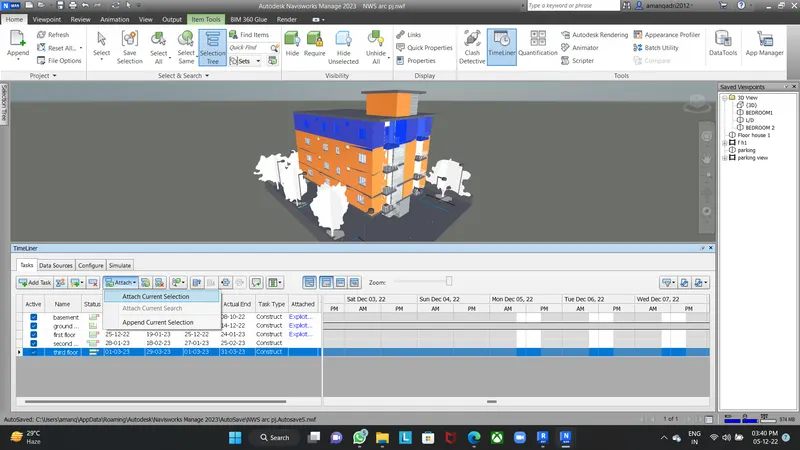
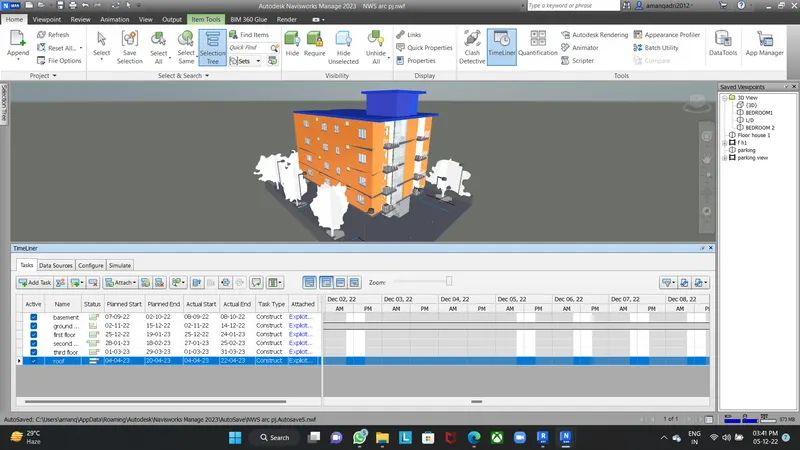
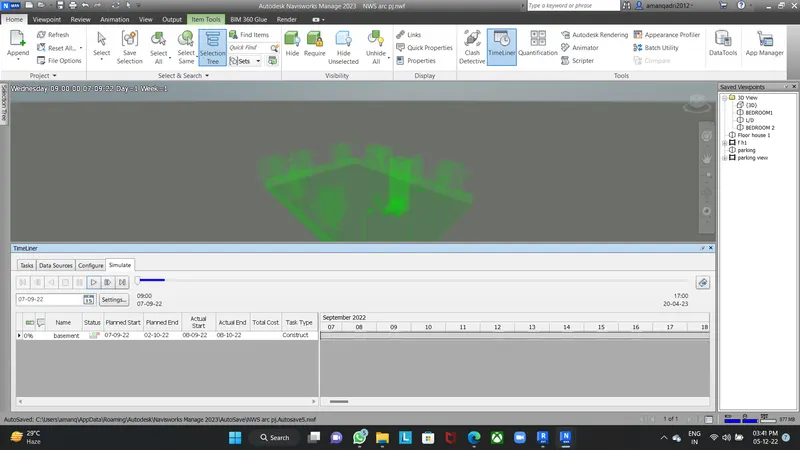
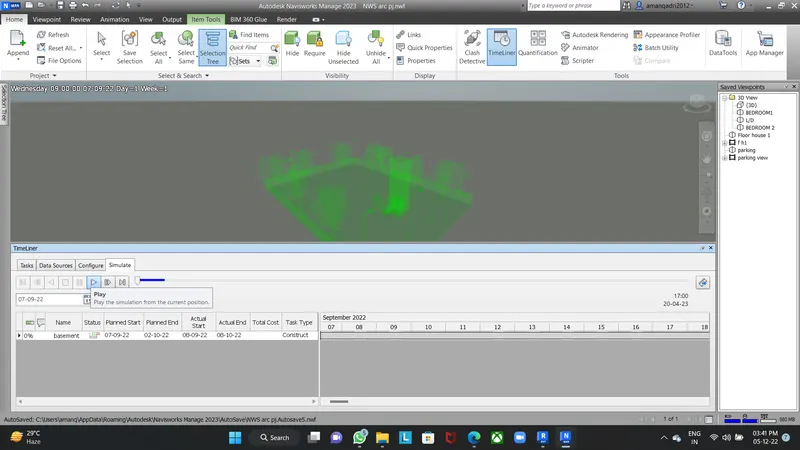
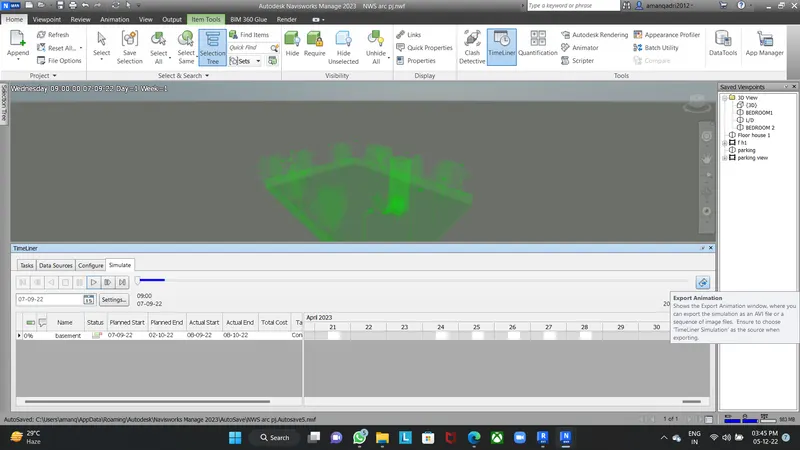
- Results : Timeliner has been created by assigning name,date and time,actual date and time,task type and simulation can exported in the form of video respectively by following above procedure shown in images and video.
.................................................THANK YOU...............................................................................