Usage of Navigation tool , Timeliner and Clash Detection test using Naviswork
1) Use the Architecture/ Structure Project file developed by you in Week 6 to 8. Export the Revit architecture and structure model to Navisworks Cache file following the export settings discussed in class
AIM:
Need to export the Revit architectural and structural model to Navisworks cache file
INTRODUCTION:
Export the Revit architectural and structural model to Navisworks cache file which has been created in week 6 to 8, and following the export settings
PROCEDURE:
STEP 1) OPEN MODEL
- Launch the Revit software
- Click on open and select previously created drawing in week 7 architectural and structural model in 3D view
STEP 2) CONVERT MODEL TO NAVISWORKS
- In architectural model
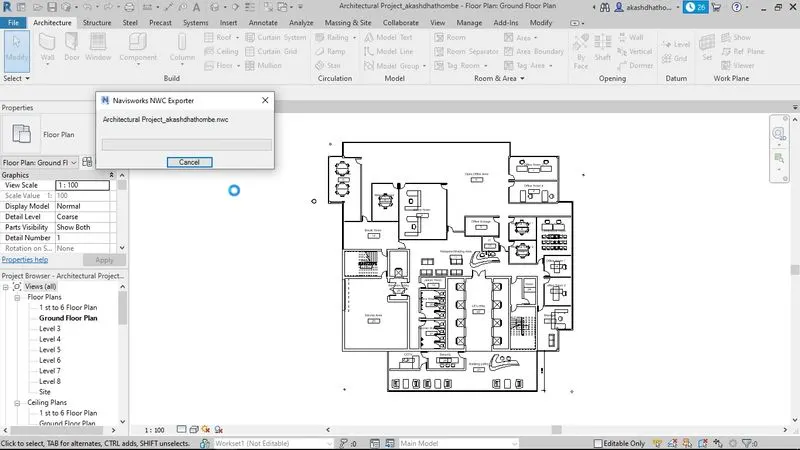
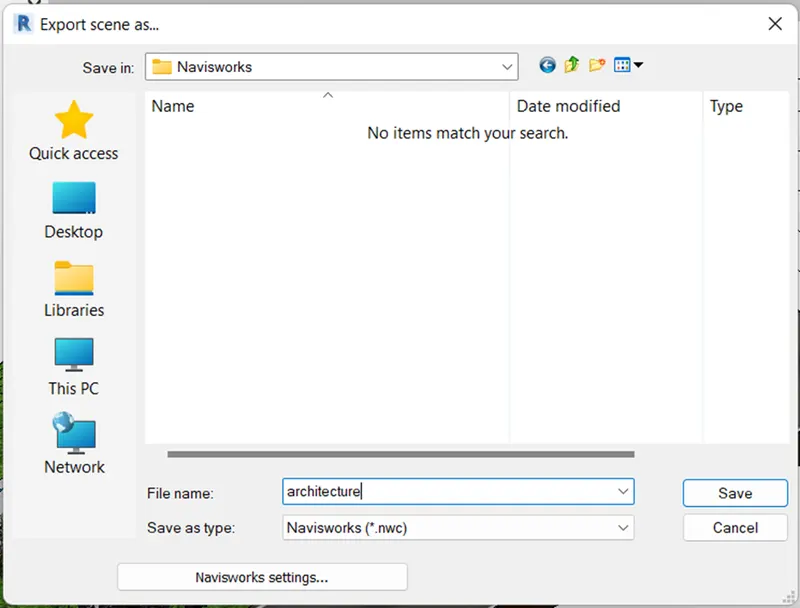
- Go to Export option from File tab and select NWC (Navisworks)
- Save the Navisworks file in appropriate folder and the extension of file should be (.nwc)
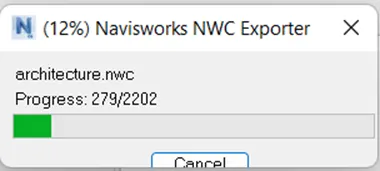
- After that architecture model will export in Navisworks file
- Similarly follow the step for structural model
2) Use Navigate Tool to walk around the model and walk through the rooms created and record your moving as animation in your Navisworks file
AIM:
For walk around the model and walk through the rooms, used Navigate tool and save the recording as administrator in Navisworks file
INTRODUCTION:
By using navigation tool to walk around the model, and walk through the room, recorded and saved the moving as administrator in Navisworks
PROCEDURE:
STEP 1) OPEN NAVISWORKS MODEL
- Launch Navisworks Manage 2020
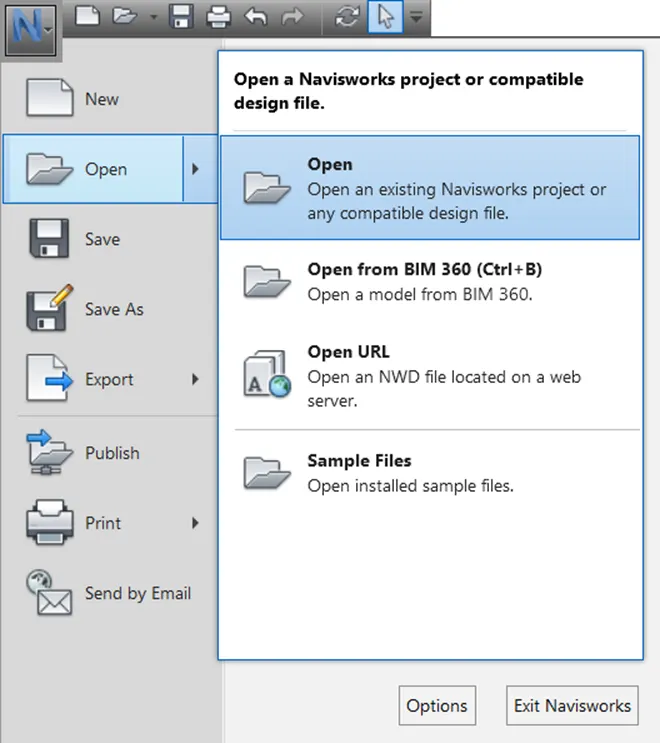
- Go to application menu and click on open
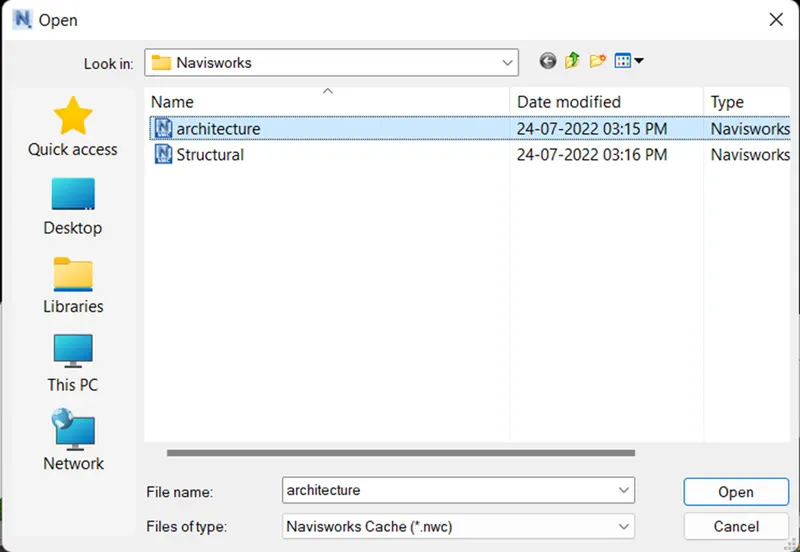
- Open the architecture.nwc file which is exported in last question
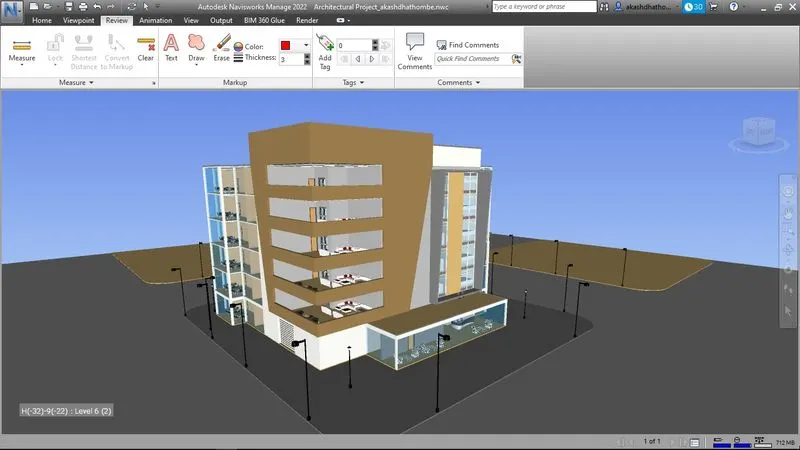
STEP 2) WALK THROUGH THE ROOM
- Go to Viewpoint and select Walk
- Go to Save Viewpoint and click on Recording
- Start walk and pan to capture the rooms in building
- After capturing the walk through inside building save viewpoint
- Right click and rename the viewpoint animation as Inside walk
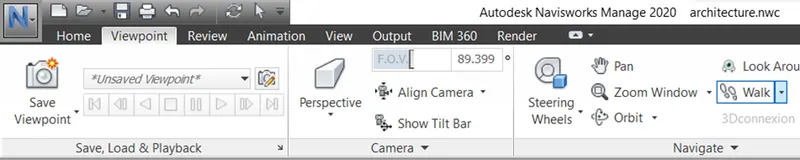
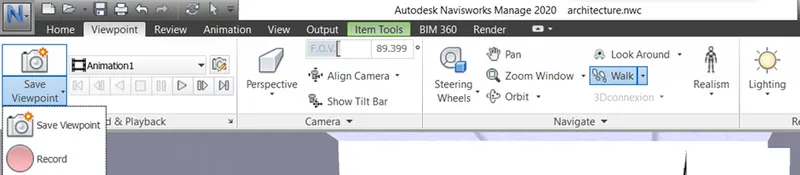
STEP 3) PLAY THE WALK RECORDING
- Go to animation and select Inside walk
- Click on play button to play the recording
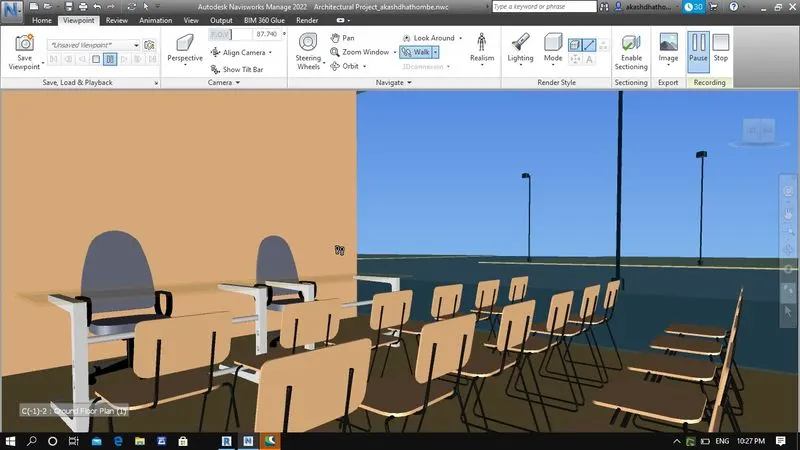
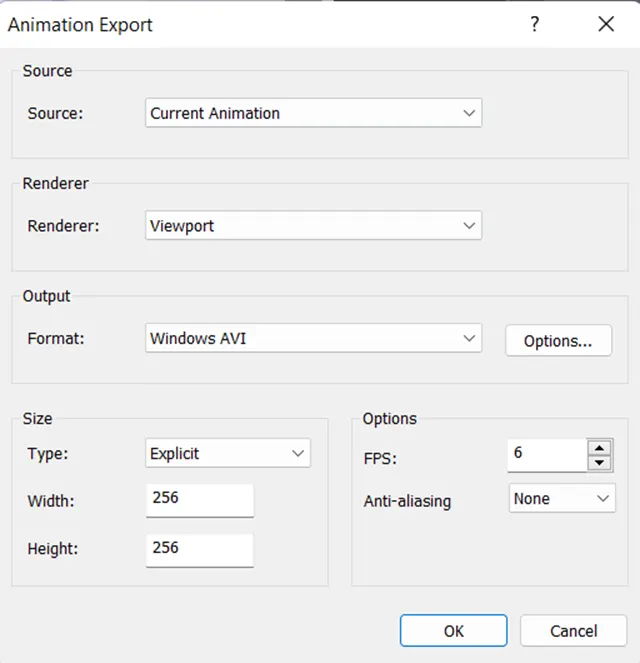
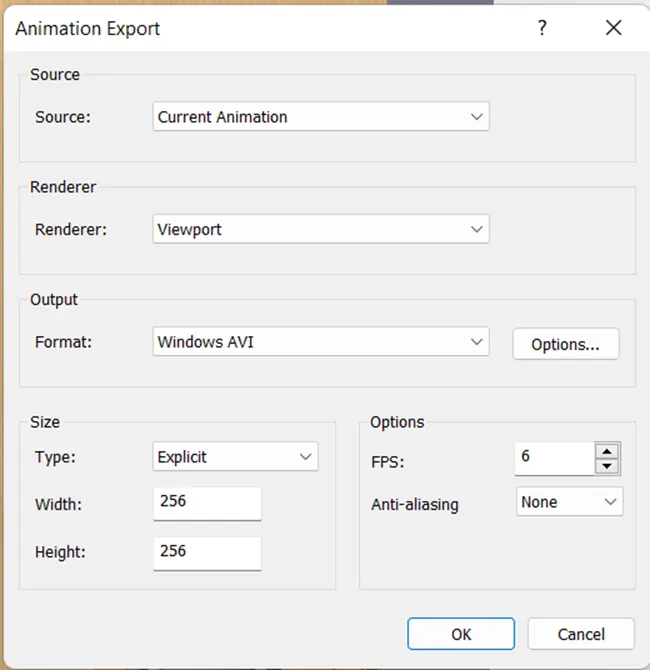
STEP 4) EXPORT ANIMATION
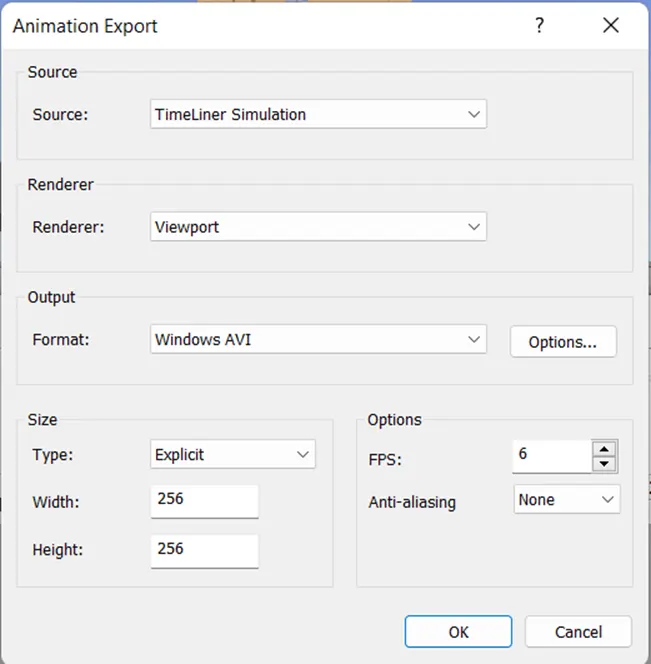
- Go to Animation view
- Click on Export Animation
- Change the settings accordingly and click OK
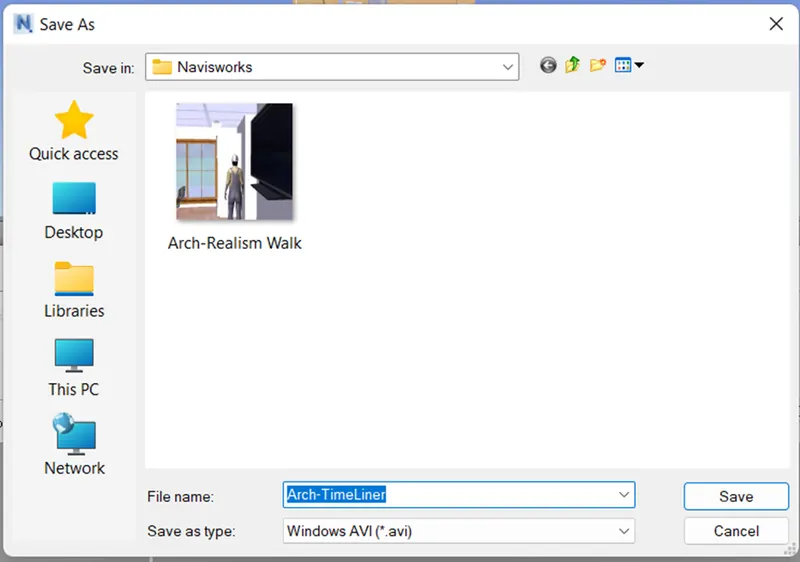
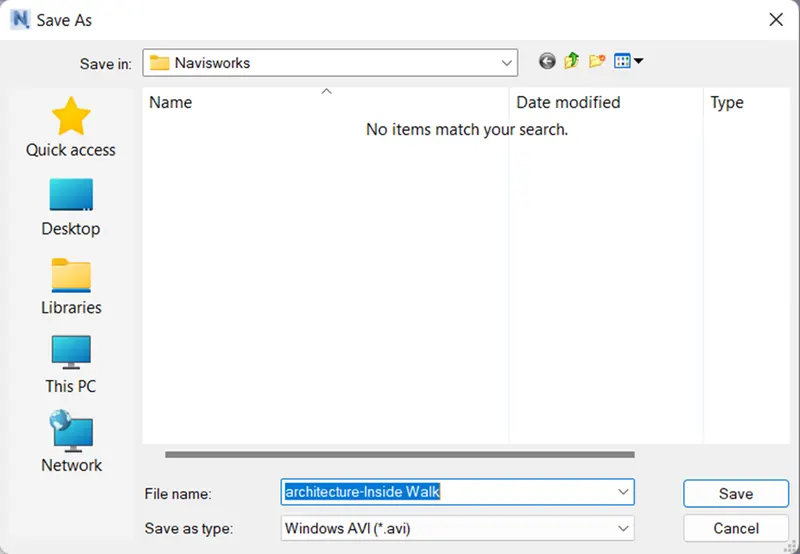
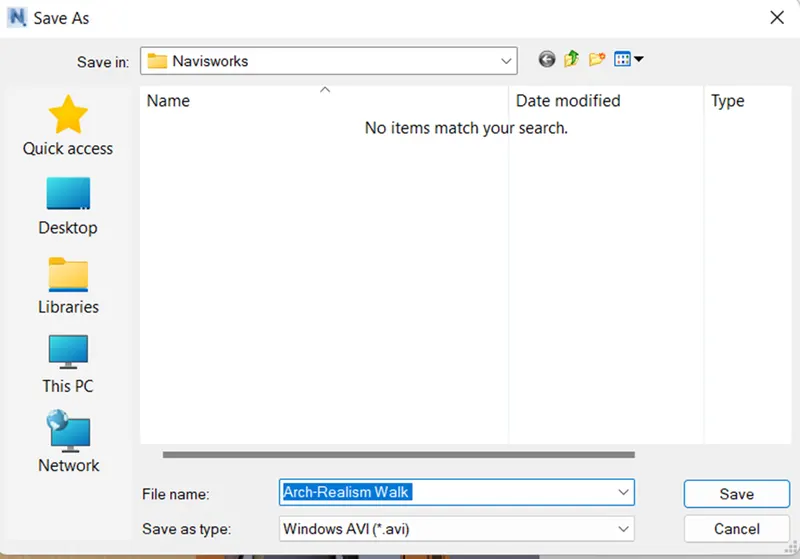
- Save the recording file at appropriate location

3) Use Navigate tool to use Realism feature to walk through the model and record your moving as animation in Navisworks file
AIM:
For walk around the model, used Navigate tool for realism feature and save the recording as administrator in Navisworks file
INTRODUCTION:
Navigate using Realism tool to walk around the model, recorded and saved the moving as administrator in Navisworks
PROCEDURE:
STEP 1) OPEN NAVISWORKS MODEL
- Launch Navisworks Manage 2020
- Go to application menu and click on open
- Open the architecture.nwc
STEP 2) WALK THROUGH THE BUILDING
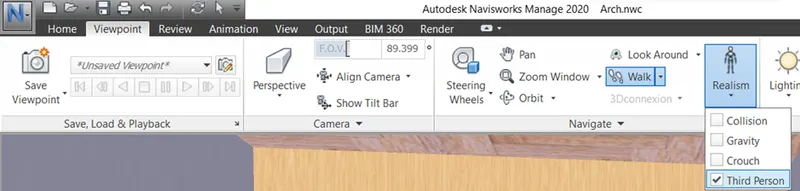
- Goto Viewpoint click on walk and then click on Realism
- Select third person option
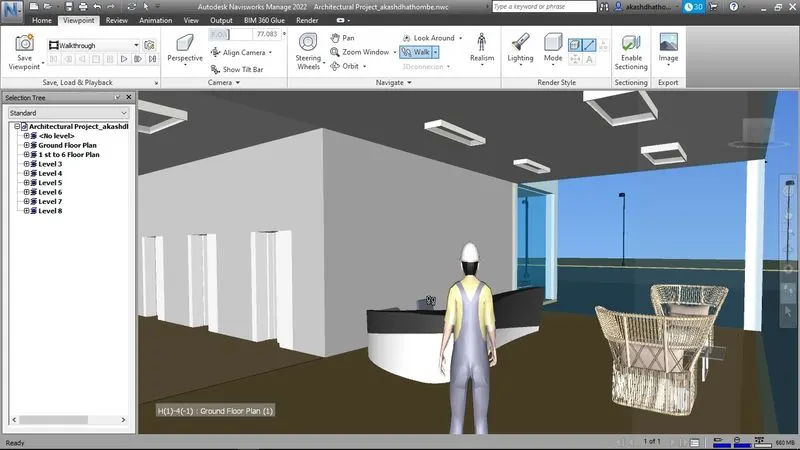
- Goto save viewpoint and start recording
- Navigate throughout the building
STEP 3) SAVE AND PLAY RECORDING
- After that click to the Save Viewpoint and save the recording
- Right click and rename the viewpoint animation as Realism Walk
STEP 4) EXPORT ANIMATION
- Go to Animation view
- Click on Export Animation
- Change the settings accordingly and click OK
- Save the recording file at appropriate location
4) Embed both architecture and structure *.nwc file to your Navisworks file. Create a clash detection test between the two models
a. Run the Clash Detection Test
b. Study the clashes between the two models
c. List which of the clashes could be approved
d. List which of the clashes could be neglected ( will be taken care later)
e. List which of the clashes can be resolved
f. Save the results after color coding the clashes to the Navisworks file
g. In case of resolution annotate the clash and save the view to defined views in Navisworks
AIM:
Embed both architectural and structural *.nwc file in Navisworks and create clash detection test
INTRODUCTION:
To embed both architectural and structural *.nwc file in Navisworks and created clash detection between both models, study the clashes, list the clash that could be approved or could be neglect, which can be resolved saved the result after color coding.
PROCEDURE:
STEP 1) OPEN NAVISWORKS MODEL AND APPEND
- Launch Navisworks Manage 2020
- Go to application menu and click on open
- Open the Arch.nwc file
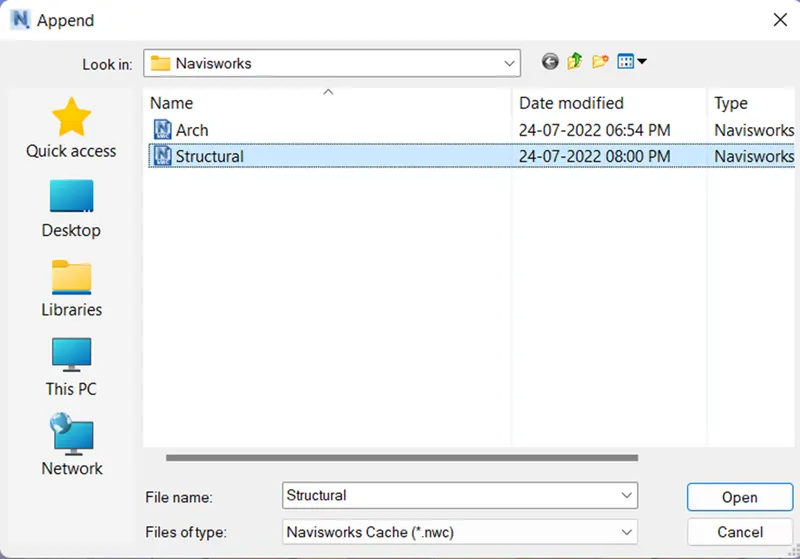
- Goto home page, dropdown Append and click on Append
- Open the structural.nwc file
- The structural model will append to the architectural model
STEP 2) RUN CLASH DETECTION TEST
- Goto home view and select Clash detection from tools tab
- In clash detection click on Add Test
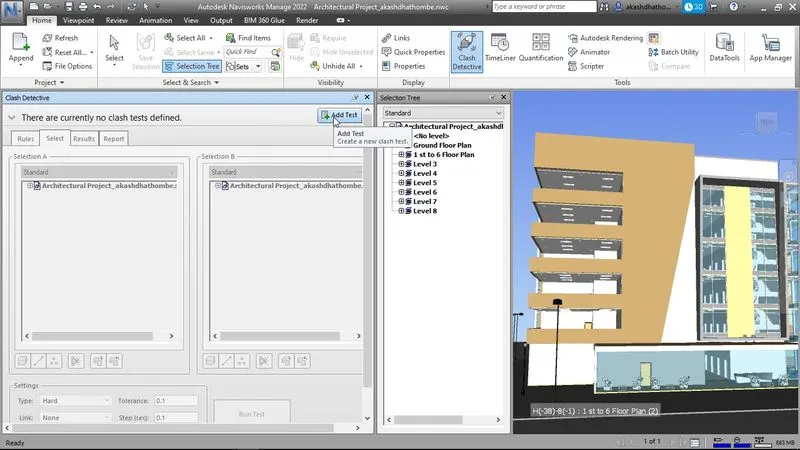
- Change the test name as Demo Test
- Select Arch.nwc in Section A and Structural.nwc in Section B
- Select the surface option
- Click on Run Test
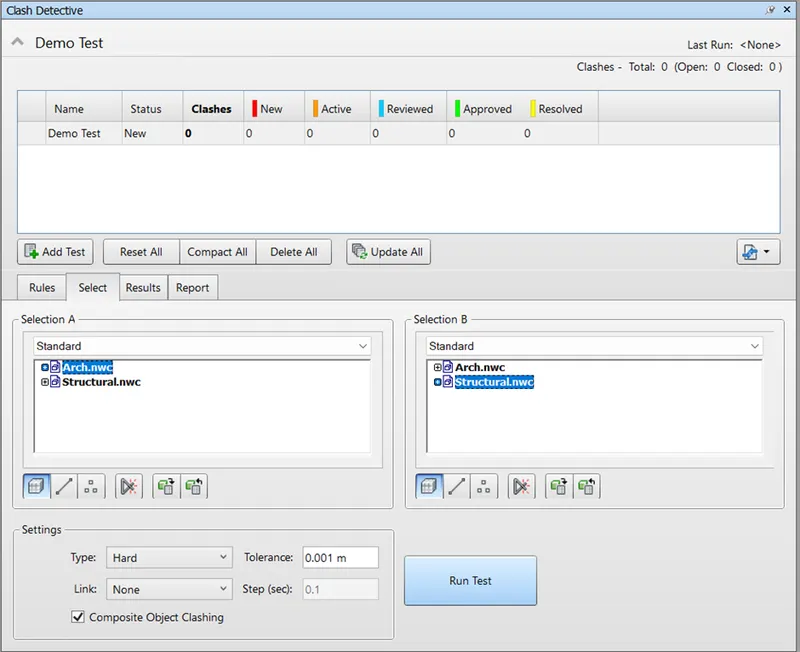
- Total number of clashes detected are listed below
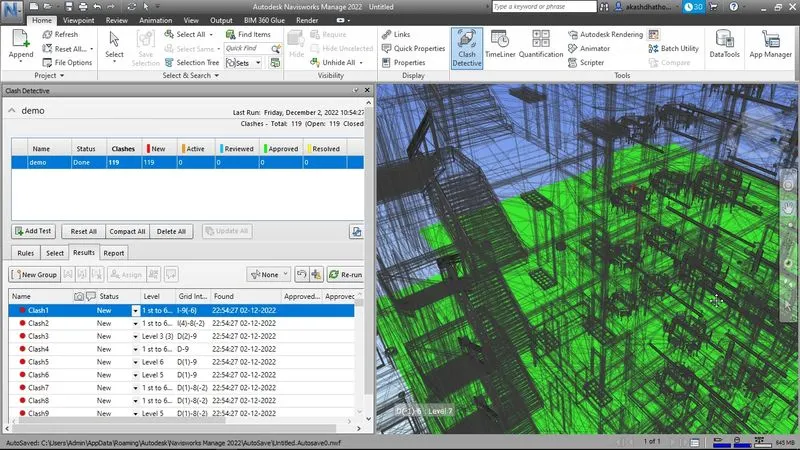
STEP 3) STUDY THE CLASHES
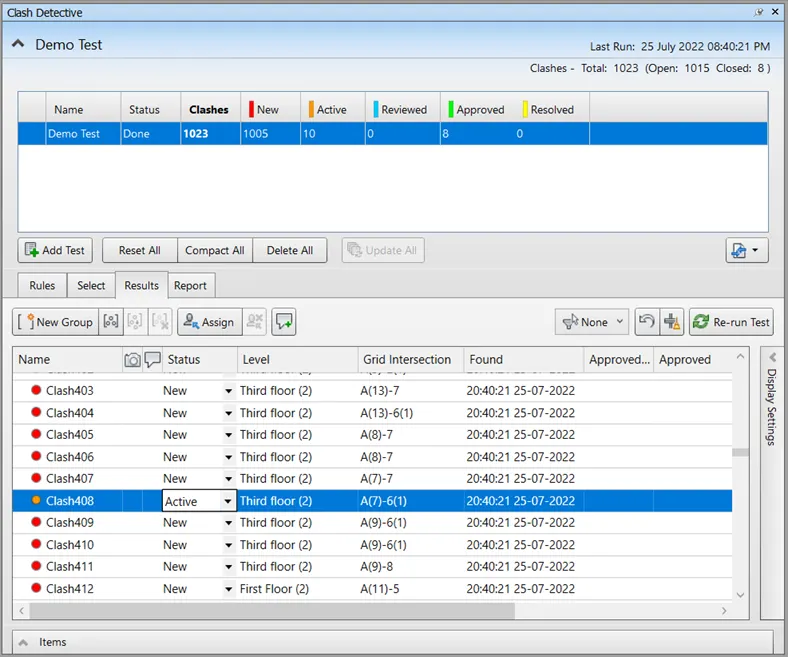
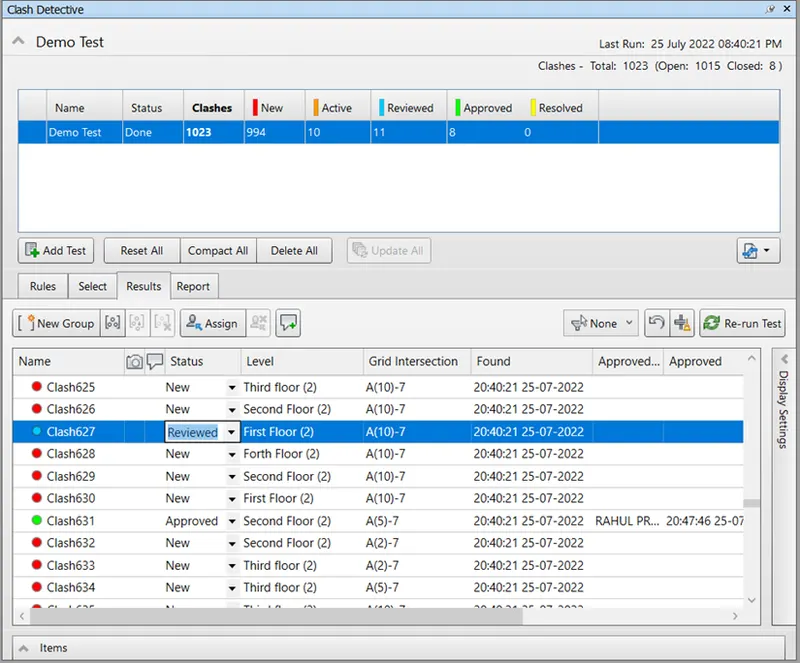
- From the generated result, check all the clashes one-by-one and changed the status accordingly.
STEP 4) CHANGE THE STATUS OF CLASHES WHICH CAN BE APPROVED
- Select the clash that can be approved
- Under the status column drop down and change the status to Approved
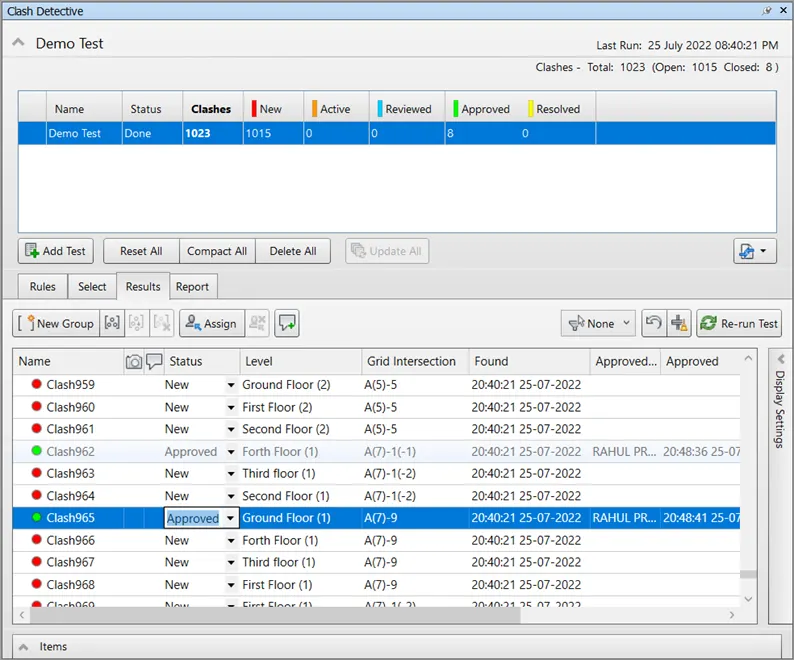
STEP 5) CHANGE THE STATUS OF CLASHES WHICH CAN BE NEGLECT OR REVIEWED
- Select the clash that can be taken care later as Active or Reviewed
- Under the status column drop down and change the status to Active or Reviewed
STEP 6) CHANGE THE STATUS OF CLASHES WHICH CAN BE RESOLVED
- Select the clash that can be resolved
- Under the status column drop down and change the status to Resolved
STEP 7) EXPORT THE RESULT
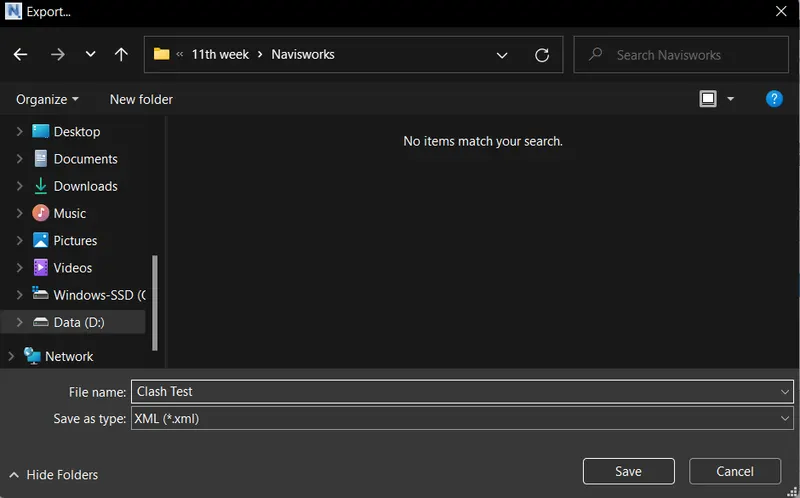
- For export the color coding of clashes in .xml file click the dropdown the Import/Export Clash test
- Select the Export Clash test
- Save the .xml file with appropriate name
STEP 8) CLEAR THE RESOLVED CLASHES
- For clearing the resolved clashes, click on Compact
- It will remove all the resolved clashes form list of generated clashes
5) Using the Timeliner feature in Navisworks prepare a schedule for the project developed in week 6 to 8 by adding reasonable assumptions for task start date and end date and simulate the task completion as a visual simulation. Record it and save the timeline simulation to Navisworks file
AIM:
Prepared a schedule by using timeliner feature in Navisworks and adding reasonable assumption of task start date and end date
INTRODUCTION:
By using Timeliner feature in Navisworks, added a schedule which is having assumption of task start date and end date, recorded and saved the timeline simulation in Navisworks file
PROCEDURE:
STEP 1) OPEN NAVISWORKS MODEL
- Launch Navisworks Manage 2020
- Go to application menu and click on open
- Open the architecture.nwc file
STEP 2) OPEN TIMELINER
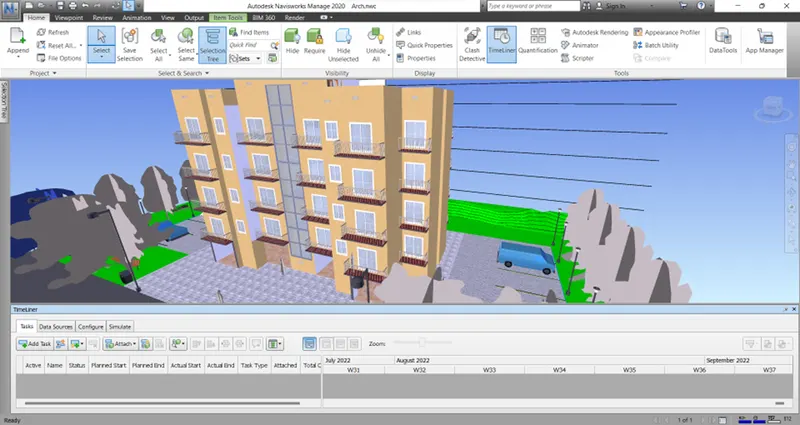
- Goto Home view click on Timeliner
- Timeliner window will appear

STEP 3) OPEN SELECTION TREE
- Goto home view and click on Selection tree tab
- Selection tree window will appear
STEP 4) ADD TASK IN TIMELINER
- In the timeliner window click on add task
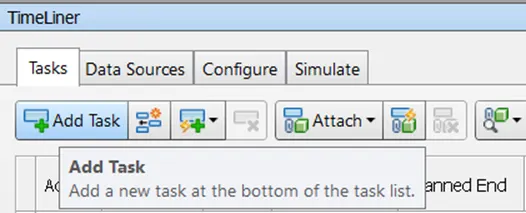
- Rename the task with appropriate name
- Enter the Planned and actual start date and end date
- Select the task type for each activity as Construct
- From the selection tree window, select the standards one-by-one
- Again, in timeliner window dropdown attach option and click on attach to current section
STEP 5) VISUAL SIMULATION
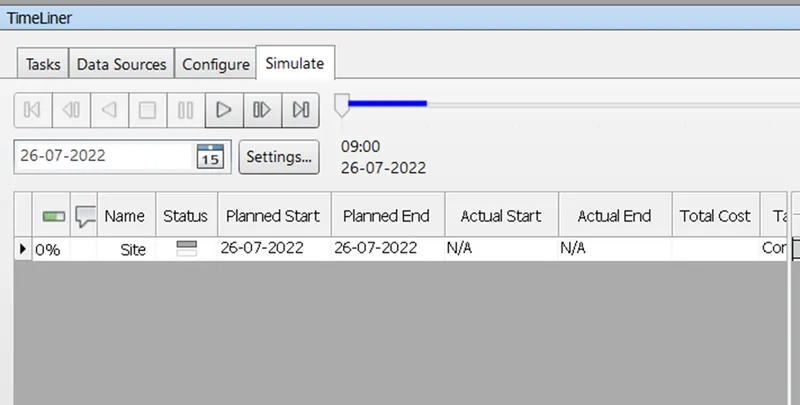
- Select Simulation tab from the Timeliner window
- Click on play button
- We can change the other setting like video play time and frame time
STEP 6) EXPORT THE ANIMATION
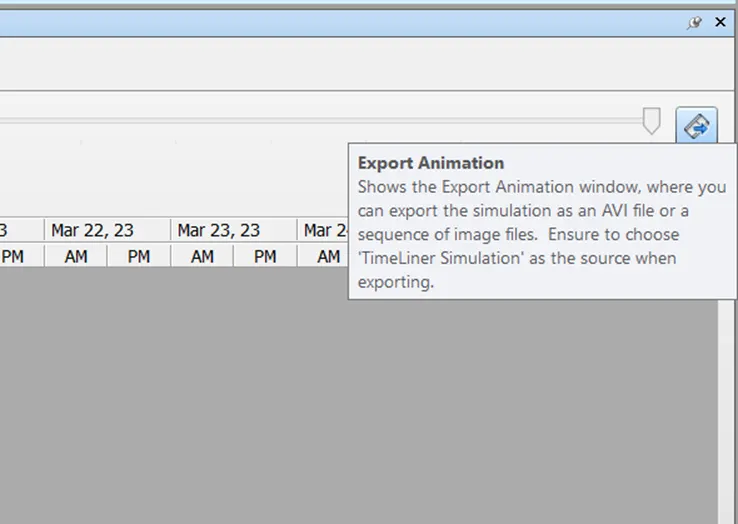
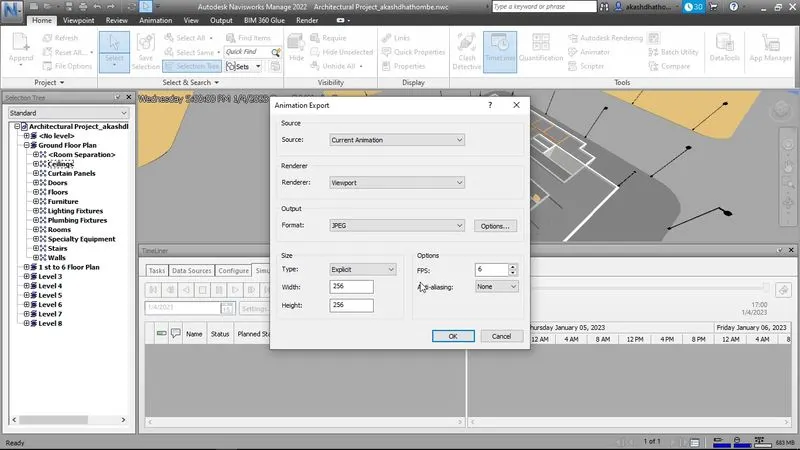
- Lick on export animation from the timeliner window
- Change settings like source “TimeLiner Simulation” in animation export window
- Click on Ok and save the animation