Usage of Navigation tool , Timeliner and Clash Detection test using Naviswork
1. Use the Architecture/ Structure Project file developed by you in Week 6 to 8. Export the Revit architecture and structure model to Navisworks Cache file following the export settings discussed in class.
A.) AIM:
To export the Revit architecture and structure model to Navisworks Cache file.
PROCEDURE:
- Open the revit file developed previously.
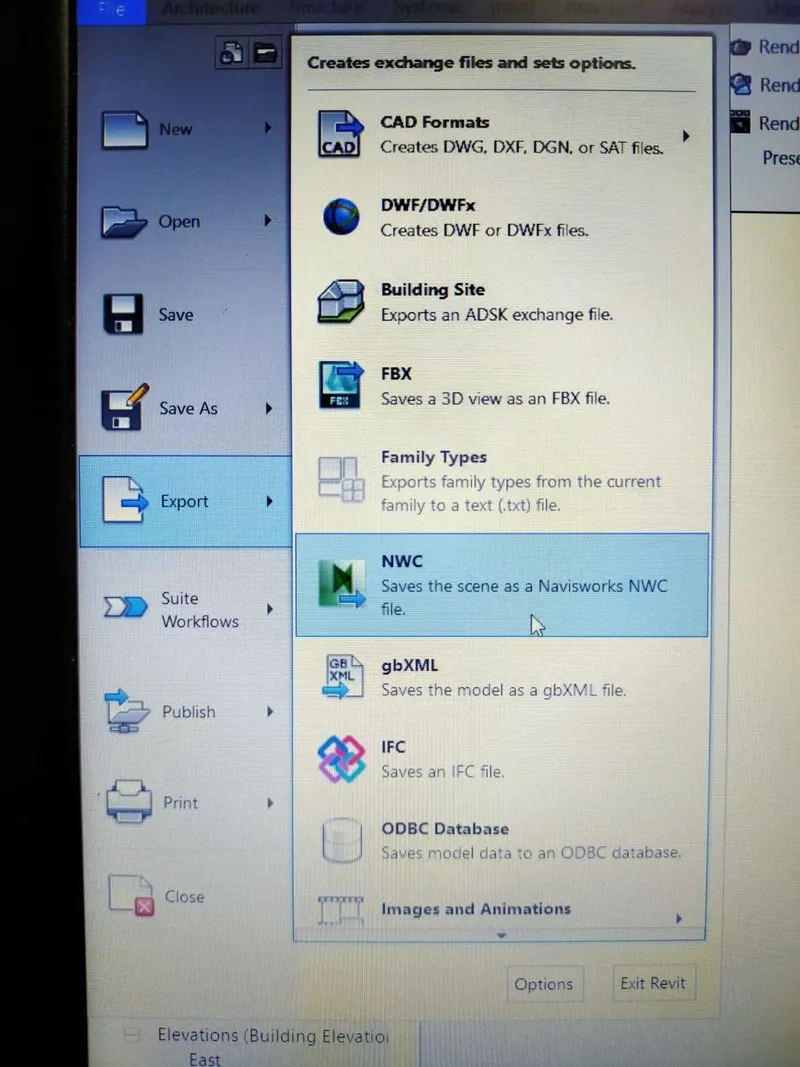
- Choose file option and select export option.
- Now select NWC.
- The exporting task is completed.
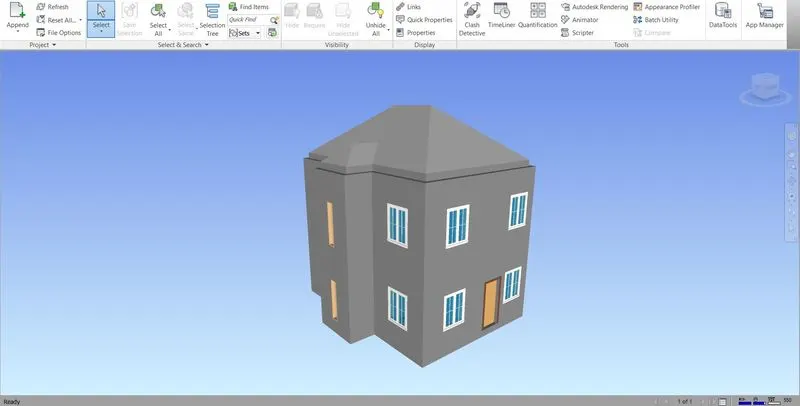
- Now, open the Navisworks programme now, then select "open tool" from the file menu.
- File the Revit file is opened in the Navisworks software.
RESULT:
2. Use Navigate Tool to walk around the model and walk through the rooms created and record your moving as animation in your Navisworks file.
A.) AIM:
To use Navigate Tool to walk around the model and walk through the rooms created and record your moving as animation in your Navisworks file.
PROCEDURE:
- Open the architecture file which we want to export to Navisworks.
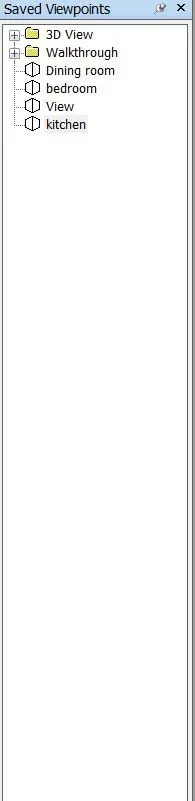
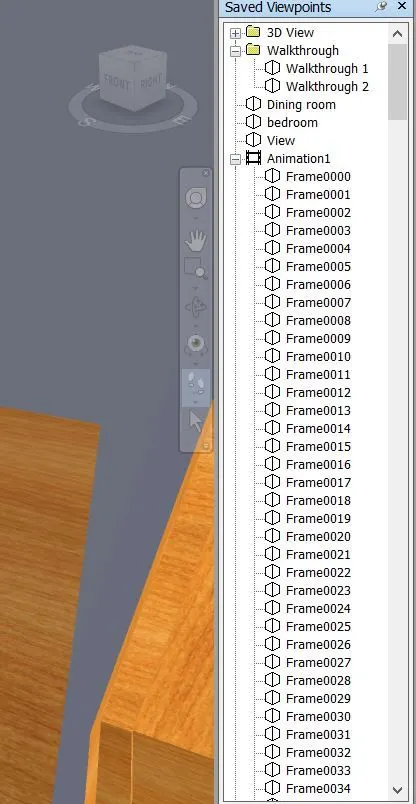
- Now click on the viewpoint tool and select save viewpoint option.
- Save every views by giving seperate names.
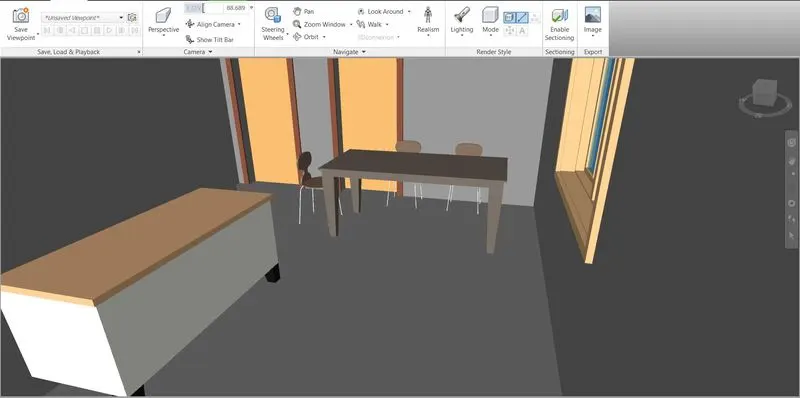
- Select the "Walk" option, then place the cursor where you want to begin your walk.
- With the help of the walk tool, we can now travel to the required location and change the design as we choose.
RESULT:

3. Use Navigate tool to use Realism feature to walk through the model and record your moving as animation in Navisworks file.
A.) AIM:
To use Navigate tool to use Realism feature to walk through the model and record your moving as animation in Navisworks file.
PROCEDURE:
- Open the architecture file which we want to export to Navisworks.
- Now click on viewpoint tool and select save view point option.
- Save the view with appropriate name and then click enter.
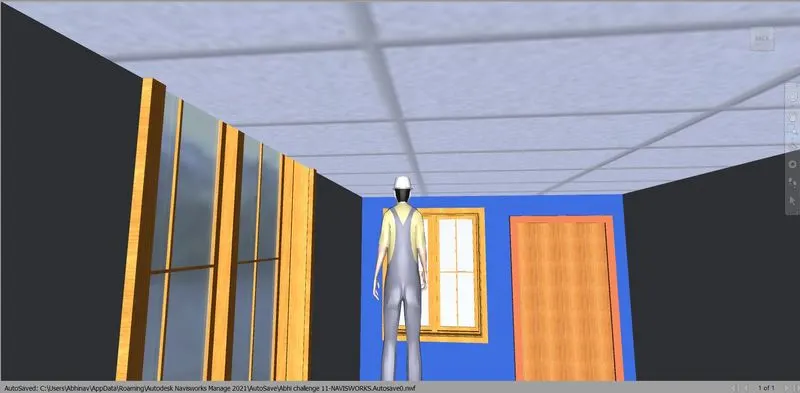
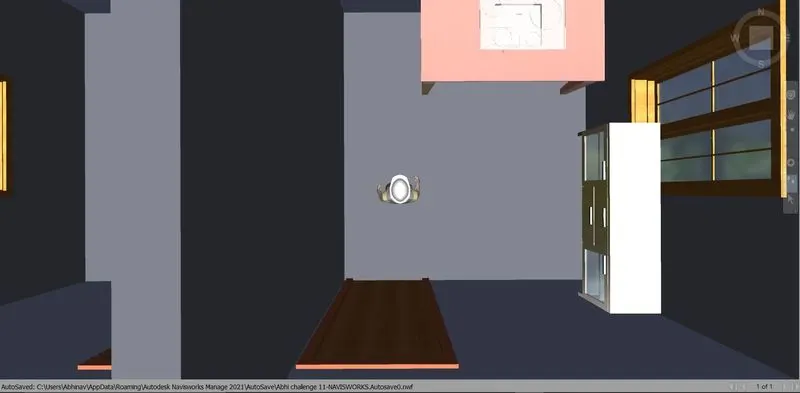
- Now click on the realistic option from the ribbon and select third person option.
- Select the option to "walk" and then click where you wish to start your walk.
- With the help of the walk tool, we can now travel to the required location and change the design as we choose.
RESULT:
5. Using the Timeliner feature in Navisworks prepare a schedule for the project developed in week 6 to 8 by adding reasonable assumptions for task start date and end date and simulate the task completion as a visual simulation. Record it and save the timeline simulation to Navisworks file.
A.) AIM:
To use the Timeliner feature in Navisworks prepare a schedule for the project developed in week 6 to 8 by adding reasonable assumptions for task start date and end date and simulate the task completion as a visual simulation.
PROCEDURE:
- Open the required Navisworks file.
- Select the timeliner tool from the home menu.

- Finally the timeliner dialog box appears.
- Select the components by clicking on the selection tree and add them to the timeliner.
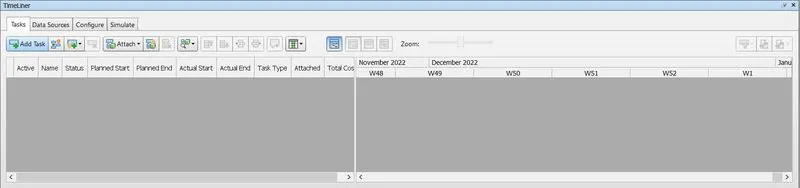
- Now click add task to add the first work.
- Once all the information has been entered into the timeliner dialogue box, we can select the simulate option.
- The simulation starts, and a video of the building process from the beginning to the finish is available.