Usage of Navigation tool , Timeliner and Clash Detection test using Naviswork
1Q)
AIM:To use the architectural/structural project file developed from week 6-8.Export the revit file to naviswork cache file.
TOOLS UESD:
- File
- Export
- NWC
- Navisworks
- View
- Default 3D view
PROCEDURE:
- Open the revit file which we want to export to the navisworks file.
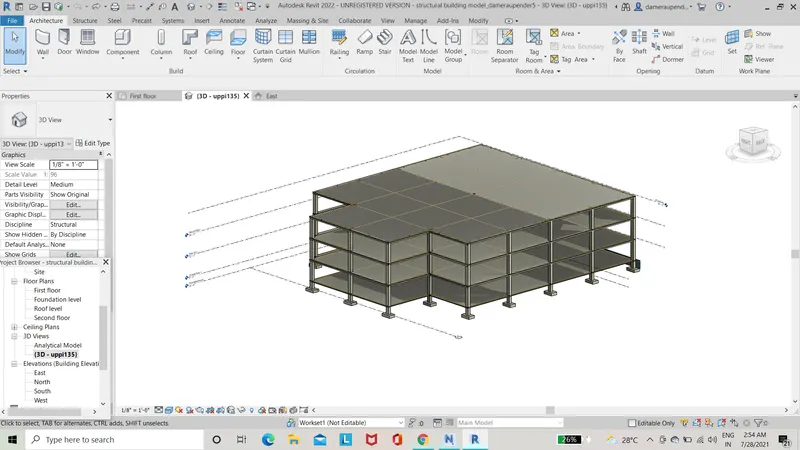
- click on file and select export option and choose NWC
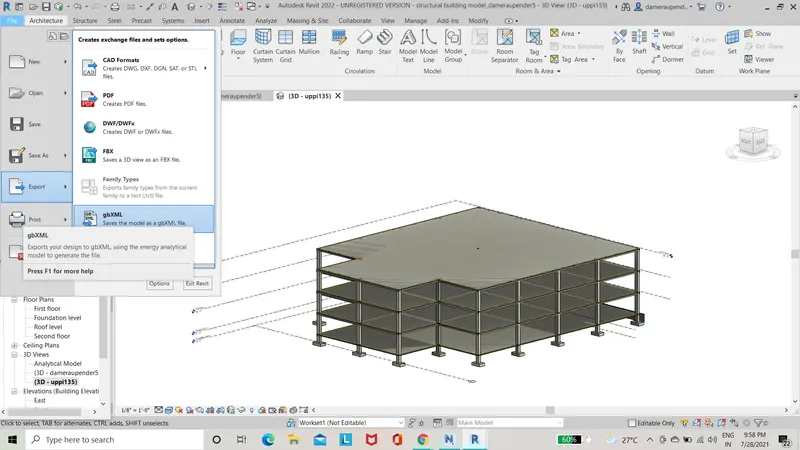
- Now the exporting work gets finished
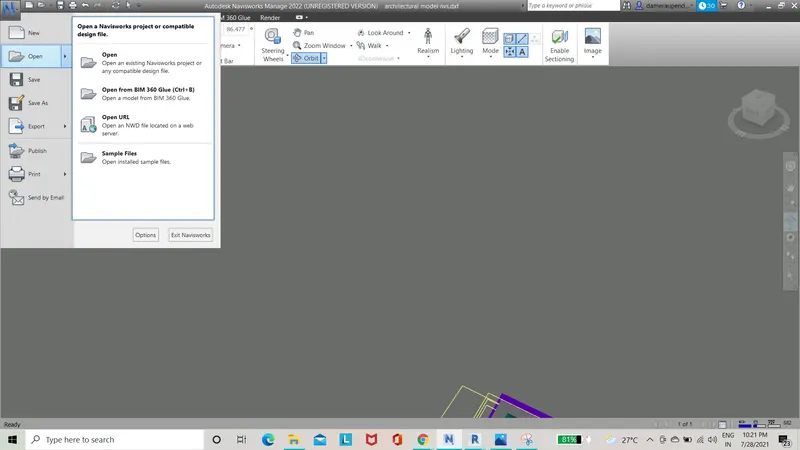
- Now open navisworks software and click on open tool from file menu
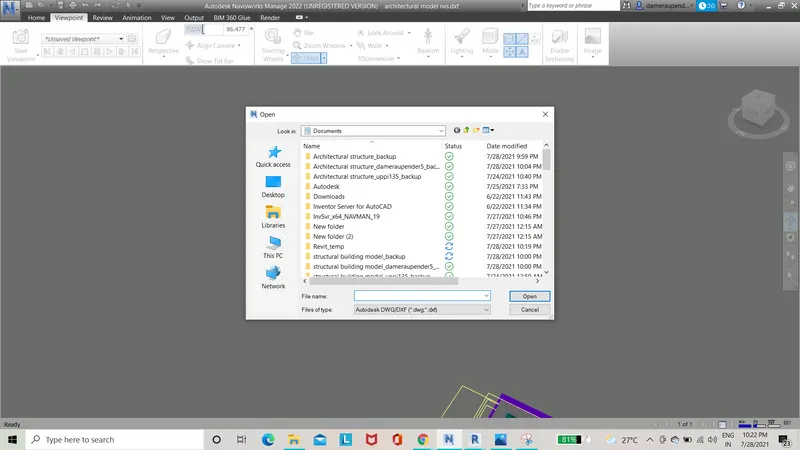
- Open dialog box appears,type the file which we want to open in navisworks and select the NWC extension and click on ok
- Now the revit file gets opened in the navisworks software
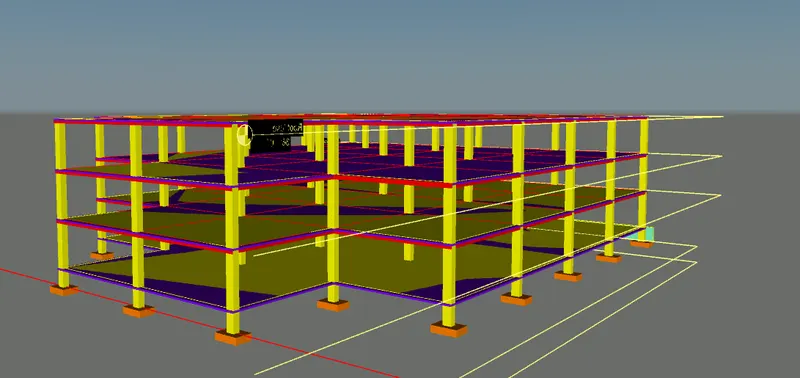
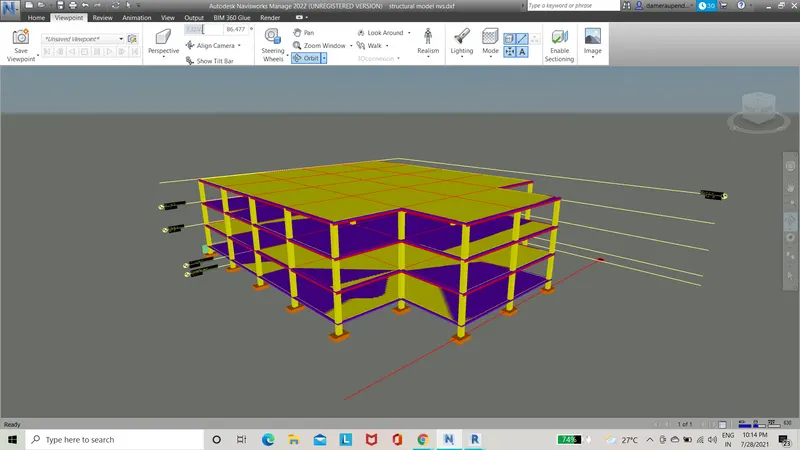
- Now we can manage and see the components clearly in the navisworks and perform neccessary changes
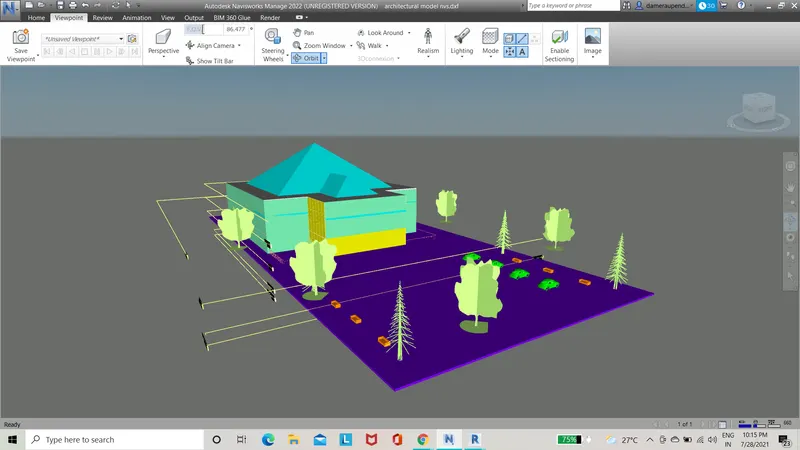
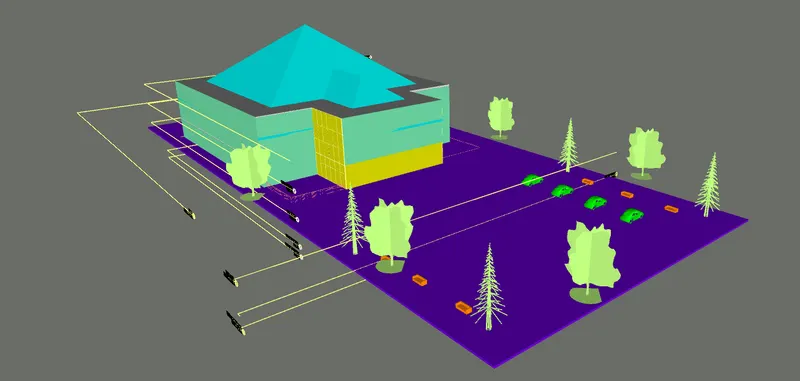
RESULT:
With the help of navisworks software of autodesk we can develop and export the architecture file into navisworks cache file.
2Q)
AIM:Use the navigate tool to walk around the model and walk through the rooms created and record the moving as animation in the navisworks file.
TOOLS USED:
- Navisworks
- View port
- Save view point
- Walk
- Record
- Stop
- Arrow keys for movement
PROCEDURE:
- Open the architectural file which we want to export to the navisworks
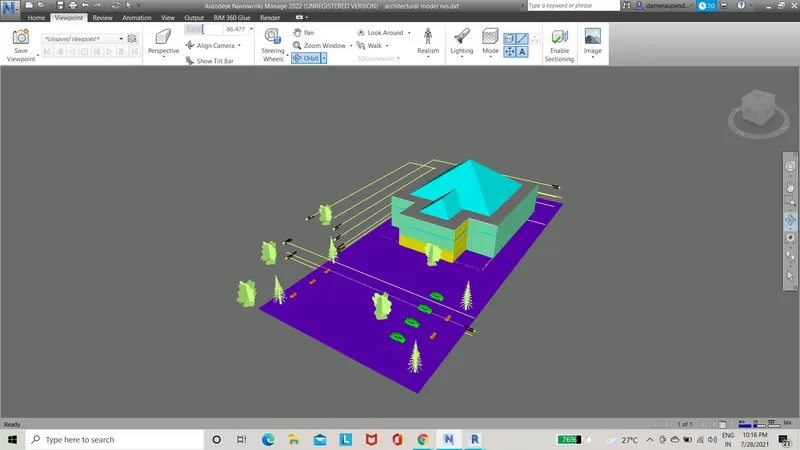
- Now click on view point tool and select save view point option
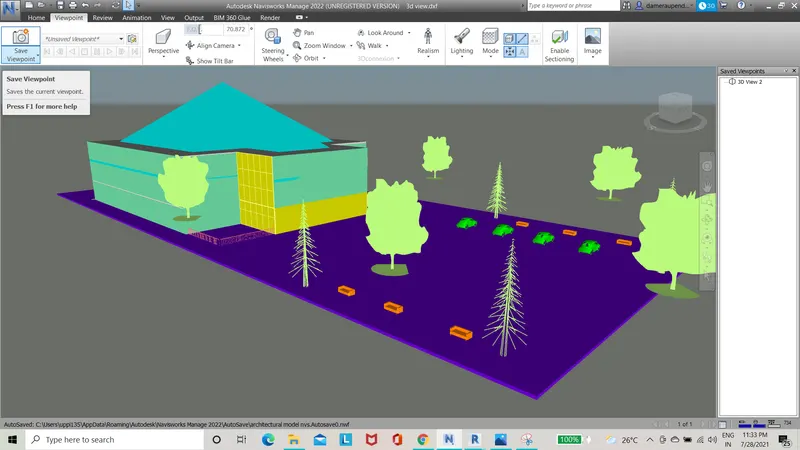
- save the view with appropriate name and click on enter button
- now select walk option and click the curson where we want to start the walk
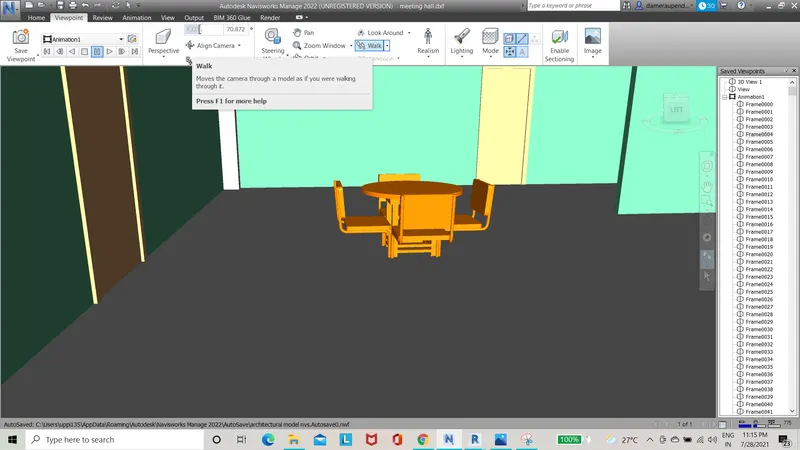
- now with the help of arrow keys we can move the view in the project
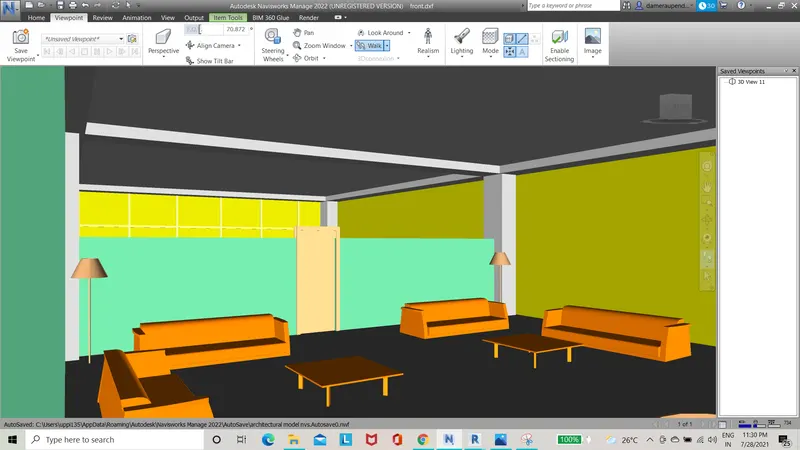
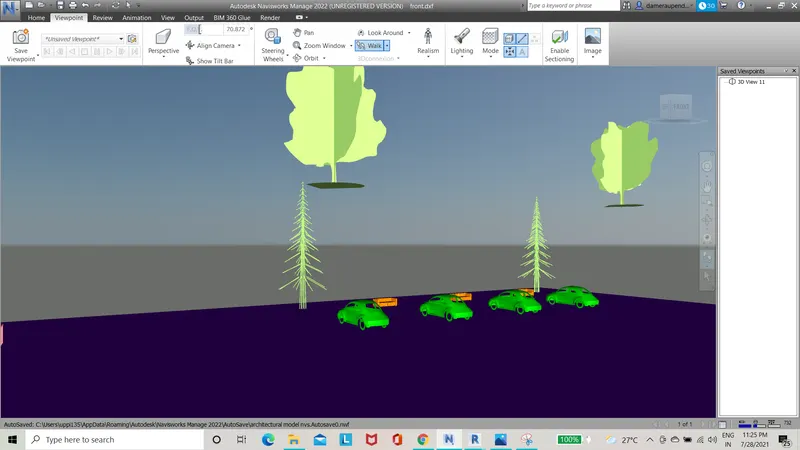
- now with the help of walk tool we can move to the desired position where we wish and change the design according to our wish
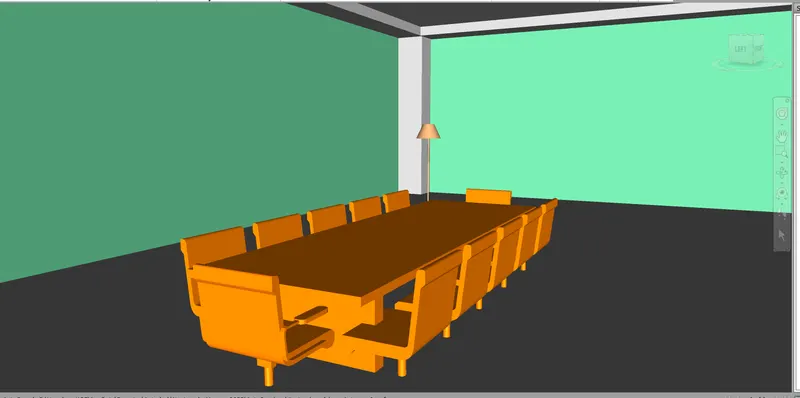
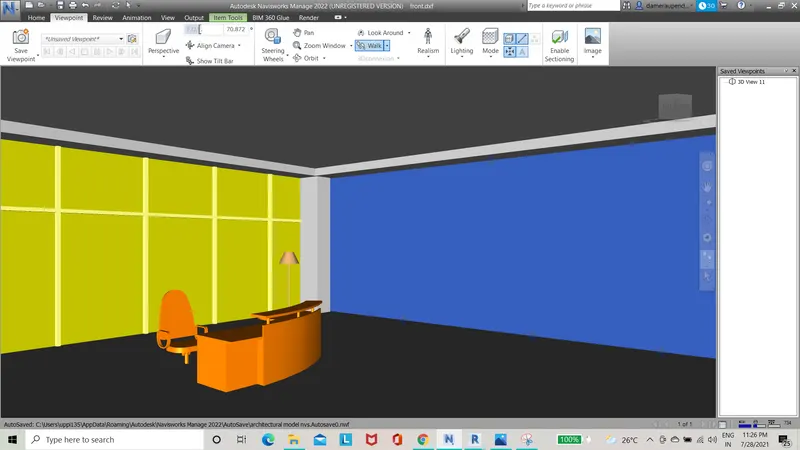
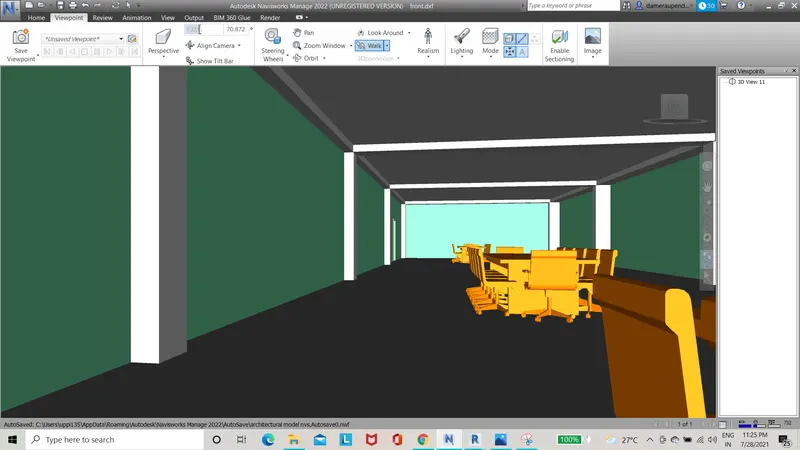
- now we can use the record option and record the walk.
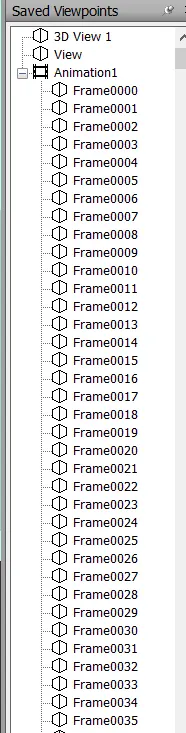
- the pictures will be saved as frames
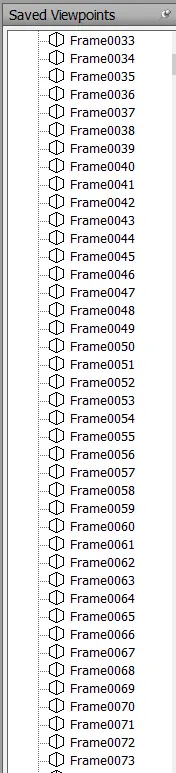
RESULT:
With the above steps we can use navigate tool to walk aound the model and wallk through the rooms created and record our movings.
3Q)
AIM:To use navigate tool to use realistic feature to walk through the model and record our movings as animation in navisworks file.
TOOLS USED:
- Navisworks
- View point
- Save view point
- Walk
- Record
- Stop
- Arrow keys for movement
PROCEDURE:
- Open the architectural file with we want to export to the navisworks
- Now click on view point tool and select save view point option
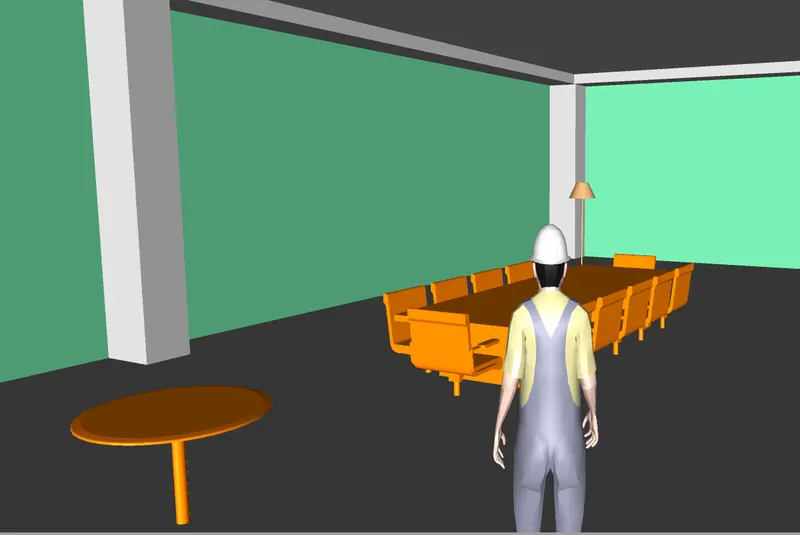
- Save the view with appropriate name and click on enter button
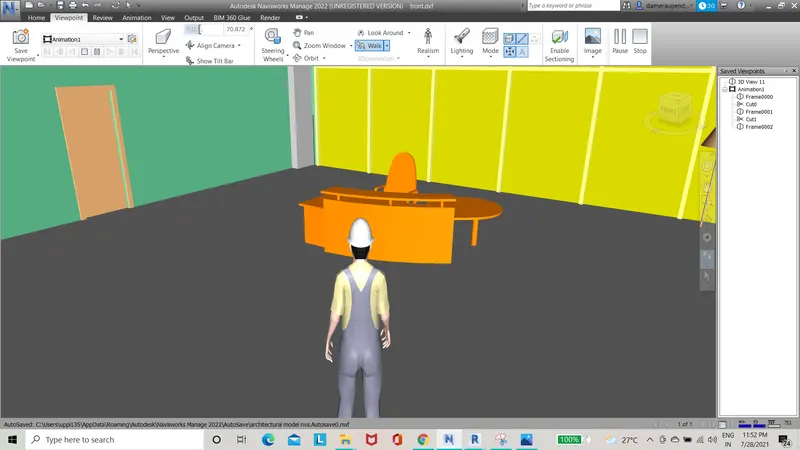
- Now click on realistic option from the ribbon and select third person option
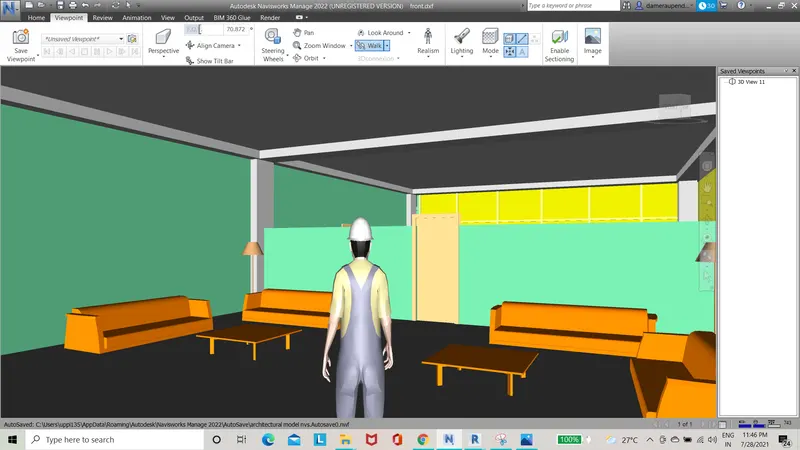
- Noe select walk option and click the curson where we want to start the walk
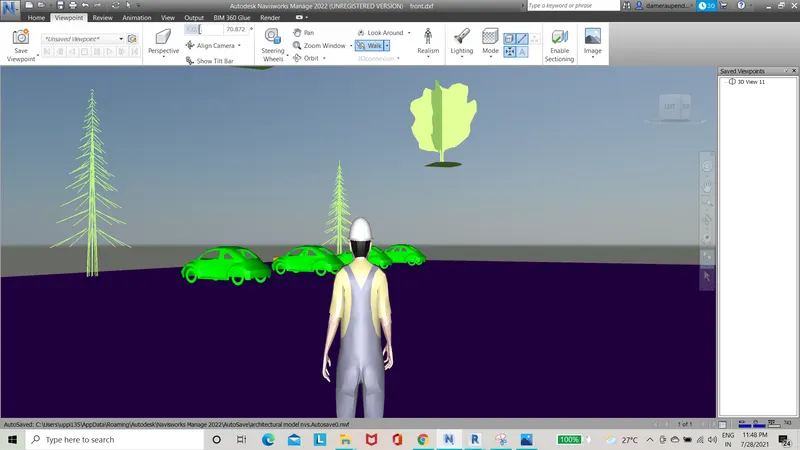
- Now with the help of arrow keys we can move the view in the project
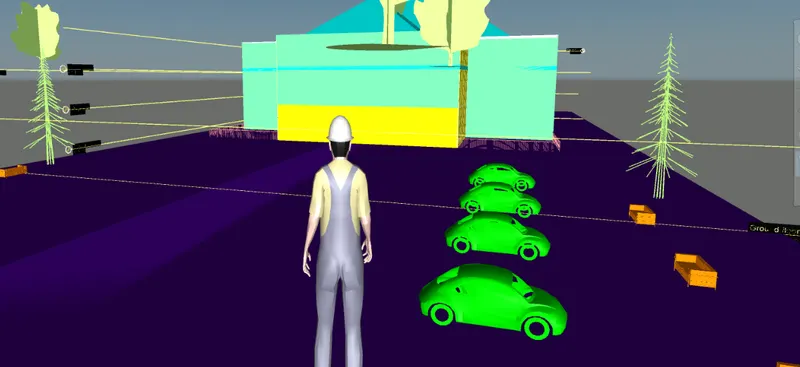
- Now with the help of walk tool we can move to the desired position where we wish and change the design according to our wish
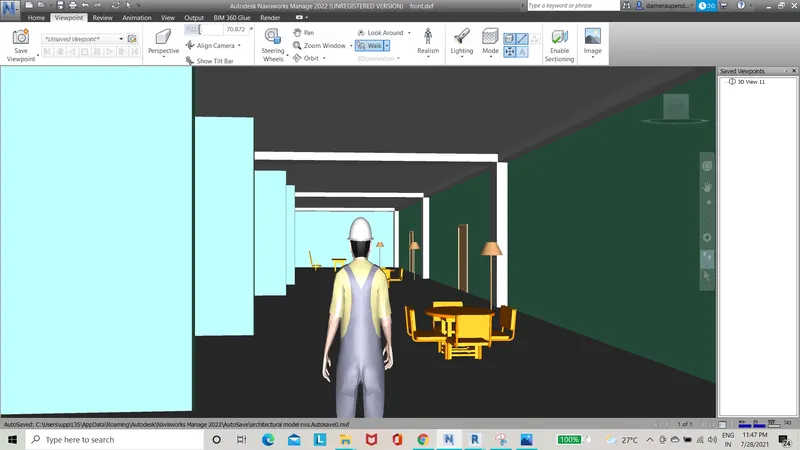
- Now we can use the record option and record the walk with the help of realistic third person
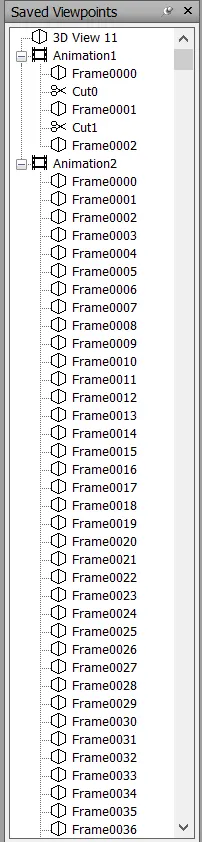
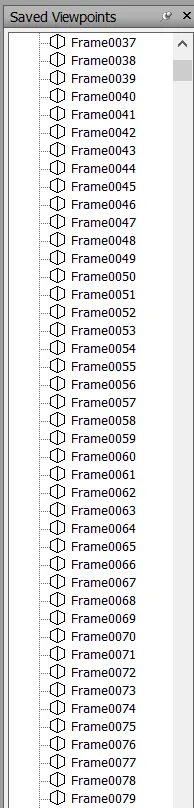
- The pictures will be saved as frames
RESULT:
With the help of above steps we can use navigate tool to use realistic feature to walk through the model and record our movings as animation.
4Q)
AIM:To create a clash detection test between the architectural and structural model.
a. Run the Clash Detection Test
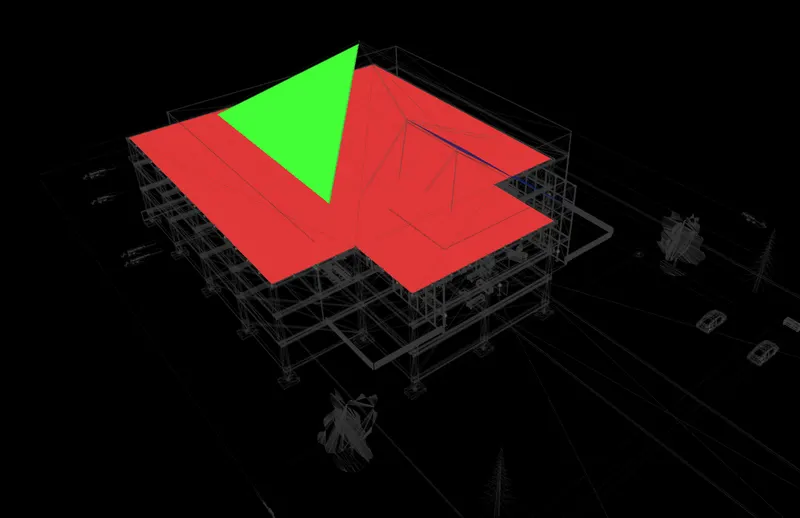
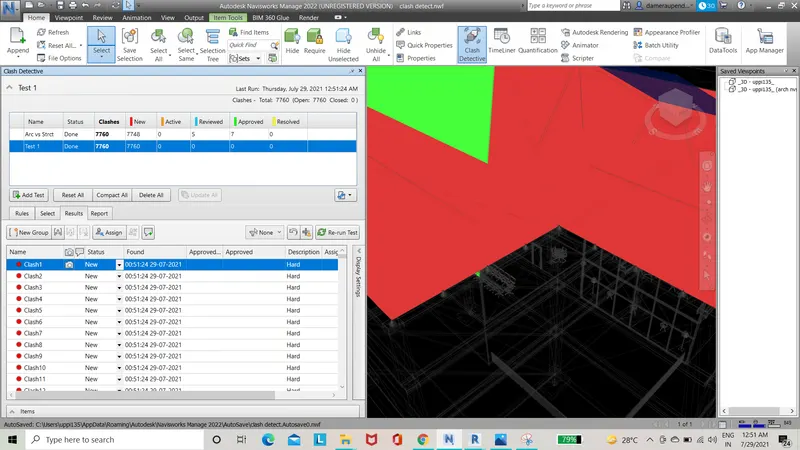
b. Study the clashes between the two models
c. List which of the clashes could be approved
d. List which of the clashes could be neglected ( will be taken care later)
e. List which of the clashes can be resolved
f. Save the results after color coding the clashes to the Navisworks file
g. In case of resolution annotate the clash and save the view to defined views in Navisworks
TOOLS USED:
- Home
- Open
- Append
- Clash detection
- Run test
PROCEDURE:
a)
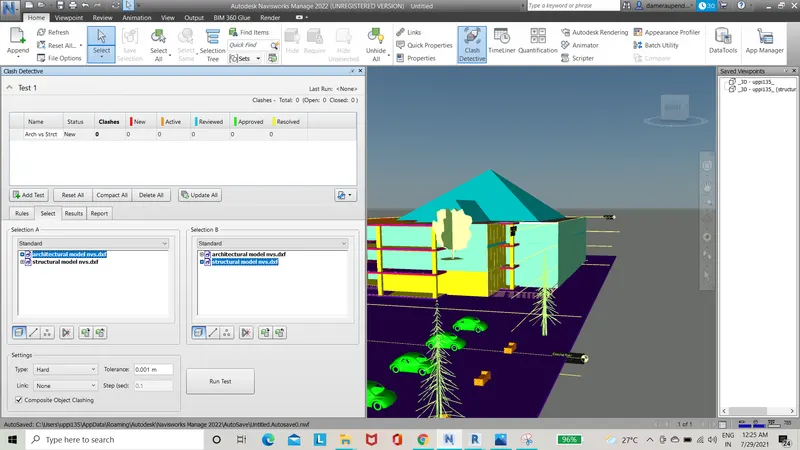
- Once we load and open the structure and architectural files by using append then we can start the clash test
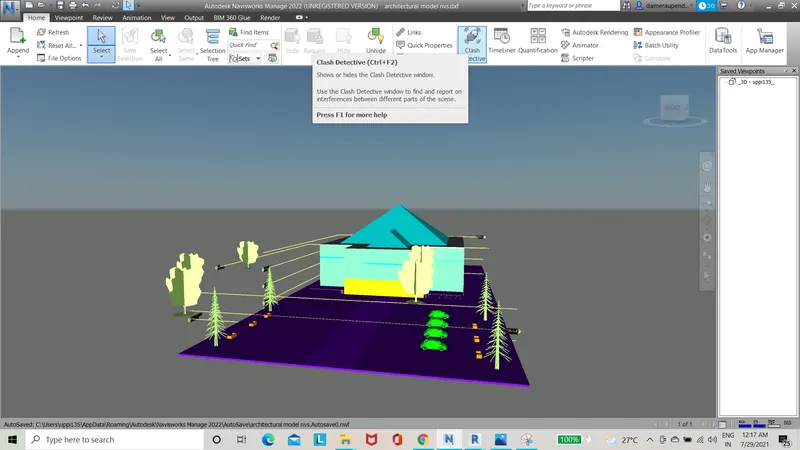
- Go to home menu and select clash detective
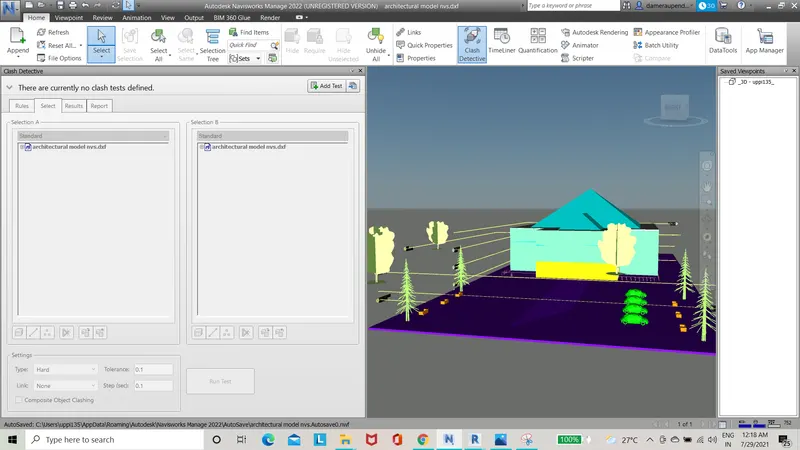
- Clash detective dialog box appears
b)
- Click on add test option
- Now select the fiels which we want to test and click on run test
c)
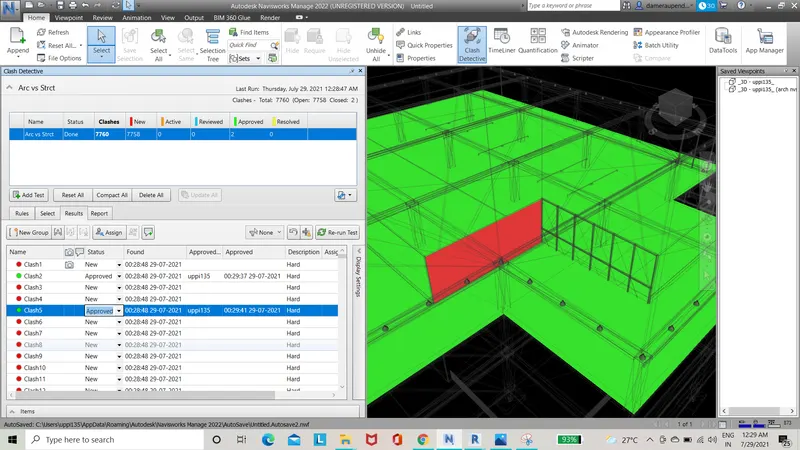
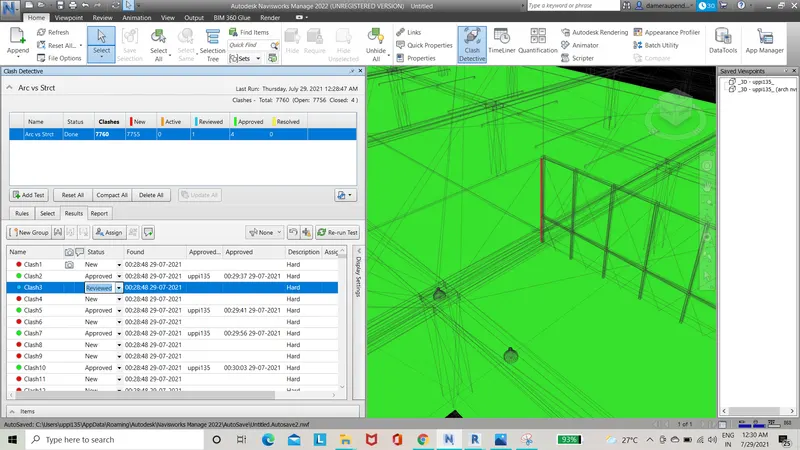
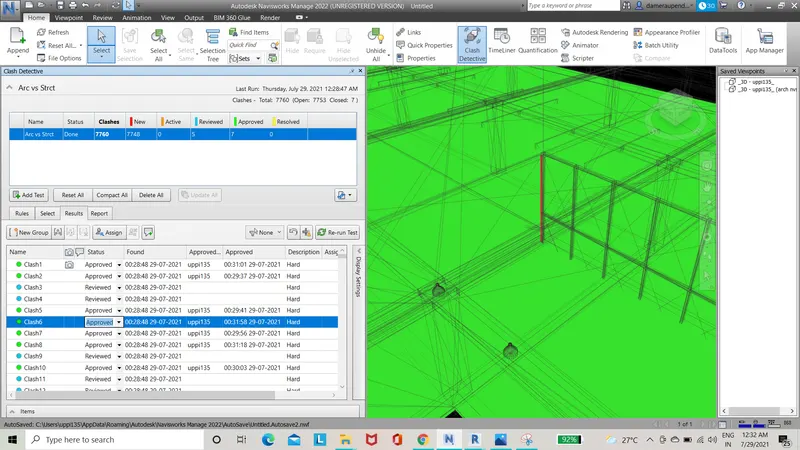
- We can approve the clashes as the part of sonstruction ,these clashes will not be appeared any more.once we click on approve it turns into green colour
d)
- We can neglect the clashes which will not cause any disturbance to the project
e)
- We can resolve the clashes which can change model boundry conditions,we can exclude these clashes from the detective test
f)
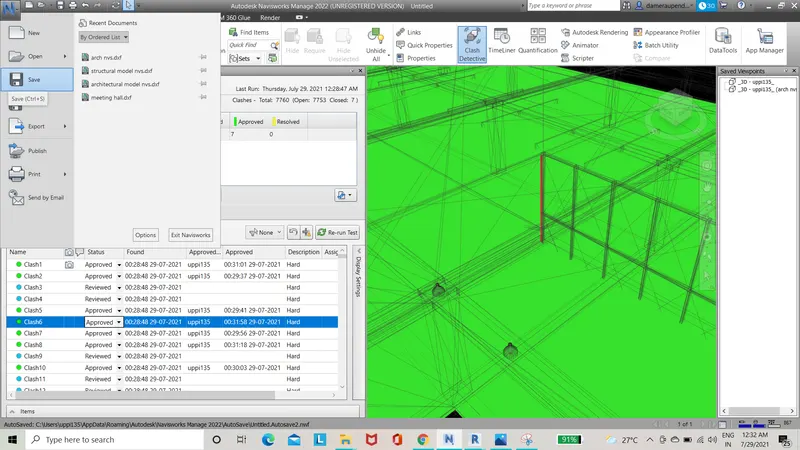
- Once we change all the clashes we can save the navisworks file .now this file is ready and can be sent for review.
g)
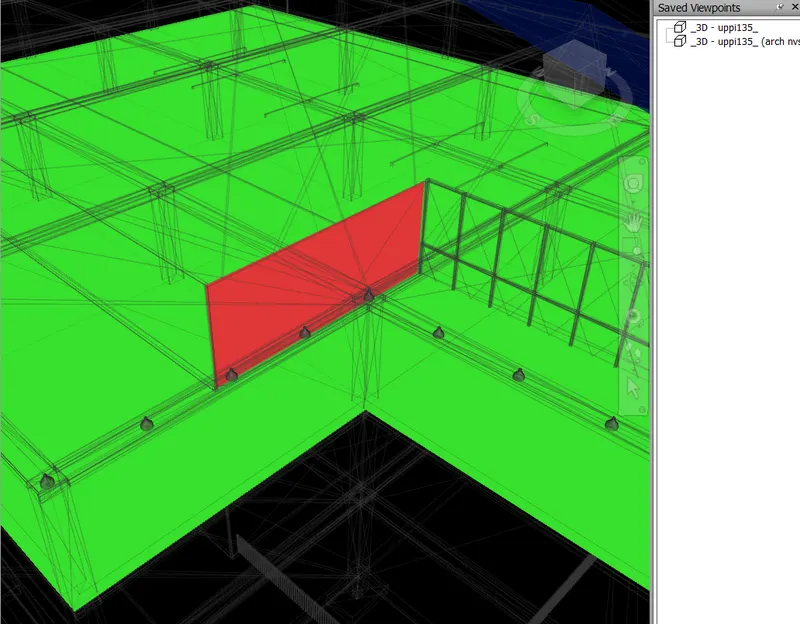
- Now we can annotate and save the place where we can see the clash and can be viewed personally and will be rectified by the design engineer
RESULT:
Now we will be successfully in ding the clash detection test and we reesolve the problems and select the file to the design engineer for corrections.
5Q)
AIM: using the timeliner feature in navisworks we can prepare a schedule for the project by adding reasonable asuumptions like tasks start and end date and simulate the task.
TOOLS USED:
- Home
- Timeliner
- Add task
- Selection tree
- Simulate
PROCEDURE:
- Now open the navisworks file and click on timeliner tool from the home menu
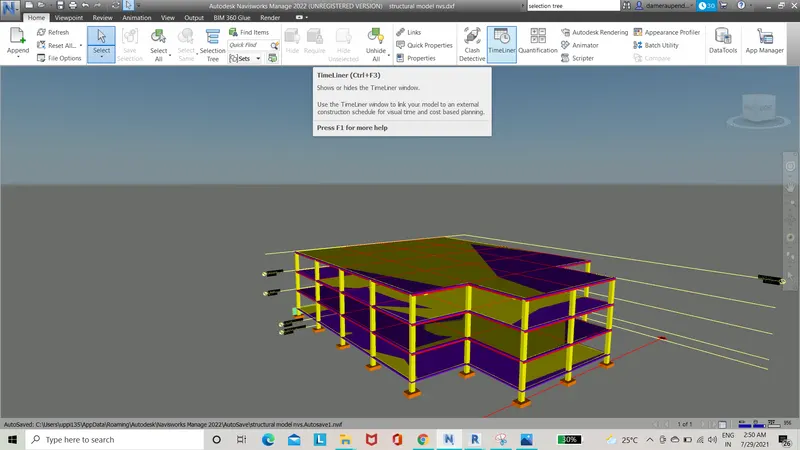
- Now timeliner dialog box appears
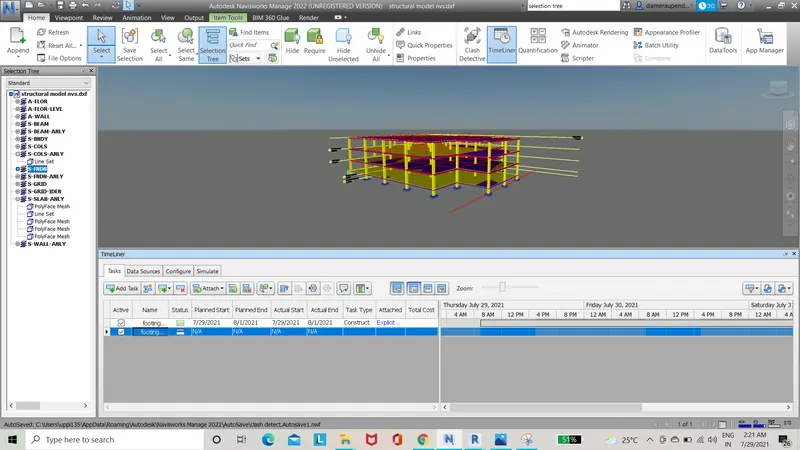
- Click on selection tree to select the components and add them to the timeliner
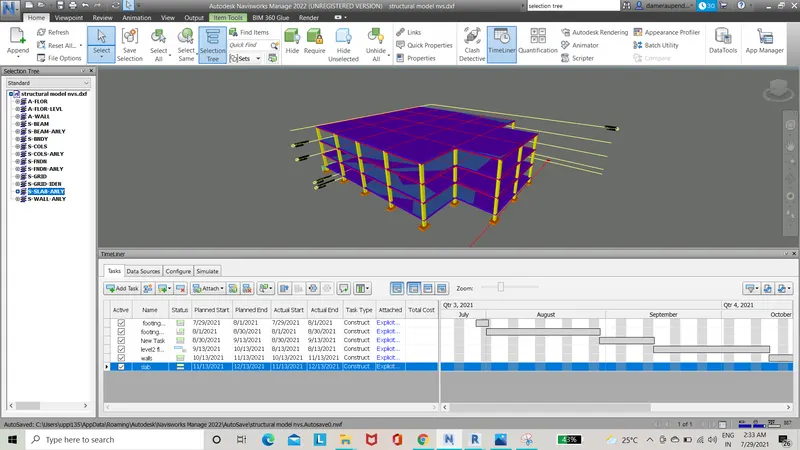
- Now click on add task to add the first work in the project

- We can add the actual and planned start and end dates
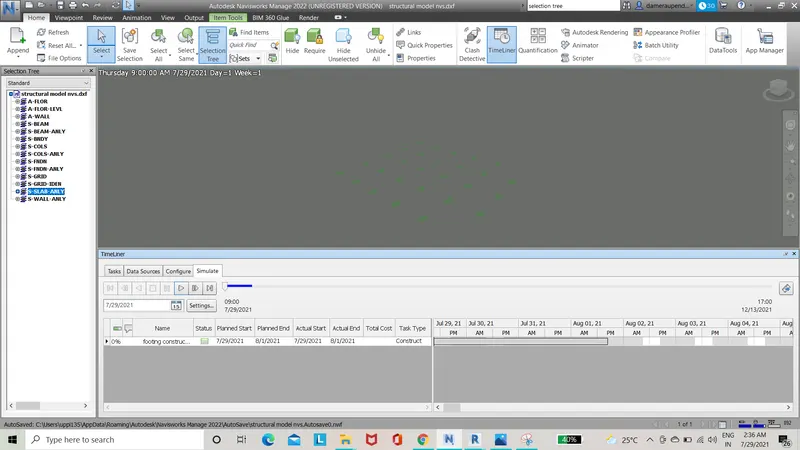
- We can select the task type to construction
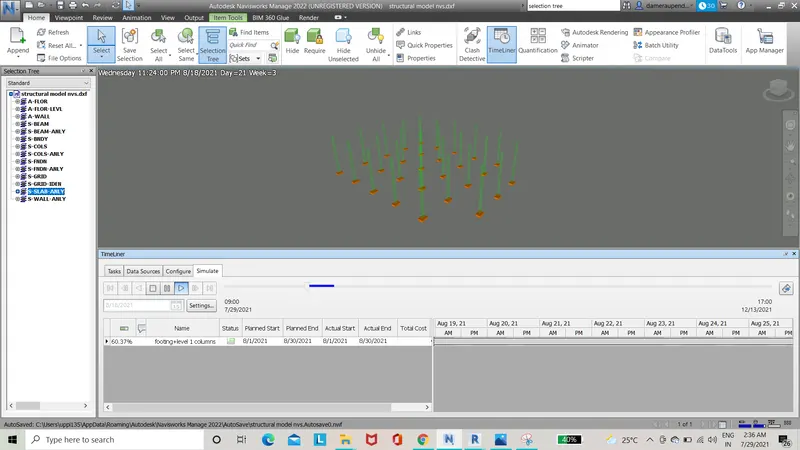
- Once we finish filling all the details in the timeliner dialog box we can click on simulate option
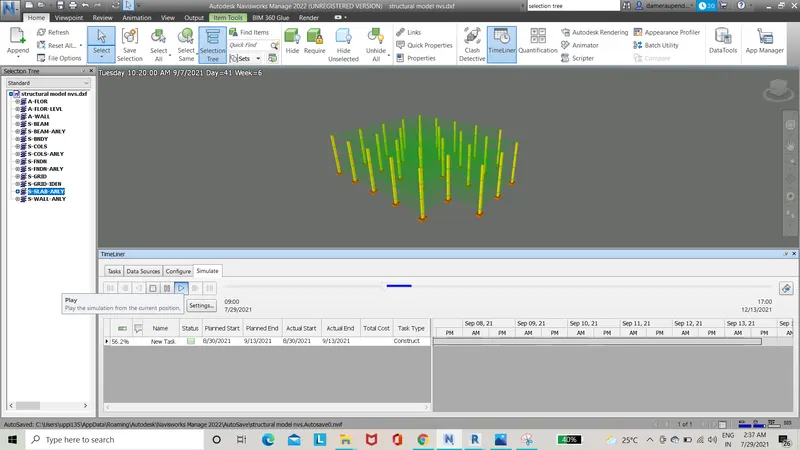
- The simulation starts and we can see the construction from the starting date to ending date in the form of video
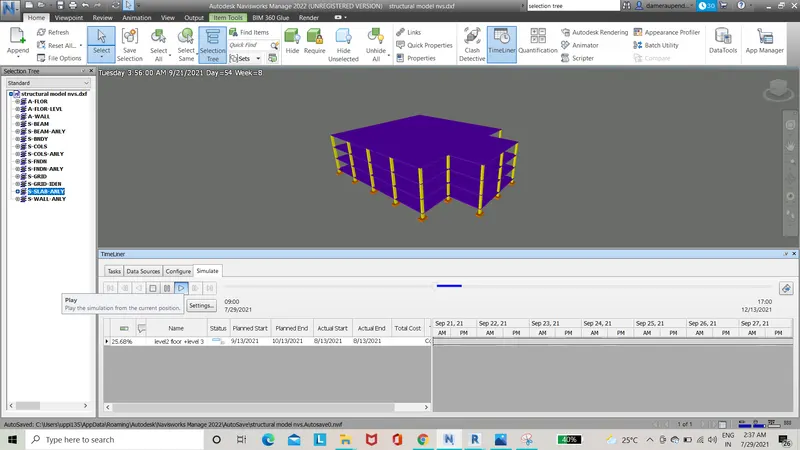
RESULT:
With the help of above steps we can use the timeliner feature to prepare a shcedule for the project and add dates to our project and complete a visual simulation.