Usage of Navigation tool , Timeliner and Clash Detection test using Naviswork
1.0
AIM:
To use the Architecture/ Structure Project file developed in Week 6 to 8 .Export the Revit architecture and structure model to Navisworks Cache file following the export settings.
INTRODUCTION: In this project basics of NAVISWORK software tools is explained.
Following points are covered with practically working on Naviswork software.
- Exporting the revit file to Navis work
- Reviewing of project into Naviswork tools like viewport, camera and walk.
- For clash detection and avoiding incovience co ordination of different dicipline using Naviswork.
- Use of time Liner for the construction management
- Basics of schedules and estimate using Naviswork.
PROCEDURE:
STEP 1:
Open project in revit.
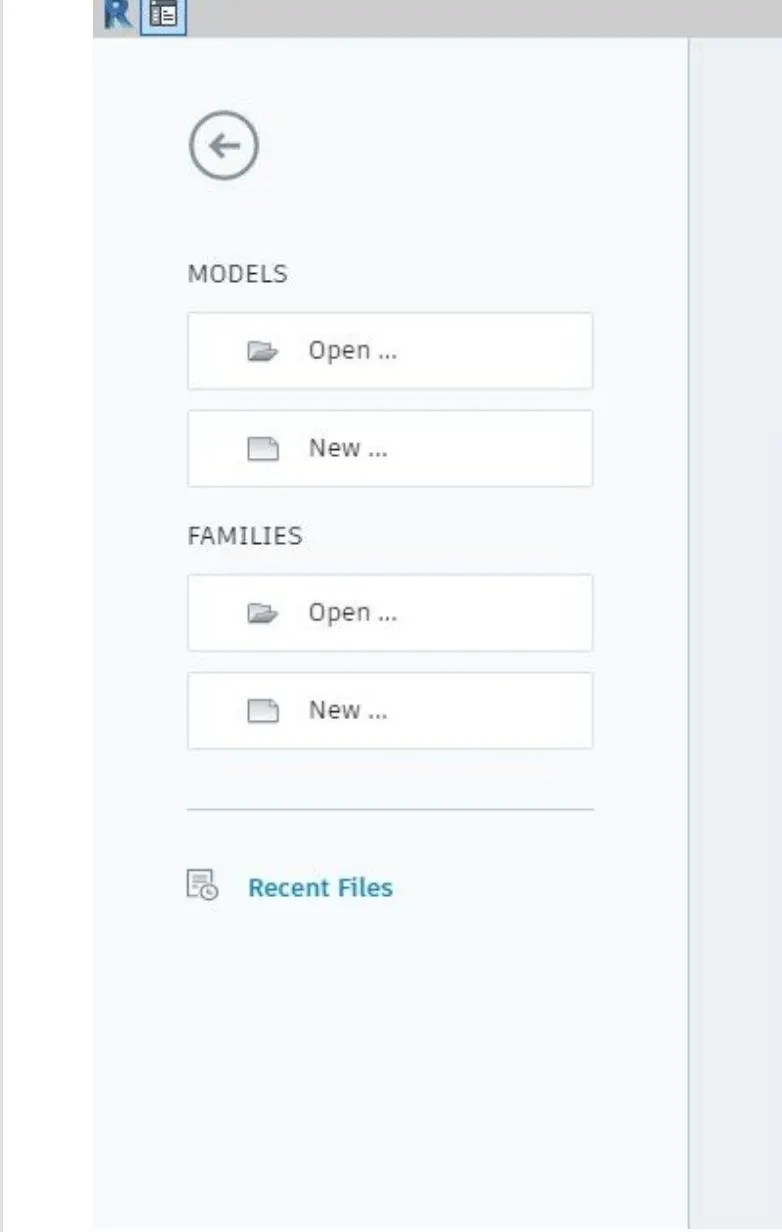
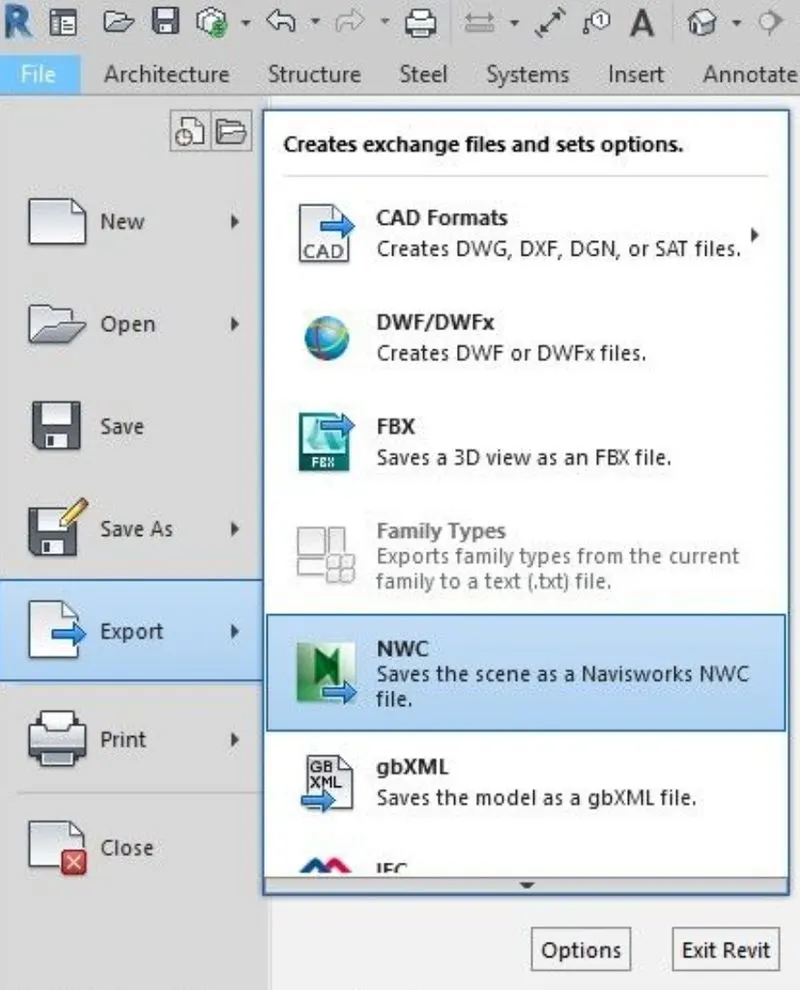
Go to the file, click on export and then select NWC.
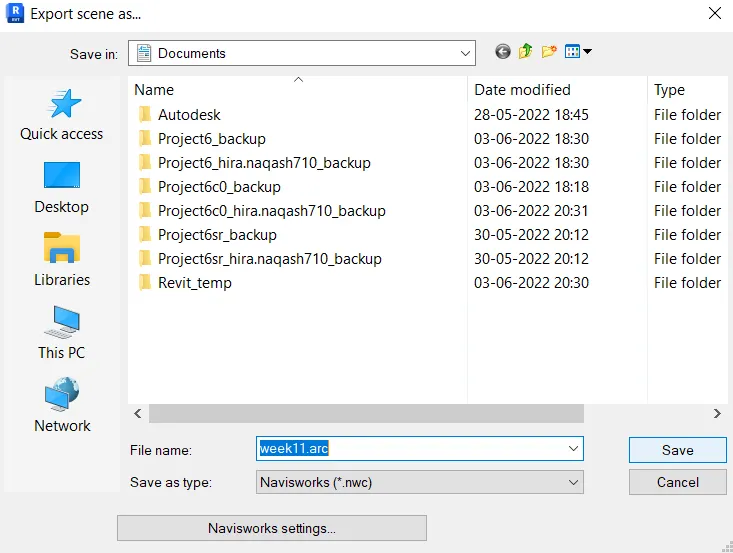
Save it in a new folder.
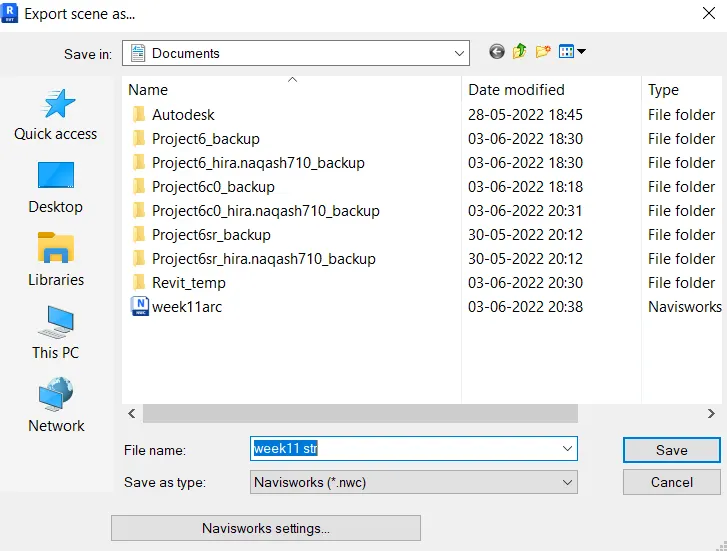
Similarly export structural file.
RESULT: I understood how to export revit file into Naviswork.
2.0
AIM:
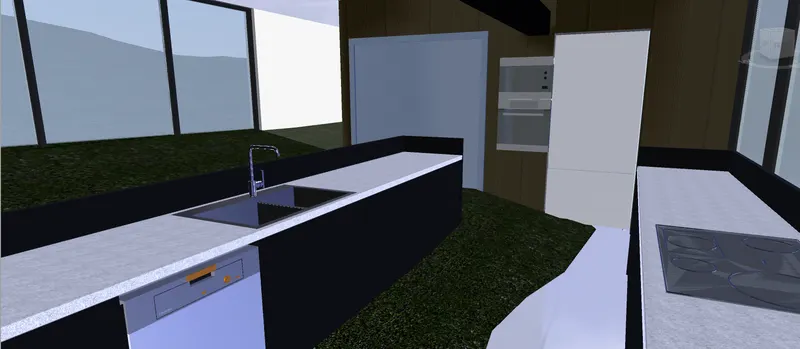
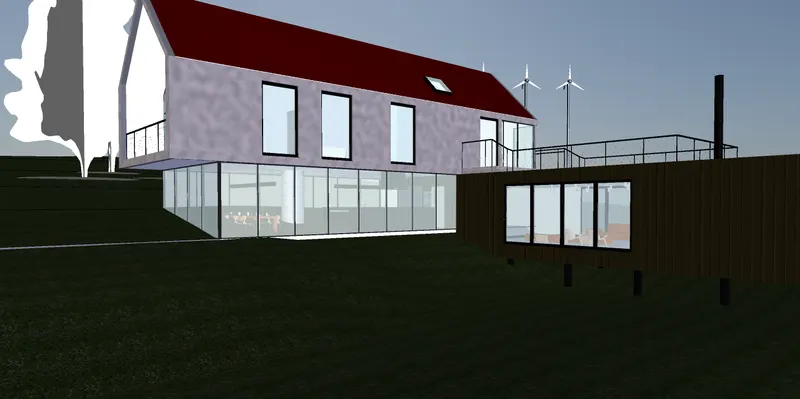
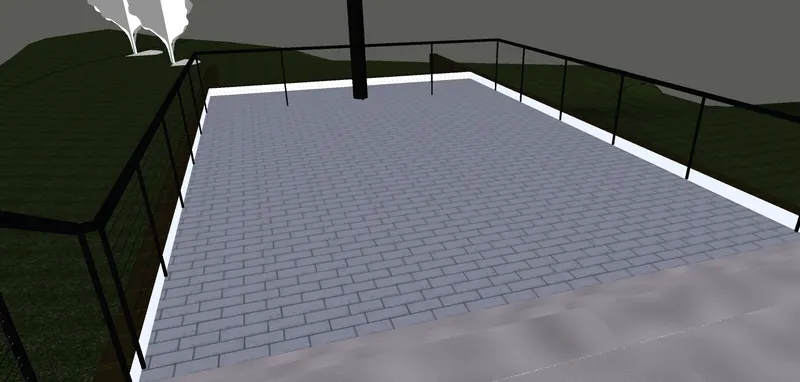
To use Navigate Tool to walk around the model and walk through the rooms created and record your moving as animation in your Navisworks file.
INTRODUCTION: In this project basics of NAVISWORK software tools is explained.
Following points are covered with practically working on Naviswork software.
- Exporting the revit file to Navis work
- Reviewing of project into Naviswork tools like viewport, camera and walk.
- For clash detection and avoiding incovience co ordination of different dicipline using Naviswork.
- Use of time Liner for the construction management
- Basics of schedules and estimate using Naviswork.
PROCEDURE:
Open Navisworks manage.
Click on file and then select open.
Open architectural file which is saved as NWC format.
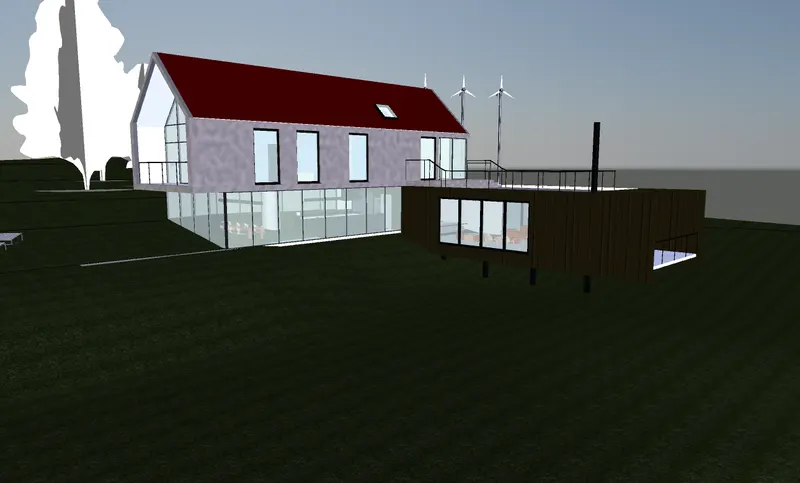
STEP 2:
Go to view point tab.
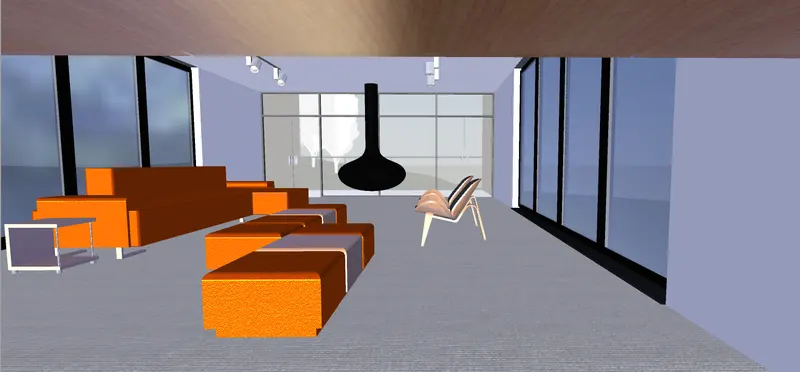
Click on WALK.
Use arrows in the keyboard as left arrow for moving left, right arrow for moving right , top arrow for moving forward and bottom arrow for moving backward.
Click on "save viewpoints" and save various views.

Click on "record" in save view point and walk around the building.
Click on stop and animation is created with various frames select the animation and click on play button in view in view point.

Animation created will be played.
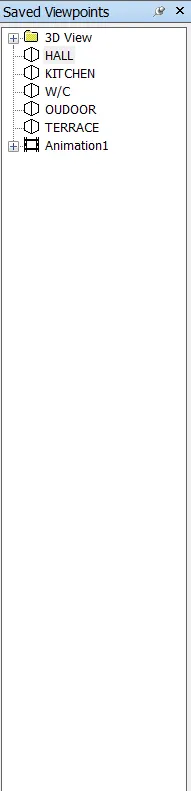
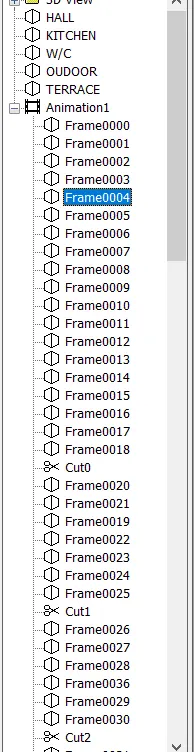
RESULTS: I am able to use walkthrough in Naviswork.
3.0
AIM:
To use Navigate tool to use Realism feature to walk through the model and record your moving as animation in Navisworks file.
INTRODUCTION: In this project basics of NAVISWORK software tools is explained.
Following points are covered with practically working on Naviswork software.
- Exporting the revit file to Navis work
- Reviewing of project into Naviswork tools like viewport, camera and walk.
- For clash detection and avoiding incovience co ordination of different dicipline using Naviswork.
- Use of time Liner for the construction management
- Basics of schedules and estimate using Naviswork.
PROCEDURE:
STEP 1:
Go to the viewpoint tab.
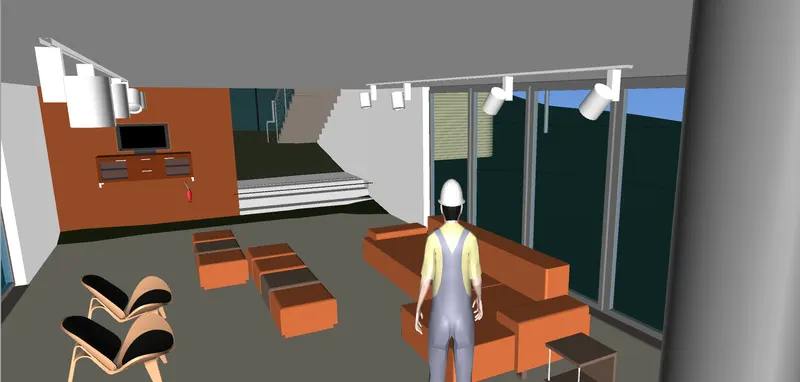
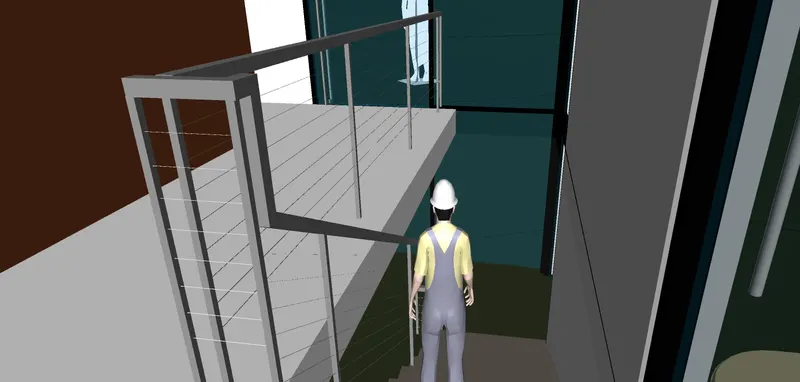
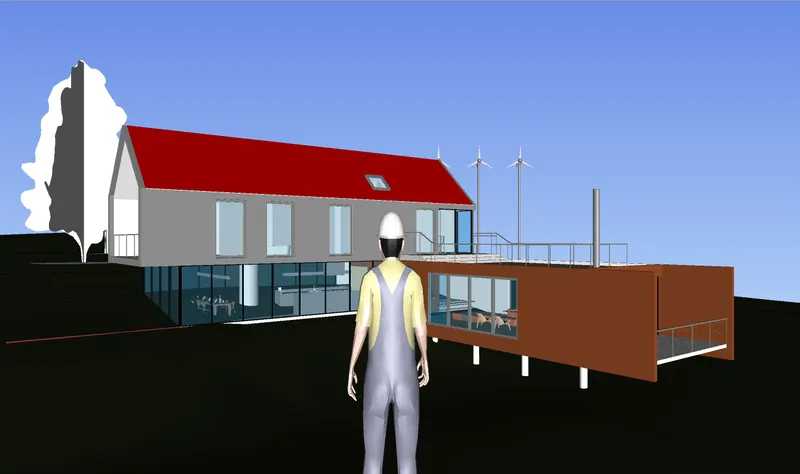
Click on realism tool and select third person.
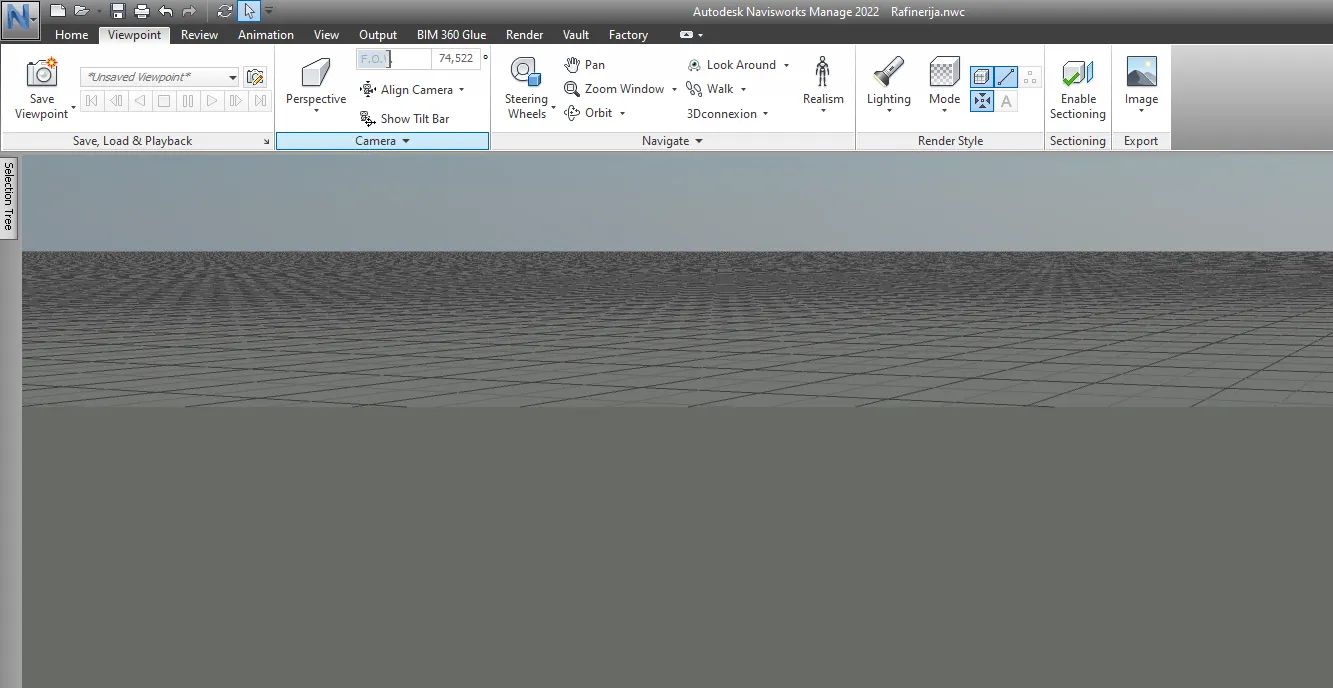
Click on walk and move around the building.
Click on record and save the animation.
RESULT: I understood use of realism feature.
INTRODUCTION: In this project basics of NAVISWORK software tools is explained.
Following points are covered with practically working on Naviswork software.
- Exporting the revit file to Navis work
- Reviewing of project into Naviswork tools like viewport, camera and walk.
- For clash detection and avoiding incovience co ordination of different dicipline using Naviswork.
- Use of time Liner for the construction management
- Basics of schedules and estimate using Naviswork.
PROCEDURE:
Open architectural model in navisworks.
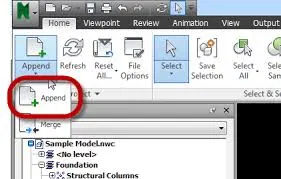
Click on append in home tab.
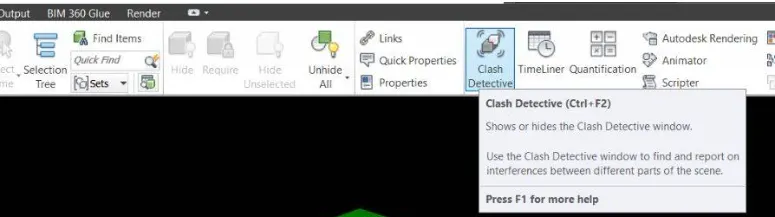
Now click on clash detective in home tab.
Clip on top arrow and select "Add test".
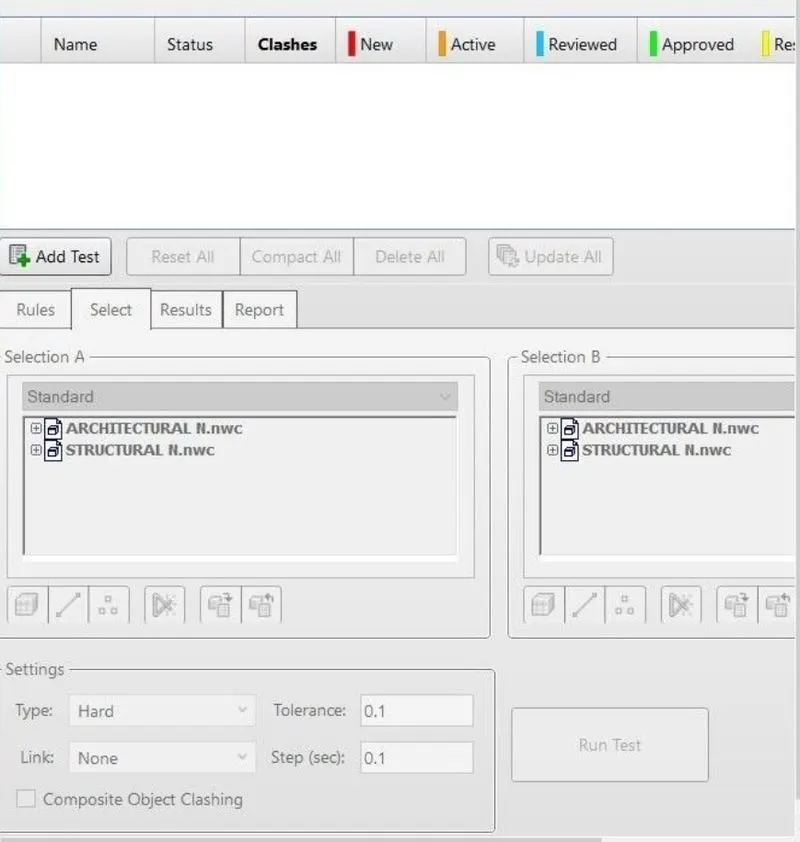
Name the test as "Archi vs Struct".
Select selection A and selection B .
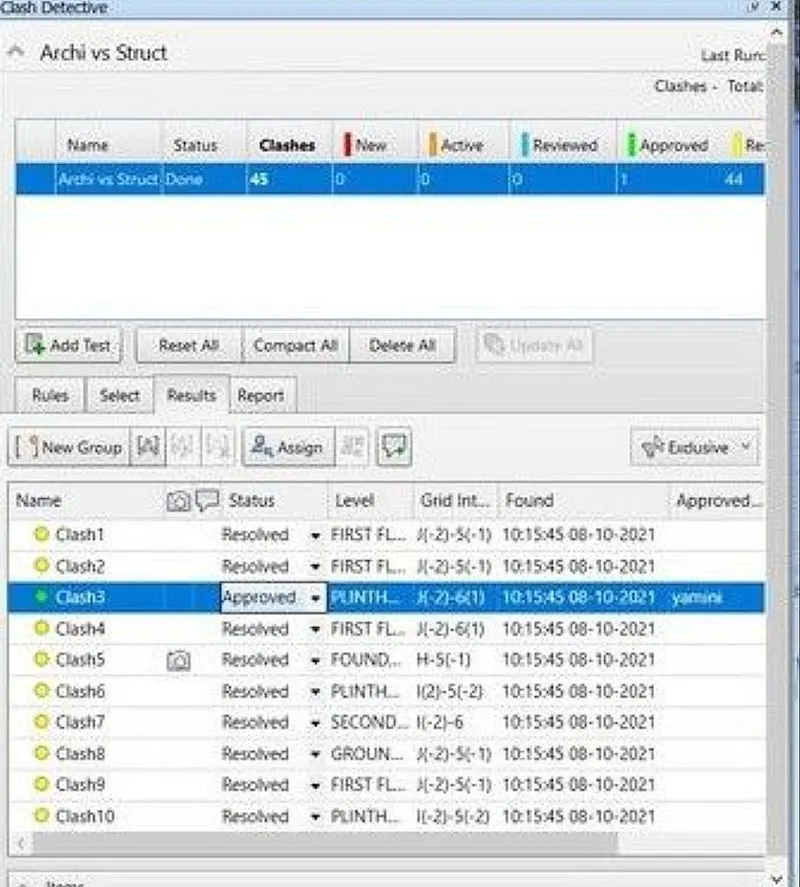
Now select surfaces and click on run test.
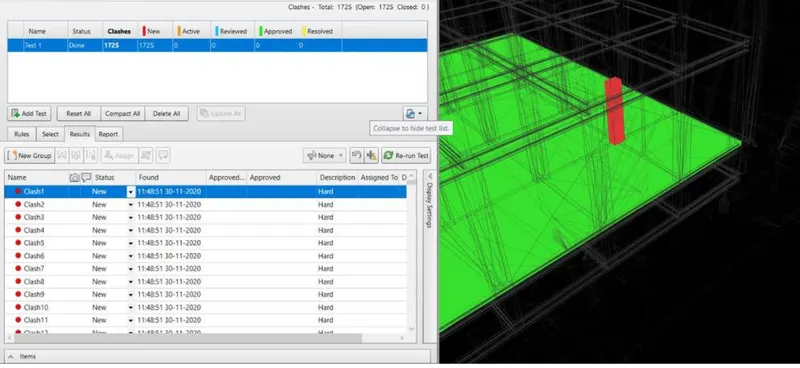
Click on status and change the status to resolved or reviewed or approved accordingly.
RESULT: I understood use of Naviswork for clash detection.
5.0
AIM:
To use the Timeliner feature in Navisworks prepare a schedule for the project developed in week 6 to 8 by adding reasonable assumptions for task start date and end date and simulate the task completion as a visual simulation. Record it and save the timeline simulation to Navisworks file.
INTRODUCTION: In this project basics of NAVISWORK software tools is explained.
Following points are covered with practically working on Naviswork software.
- Exporting the revit file to Navis work
- Reviewing of project into Naviswork tools like viewport, camera and walk.
- For clash detection and avoiding incovience co ordination of different dicipline using Naviswork.
- Use of time Liner for the construction management
- Basics of schedules and estimate using Naviswork.
PROCEDURE:
Go to home tab.
Click on timeliner.
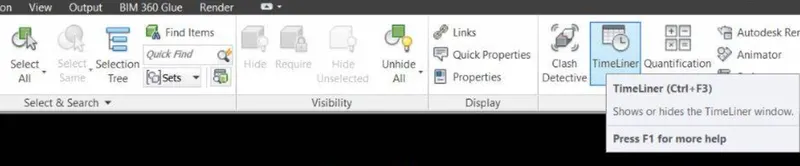
Click on "selection tree" in home tab.
Click on add task in "Timeliner".
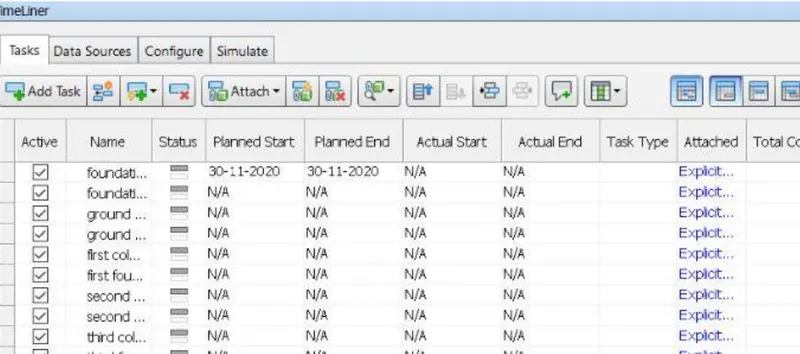
Task 1- Foundation columns + slab
Task 2- Plinth level
Task 3- Level 1
Task 4- Level 2
Task 5- Level 3
Enter dates and types as shown below.
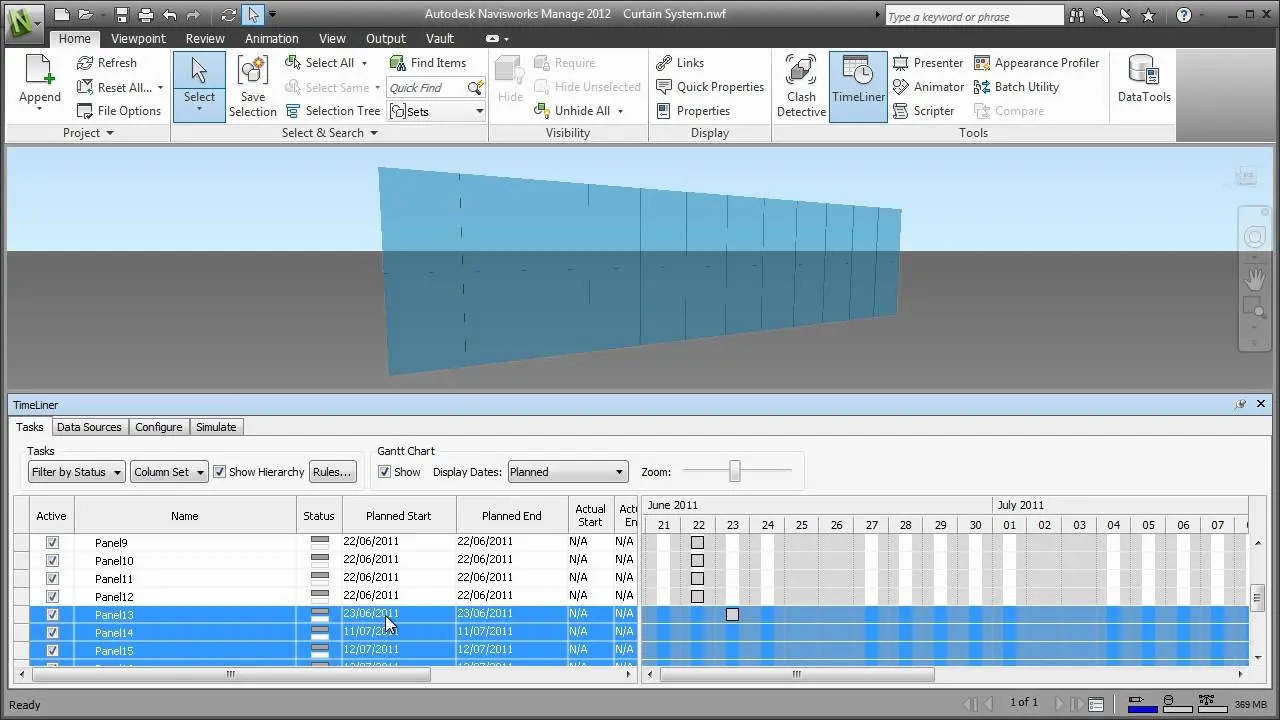
Now click on simulate and click on record at save view point.
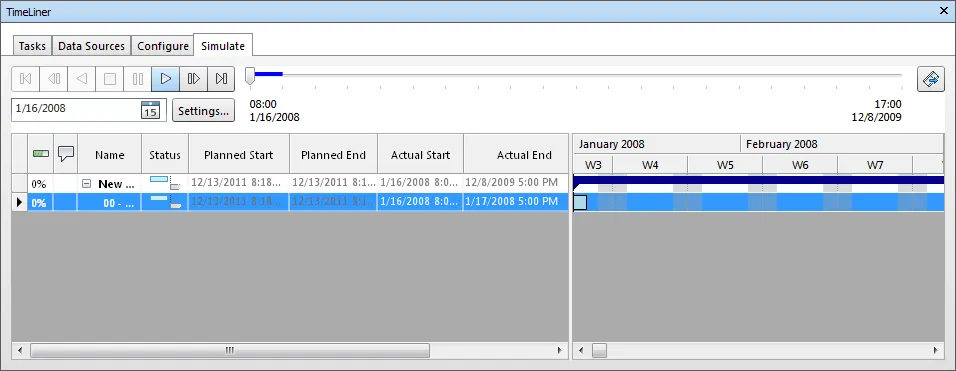
RESULT: I am able to do time liner for construction of building.