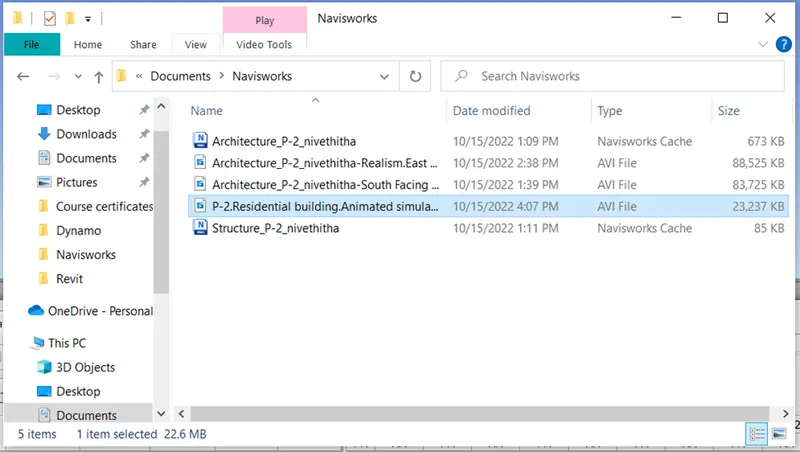
Usage of Navigation tool , Timeliner and Clash Detection test using Naviswork
1.Aim:
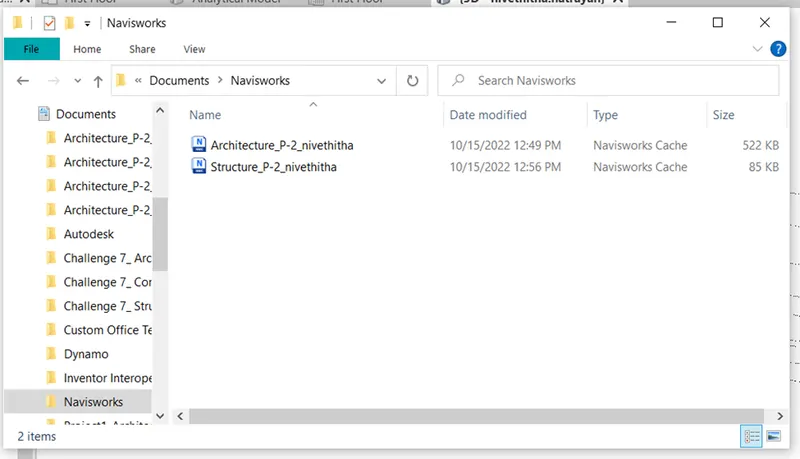
To export the Revit architecture and structure model to Navisworks Cache file by following the export settings
Procedure:
- Open the exiting Revit Architectural file.
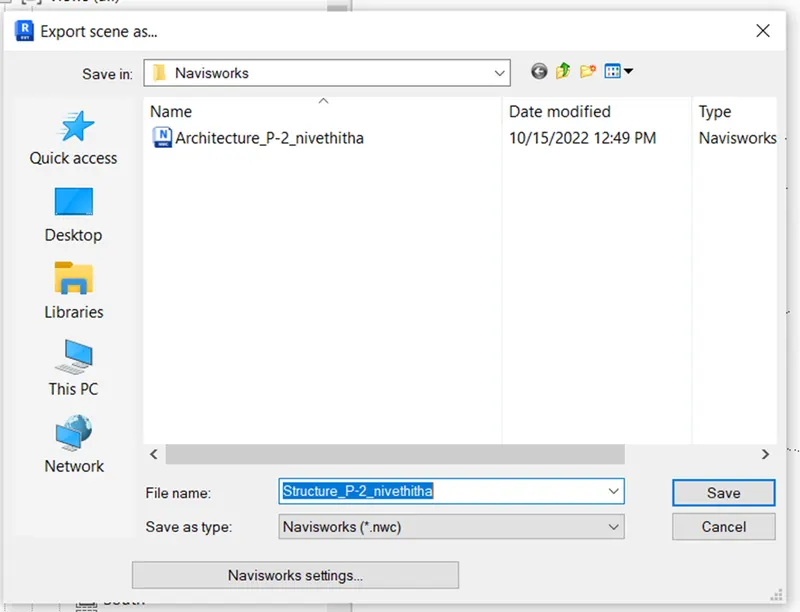
- Go to file-> Export ->NWC
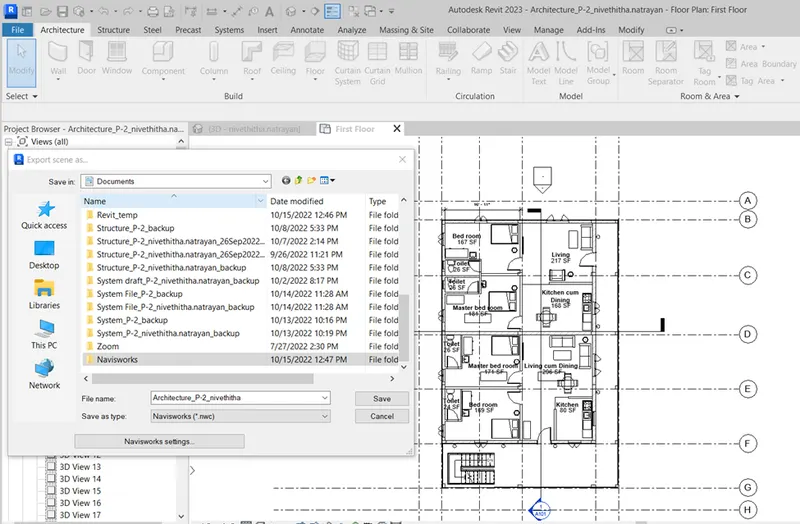
- Export scene as dialog box opens. Name and save it in a required folder.
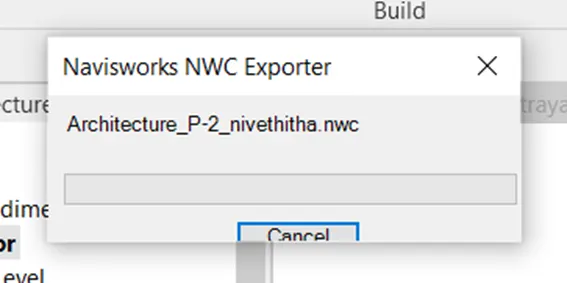
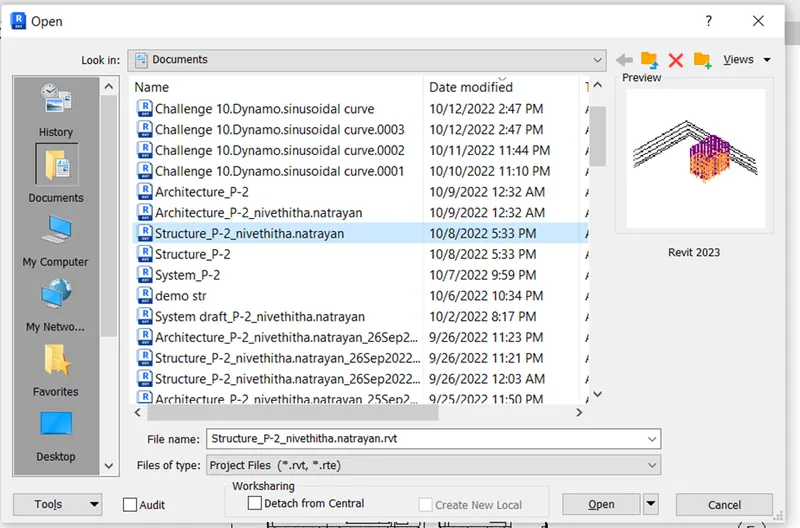
- Open the structural file and Save the structural file by following above procedure.
Result:
- Hence the result is obtained by following the above procedure.
2.Aim:
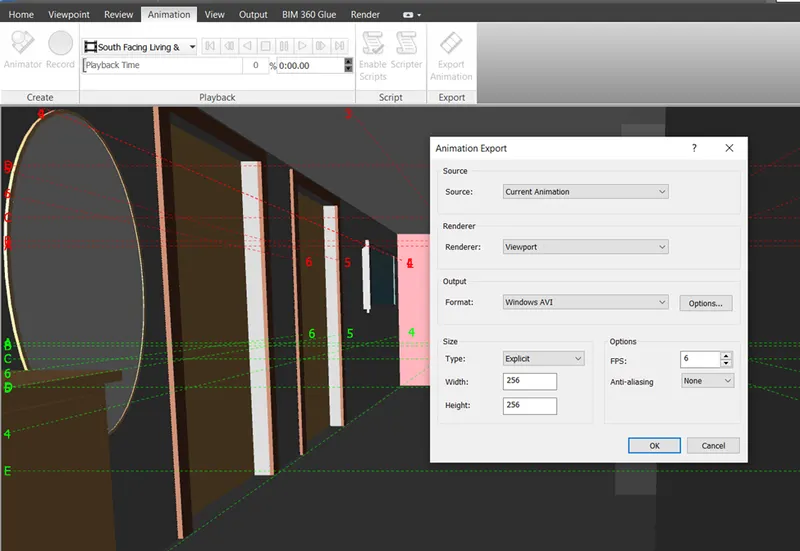
To use Navigate Tool to walk around the model and walk through the rooms created and record your moving as animation in the Navisworks file.
Procedure:
- Open the Navisworks software.
- Click File-> Open->Architectural file
- Exported file will be opening
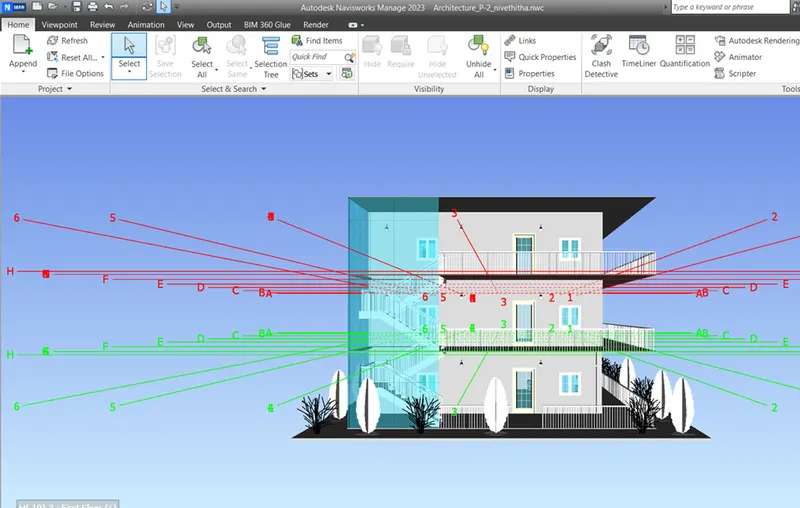
- Scroll to enter in the house
- Go to viewpoint and click walk

- Click save view point and select record option
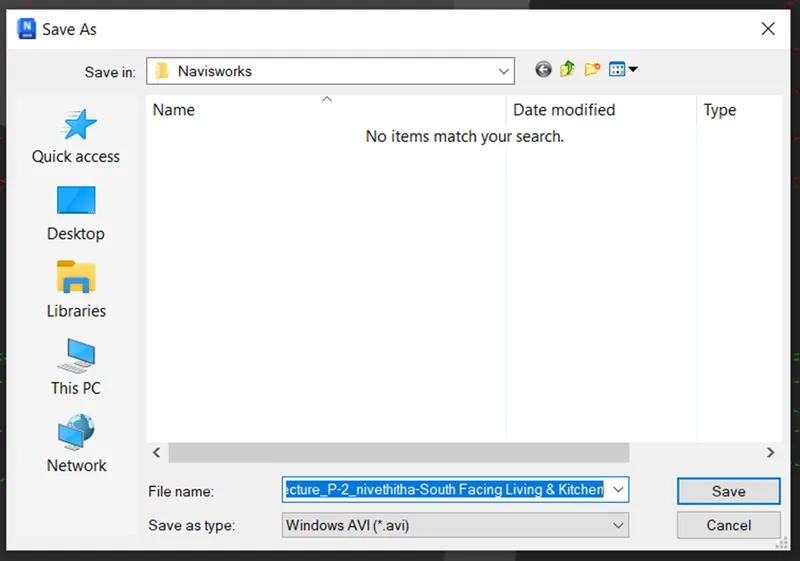
- Name the recorded video by walk through in the house using mouse.
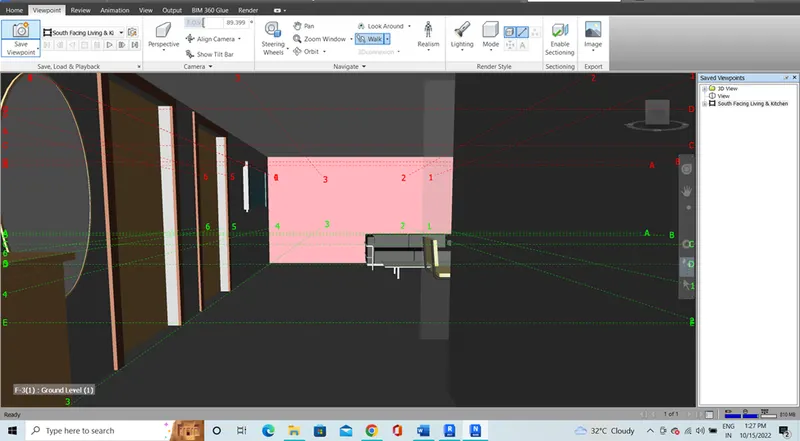
- Export the file and save it in the system
Result:
- Hence the result is obtained by following the above procedure.
3.Aim:
To use Navigate tool to use Realism feature to walk through the model and record the moving as animation in Navisworks file.
Procedure:
- In the existing file, go to viewpoint and click realism
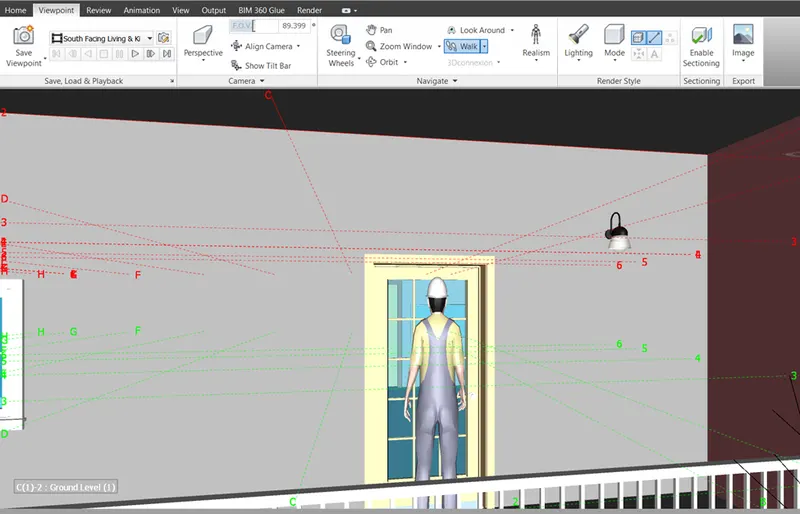
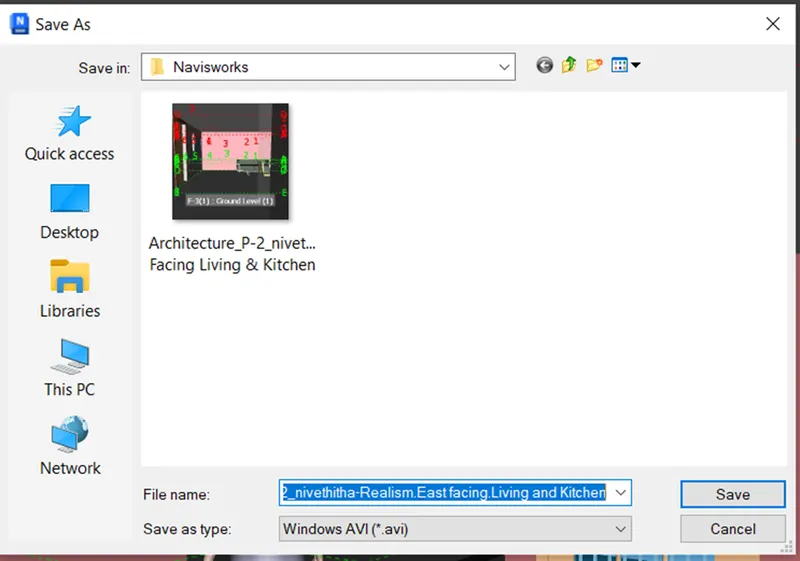
- Click Save viewpoint and select record to record the video.
- Name the video.
Result:
- Hence the result is obtained by following the above procedure.
-
4.Aim:
To embed both architecture and structure *.nwc file to the Navisworks file and to Create a clash detection test between the two models.
Procedure:
- With the existing model go to home page in Navisworks.
- Click Append tool in the home tab.
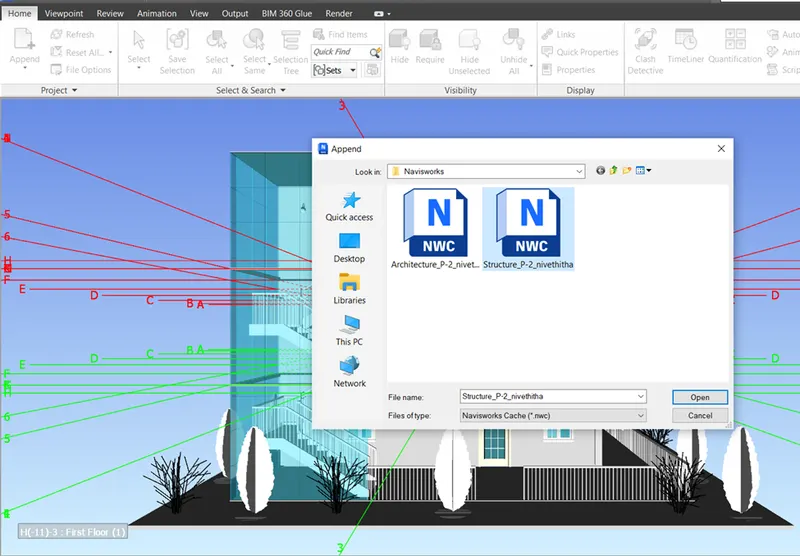
- Select the structural file and click open
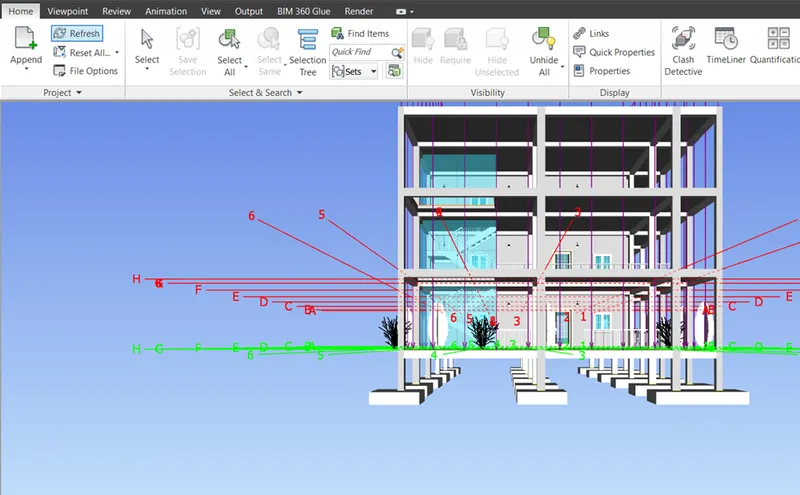
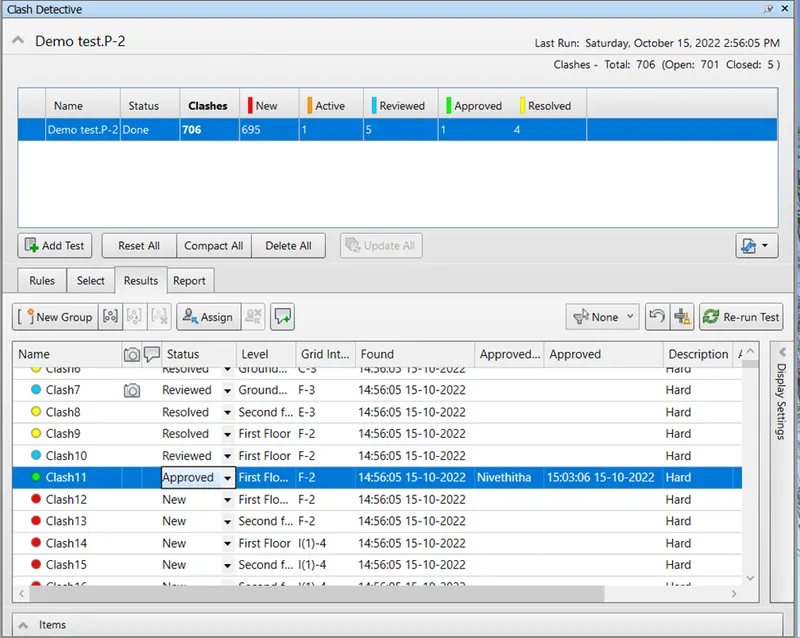
- Click Clash detective from home tab.
- Give the following setting as shown below
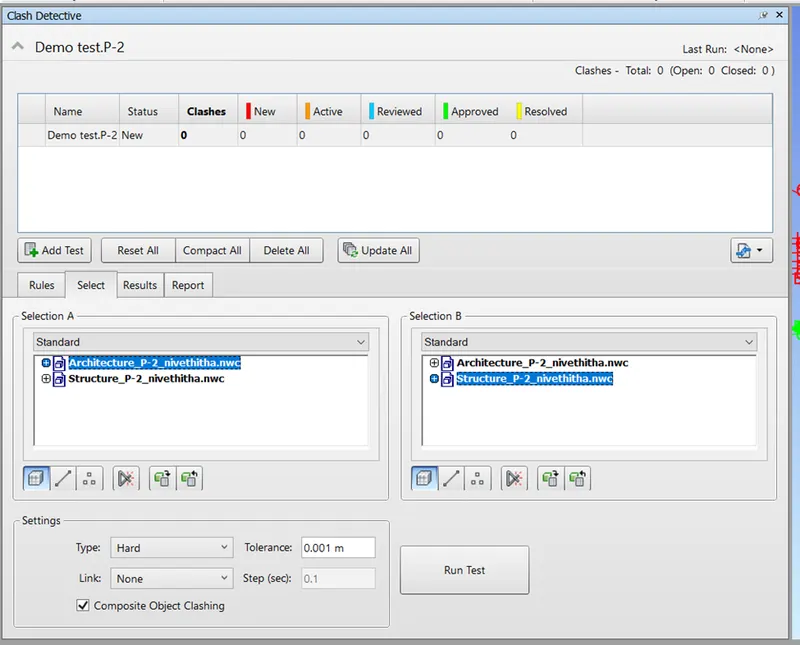
- Click run test
- Result is displayed
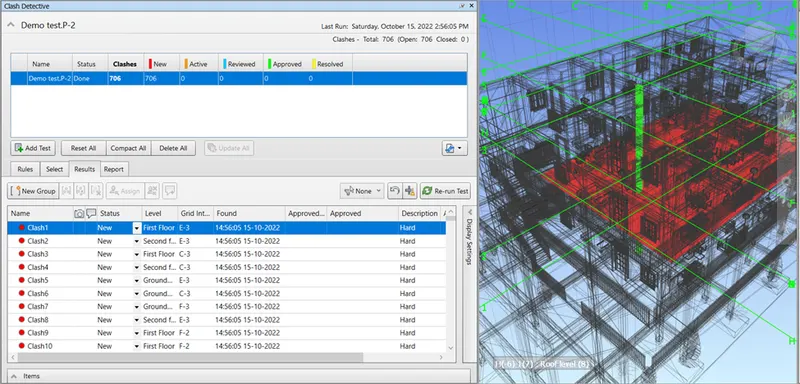
- Change the status with respect to the situation like reviewed, approved, resolved, etc. as follow.
Result:
- Hence the result is obtained by following the above procedure.
5.Aim:
To use the Timeliner feature in Navisworks prepare a schedule for the project developed in week 6 to 8 by adding reasonable assumptions for task start date and end date and simulate the task completion as a visual simulation. Record it and save the timeline simulation to Navisworks file.
Procedure:
- In the existing file, select time liner in the home tab .
- Click selection tree to view the lists
- Give the data like dates and status in the timliner.
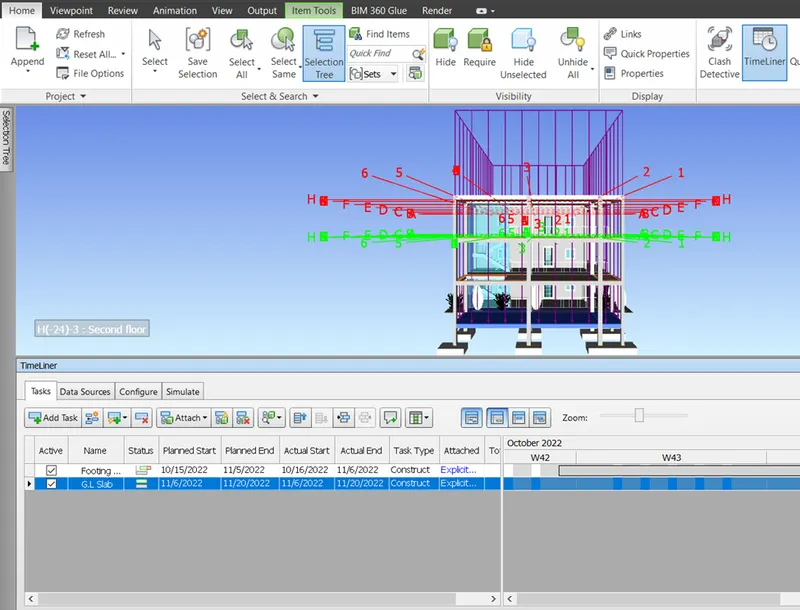
- Add task to add new elements .
- Click attach to attach the element with the help of selection tree.
-
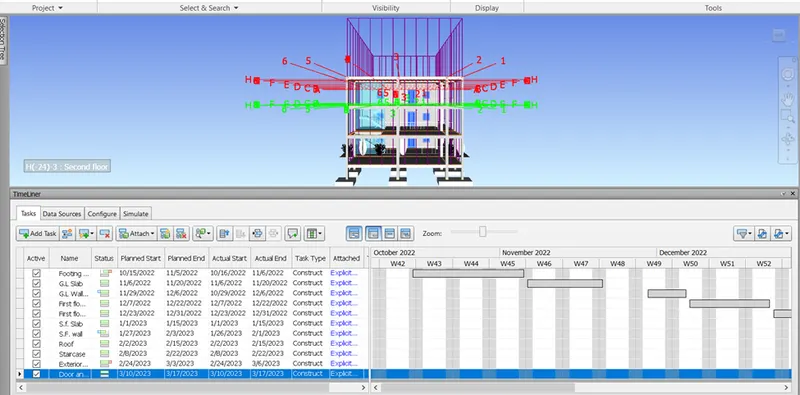
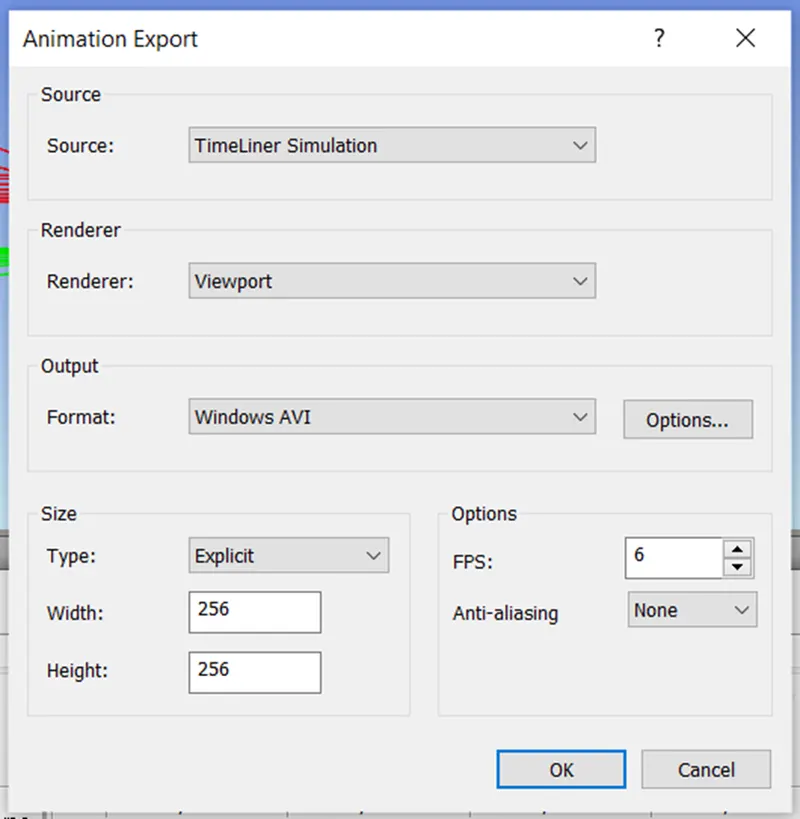
- Click simulate and play the video
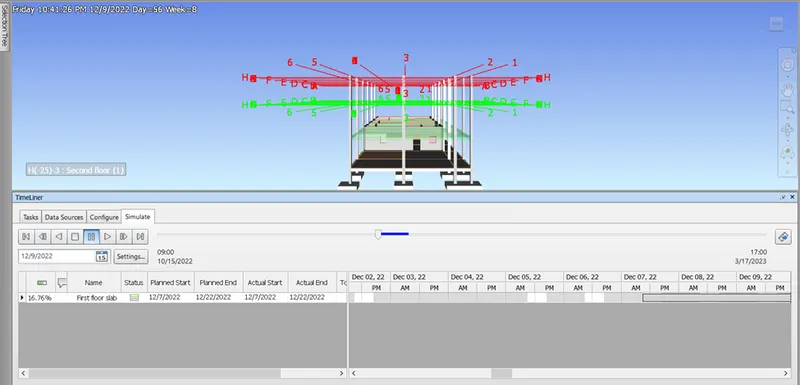
- Export the video and save it by clicking export animation button.
Result:
- Hence the result is obtained by following the above procedure.