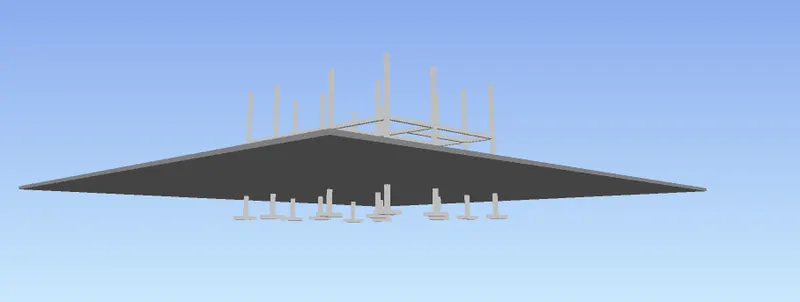
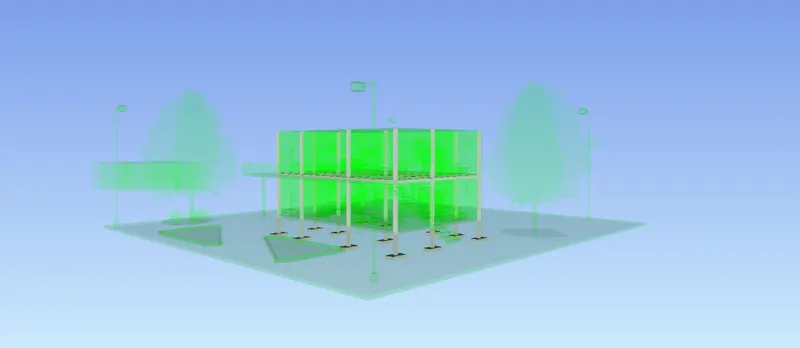
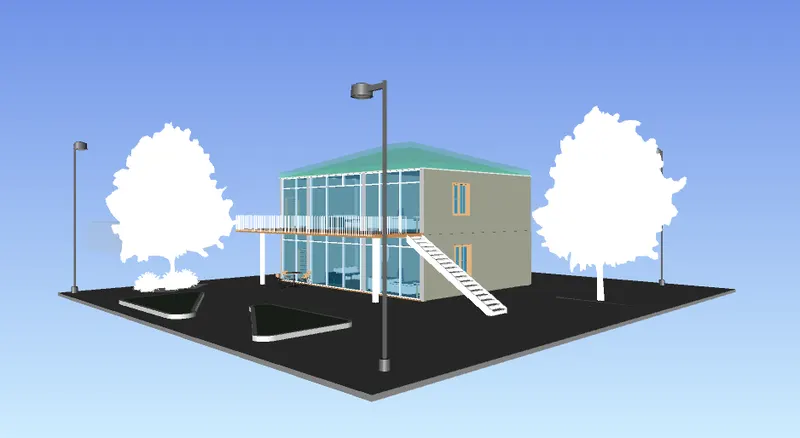
Usage of Navigation tool , Timeliner and Clash Detection test using Naviswork
1) Use the Architecture/ Structure Project file developed by you in Week 6 to 8. Export the Revit architecture and structure model to Navisworks Cache file following the export settings discussed in class
Aim: export the revit architecture and structure model to Navisworks Cache file following the exports settings in discussed in class.
Procedure:
- Open autodesk website>login to my id>download naviswork.
- After downloading open the revit software>file>export>NWC file.
- Now open the naviswork>file open>architectural project.
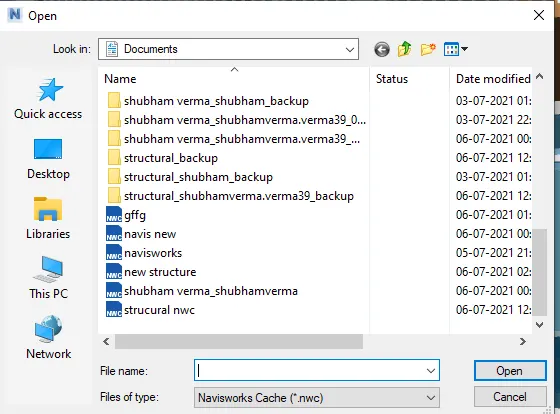
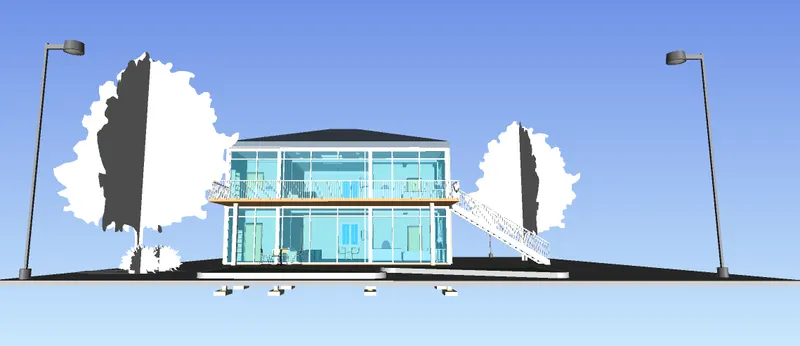
Result: architectural and structural model combined.
2) Use Navigate Tool to walk around the model and walk through the rooms created and record your moving as animation in your Navisworks file
Aim: To use the navigate tool to walk around the model and record your moving as animation in your navisworks.
Commands used: navisworks,viewports,walk,record,stop.
Procedure:
- Open the architectural file in naviswork which was exported from revit.
- Click on viewpoint and select the view(as views are exported from revit as whole project was exported).

- Select the record option in viewpoint and select walk.
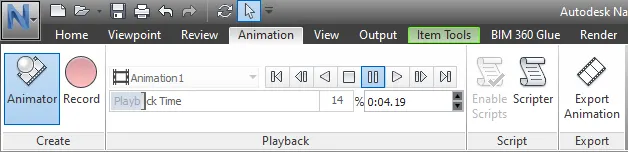
- Now walk through the rooms,halls,bathroom of the project.
- Click the stop button after walk is done.
- In the right side animation will pop up in which animation is recorded for the rooms and halls.
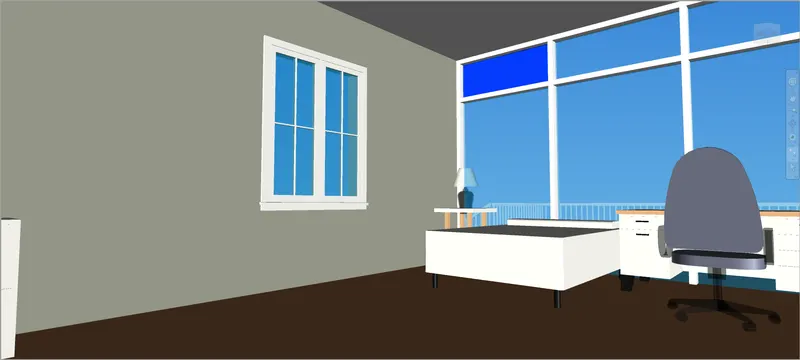
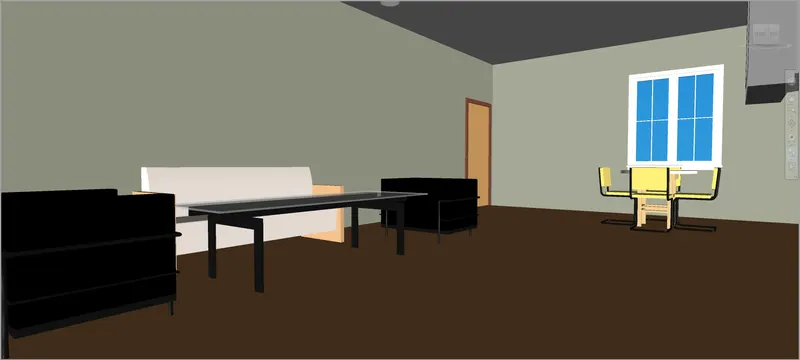
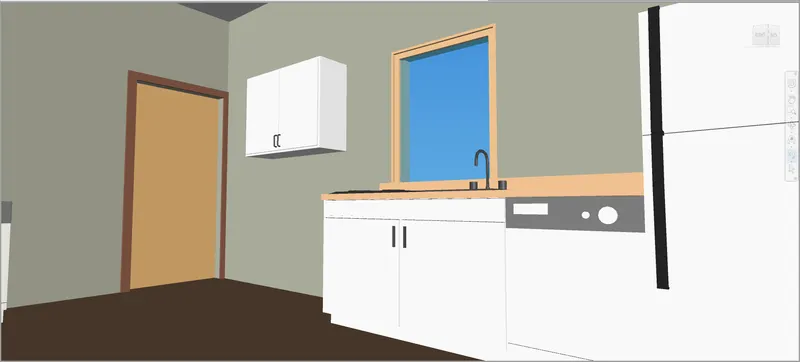
Result: the walk through and video has been created.
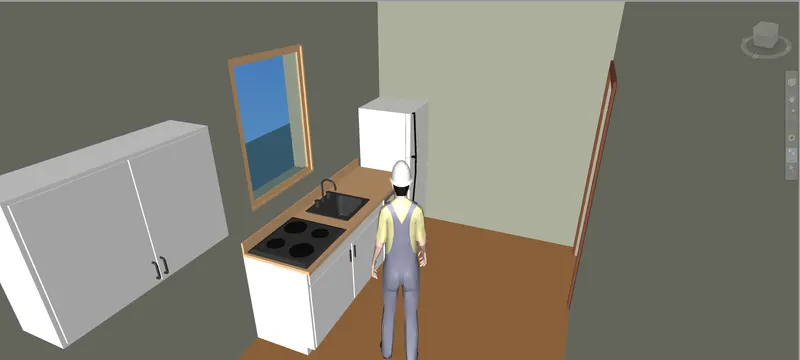
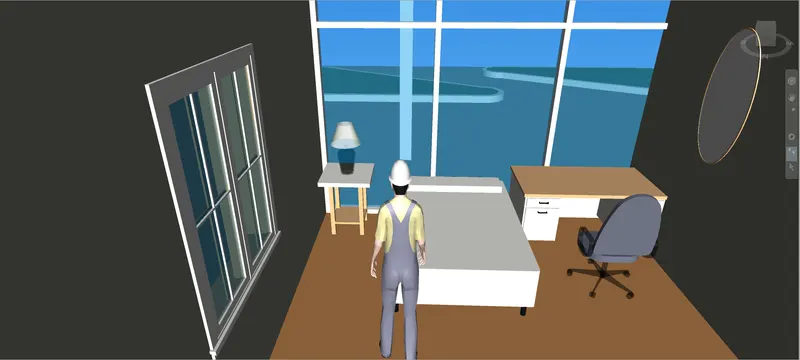
3) Use Navigate tool to use Realism feature to walk through the model and record your moving as animation in Navisworks file
Aim: to use realism feature to walk through the model and record my moving animation.
Commands used: viewpoints,realism,walk and stop.
Procedure:
- Open the architectural file in naviswork which was exported from revit.
- Click on viewpoint and select the view(as views are exported from revit as whole project was exported).
- Select realism and check on the third person and then select the record and then select walk.
- Start walking in the rooms of the project.
- Click stop button on the top right.
- The animation will be created.

Result: Realism feature has been used using navigate tool.
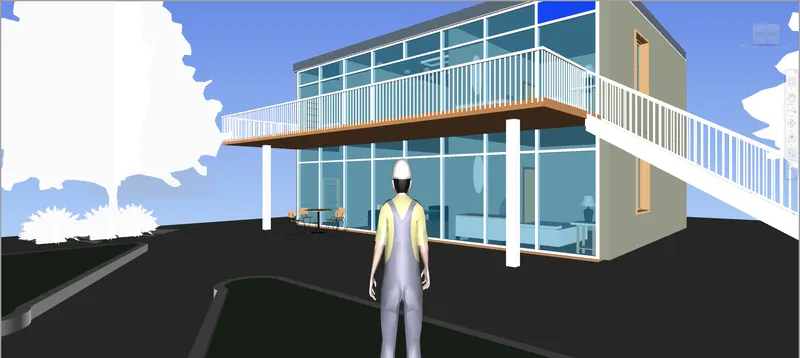
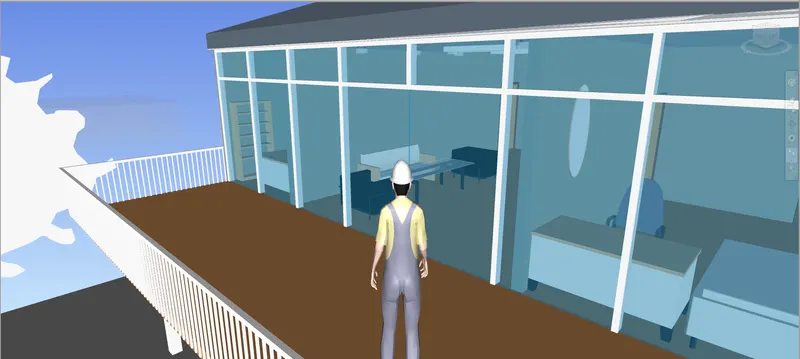
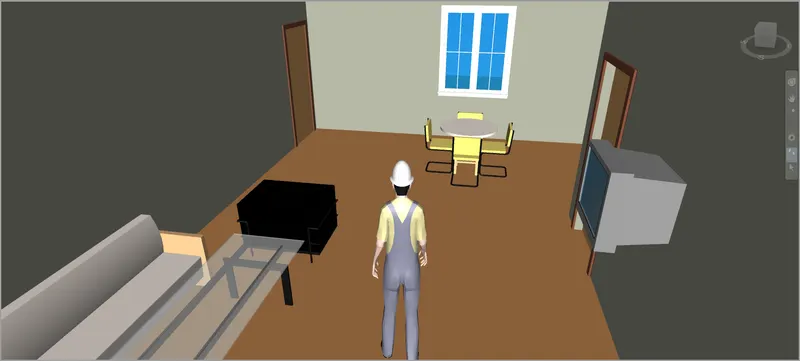
4) Embed both architecture and structure *.nwc file to your Navisworks file. Create a clash detection test between the two models
a. Run the Clash Detection Test
b. Study the clashes between the two models
c. List which of the clashes could be approved
d. List which of the clashes could be neglected ( will be taken care later)
e. List which of the clashes can be resolved
f. Save the results after color coding the clashes to the Navisworks file
g. In case of resolution annotate the clash and save the view to defined views in Navisworks
Aim: embed both architecture and structure *.nwc file to your Navisworks file and create a clash test between the two models.
Commands used: Home,open,append,clash detection.
Procedure:
- Open the architectural file in the naviswork.
- Click the append icon in the home button.
- Click the new test and rename the test if you want
- Select the arch and structure file.
- Select the surface for both the file.
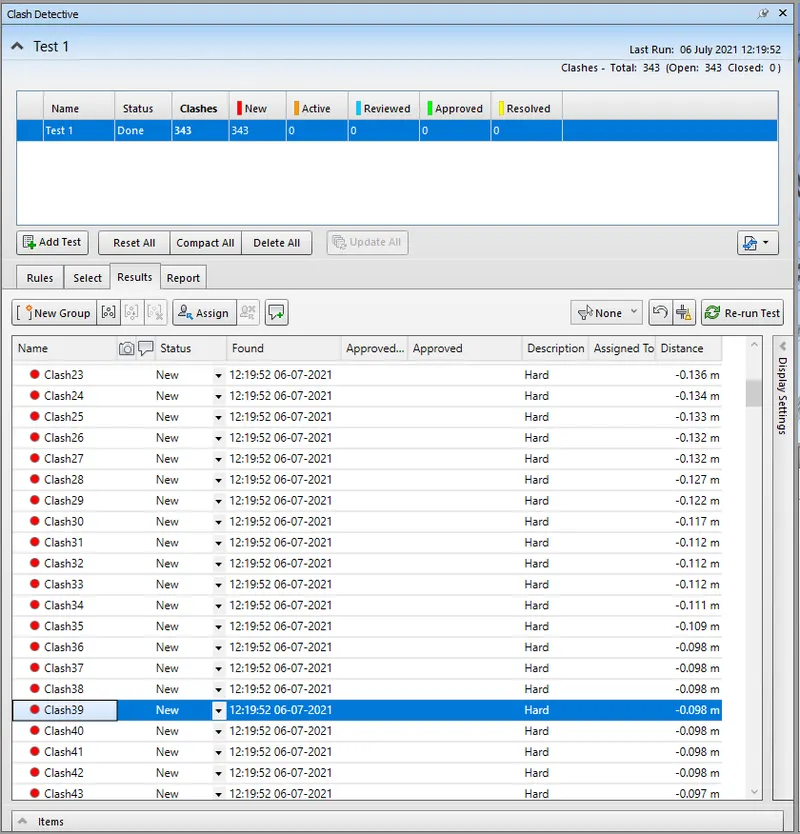
- Click the run test.
- Clash detection test is completed.
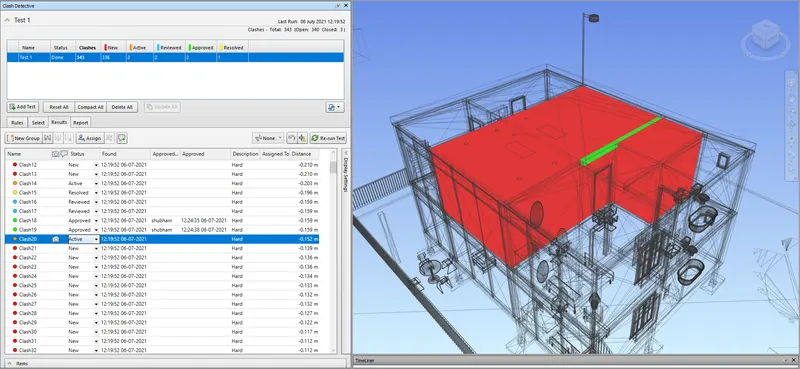
- After the test study the detection(what is clashing with what).
- List the clash which can be approved with the drop down menu in the status ans select as approved.
- List the clash as reviewed which can be taken care later.
- List the clash as resolved which clash has been resolved from the drop down menu in status.
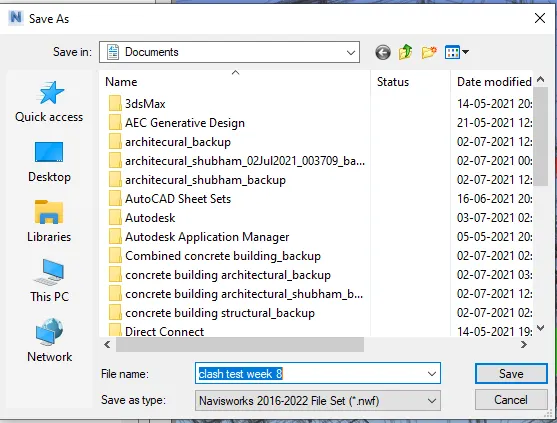
- After the action taken it will be colour coded and then save it with appropriate name.
a) Run the clash detection test:
b) Study the clashes between two models:
c) List which of the clashes could be approved
d) List which of the clashes could be neglected(will be taken care later)
e) List which of the clashes can be resolved
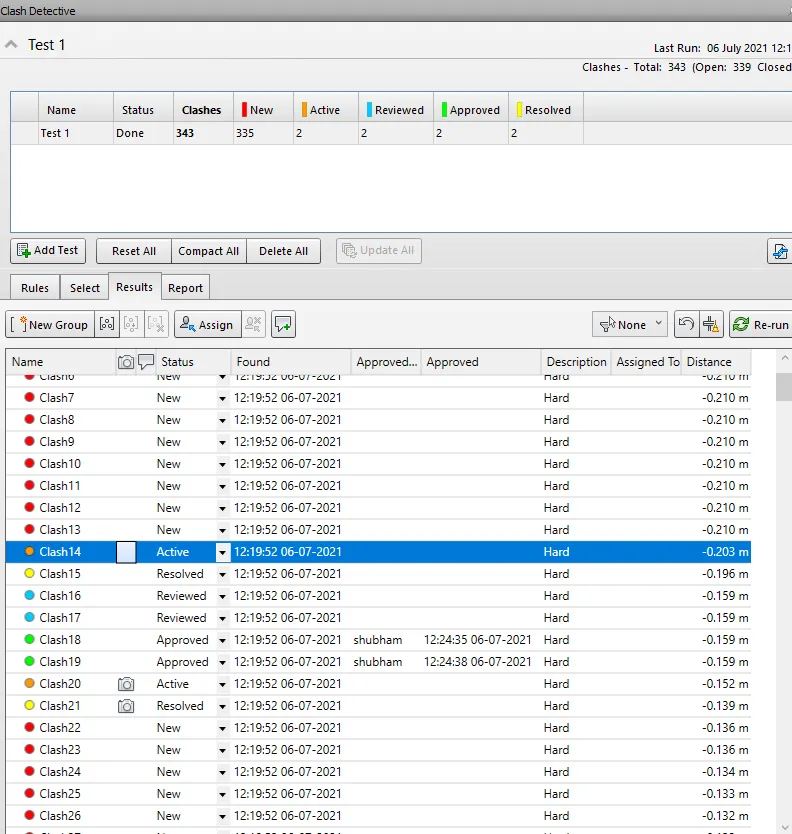
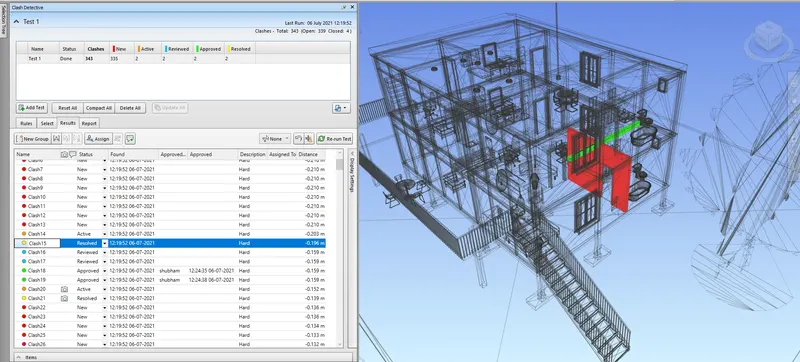
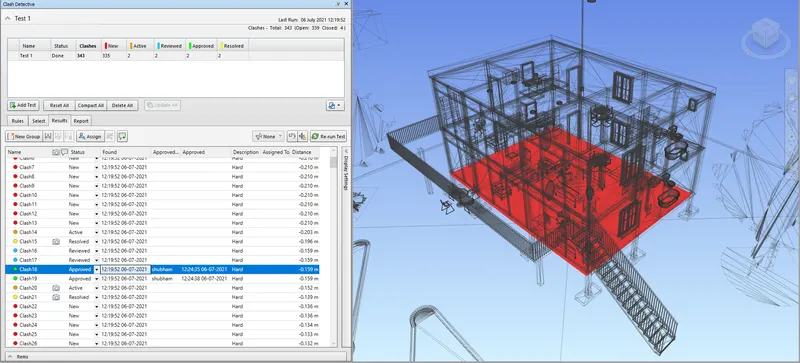
f) save the result after colour clashes to the naviswork file:
Result: The clash detective test is done successfully in this project.
5) Using the Timeliner feature in Navisworks prepare a schedule for the project developed in week 6 to 8 by adding reasonable assumptions for task start date and end date and simulate the task completion as a visual simulation. Record it and save the timeline simulation to Navisworks file
Aim: use the timliner feature in Navisworks to prepare a schedule of the project.
Commands used: Home,timeliner,add task,Attach the materials/9columns,walls).
Procedure:
- Open the structure file in navis work which wa exported from revit.
- Select the home tab and select timeliner.
- Add the tasks and attach the tasks in it.
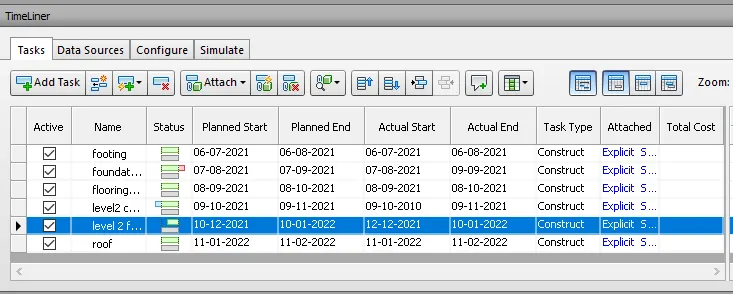
- Update the actual dates like start and finish date of the task.
- Select construction in the task type column.
- Do it for complete building.
- Click on the simulate to play the recorded task(progress of the building will be shown.

- Save the project.
Results: Timeliner feature has been performed in the project using navisworks.