Usage of Navigation tool , Timeliner and Clash Detection test using Naviswork
1) Use the Architecture/ Structure Project file developed by you in Week 6 to 8. Export the Revit architecture and structure model to Navisworks Cache file following the export settings discussed in class
INTRODUCTION:
It is a project review software that allows Architecture, Engineering and Construction professionals holistically review integrated models and data with stakeholders during preconstruction to better control project outcomes. Here is a list of some tools and functionalities:
- Coordination
- Clash Detection
- 5D Project scheduling
- Rendering
- Quantification
- Construction Simulation
Navisworks is available in three versions namely Freedom, Simulate and Manage. Freedom is a free viewer for native NWD files. Simulate is the base level and includes the functionalities except for Clash Detective. Manage on the other hand is the top level and includes all features.
AIM:
To Use the Architecture/ Structure Project file developed and Export the Revit architecture and structure model to Navisworks.
COMMANDS ARE USED:
- File
- Export
PROCEDURE:
- First i will take a previous challenge drawing at week 7
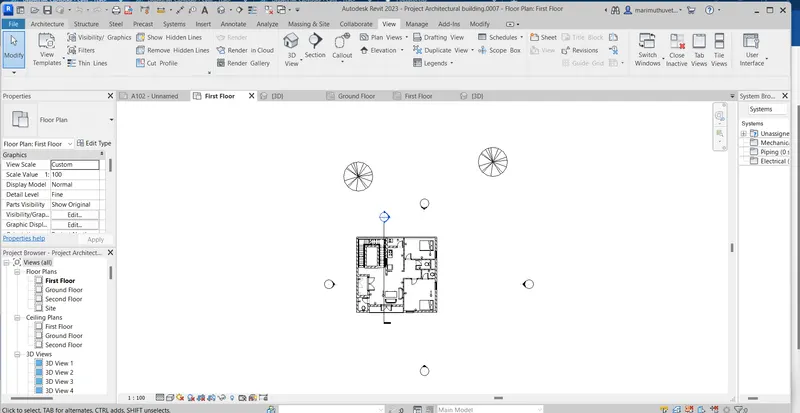
- Open the drawing over the architectural and structural
- Next click an architectural drawing go for file tab and choose export tab and click it
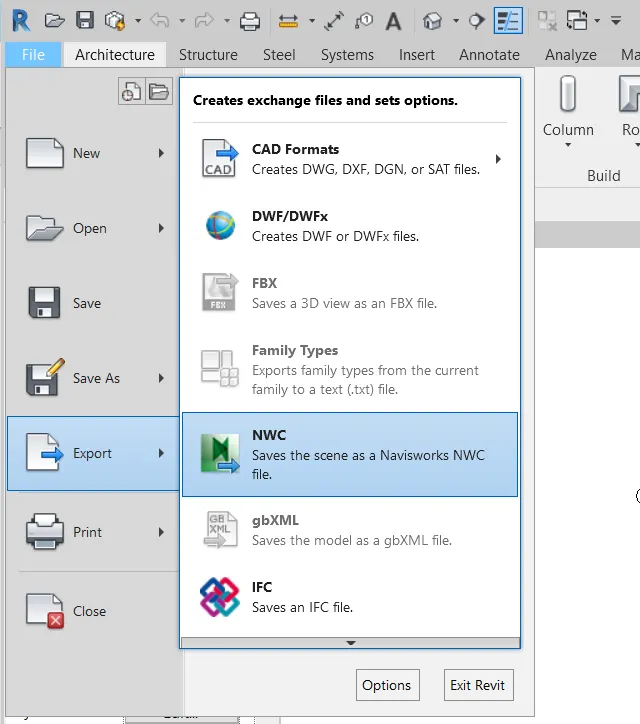
- Export the document as NWC file saved as architeural
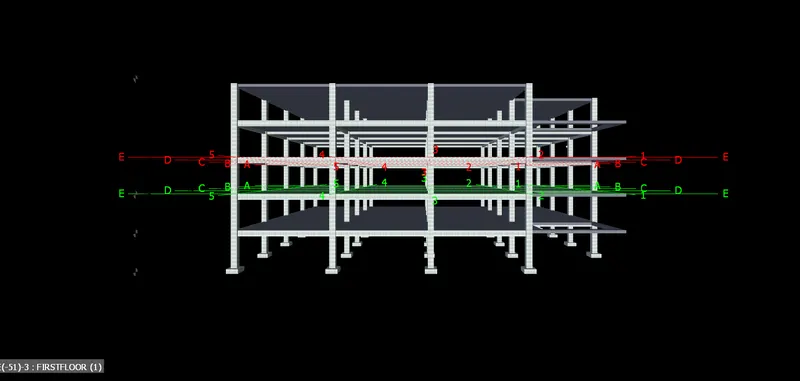
- After that same for strctural file open the strctural document
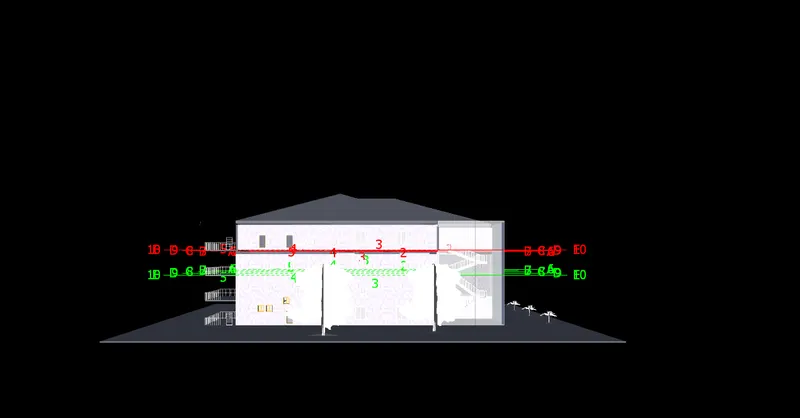
- To choose the export the document as the NWC and save it as nwc file
RESULT:
Finally we export the revit file to naviswork file
2) Use Navigate Tool to walk around the model and walk through the rooms created and record your moving as animation in your Navisworks file
AIM:
To Use Navigate Tool to walk around the model and walk through the rooms created and record your moving as animation in your Navisworks file
COMMANDS ARE USED:
- View point
- Walk
- Zoom
PROCEDURE:
- To go for an Naviswork software to open it and go for an the previous document file
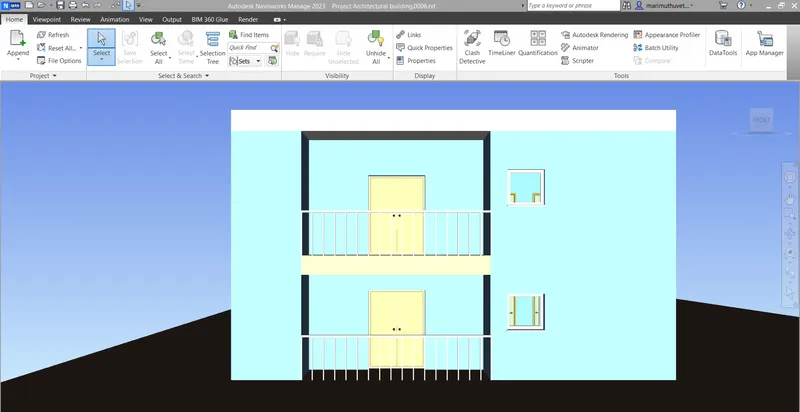
- To track it to zoom option
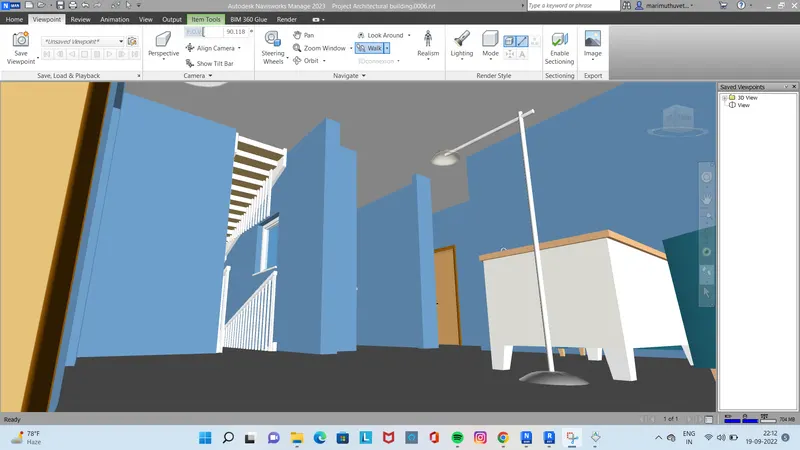
- Go for an viewpoint and click the walk option
-
now select the walk tool and click the cursor or keybord fornt ,left arrows to start the walk.
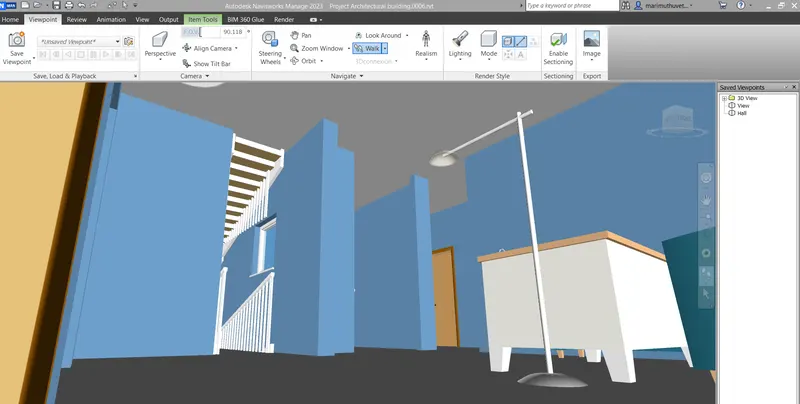
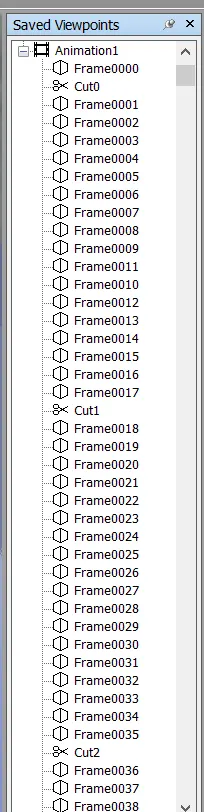
- Save the viewpoint as hall , kitchen and bedroom
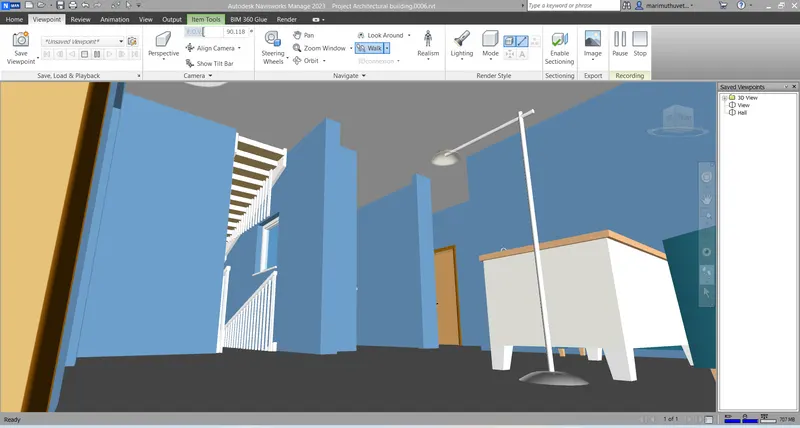
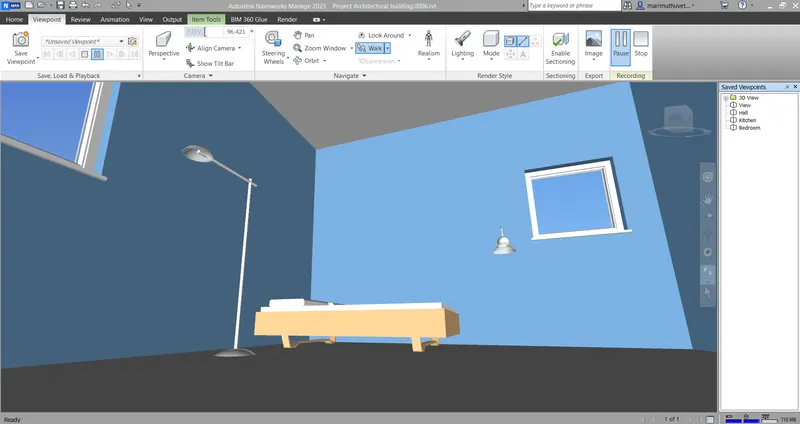
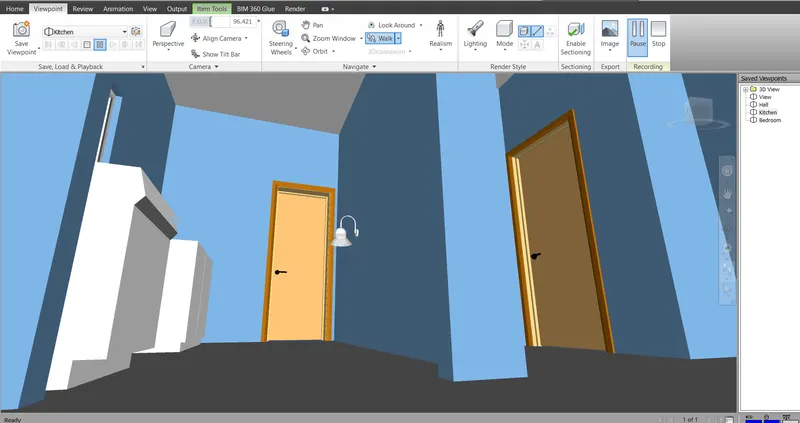
- Want to stop the record put it stop button
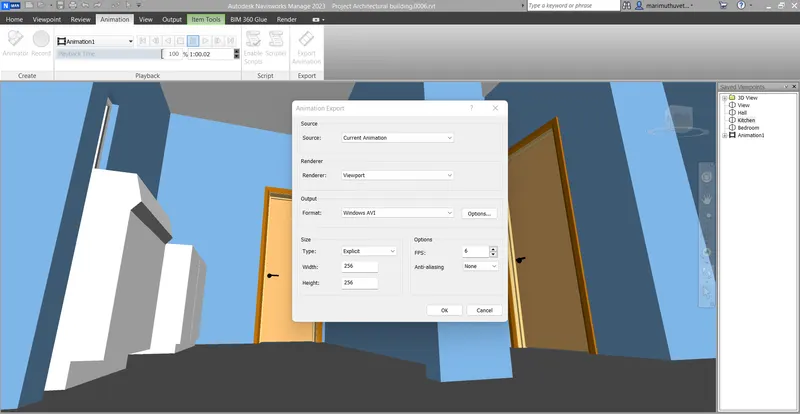
- Now go to the save view point and click on record and start walking to the direction which you need the views and click on stop to stop the record .
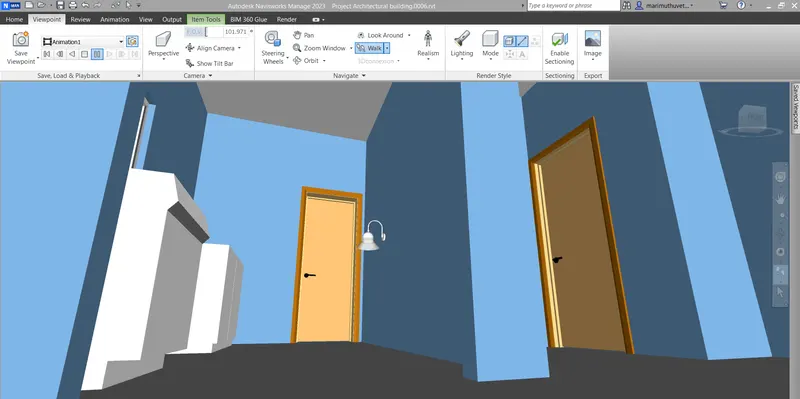
- with the arrows we can view the of the project at every corneer
- To go for an room at the walk option and recoreded as well
RESULT:
Finally we Use Navigate Tool to walk around the model and walk through the rooms
3) Use Navigate tool to use Realism feature to walk through the model and record your moving as animation in Navisworks file
AIM:
To Use Navigate tool to use Realism feature to walk through the model and record your moving as animation in Navisworks file
COMMANDS ARE USED:
- View point
- Walk
- Zoom
PROCEDURE:
- To go for an Naviswork software to open it and go for an the previous document file
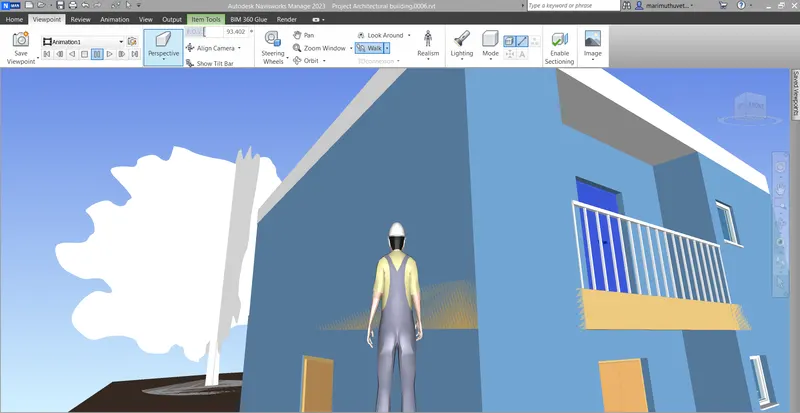
- To track the zoom option
- Go for an viewpoint and click the Realism option and choose third person
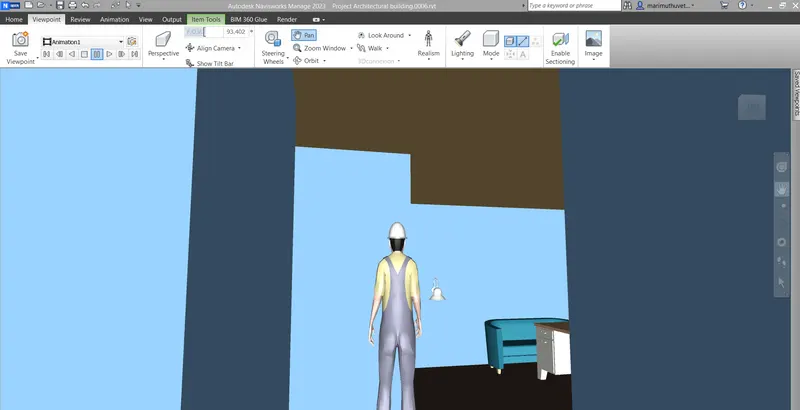
-
now select the walk tool and click the cursor or keybord fornt ,left arrows to start the walk.
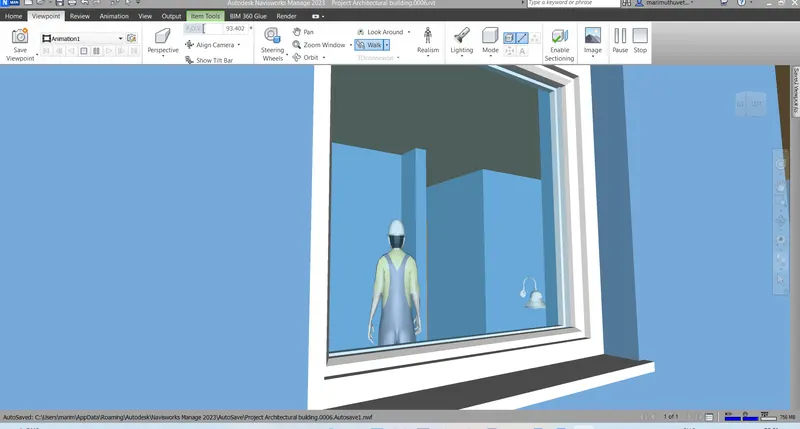
- Save the viewpoint as hall , kitchen and bedroom
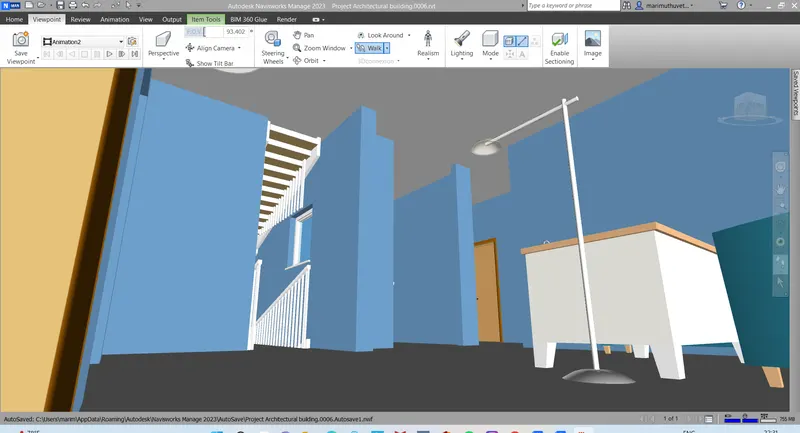
- Want to stop the record put it stop button
- Now go to the save view point and click on record and start walking to the direction which you need the views and click on stop to stop the record .
- with the arrows we can view the of the project at every corneer
- To go for an room at the walk option and recoreded as well
RESULT:
Finally we Use Navigate Tool to walk around the model and walk through the rooms
4) Embed both architecture and structure *.nwc file to your Navisworks file. Create a clash detection test between the two models
a. Run the Clash Detection Test
b. Study the clashes between the two models
c. List which of the clashes could be approved
d. List which of the clashes could be neglected ( will be taken care later)
e. List which of the clashes can be resolved
f. Save the results after color coding the clashes to the Navisworks file
g. In case of resolution annotate the clash and save the view to defined views in Navisworks
AIM:
To create Embed both architecture and structure and Create a clash detection test
COMMANDS ARE USED:
- Home
- Open
- Clash detection
- runtest
- Append
PROCEDURE:
- Open the revit and save the both the architectural and structural files as NWc and open them in naviswork manage .
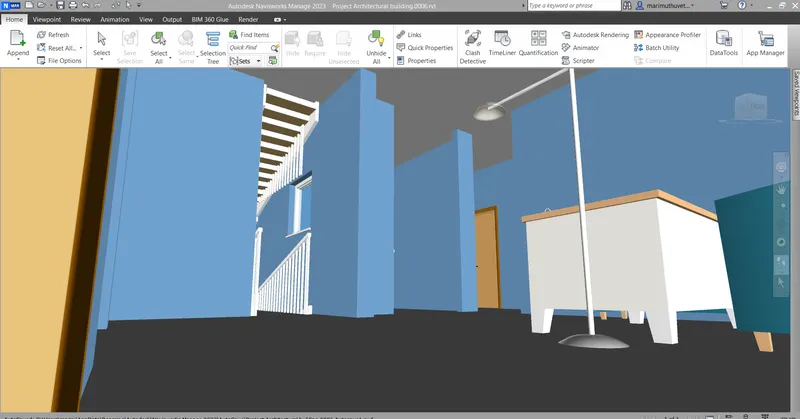
- open architectural file and Append the structural file to it .both the files got merged
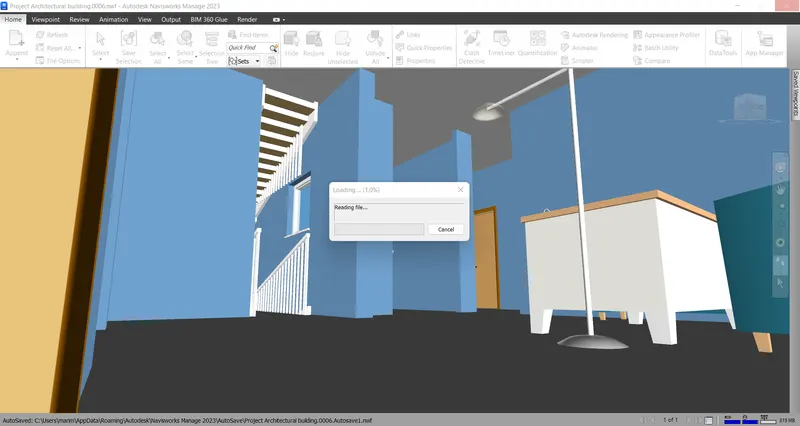
- Click on Clash detective in the home tab
- clash detective dialouge box appears .
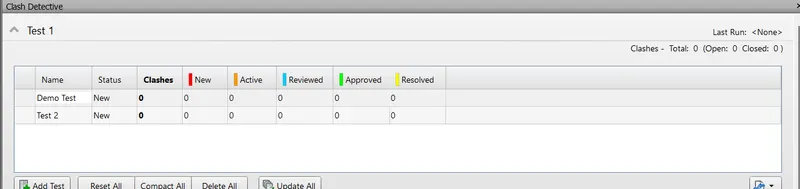
-
click on add test and select the file in which you need to detect the clashes and click on run test.
-
The clashes are visible in red colour we can appro clasve the clashes which are perfect when we see the images the colour turns to green.
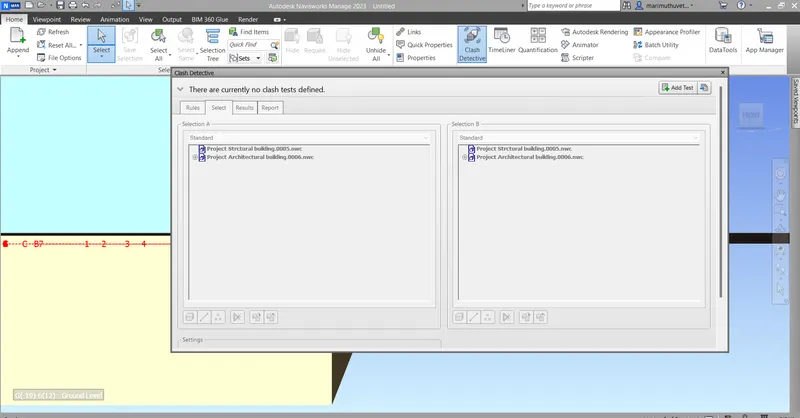
-
We can neglect the clashes which will not cause any disturbance to the project.
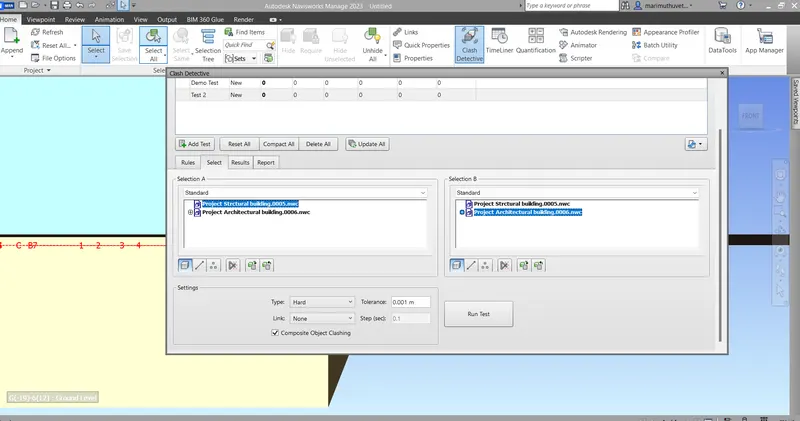
-
we can resolve the clashes which can change the boundary conditions, we can exclude these clashes from detective test.
-
once the clashes are mentioned we can save the file by selcting save as .
-
Now we can annotate and save the cplace where we can see the clash and can be viewed personally and will be rectified .
RESULT:
Finally with the help of above steps we can able to detect the clashes in the model and we can resolve the problem and we can send the file to the design engineer.
5) Using the Timeliner feature in Navisworks prepare a schedule for the project developed in week 6 to 8 by adding reasonable assumptions for task start date and end date and simulate the task completion as a visual simulation. Record it and save the timeline simulation to Navisworks file
AIM:using the Timeliner feature in Navisworks and prepare a schedule for a project developed in week 6 to 8 by adding reasonable assumptions for task start date and end date and simulate the task completion as a visual simulation. Record it and save the timeline simulation to Navisworks file
TOOLSUSED:
- Home
- Timeliner
- selection tree
- addtask
- stimulate
PROCEDURE:
- First Open the structural file in the naviswork manage
- To Click on the timeliner in the home tab
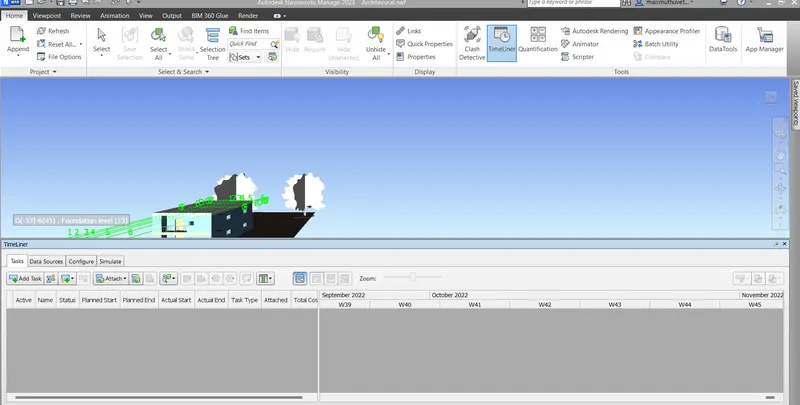
- The timeliner box appears in the bottom.
- Click on selection tree

- Click on add task and go to attach and select the items in the selection tree.
- We can add the actual and planned start and end dates .
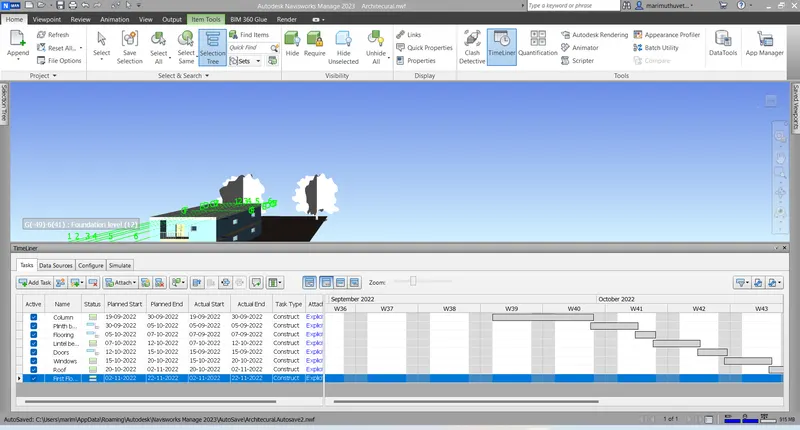
- Now select the task type as construt.
- After finishing filling all the details in the timeliner click on the stimulate.
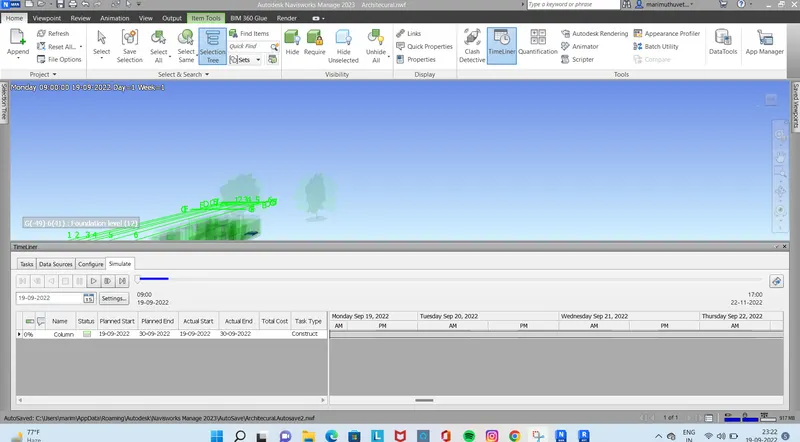
- The stimulating starts from the first day if construction uo to the end in the form of video and save it
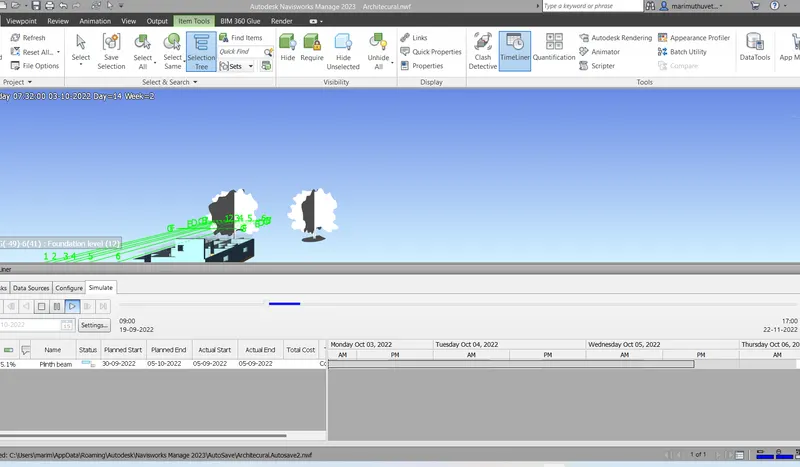
RESULT:
Finally with the help of above steps we can prepare a schedule for the project developed