Usage of Navigation tool , Timeliner and Clash Detection test using Naviswork
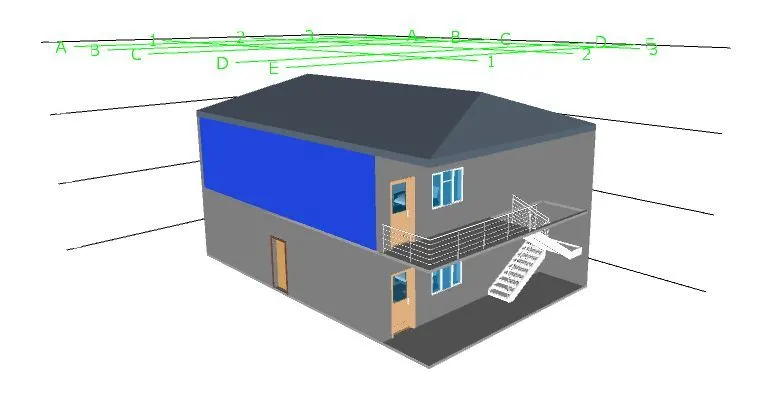
1) Use the Architecture/ Structure Project file developed by you in Week 6 to 8. Export the Revit architecture and structure model to Navisworks Cache file following the export settings discussed in class
AIM- To Export the Revit architecture and structure model to Navisworks Cache file.
PROCEDURE-
- Open the Revit File, From the last task
- Goto files then export
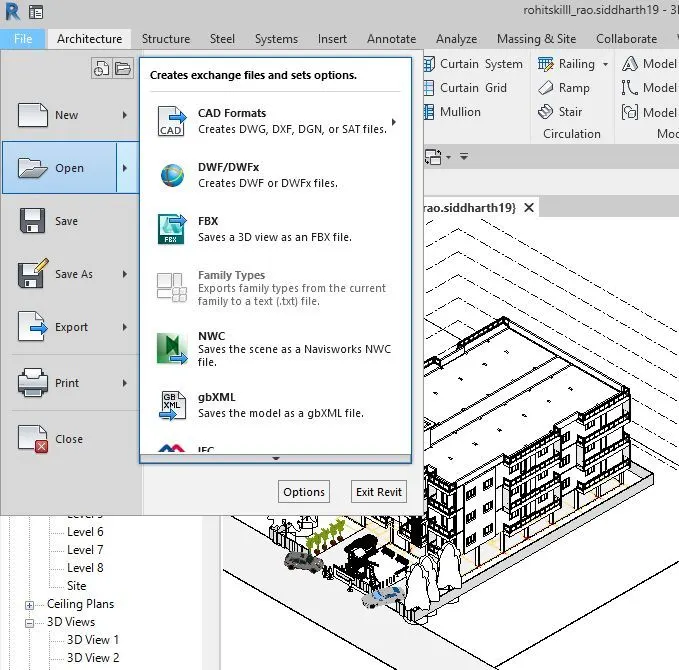
- then Click on NWC to export the file, a dialog box will apper on the screen
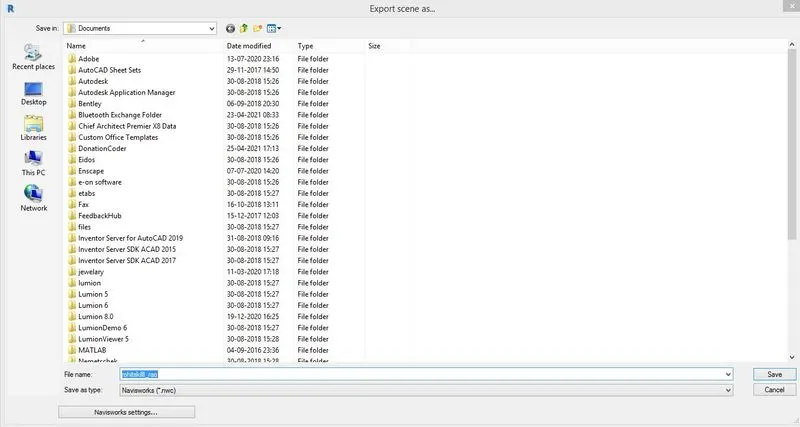
- Save the file to appropriate location, and from Navisworks setting we can change the default setting.
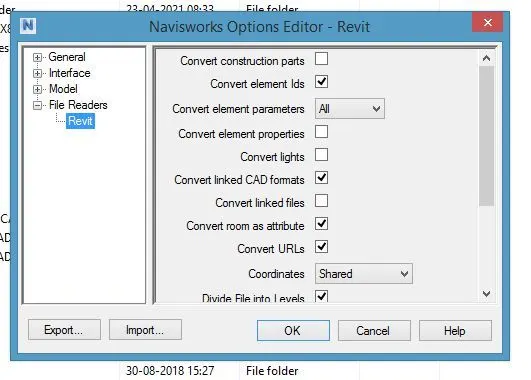
- Click ok and the save the File.
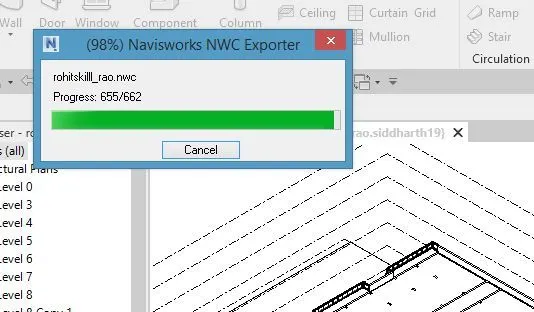
- then the Navisworks exporter process will start & revit Architectural/Structural file will bw converted to Naviswork file.
RESULT-
We have successfully exported the Revit Architecture/structure file to the Navisworks.
_______________________________________________________________________________________
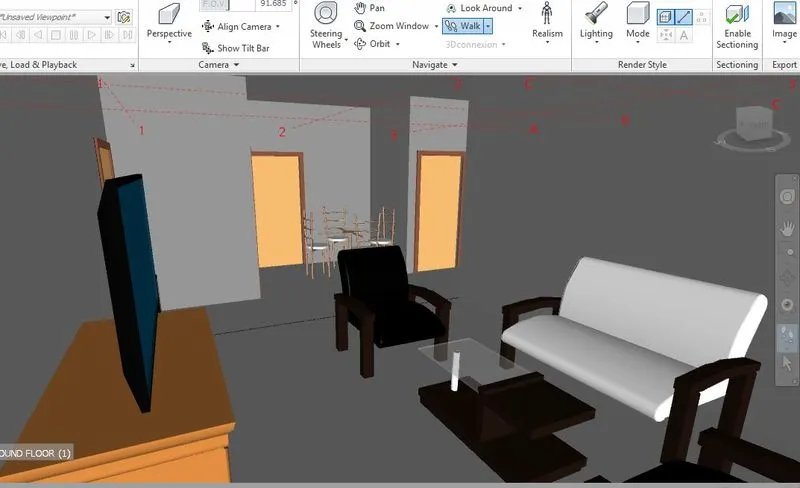
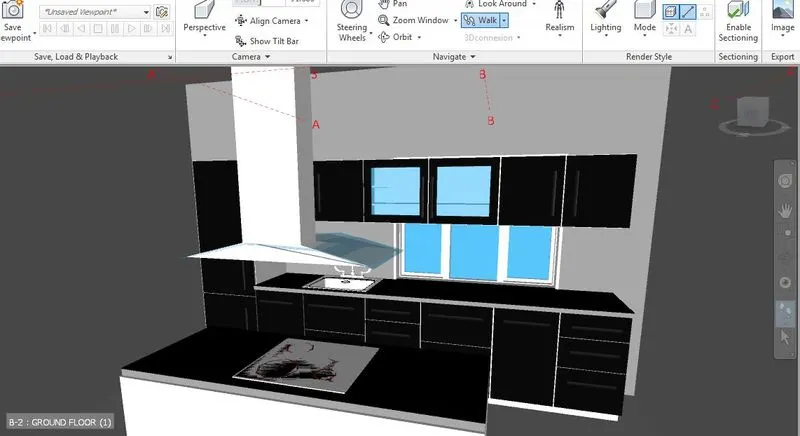
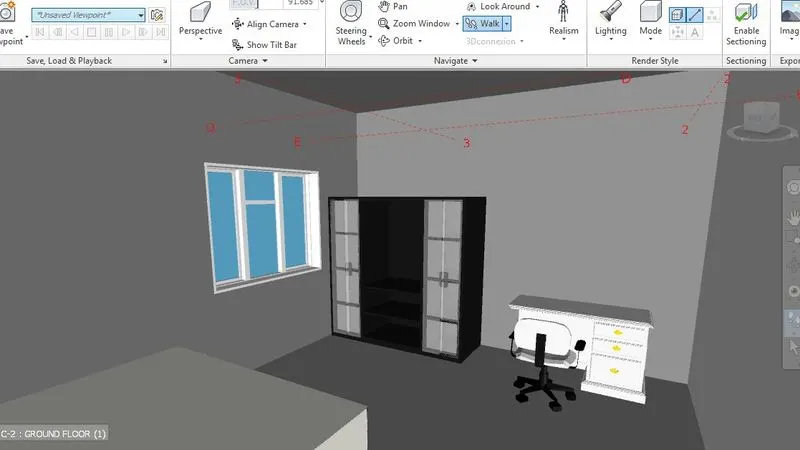
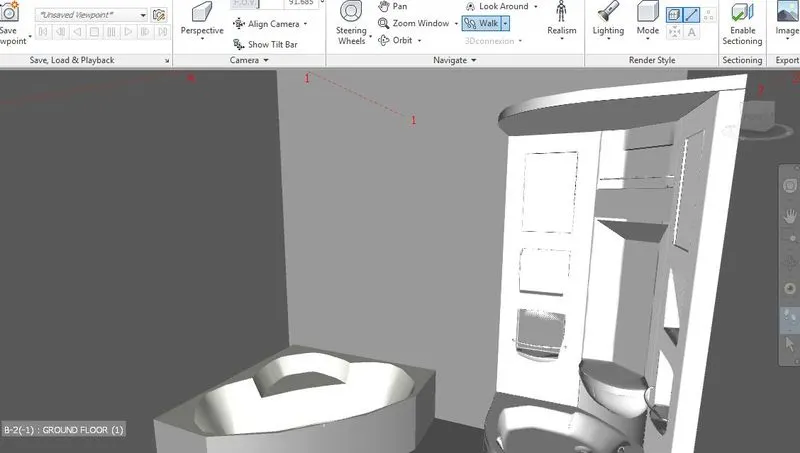
2) Use Navigate Tool to walk around the model and walk through the rooms created and record your moving as animation in your Navisworks file.
AIM- To Use Navigate Tool to walk around the model and walk through the rooms created and record your moving as animation in your Navisworks file.
PROCEDURE-
- Open the Navisworks Software.
- then Open the NWC file which was exported from Revit.
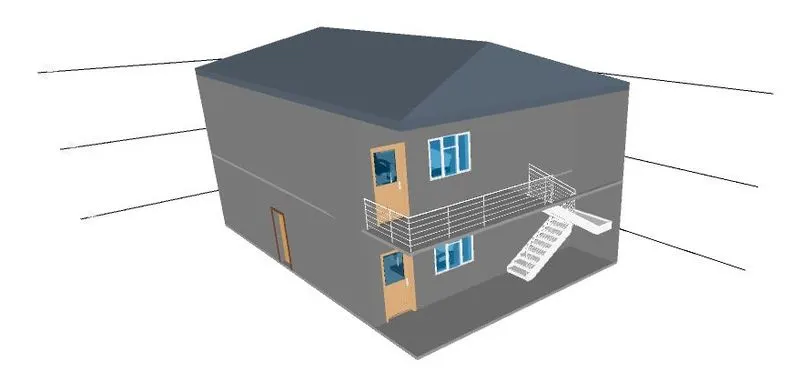
- Goto Viewpoints then Select walk.
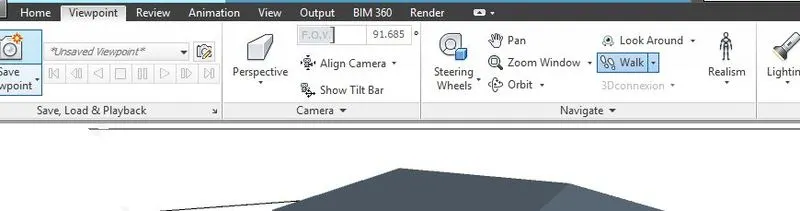
- By using Arrows from the Keyboard we can easily walk in the model and save the animation.
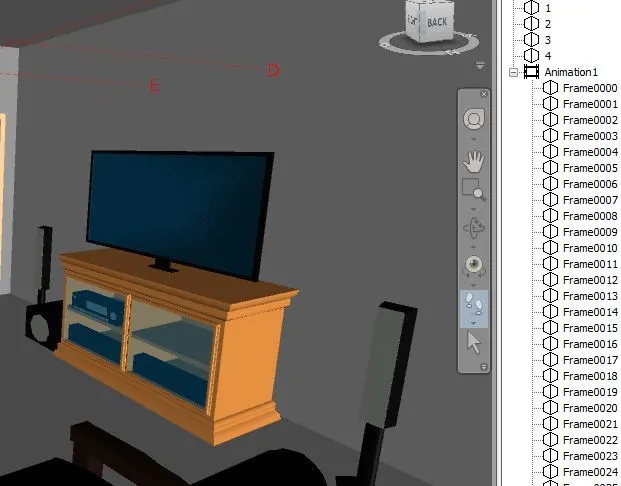
RESULT-
Using Navigate Tool we successfuly walk around the model and walk through the rooms created and record our moving animation in Navisworks file.
- walkthrough Hall
- walkthrough Kitchen
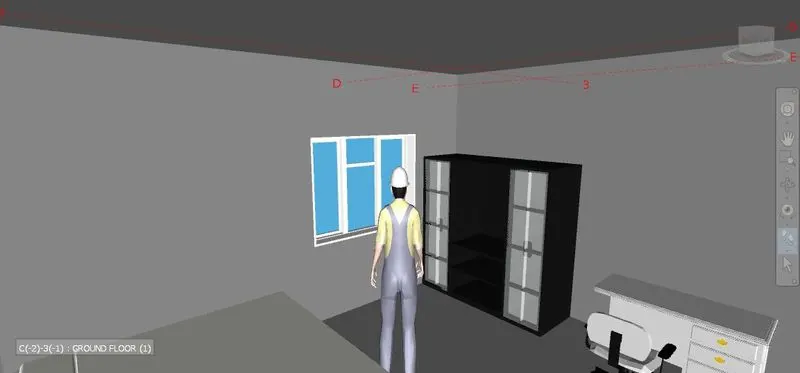
- walkthrough Bedroom
- walkthrough Toilet
______________________________________________________________________________________
3) Use Navigate tool to use Realism feature to walk through the model and record your moving as animation in Navisworks file
AIM- By Using Navigate tool to use Realism feature to walk through the model and record your moving as animation in Navisworks file.
PROCEDURE-
- Open the Navisworks Software.
- then Open the NWC file which was exported from Revit.
- Goto Viewpoints then Select "Realism".

- After selecting "Realism" choose third person on it.
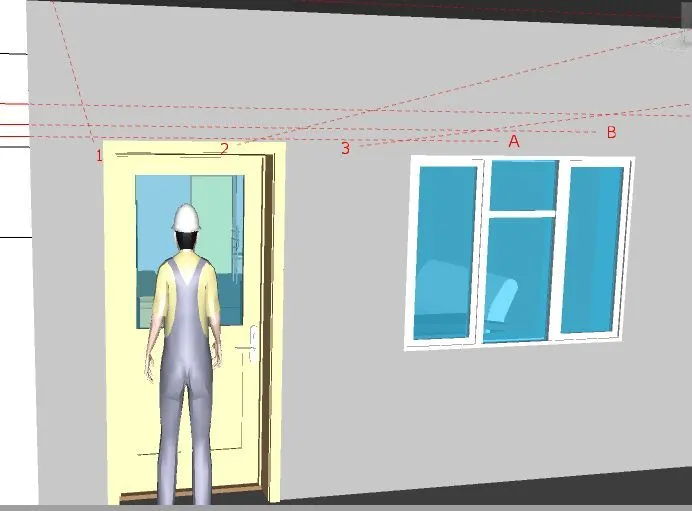
- Now walk option to around the model using mouse & arrows then create the views.
RESULT-
By Using Navigate tool & with the help of Realism feature we walk through the model and record our moving as animation in Navisworks file.
- walkthrough Hall
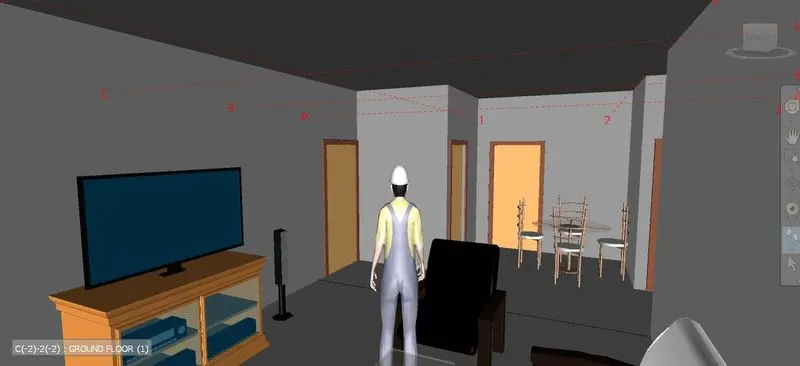
- walkthrough Dining
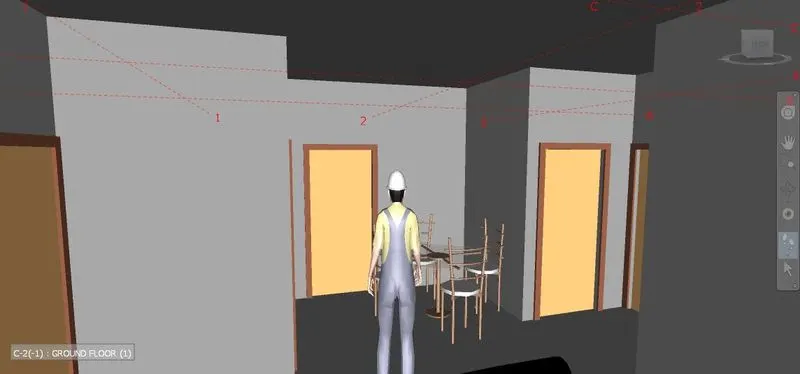
- walkthrough Toilet
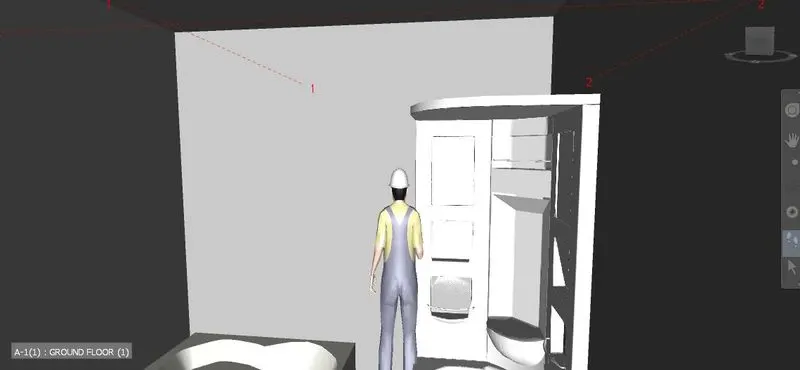
- walkthrough Kitchen
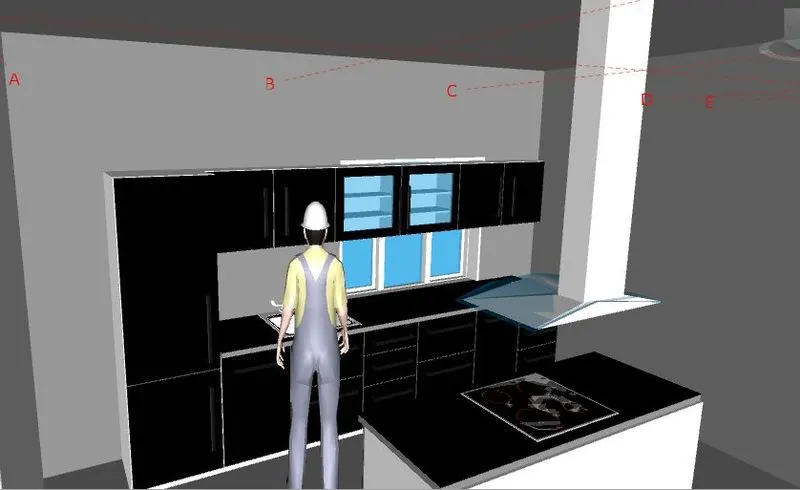
- walkthrough Bed
_______________________________________________________________________________________
4) Embed both architecture and structure *.nwc file to your Navisworks file. Create a clash detection test between the two models
a. Run the Clash Detection Test
b. Study the clashes between the two models
c. List which of the clashes could be approved
d. List which of the clashes could be neglected ( will be taken care later)
e. List which of the clashes can be resolved
f. Save the results after color coding the clashes to the Navisworks file
g. In case of resolution annotate the clash and save the view to defined views in Navisworks
AIM-To Create a clash detection test between the two models by using Navisworks.
PROCEDURE-
- Open the Navisworks Software.
- Then Open the NWC file which was exported (Architectural/Structural) from Revit .
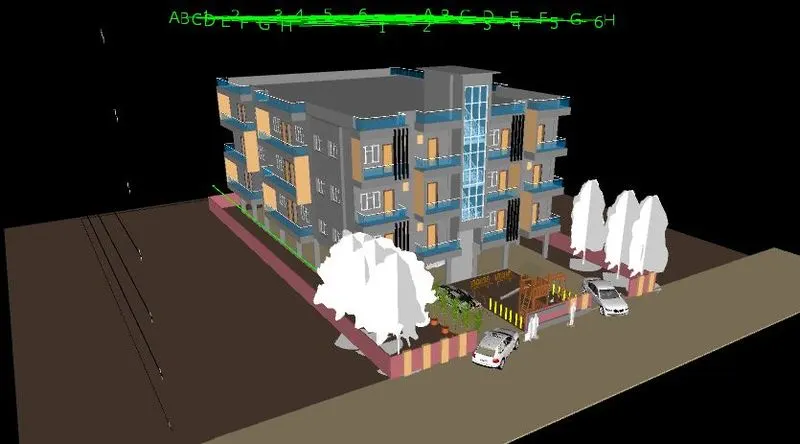
- Run the Clash Detection Test
- Goto home menu and select clash detective, then Clash detective dialog box will appears.
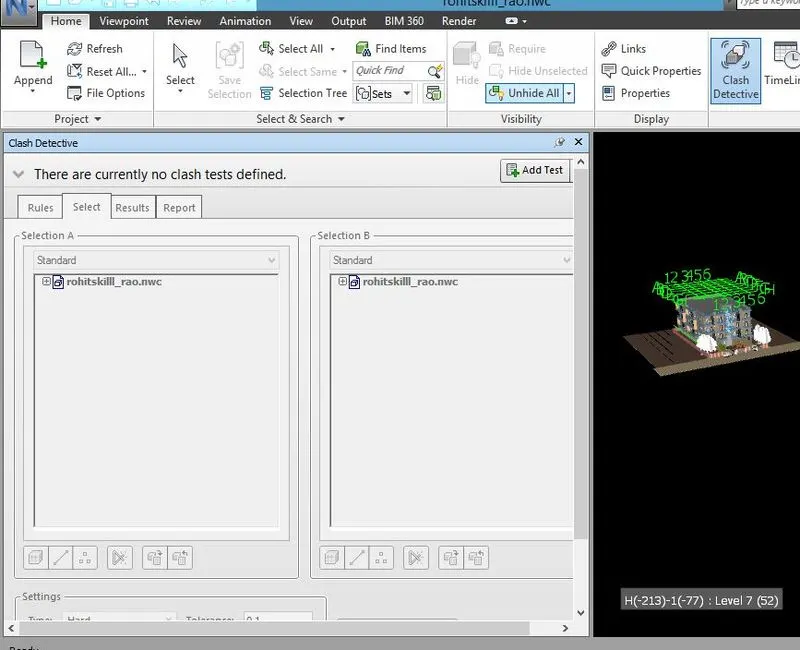
- Then click on add test
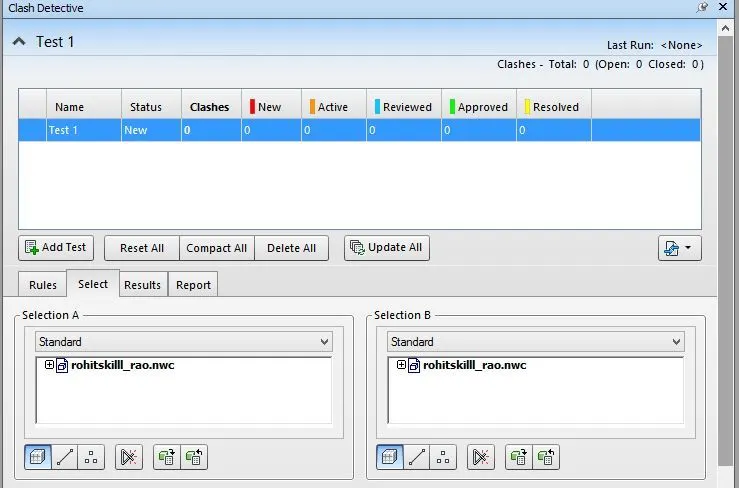
- now select both the files in the Selection A & Selection B.
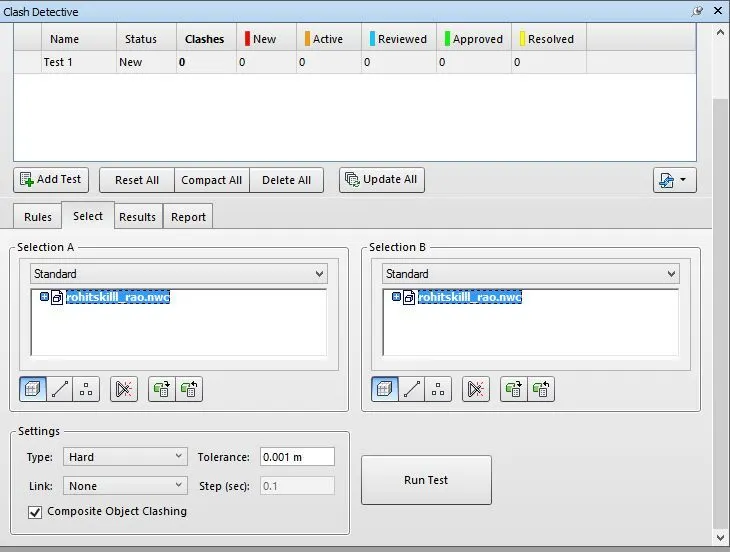
- now click on "Run Test".
- Study the clashes between the two models
- now we can easily study the clash between the two models.
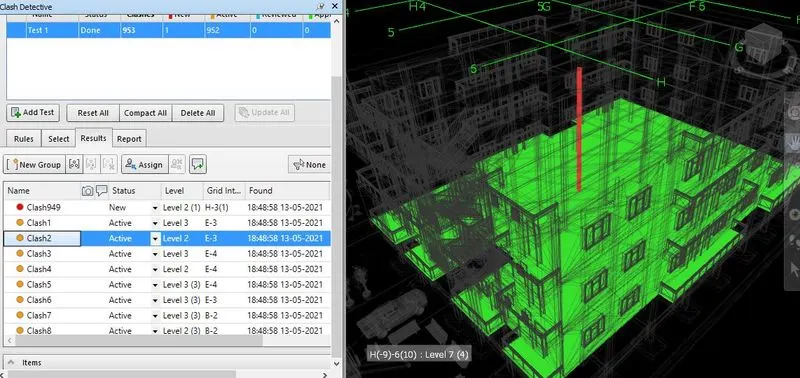
- List which of the clashes could be approved
- List which of the clashes could be neglected
- List which of the clashes can be resolved
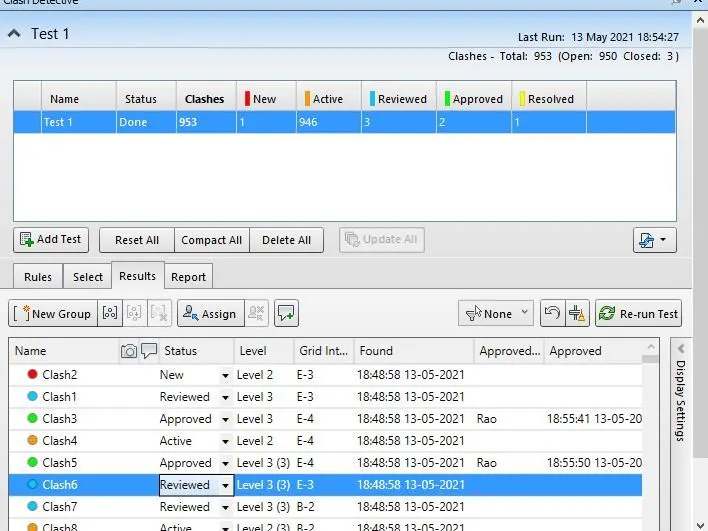
- Clashes can be approved, neglected, resolved easily.
- we can change the clashs and save all the clashs
- Save the results after color coding the clashes to the Navisworks file
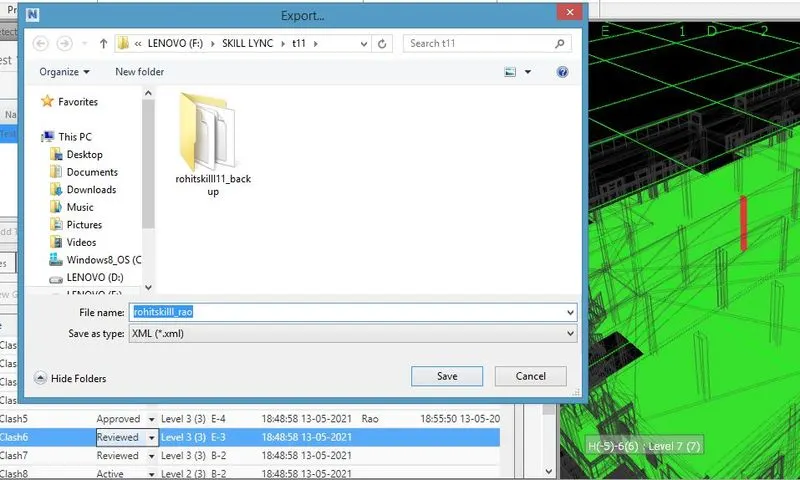
- we can save the file using import/export option.
- Clash report is exported Successfully.
RESULT-
We successfully Created a clash detection test between the two models in navisworks.
_______________________________________________________________________________________
5) Using the Timeliner feature in Navisworks prepare a schedule for the project developed in week 6 to 8 by adding reasonable assumptions for task start date and end date and simulate the task completion as a visual simulation. Record it and save the timeline simulation to Navisworks file
AIM- By Using the Timeliner feature in Navisworks prepare a schedule for the project developed also by adding reasonable assumptions for task start date and end date and simulate the task completion as a visual simulation.
PROCEDURE-
- Open the Navisworks Software.
- then Open the NWC file which was exported from Revit.
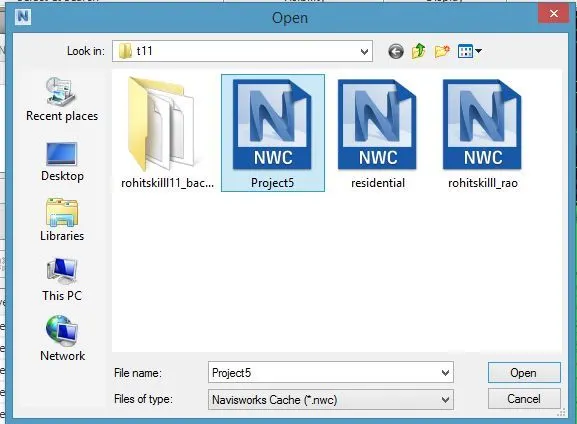
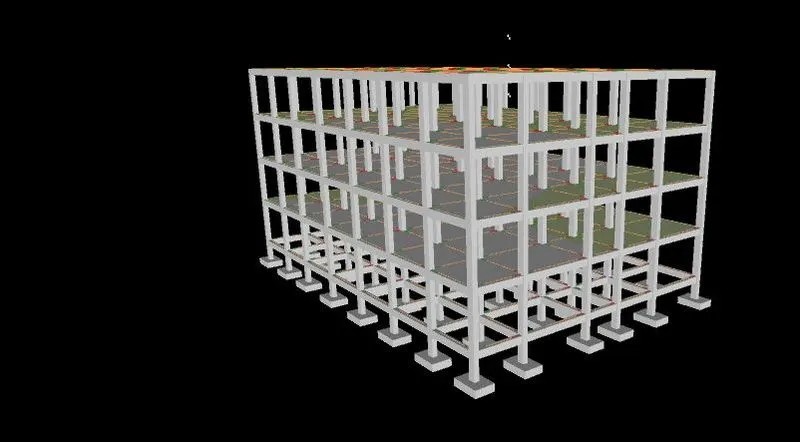
- Revit Structural Model is successfully imported in the Navisworks.
- Now goto Home Tab and Select "Timeliner tab "
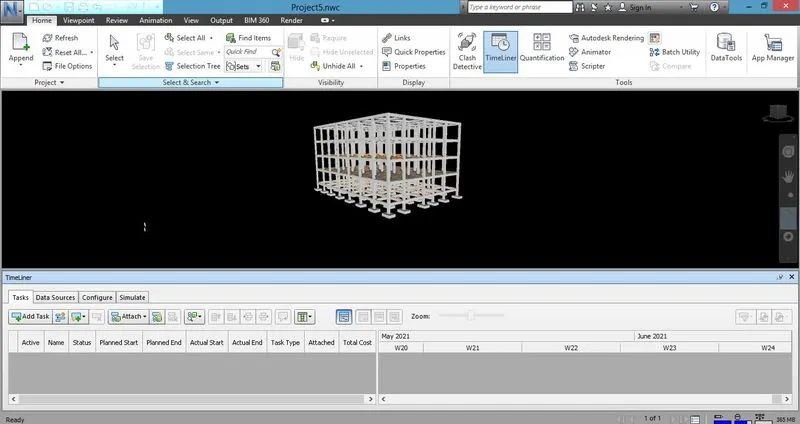
- Now by the help of "Add Task" we can define the tasks (ex- foundation,columns, beam, etc)
- With the help of selection Box we can select the different Components.
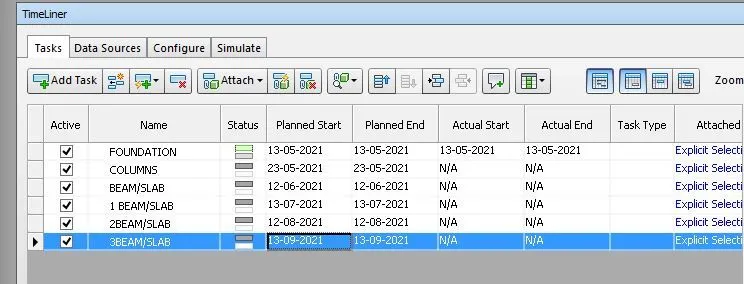
- Now provide all the details such as Start/End, task type etc.
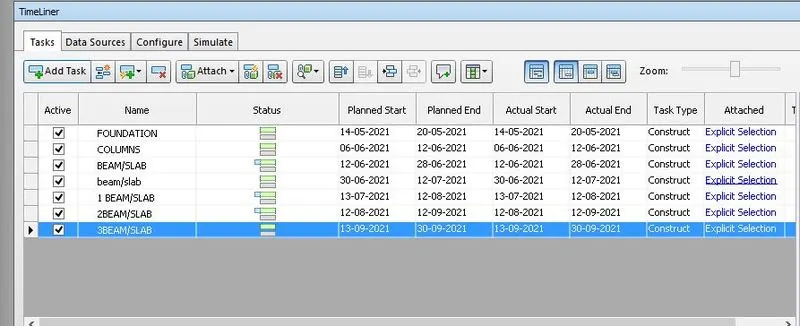
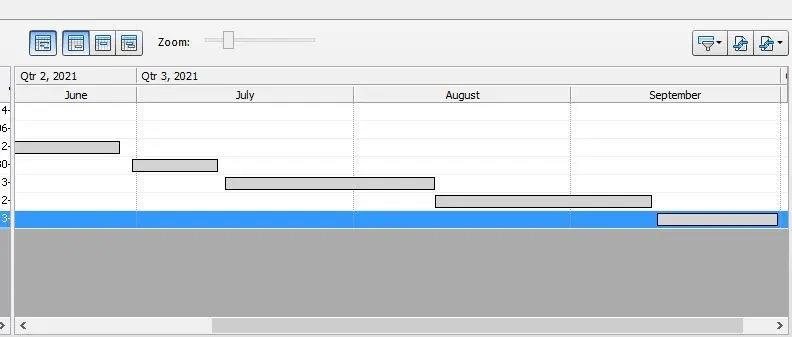
- Once all the details are entered left box appers as given below.
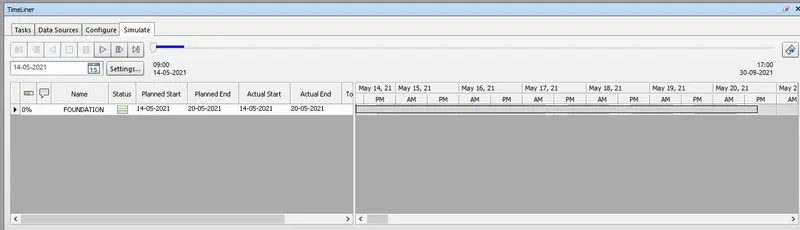
- next click on the simulate Tab to play & record the task. then export the simulation and save the model.
RESULT-
By Using the Timeliner feature in Navisworks we prepared a schedule for the project by adding reasonable assumptions for task start date and end date and simulate the task completion as a visual simulation. also we Record it and save the timeline simulation to Navisworks file.
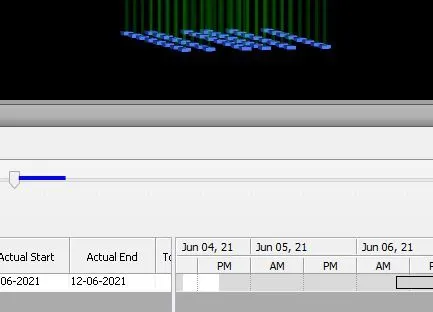
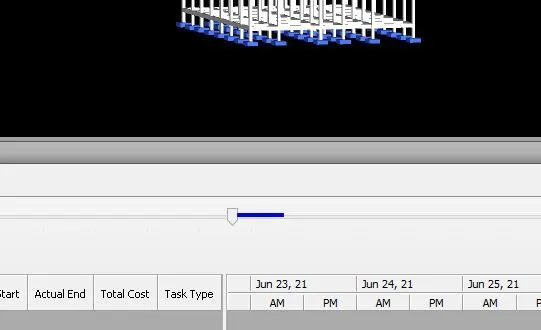
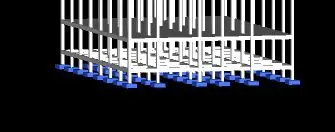
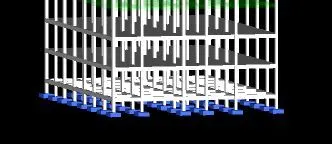
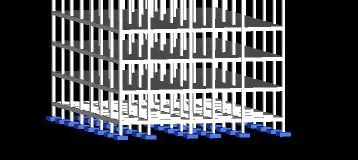
- we can export the simulation from the export option.(simulation video is attached seperately)
_______________________________________________________________________________________