Introduction to REVIT concepts
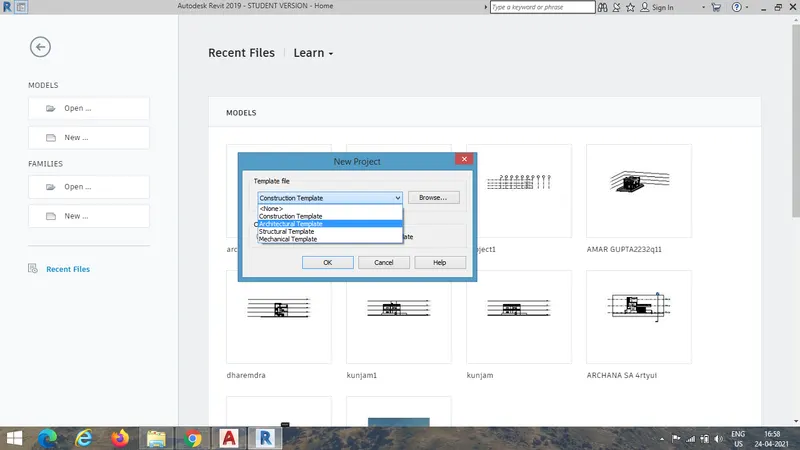
1) From the file menu, create a new project (Structural / Architectural / Construction template ) and name the project appropriately
AIM-To Create a new project (Structural / Architectural / Construction template) and name the project appropriately From the file menu.
PROCEDURE-
- Open Revit Software -
- Goto new project select- Architectural Templates
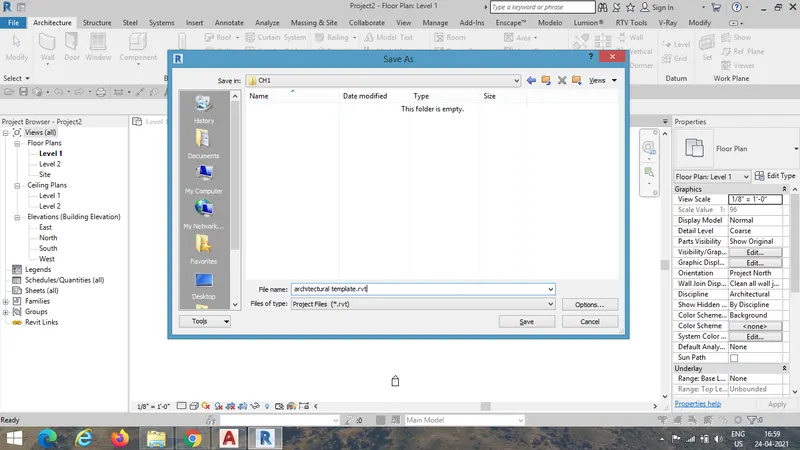
- Goto Save option then save the project -give name as "architectural Template".
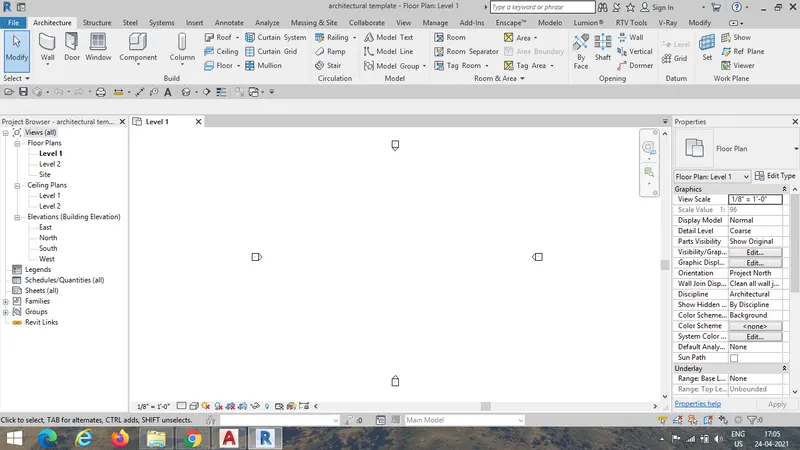
Result- we will get the new saved file.
2) Save the new project file. Close and open using icons from file toolbar
AIM- To open a new file using icon from file toolbar.
Procedure-
- Goto - File open- Project
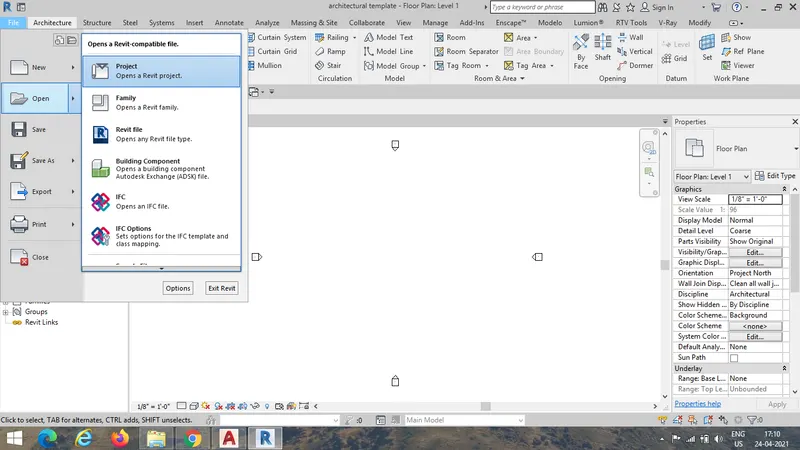
- then select the project you want to open
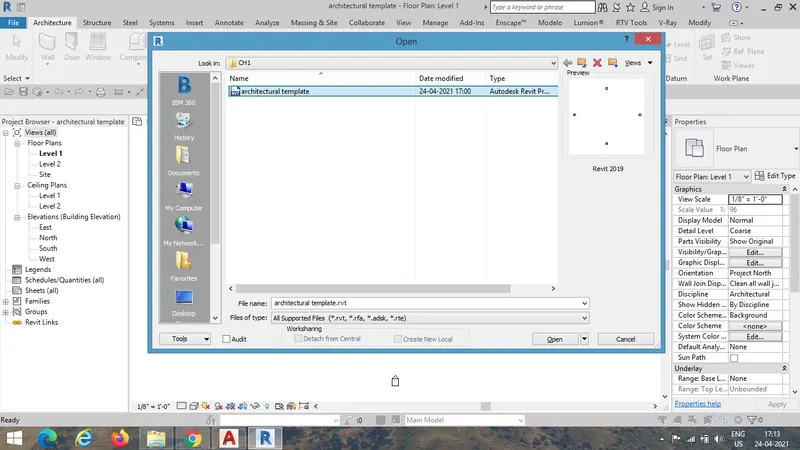
Result- we will get the file opened Successfully .
3)From the architecture/ structure toolbar familiarize with options to draw a wall. Create a rectangular layout of walls of about 40’-0” X 35’-0”.
AIM-To Create a rectangular layout of walls of about 40’-0” X 35’-0” ,From the architecture/ structure toolbar familiarize with options to draw a wall.
PROCEDURE-
Goto Toolbar - select wall- select properties
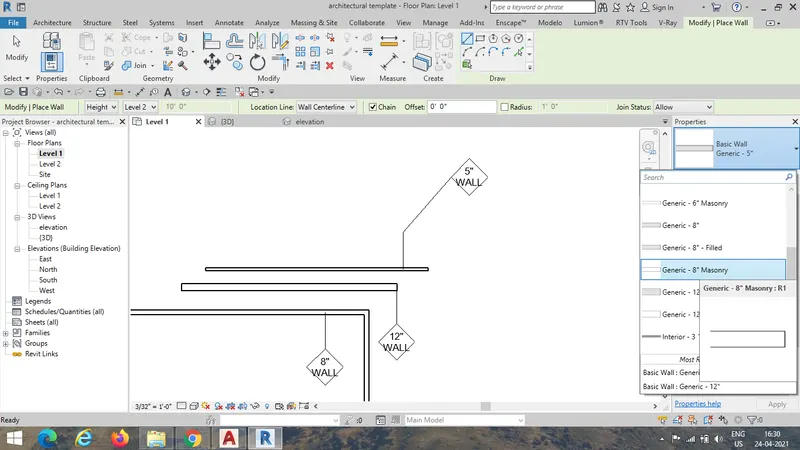
then draw Rectangle wall 40’-0” X 35’-0”.
Result- we get the proper rectangle
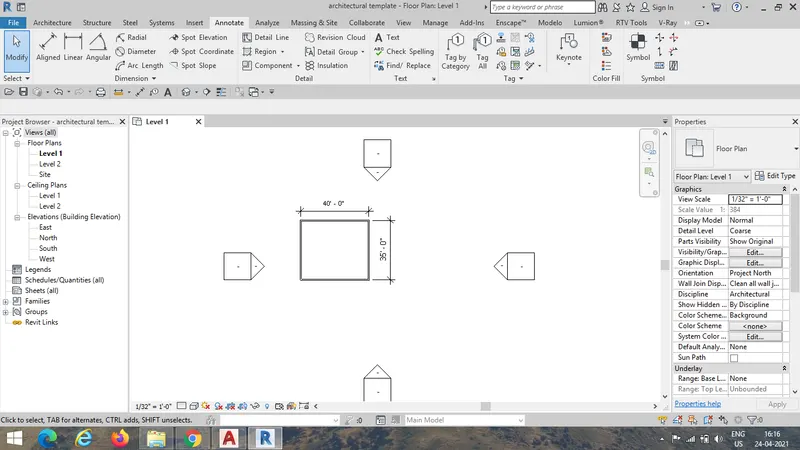
4) From the Annotate toolbar use the aligned option to add dimensions to the layout
Aim - By using aligned option in Annotate toolbar add dimensions to the layout.
Procedure -
Select the aligned dimension from the Annotate toolbar
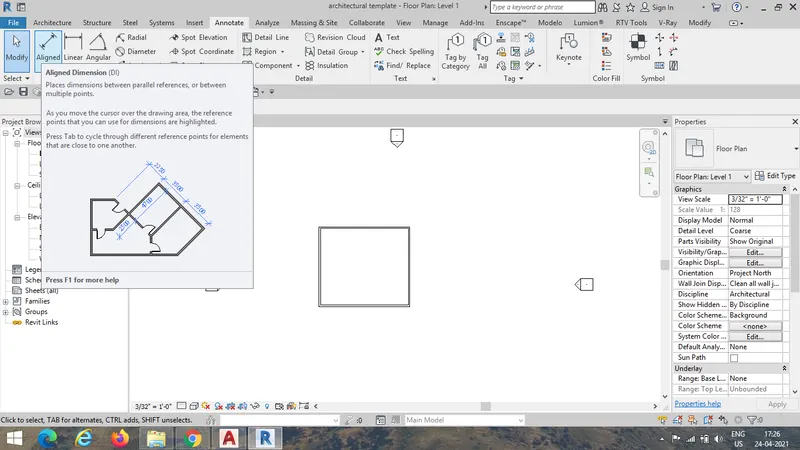
Measure the dimension
Result-
5) Use the properties browser to switch to different wall types
Aim - To Switch different wall types by using the properties browser
Procdure-
Select the walls form the toolbars
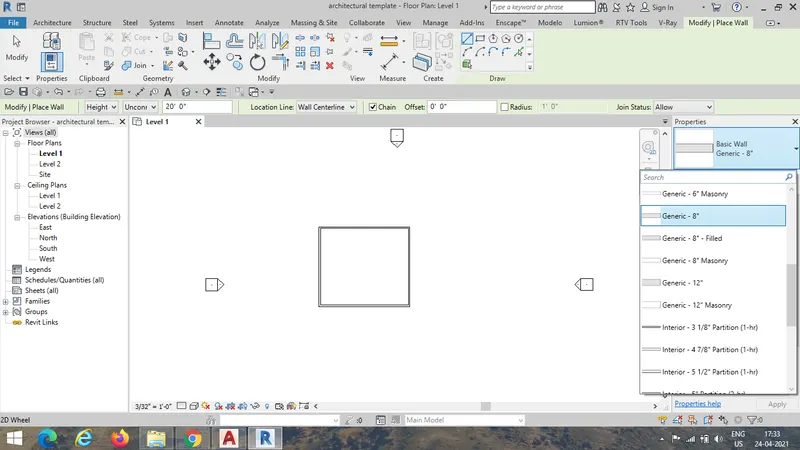
Goto propeties browser - select the required wall
Result-
6) Create a 3D view from the view toolbar and save the view with the appropriate name
Aim- By Using the view toolbar Create a 3D view and save the view with the appropriate name.
Procedure-
Goto Views- 3D Views- Select Camera
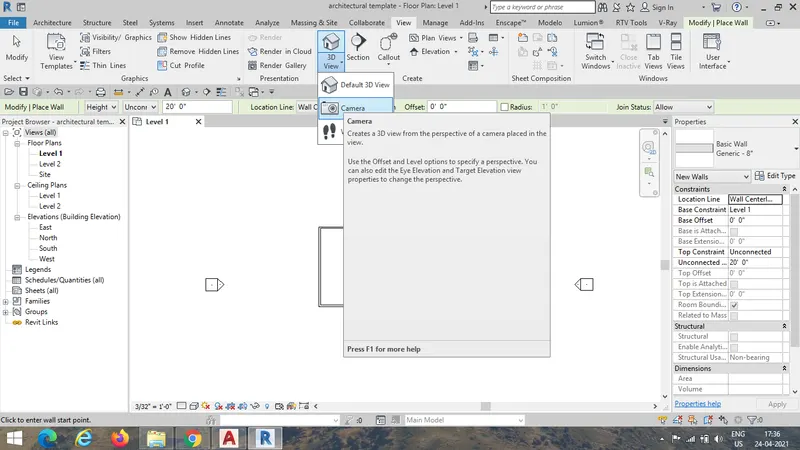
Place the Camara at Angle - Change the Name to "ELEVATION"
RESULT-
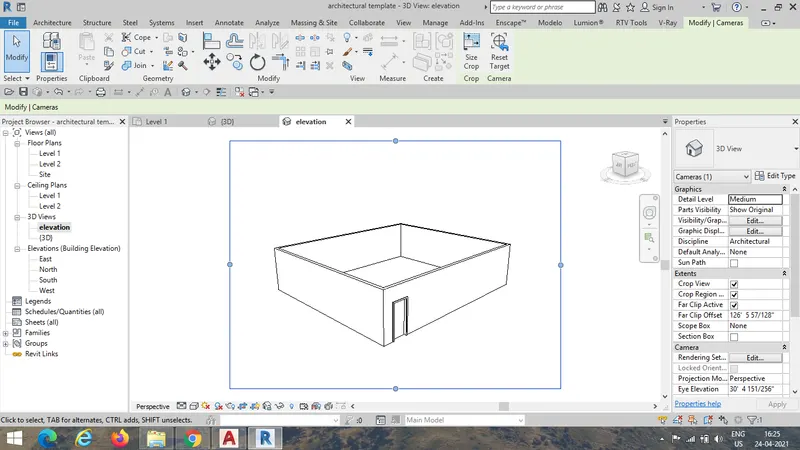
7) Navigate through the 3D model using the view cube. Orbit/pan through the model layout created
AIM- By using the view cube Navigate through the 3DModel also Orbit/pan through the model layout created.
Procedure-
Select the isometric box in the screen by use of this we can easily Navigate 3DModel also Orbit/pan
Result-
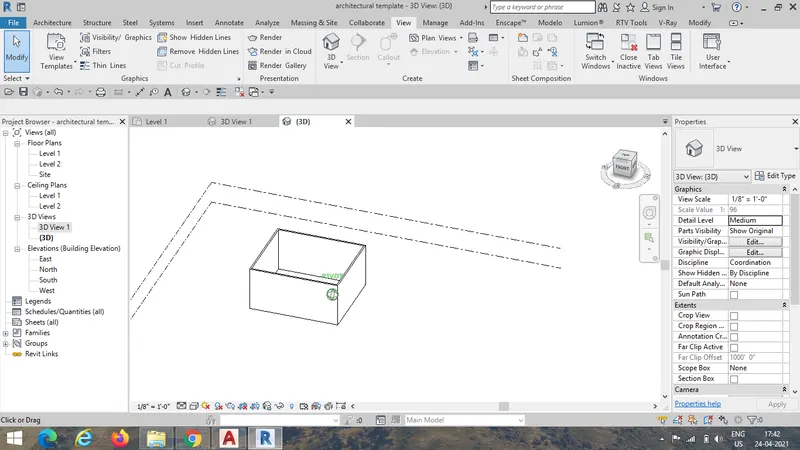
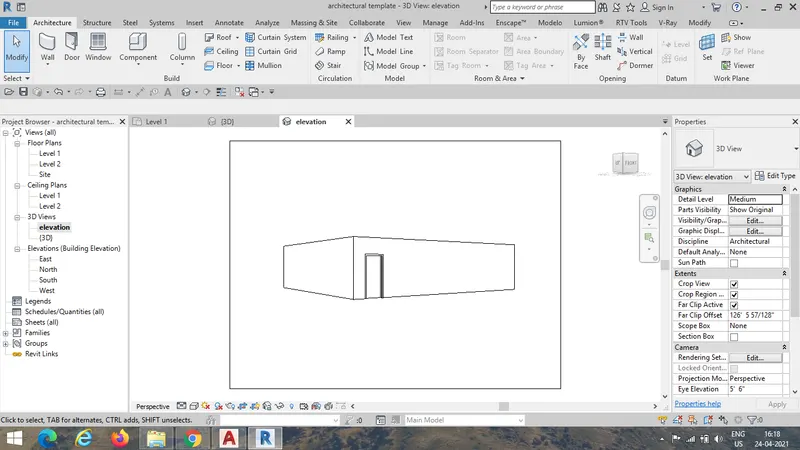
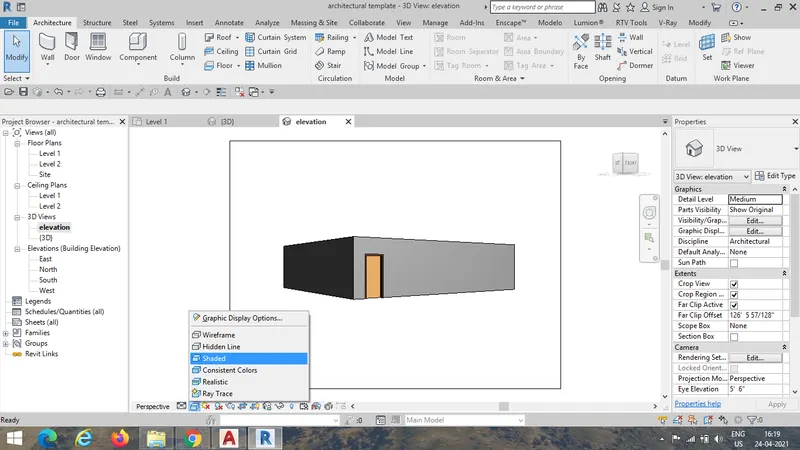
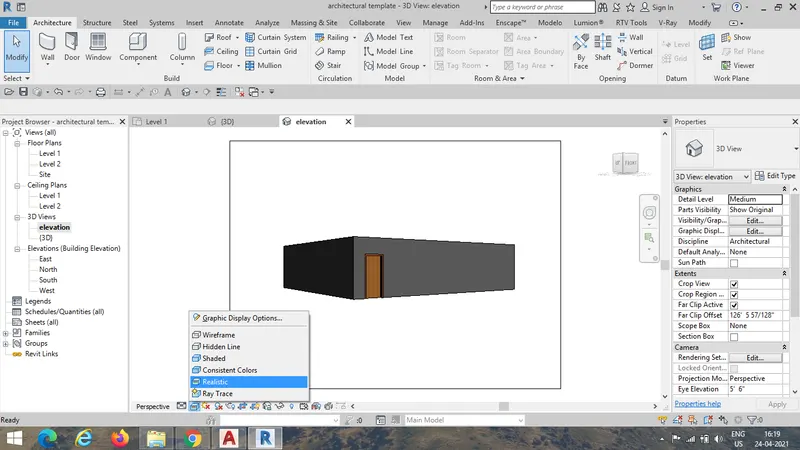
8) Use the visibility settings option below to switch model to shaded, realistic, hidden lines options
AIM - By Using visibility settings option below to switch model to shaded, realistic, hidden lines options.
Procedure-
visibility settings option is placed in below ribbon in which we can find
- Wireframe
- Hidden line
- Shaded
- Consistant Colors
- Realistic
- Raytrace
Result
- Hidden line
- Shaded
- Realistic
9) Turn the sun path on and off to view shadings in the layout created
AIM- In the Layout created Turn the sun path on and off to view shadings.
Procedure-
Sun path is Present in the Below Ribbon
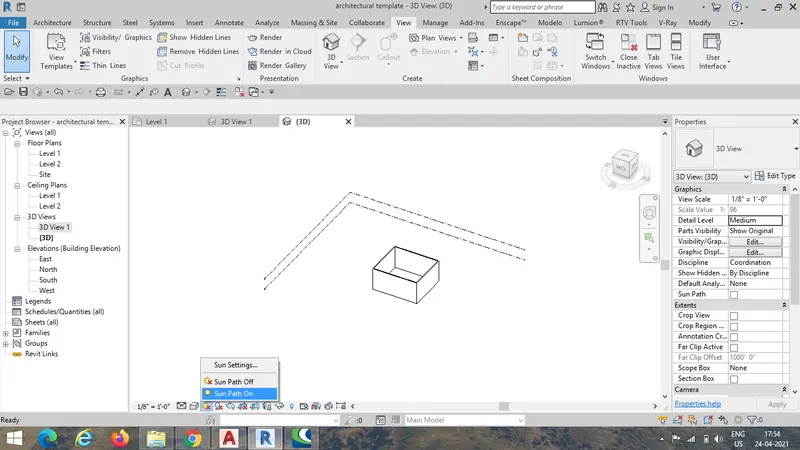
On the sun path aswell as Shadow option.
Result-
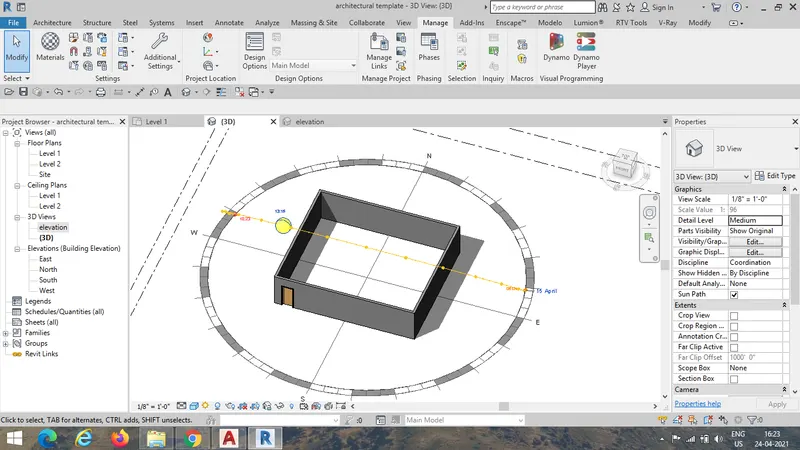
10 )Use the Manage toolbar to enter project settings, project name, and project issue date.
Aim- By Using Manage toolbar to enter project settings, project name, and project issue date.
Procedure-
Goto Manage- Select Project Information
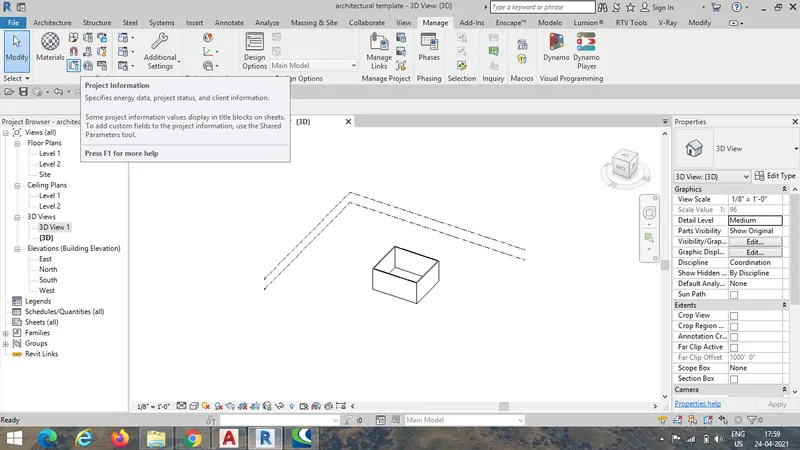
Result
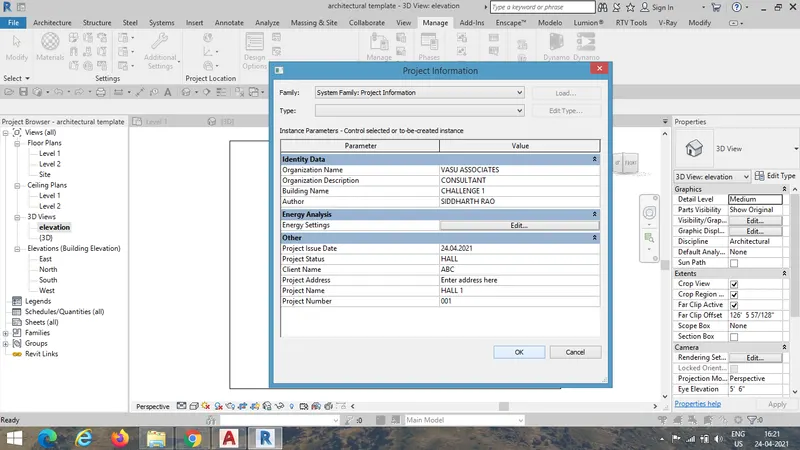
11) What is the Analyze toolbar used in Revit? How it is beneficial for design and modeling?
Analyze toolbar used in Revit for performing designing and analyis of the structure that we are modeling in revit. Analysis toolbar provided different types of load combinations , Loading. by using this we can easily apply load and design with different codes and get the results. By the Help of Analyis Toolbar we don't need any software for designing it easily provides us the results. It helps to detect the failure in the directly.
12) What are the links that Revit supports to be linked to the model?
Following are the links that Revit supports to be linked to the model-
- Link Revit- It Allows us to Link Different Revit Files Directly to the Working Model.
- Link IFC- It Allows us to Link IFCt Files Directly to the Working Model.
- Link CAD- It Allows us to Link 2D CAD Files Directly to the Working Model.
- Link Topgraphy- It Allows us to Link Different Topo Files Directly to the Working Model.
13) Why do you need the Collaborate tab in Revit? How it supports modeling and its efficiency
Collaborate tab is a cloud service provided in revit in which it allows variors revit users to work in the same project. with the help of Collaborate many users can work on the same working model, plan, designing etc. It also allows MEP designer to work on it. it works more efficient thorough out the modeling by all different users.