Usage of Collaborate tool in REVIT
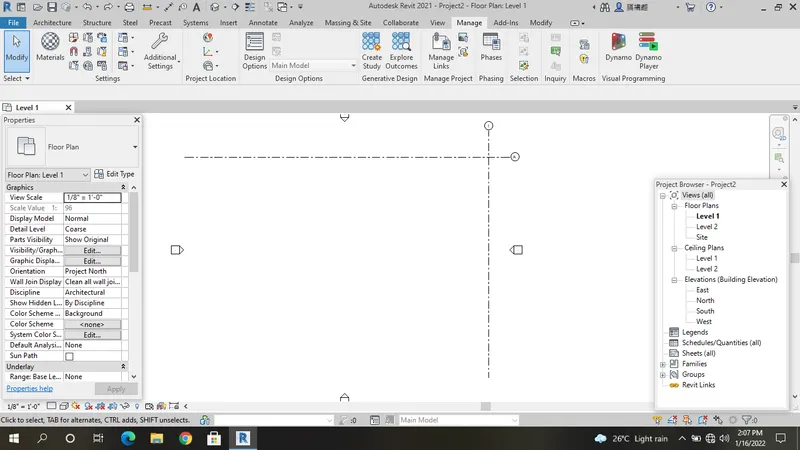
1.
Aim:
To draw the template are using in Revit
Procedure:
Step 1
Go to the new file
select the architectural template
Step 2
Go to the manage tab
select the project coordinate
Step 3
select the project basepoint 0
select the shared coordinates
N/E 0
W/S 0
2.
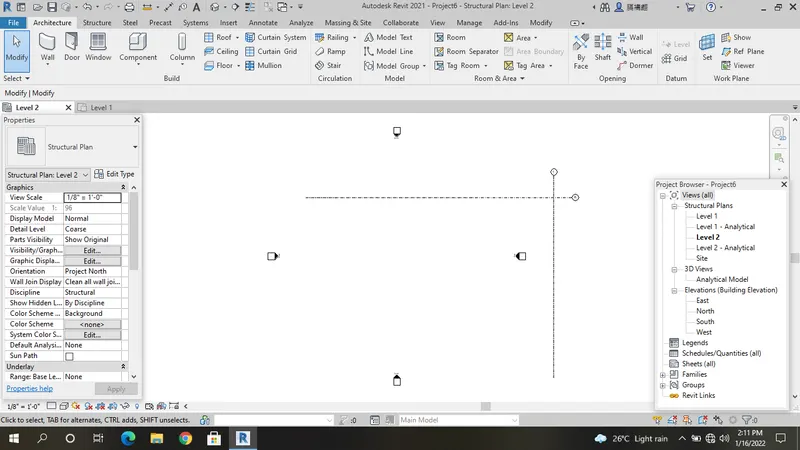
Aim:
To draw the template are using in Revit
Procedure:
Step 1
Go to the new file
select the structural templates
Step 2
Go to the existing project
copy the object
Paste the project at structural templates
Step 3
select the project location
set the project basepoint
set the shared coordinates
3.
Aim:
To draw the template are using in Revit
Procedure:
Step 1
Go to the new file
select the architectural template
Step 2
Go to the collabrate tab
set the collabrate in cloud
set the center model is local disk
4.
Aim:
To draw the template are using in Revit
Procedure:
Step 1
Go to the new file
select the architectural template
Step 2
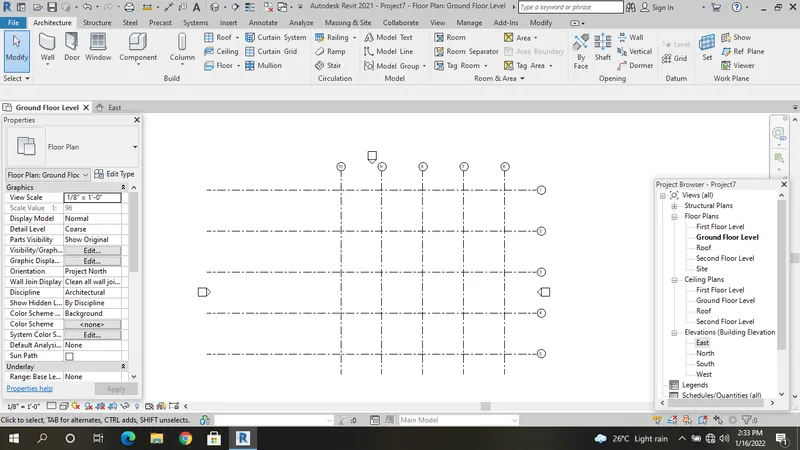
Go to the elevation at East
select the grids
Step 3
select the basepoint
grids at each at 12'
Step 4
Go to the level 1
grids at each at 12'
5.
Aim:
To draw the template are using in Revit
Procedure:
Step 1
Go to the new file
select the architectural template
Step 2
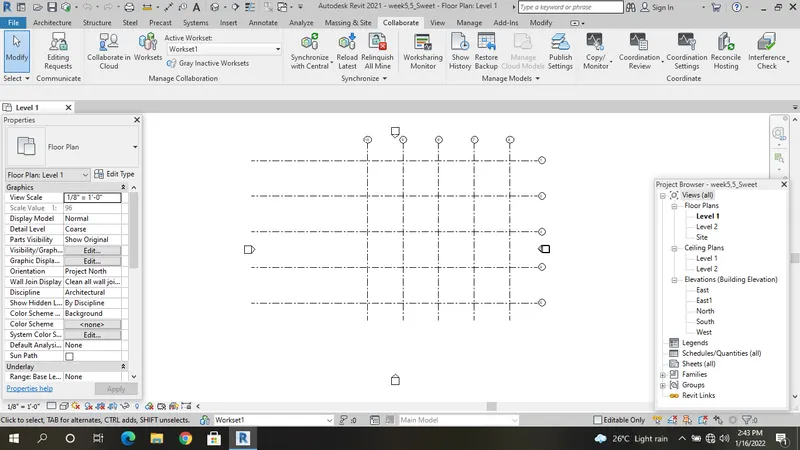
Go to the collabrate tab
set the collabrate in cloud
set the center model is local disk
Step 3
select the Synchronize in central
set the synchronize in local file
6.
Aim:
To draw the template are using in Revit
Procedure:
Step 1
Go to the new file
select the Structural template
Step 2
Go to open file
select the existing file
Step 3
Go to the collabrate tab
set the collabrate in cloud
set the center model is local disk
Step 4
select the Synchronize in clouds
set the synchronize in local file
7.
Aim:
To draw the template are using in Revit
Procedure:
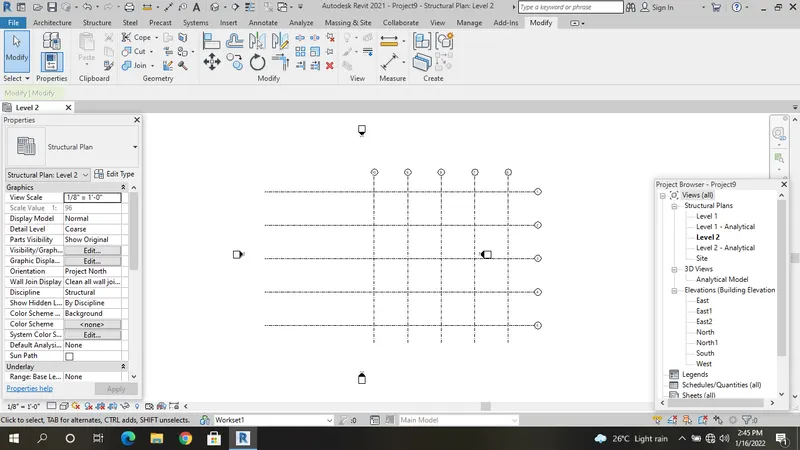
Step 1
Go to the new file
select the architectural template
Step 2
Go to the elevation at East
select the grids
Step 3
select the basepoint
grids at each at 12'
Step 4
Go to the level 1
grids at each at 12'
Step 5
Go to the collabrate tab
set the collabrate in cloud
set the center model is local disk
8.
Aim:
To draw the template are using in Revit
Procedure:
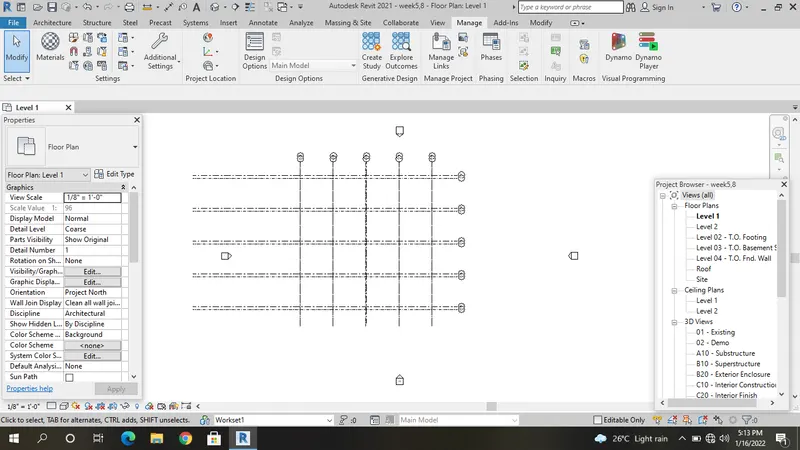
Step 1
Go to the new file
select the Construction template
Step 2
Go to the elevation at East
select the grids
Step 3
select the basepoint
grids at each at 12'
Step 4
Go to the level 1
grids at each at 12'
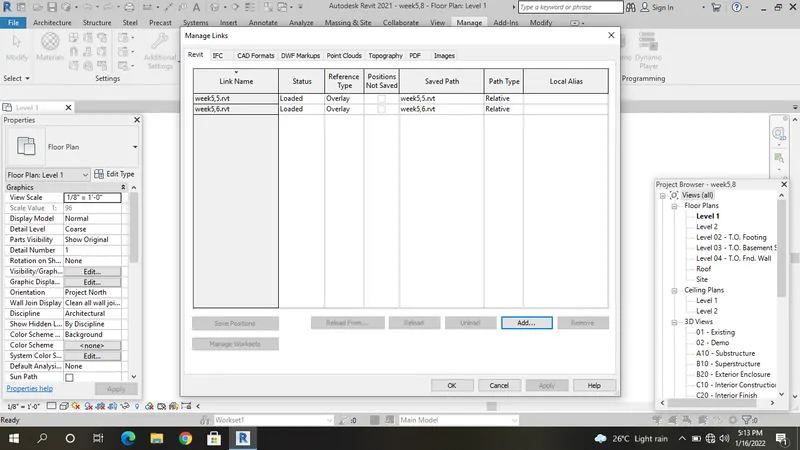
Step 5
Go to the manage tab
select the manage link
set the link
add the existing file
9.
Aim:
To draw the template are using in Revit
Procedure:
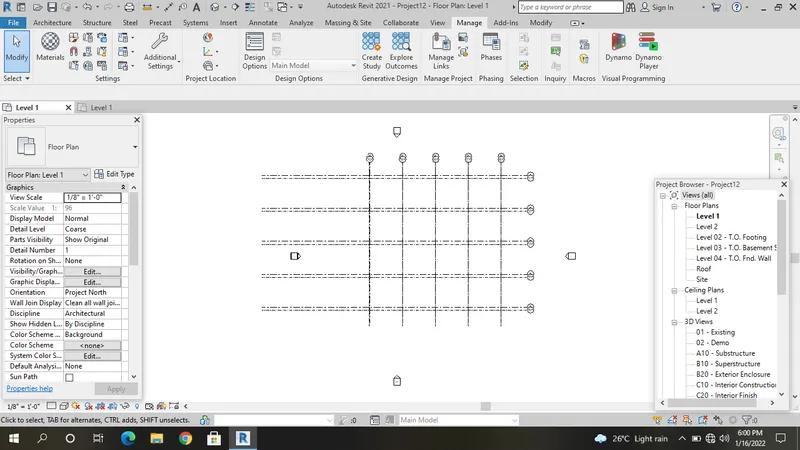
Step 1
Go to the new file
select the Construction template
Step 2
Go to the elevation at East
select the grids
Step 3
select the basepoint
grids at each at 12'
Step 4
Go to the level 1
grids at each at 12'
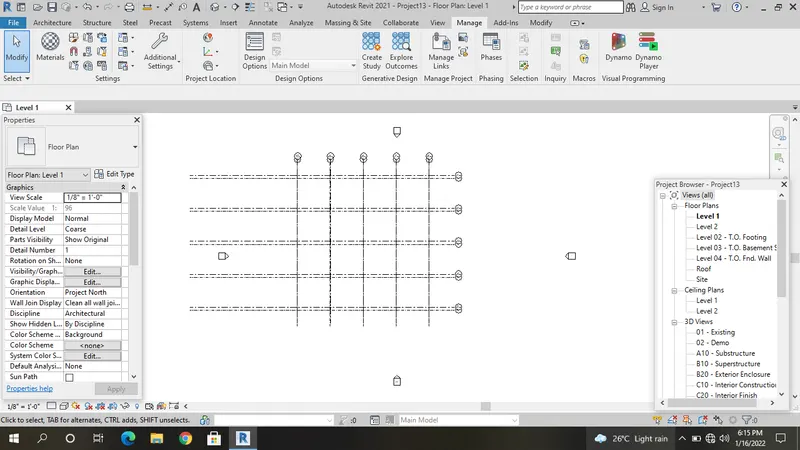
Step 5
Go to the manage tab
select the manage link
set the link
add the existing file
Step 6
select the project location
set the project basepoint
set the shared coordinates
10.
Aim:
To draw the template are using in Revit
Procedure:
Step 1
Go to the new file
select the Construction template
Step 2
Go to the elevation at East
select the grids
Step 3
select the basepoint
grids at each at 12'
Step 4
Go to the level 1
grids at each at 12'
Step 5
Go to the manage tab
select the manage link
set the link
add the existing file
Step 6
select the project location
set the project basepoint
set the shared coordinates