Usage of Collaborate tool in REVIT
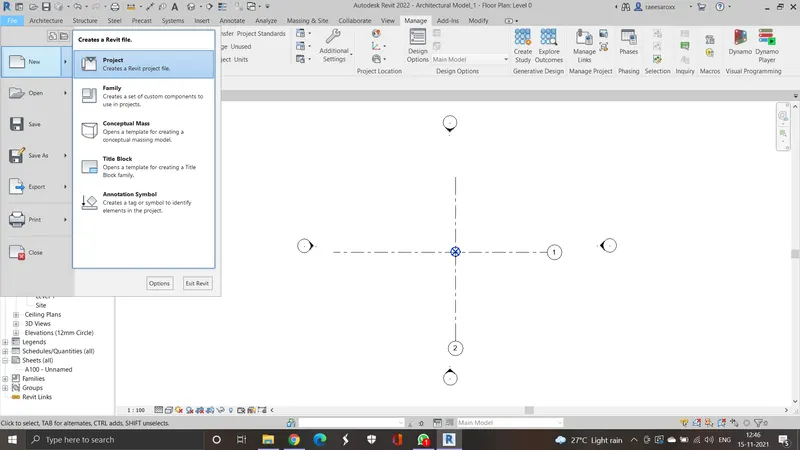
1) To create an Architectural template, open Autodesk Revit, click on new and choose architectural template. Save the file with appropriate name (I have saved it as Architectural Model_1).
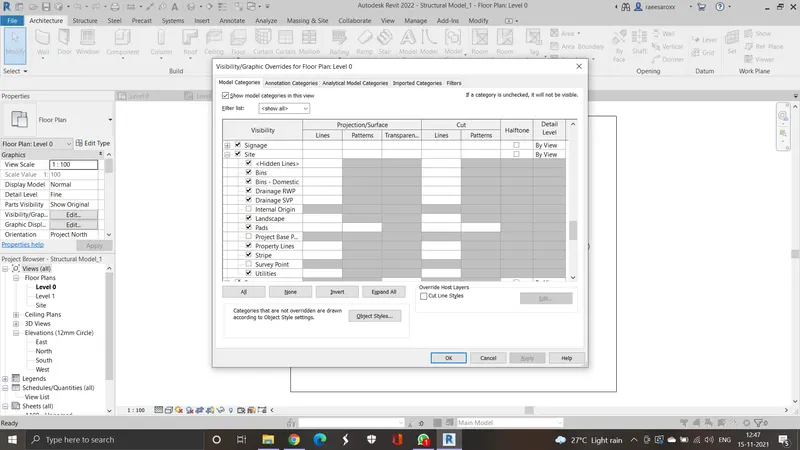
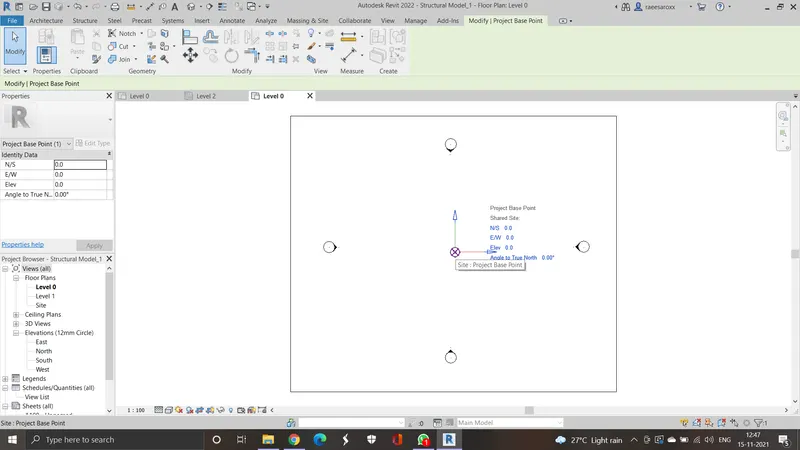
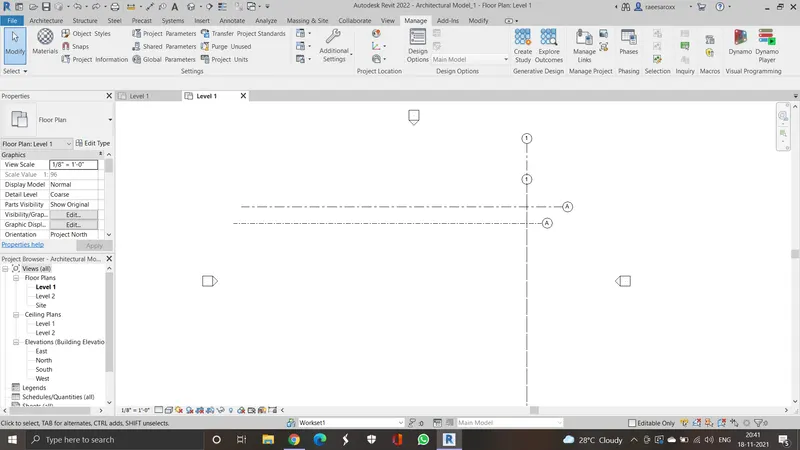
To create Project base point and Project shared coordinates click on Manage tab - Open the visibilty graphics table and then expand the site option and then tick the project base point option and then click OK. The project base point will be created with N-S, E-W, Elevation coordinates at 0.0 ( I have represented grid lines passing through this base point)
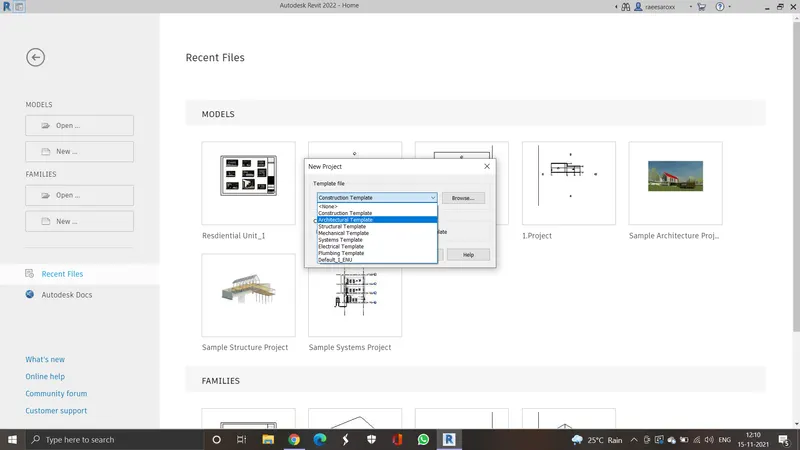
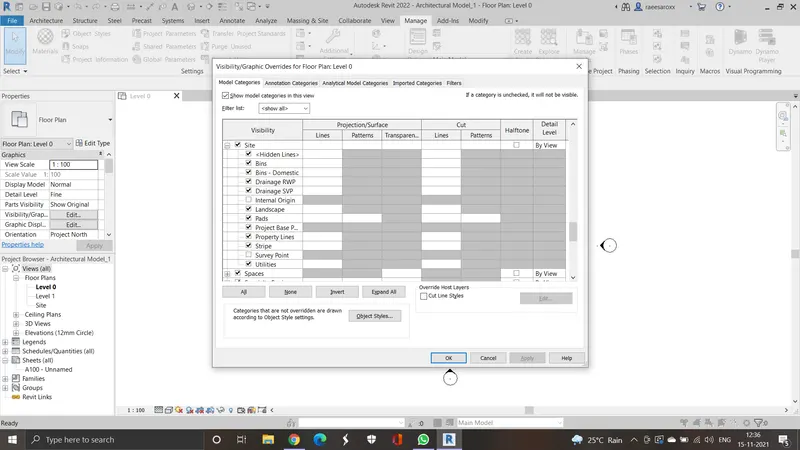
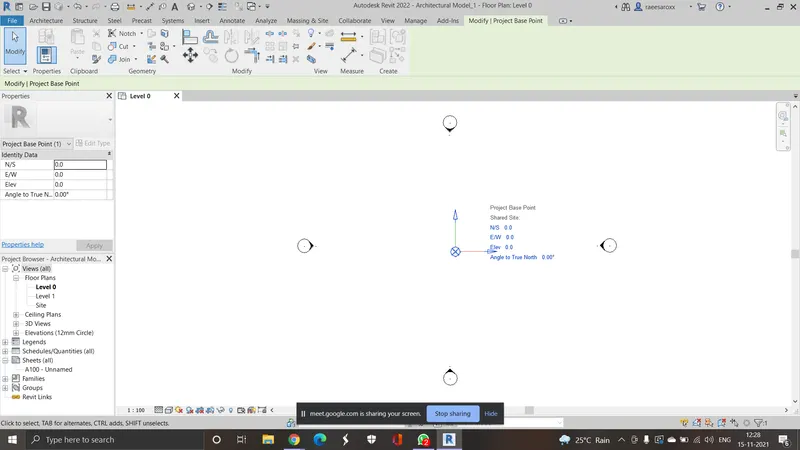
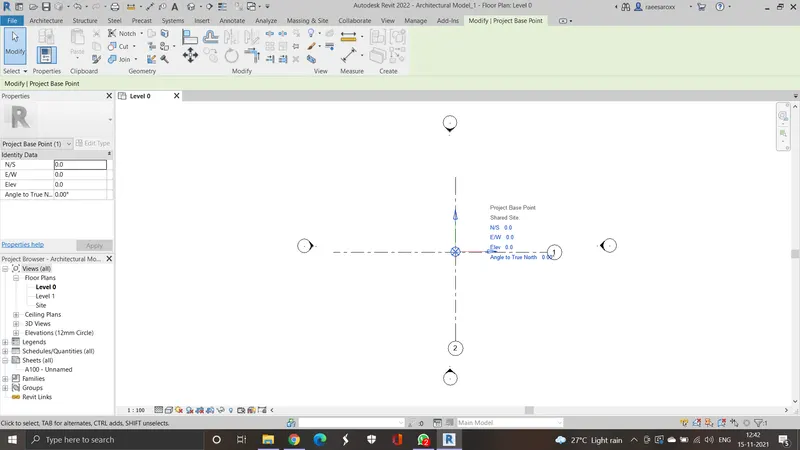
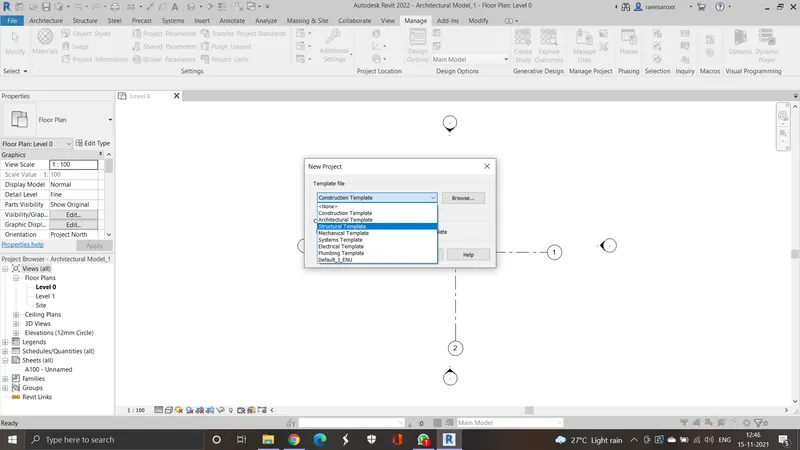
2) Structural template - Open a new sturctural template, and create a project base point and project shared coordinates the same way as done in architectural model. Save the file with appropriate name (Structural Model_1)
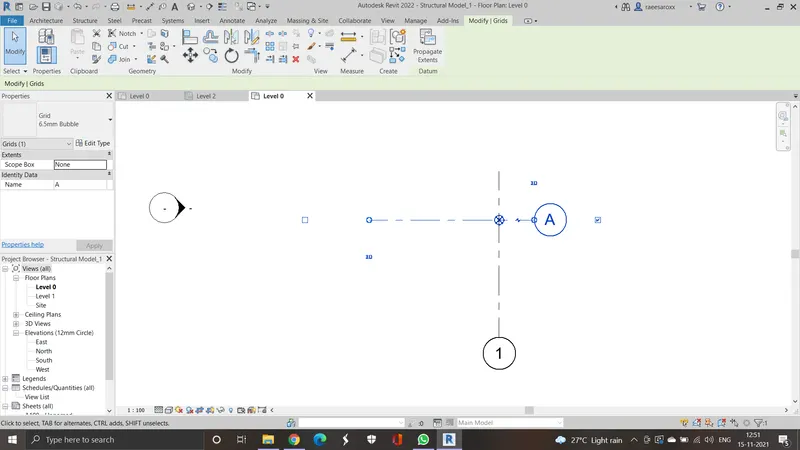
3) To make the architectural model to a Central Model - reopen the architectural model and use the collaborate tab.
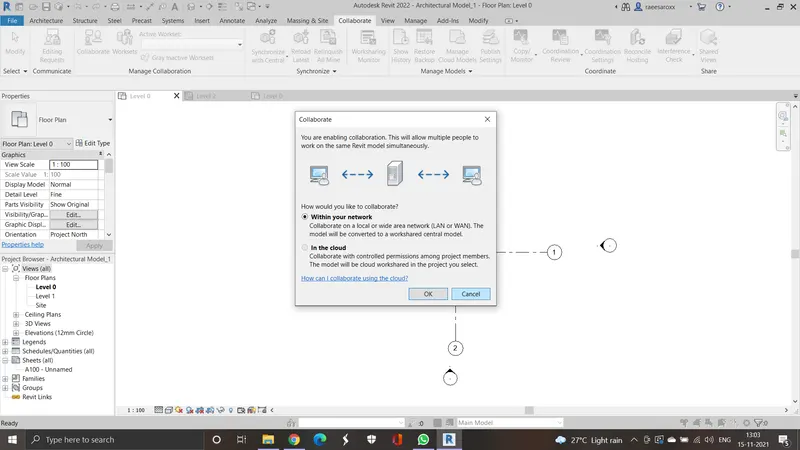
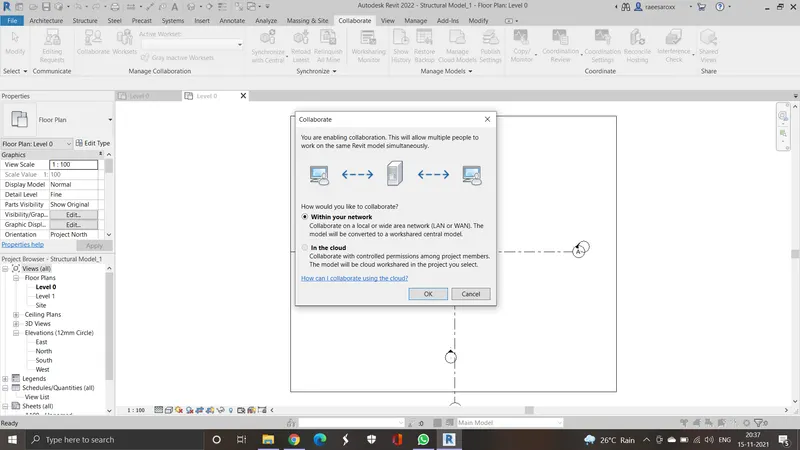
Click the Collaborate tab and choose the collaborate option and choose 'within your network' option. This will automatically convert your architectural model as the central model.
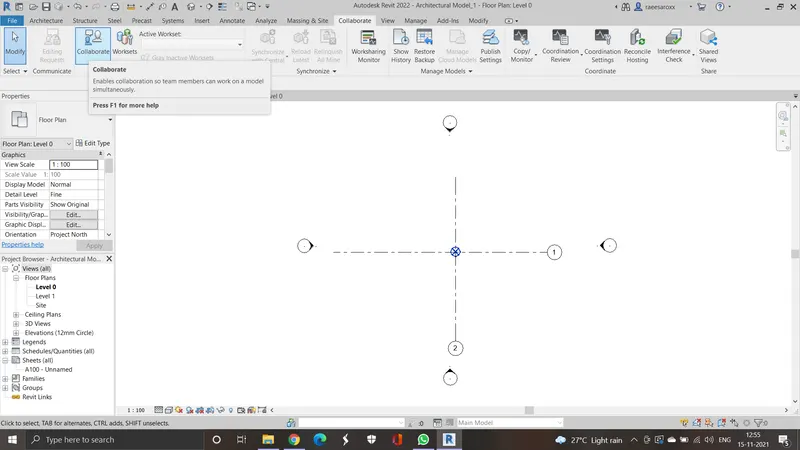
4) To Create Grids in your architectural model, select the architecture tab and choose grid. From right to left name your girds from 1 - 10, and then top to bottom A-Z (as per needed).
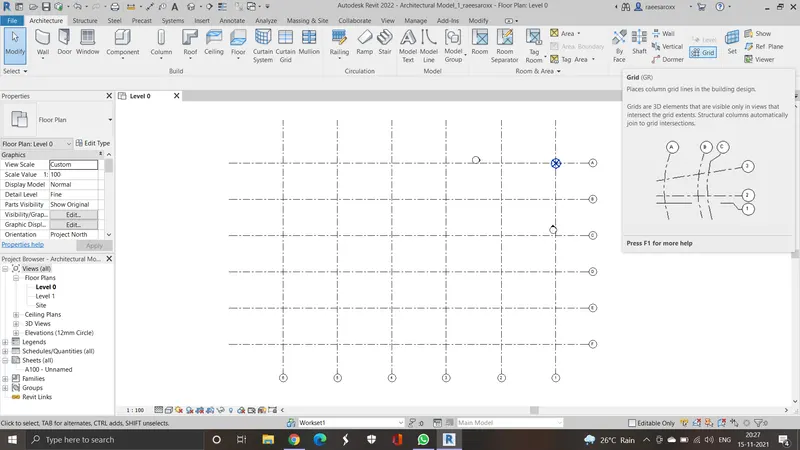
5) Changes have been made to the central file itself.
6) Open a new file - Structural template
To save the Structural model as a central file, open the structural model, click the collaborate tab and choose collaborate, choose within your netwrok and create the central model.
7) To link both the structural and architectural models, Open the collaborate tab and then select copy monitor - choose current project and choose the required grids.
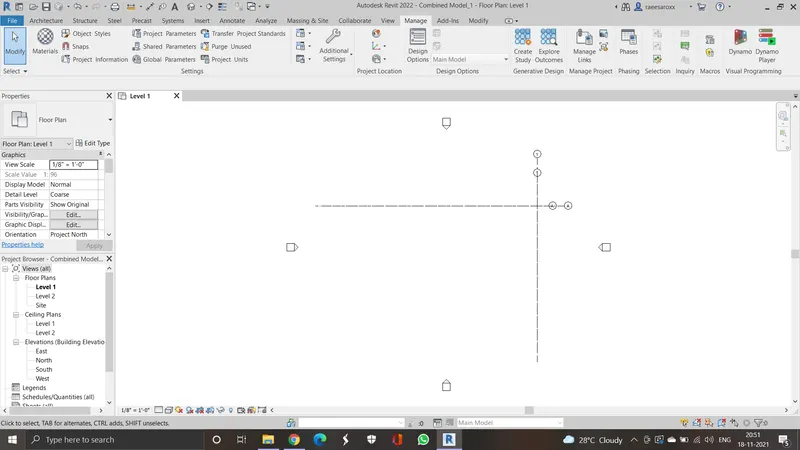
8) To create a constructional template with both architectural and sturctural models, create a new template,
and then by using the manage links option under the manage tab, add the architectural file into the current file. Similarly add the sturctural file using manage links, press add using shared coordinates and add the structural file to the current project.
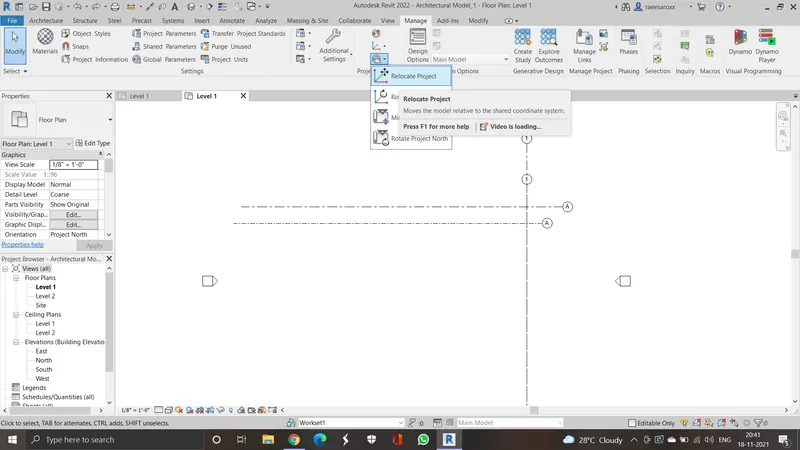
9) Inorder to make both the models into one, acquire the cordinates of one model and use the relocate the project options underneath the manage tab to specify the point to which the model has to be moved.
10)
| Open the respective files |
| Open the collaborate tab | Choose collaborate |
| Choose within your network | Make your respective file a central file | Use manage links option to add architectural and sturctural files to your constructional file. |
| Aquire cordinates for links for the file added and relocate the project necessarily | This enables the different people working on each file to enable work sharing according to the needs of architects, structural engineers etc. |