Creating Levels, Grids, Layout and model elements for a residential unit using REVIT
1) BIM (Building Information Modelling) which is a process that enables engineers and architects to construct a virtual error free building models. It which gives us a digital representation of the the real structure in consideration including mechanical equipment, electrical equipment and several other tools and methods to make the design more safe and realistic. It also enables us to add features such as roof, tables, windows etc.
Other features include that BIM helps us include very extensive details to the project that help create error free drawings for our clients.
It enables us to create 3D models by helping us link with other projects, increasing the efficiency of the project model.
We can even add topographical features, and several other modelling services are also available.
The benefits of BIM over 2D CAD tools are:
BIM tools include Revit which helps to create a building model with actual building elements, and helps create a 3D view of the same including section, and elevational views. In CAD it focuses more on drawings than the 3D building model.
Revit also enables collaborate with other disciplines, perform analyses, rendering and addition of structural elements to our building model.
2) Revit offers various tools such as categories which helps us insert necessary features to our revit model. These include several types of families which can be loaded onto our model. For example a door has several families including double door flush planel, double door glass etc. And other family instances can be added like lights, desks, beams helping provide more details to our project.
Inorder to insert a family into our project,
Click the architecture tab, If we want to add a door, click on the door option
Then click the insert tab, and then click load family -
Choose the door option, and choose the desired door type,
then click OK and insert the door to the model.
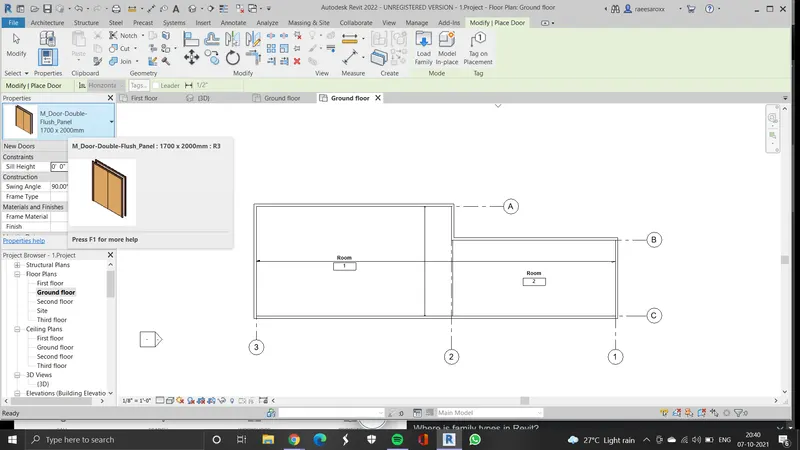
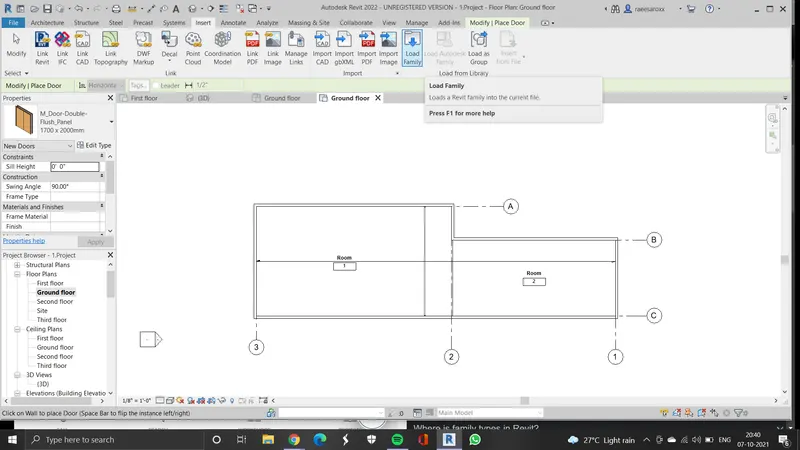
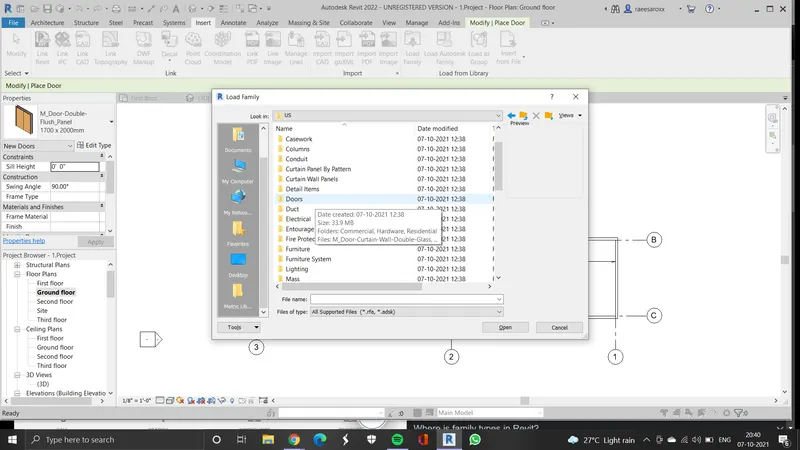
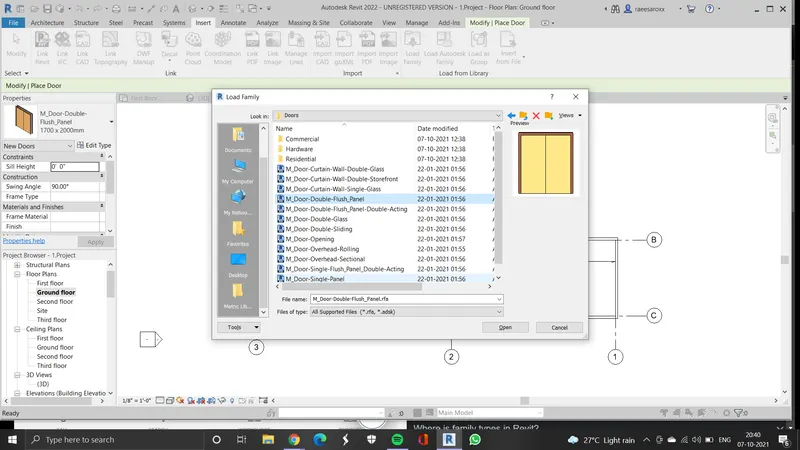
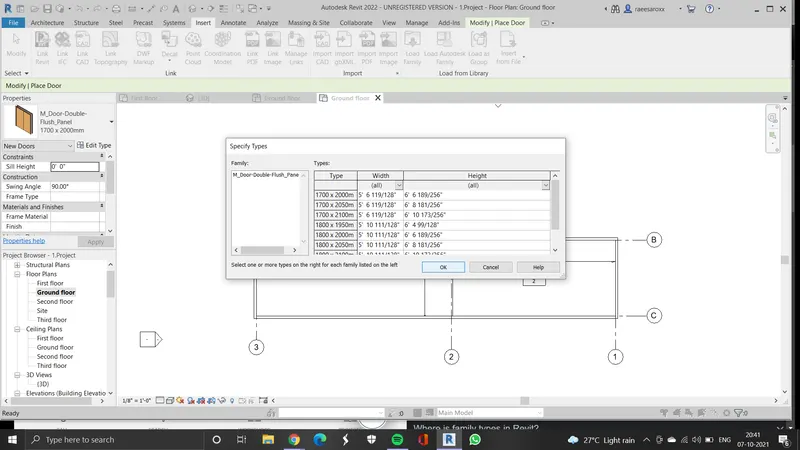
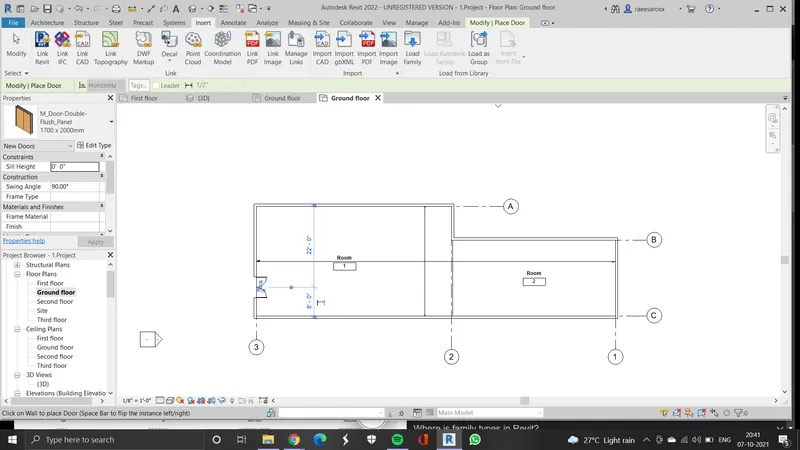
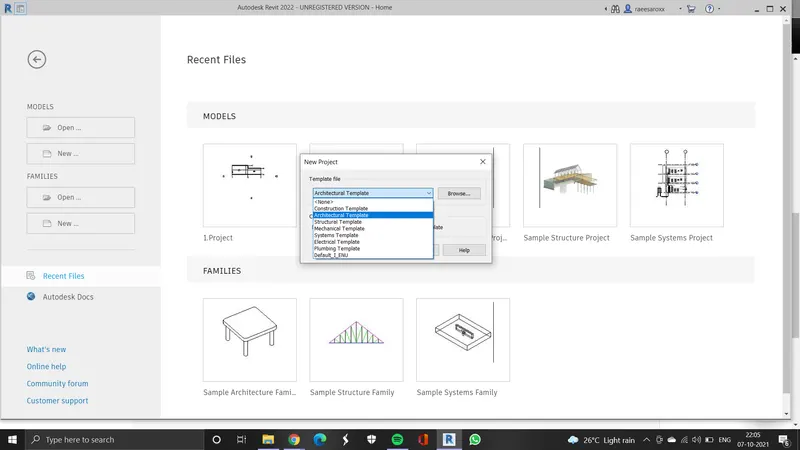
3) Inorder to open a file with architectural template open the REVIT 2022 application and choose the New model option, choose architectural template and click OK.
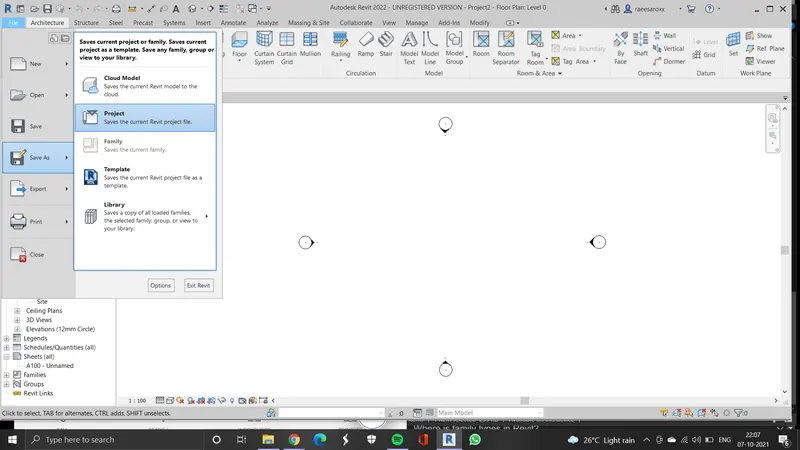
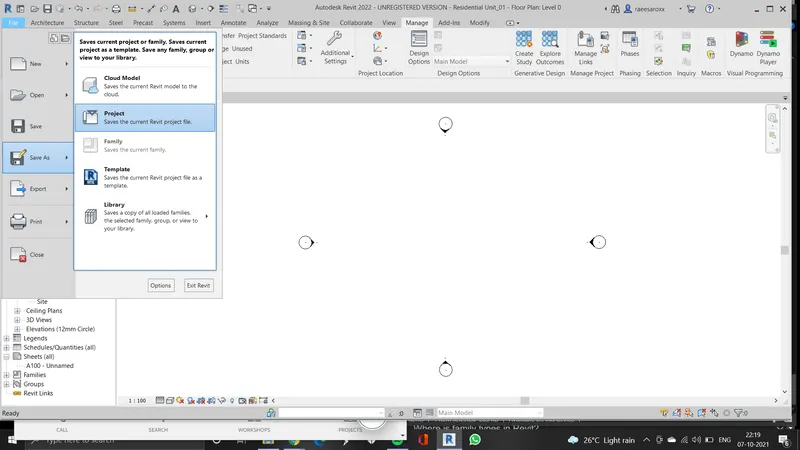
Inorder to save the file click on the file tab and click Save As and then click Project and give the file an appropriate name and Click Save. The file is in Imperial units.
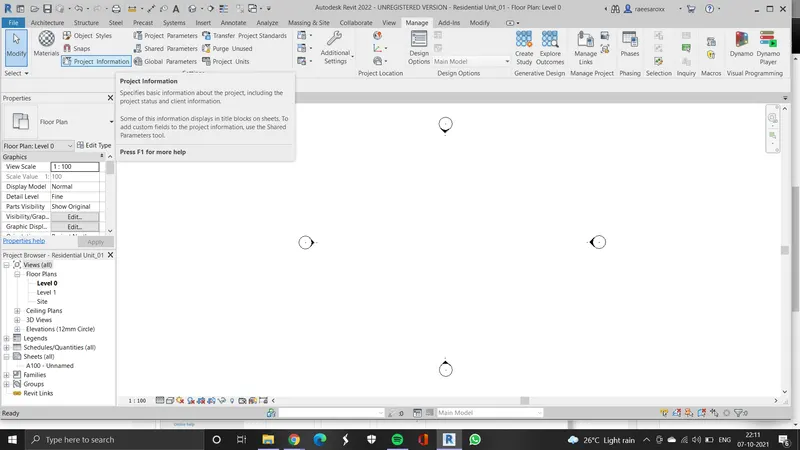
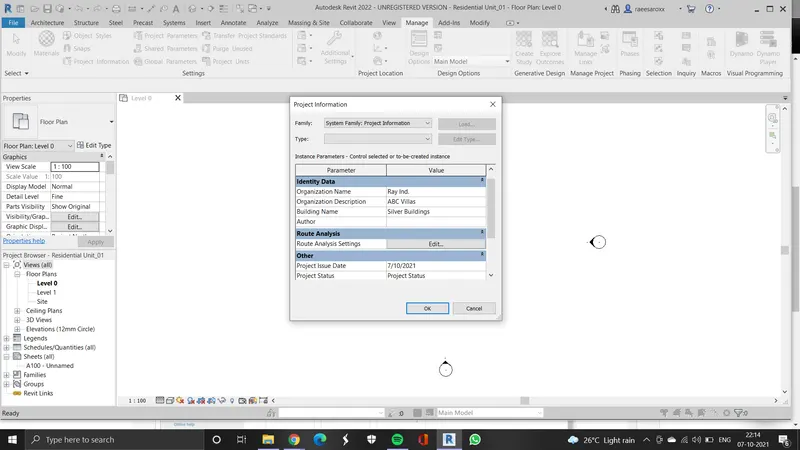
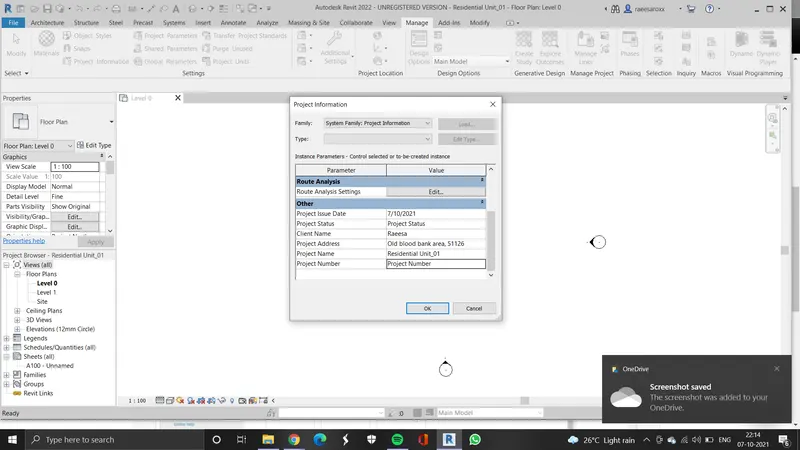
In the manage Tab, Click on the Project Parameters option to edit and type in necessary information about the project and Click OK. To set up the Maximum backups to 3, Clcik on the file tab and the slick Save As, choose project, and then click Options, edit the maximum backups to 3 and then click OK and Save.
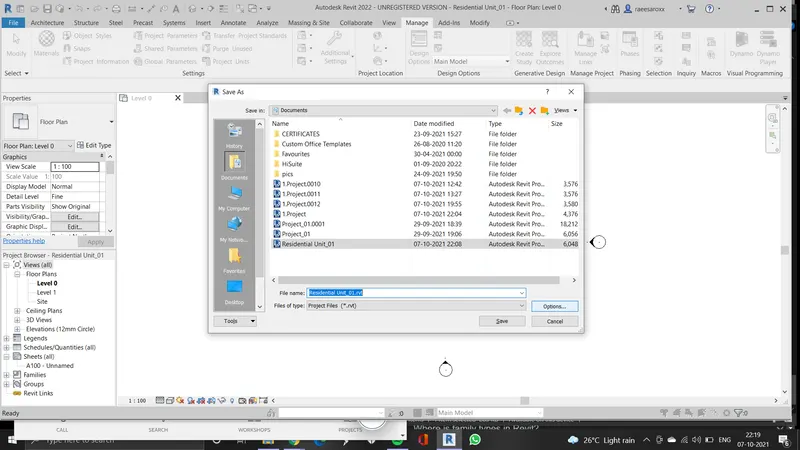
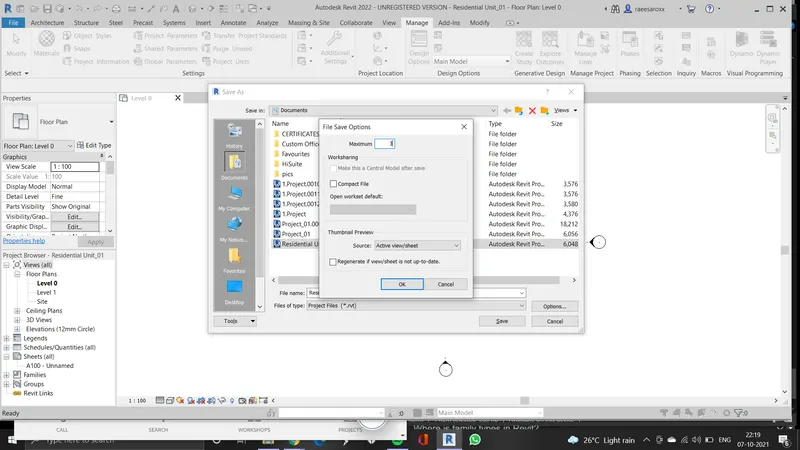
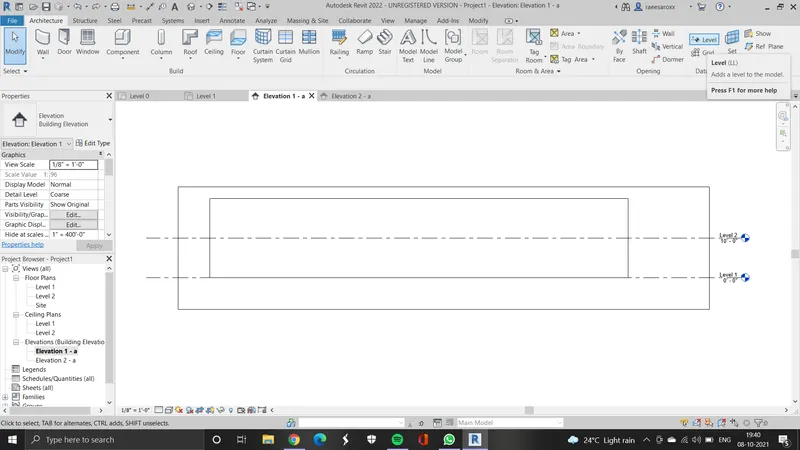
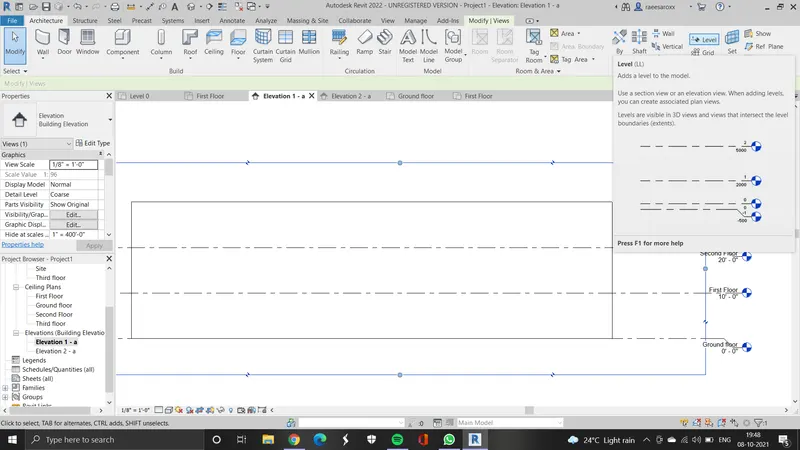
4) Levels and grids help increase the project context. We can add various level to our model project, thereby making us understand the different floor, roof levels etc. , and Revit also helps us assign grids which us us identify and organize our design increasing the accuracy.
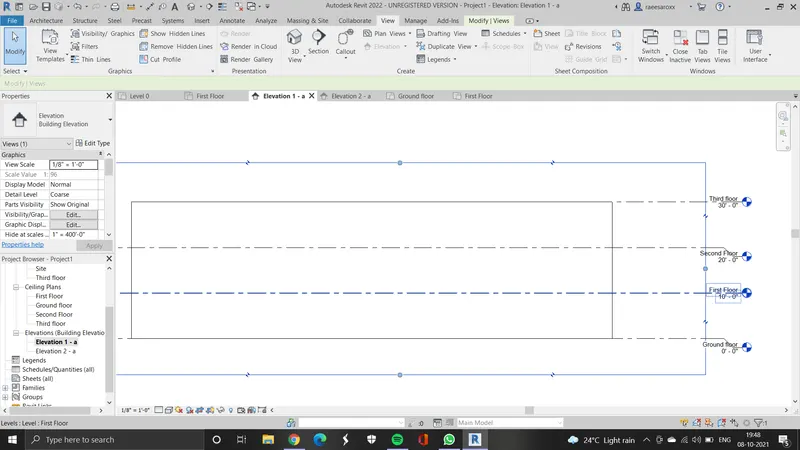
To create different Levels: Create a floor plan the choose the architectural tab and choose levels and insert the desired number of levels viewing the elevation (such as ground, first, second etc). Rename accordingly.
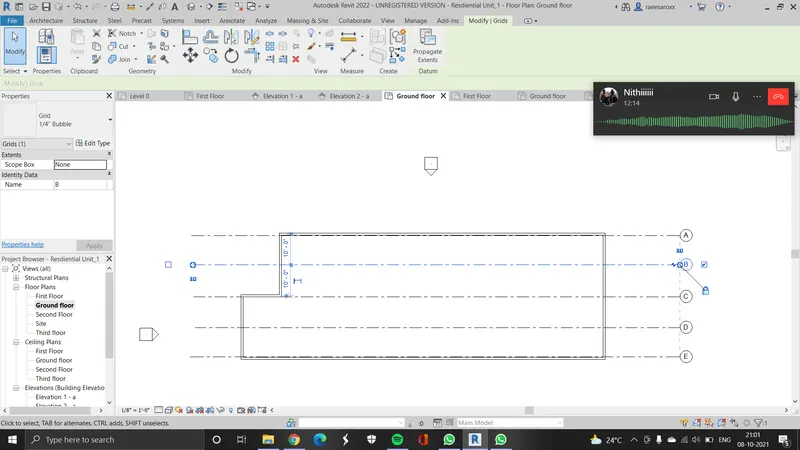
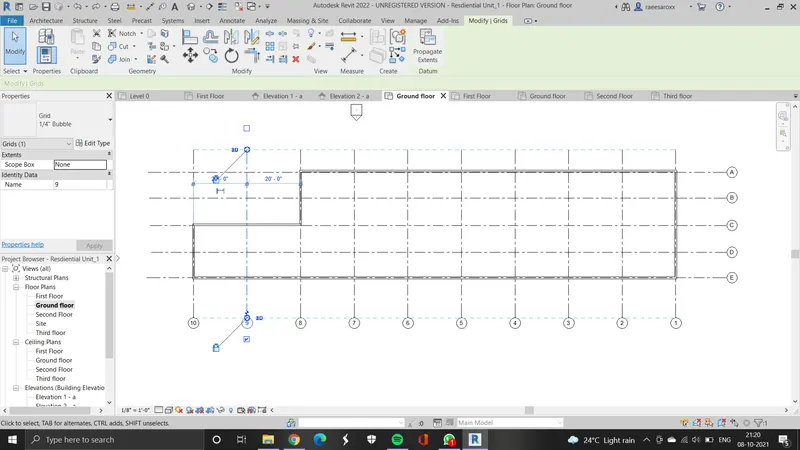
To create grids, in the same tab choose grids, add desired number of grids such as vertically from right to left name the grids 1 to the desired number with 20' spacing, and horizontally name the grids A-Z as we require, in this case with 10' spacing.
5)
Residential Unit:
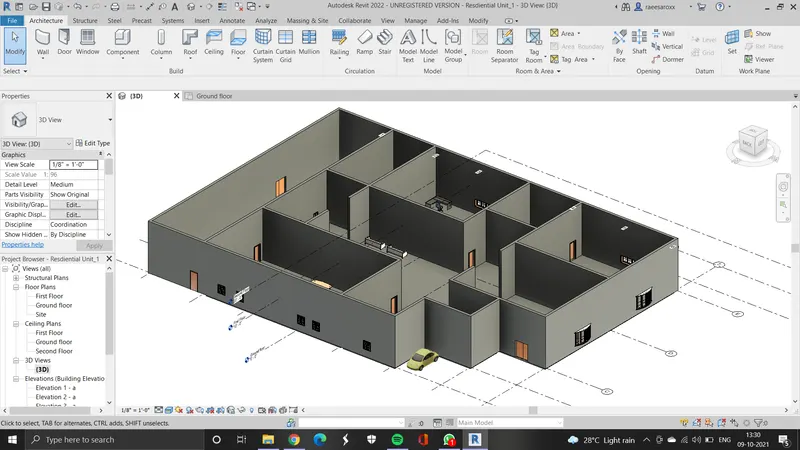
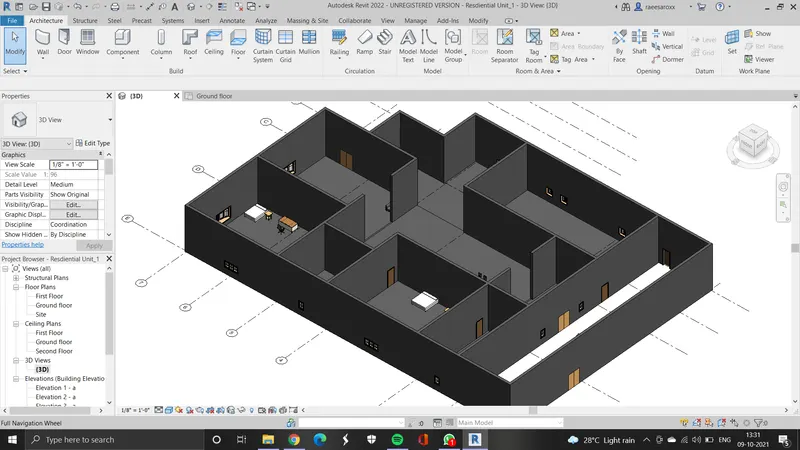
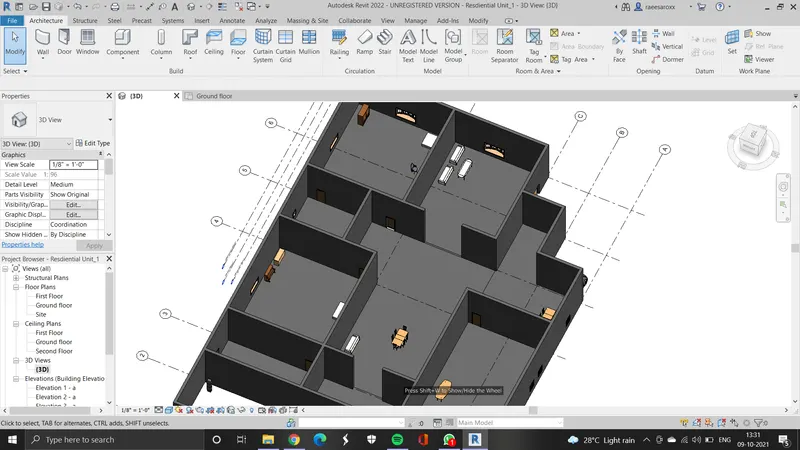
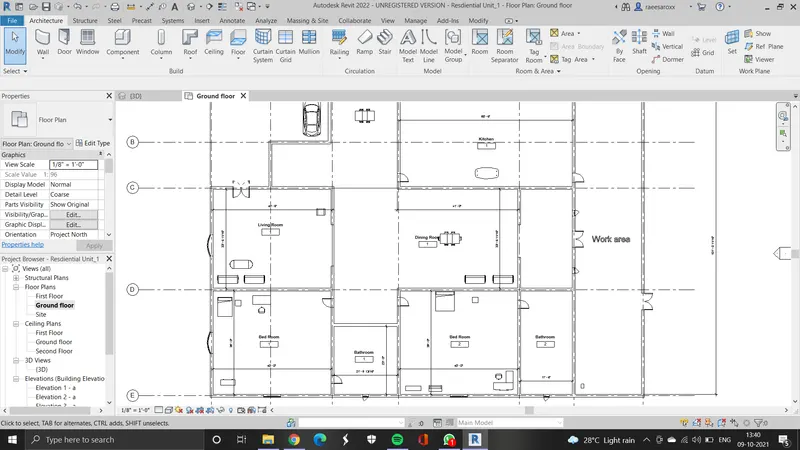
I have created a residential building, consisting of 2 bedrooms, 1 living room, 1 dining room, 1 guest area, 1 kitchen, 2 bathrooms and a workarea in the ground floor.
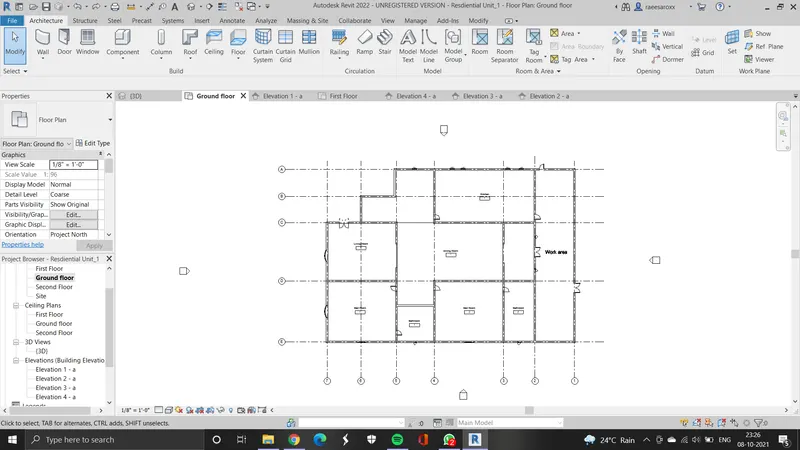
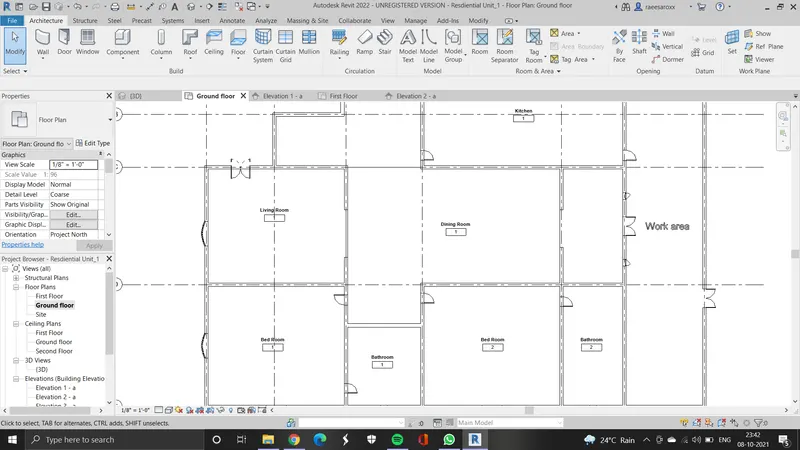
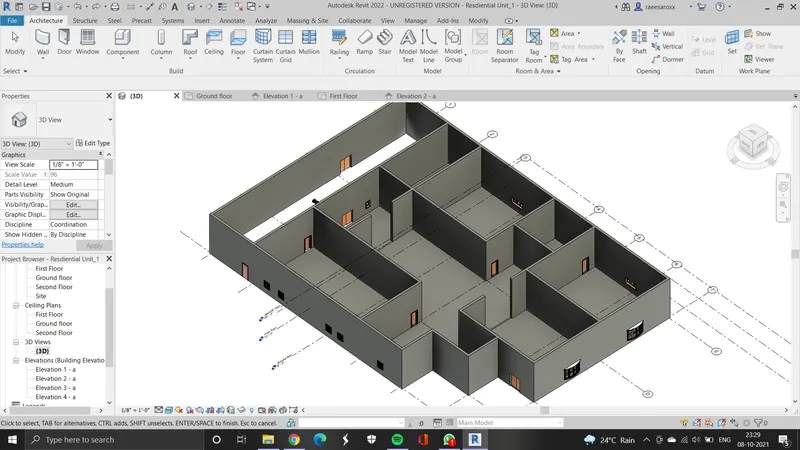
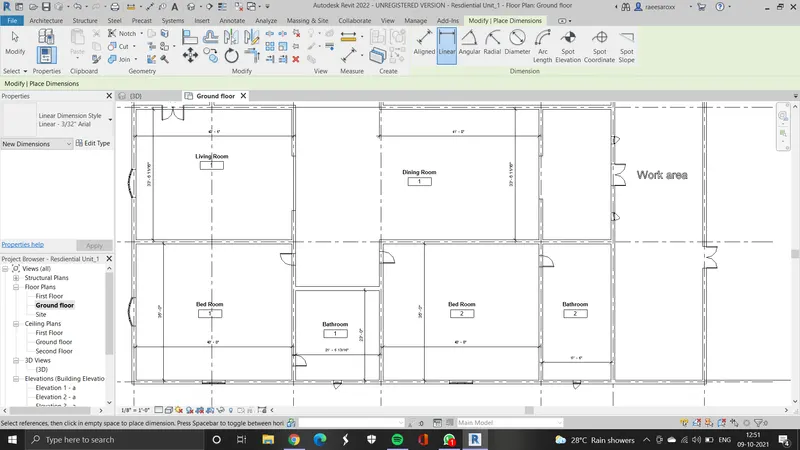
6) To add dimension click on the annotate tab and choose linear option, choose the start and end point of the rooms you need dimensions for. To add tags such as room, or area tags, click the architecture tab and choose room or room tag, if you want to seperate room, use the room seperator option before you use room tags, you can also add texts by using the model text option and type down the area name.
7) To add components into our model space first click on the insert tab and choose load family, open the necessary components you want to add to your project. Then click the architecture tab and click component and add all the necessary components in the designated spaces (doors, windows, table, chair, bed, couch, lamps).