Creating Walls, Partition walls and Floors for a residential layout using REVIT
1) To add and edit Floor element:
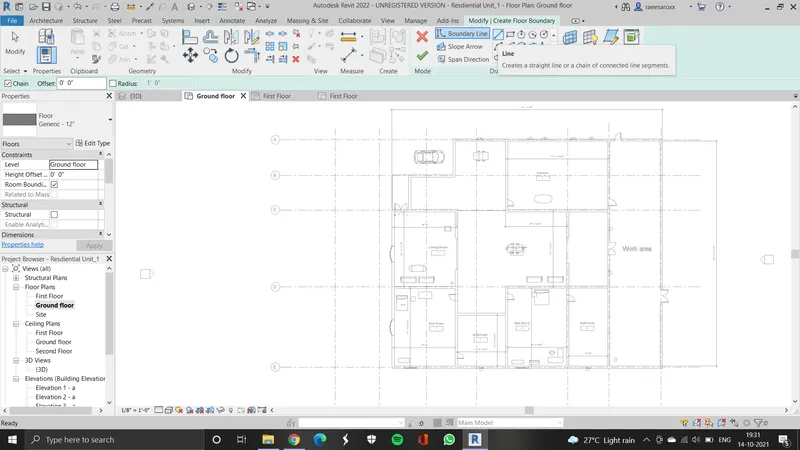
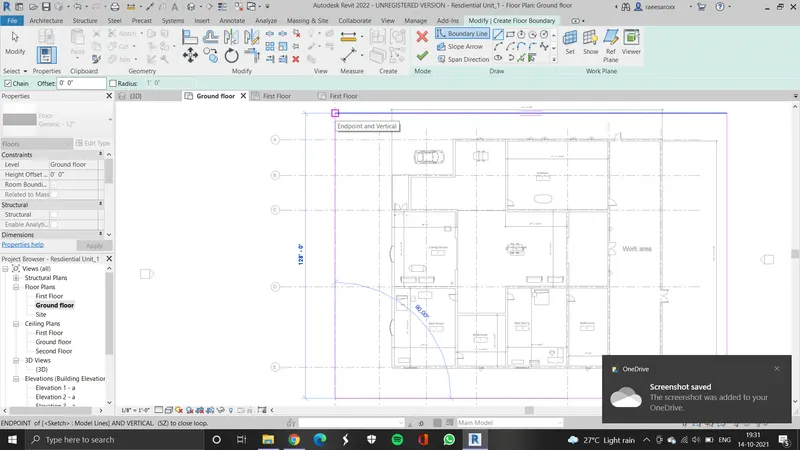
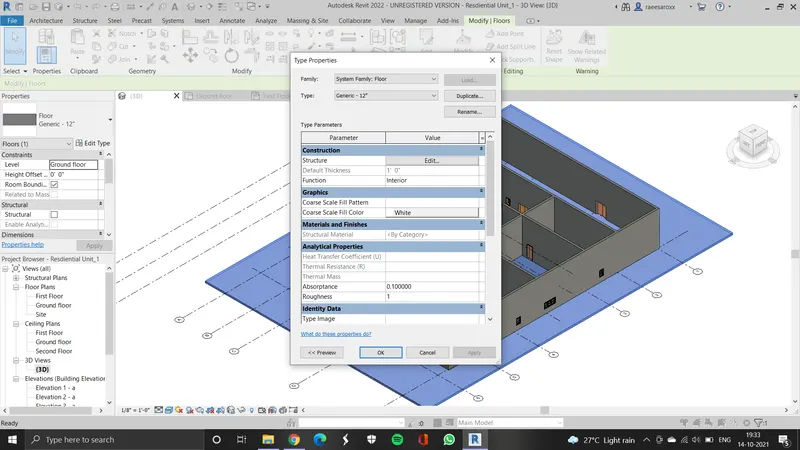
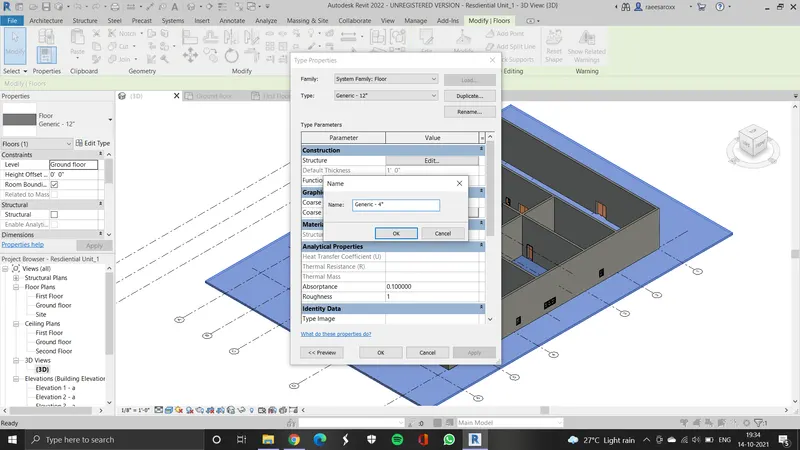
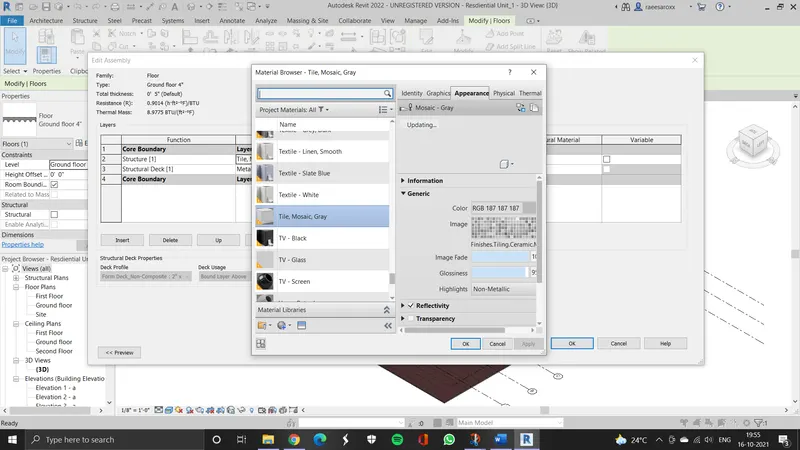
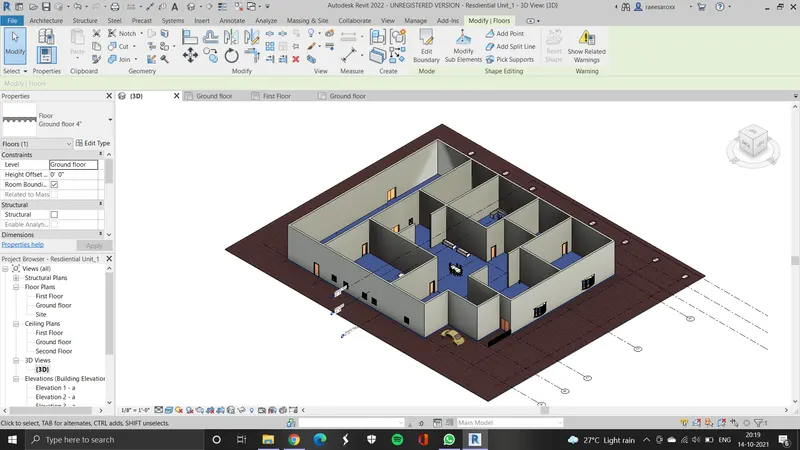
We can add floor element to our project by clicking the architectural tab and choose Floor. Choose the end to end points or pick by lines option and add floor to your model space, like each rooms that we have created. Also we can add a floor to our entire model and place exterior components on them but the same method. We can edit the floor type to required thickness and material by clicking on the floor element and choosing edit type on the properties bar and choose duplicate and mention the size, eg; Generic 4", then choose the structure - edit option and then load the By category option and apply the desired material for you floor plans. 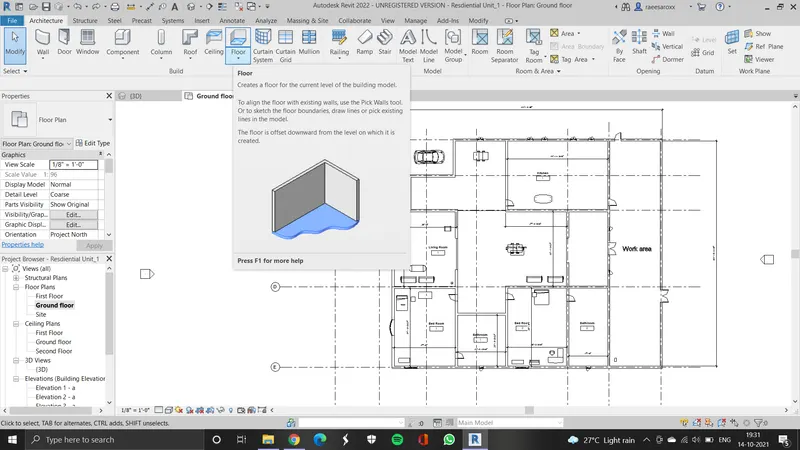
2) Walls:
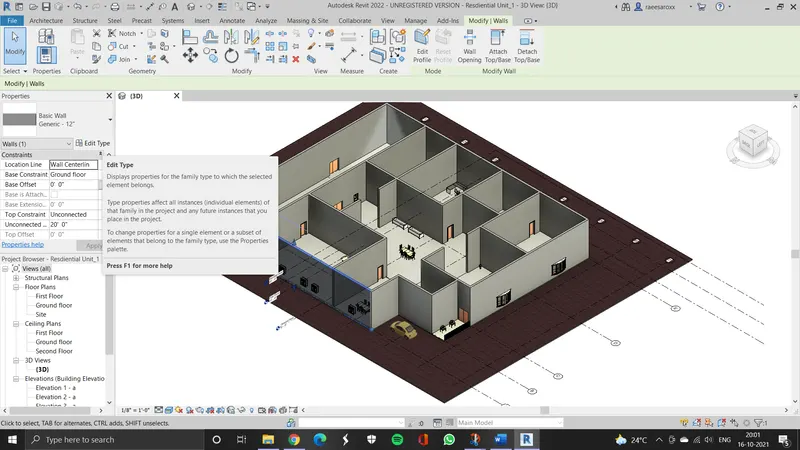
To add walls click on the architecture tab and choose the wall option, choose architectural wall and then choose lines or pick by lines and choose required positions of the wall. If the walls overlap the floor, change the height of the negative values of the measurement taken for the other element. You can change the wall dimensions and move it to appropriate spaces by dragging it, and by the same way with floor, you can edit the wall material and thickness. Click the required wall and then click edit type, duplicate the wall with required thickness and choose structure and then choose by catergory and apply required material.
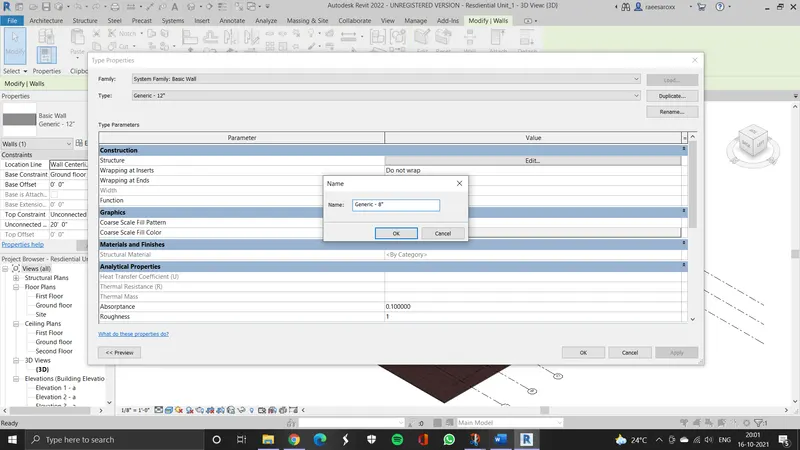
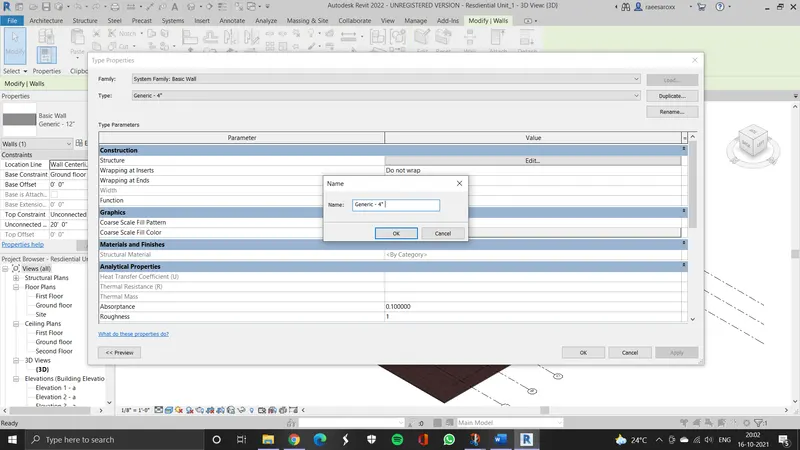
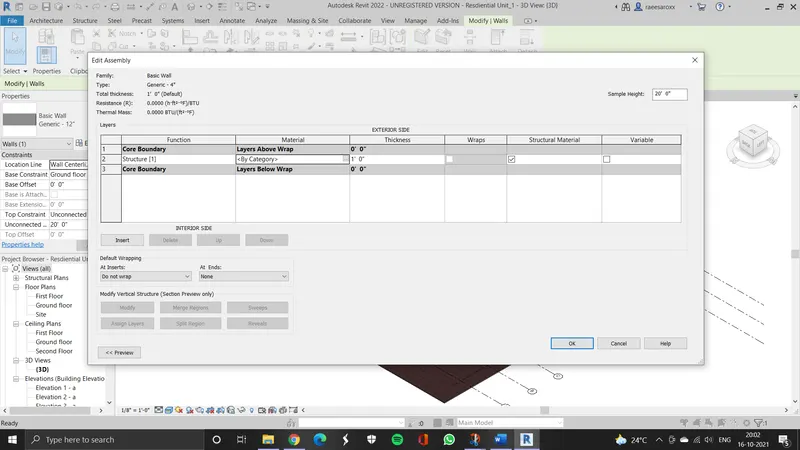
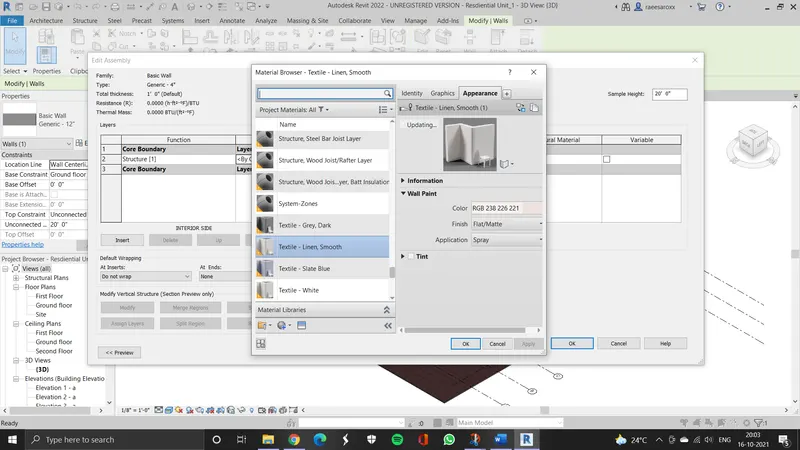
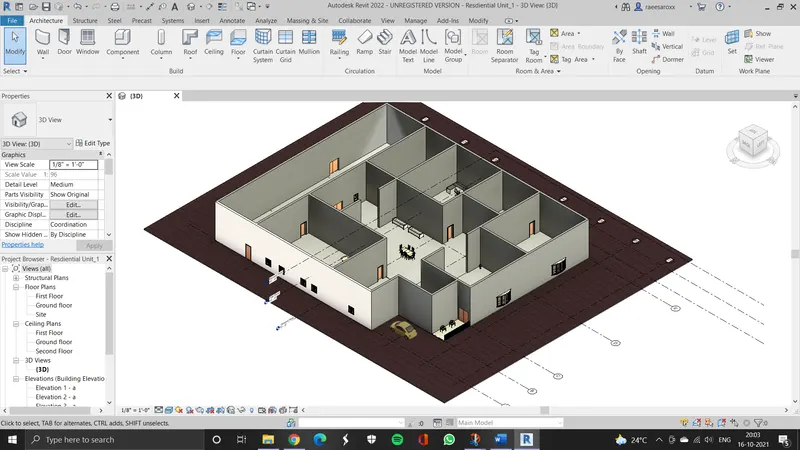
a) It is always better to have all the walls connected to a certain level as it is better to work with and is important that walls be associated with a level so that it is less complicated and the heights will be more aesthetic and helps conform to the boundary as needed. It also helps keep height of the walls consistent and when changes are made helps ease the overall buliding functionality.
b) Its better to model walls by height, as some projects consider multiple levels, apartments, 2 storey buildings etc, so by adjusting different level heights will help increase efficiency and ease with which we can work.
3) To Copy elements and Paste to different level:
To copy and paste elements, choose the modify tab and select the copy icon, choose the required elements and then go to the required floor plan. Select the paste option and choose the aligned to selected views. All the selected elements will be placed to the current viewing space and you can edit as per necessary. Remove unwanted elements copied to first floor, and also add patios, railing etc as per need.
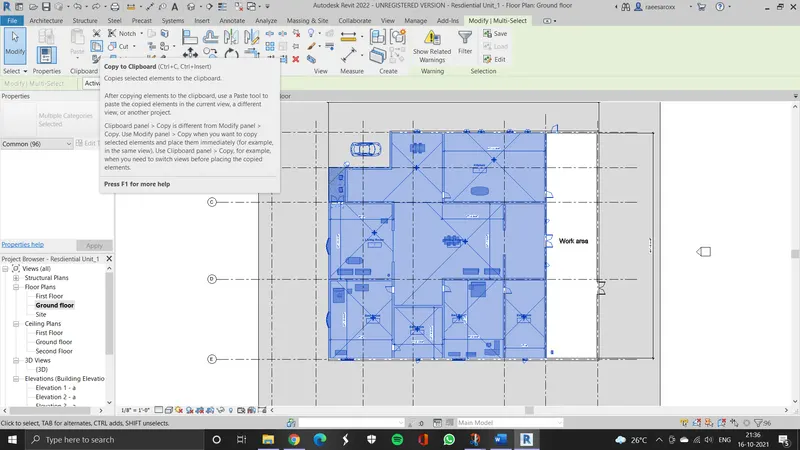
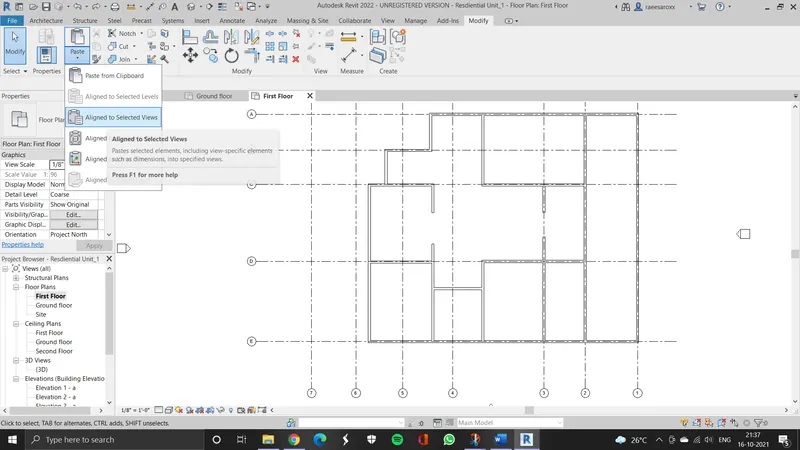
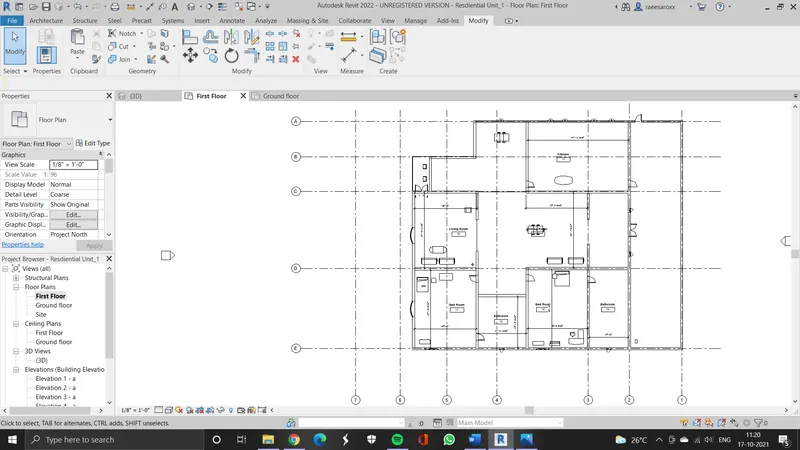
Ajust grid lines when adjusting dimensions of the rooms
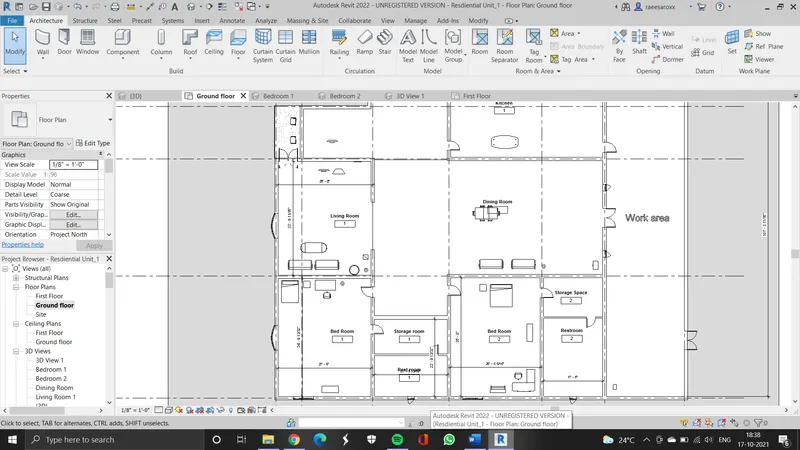
4) To add interior/partition walls to our models - Choose the architecutre tab and choose wall - architecture, choose the interior walls and if needed edit the wall type and needed. Add rooms such as living rooms, bedrooms, and other spaces to make the residential unit. I have added partition walls to create a storage space for the restrooms. I have created a balcony space in both ground and first level, added railings and some editing to the first floor (as kitchen space is not required in the first fllor, i have edited it to study room). In the ground floor there is a dining room, living room, 2 bedrooms, 1 kitchen, 2 restrooms with storage spaces, a work area, and a balcony). Measurements are the same as assignment one. Railing have been added to balcony and terrace area.
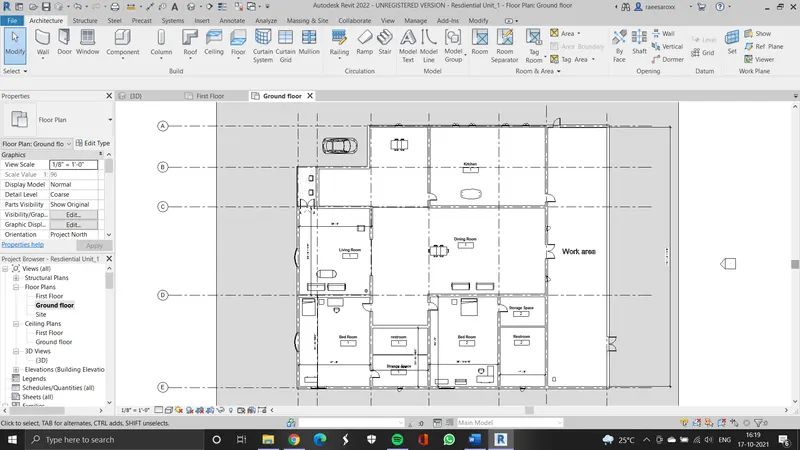
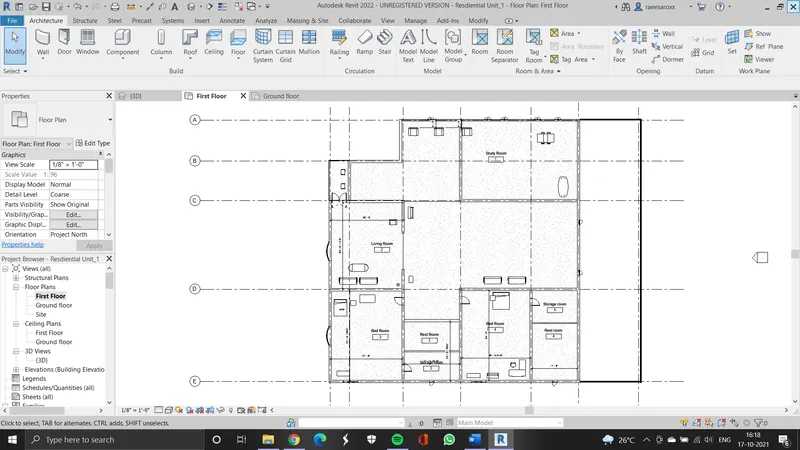
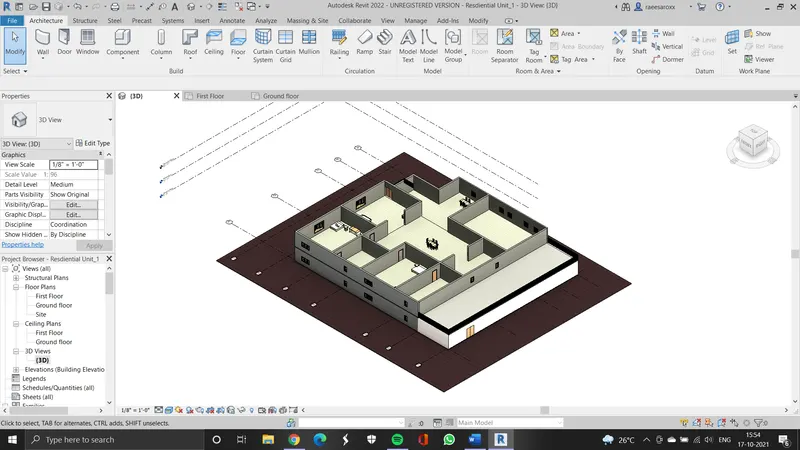
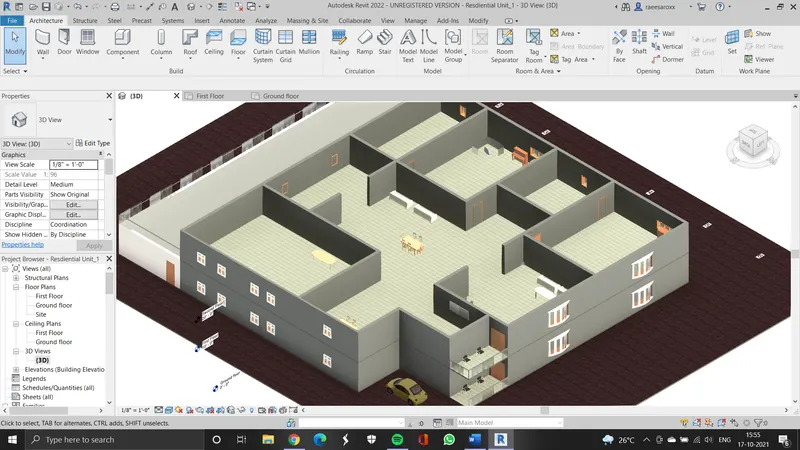
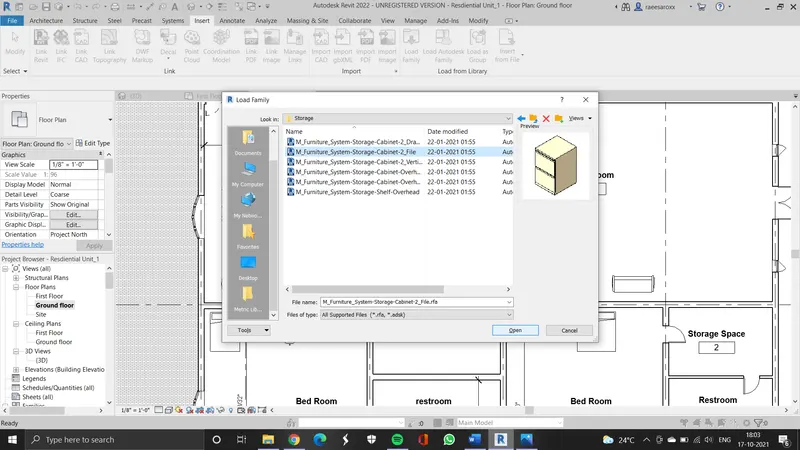
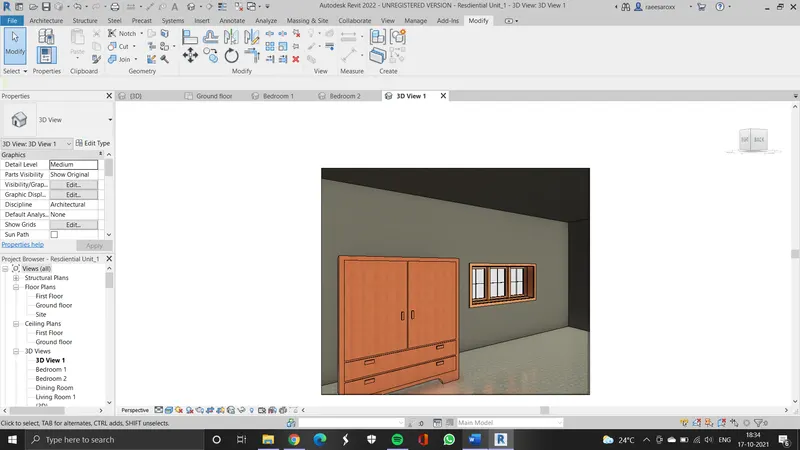
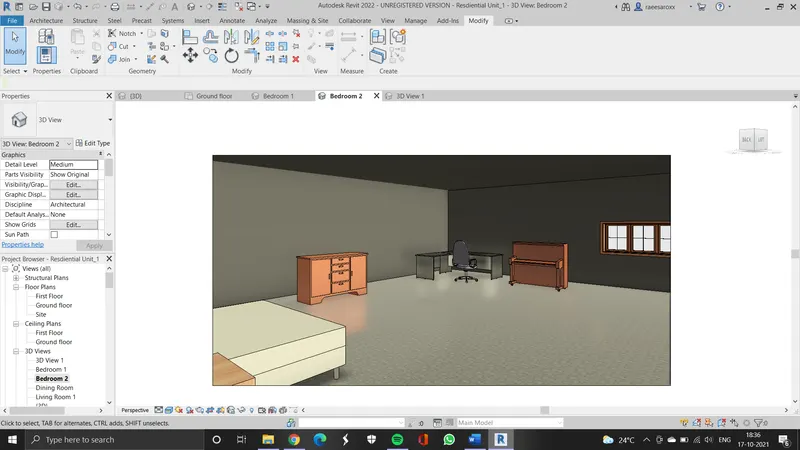
5) To place components into our model space: choose the insert tab and then click load family, choose choose categories of families you want to insert into your project. I have already included many elements into my project including doors, windows, couches, beds etc. While adding elements yoru can rotate, and choose different family elements and instances as there are already several options available in the revit software. Choose which ever you find aesthetic and apt for the model. The following are the ones i have chosen for my model.
a) Doors and windows - My project requires doors and windows in the storage spaces, so click on the architecture tab after loading the families that we require then choose doors, and add the required one to the project, and for window choose the window option. Add them wherever needed.
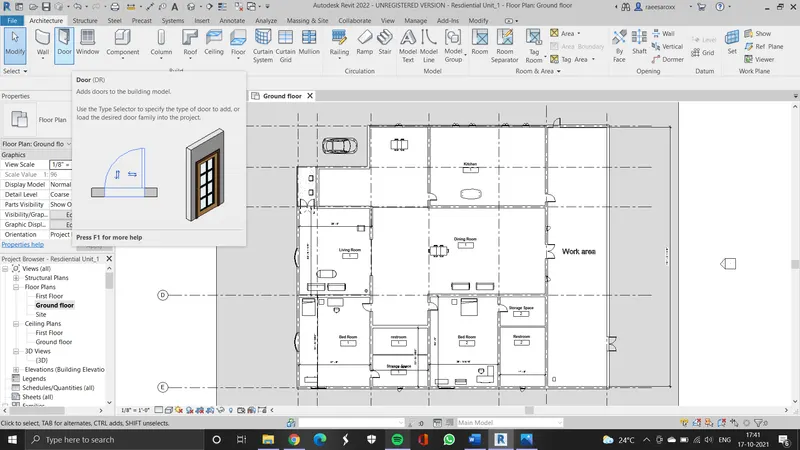
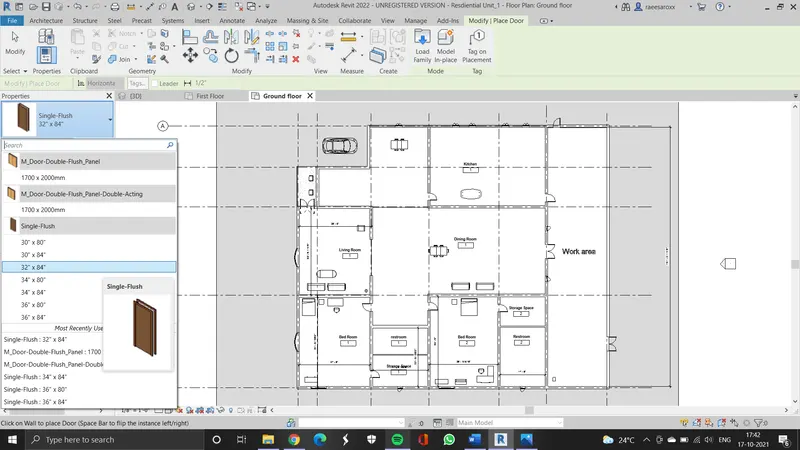
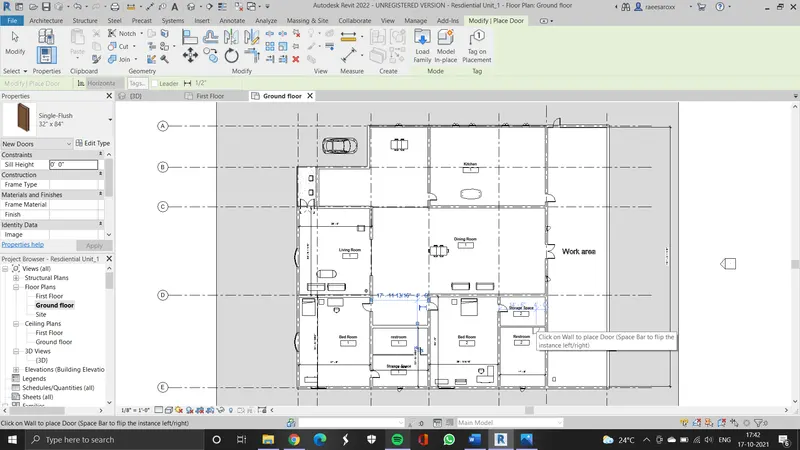
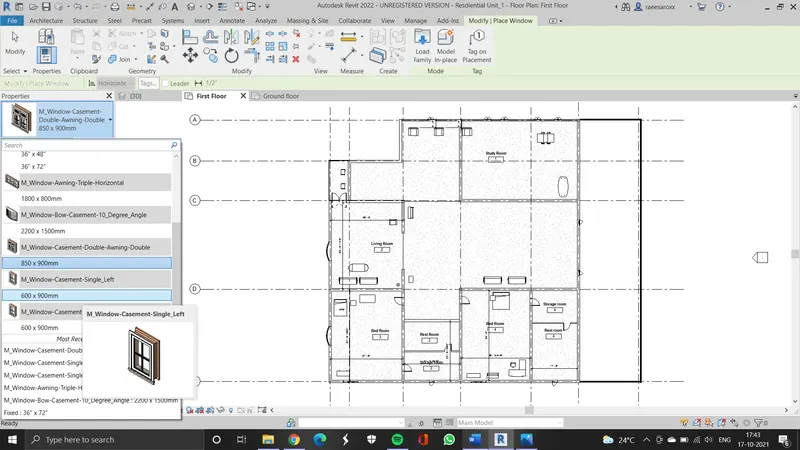
I have exchanged the Restroom 1 and storage room 1 for ventilation purposes. Place Doors and windows at appropriate locations.
b) Living Room - furniture, couch, tv desk and shelf
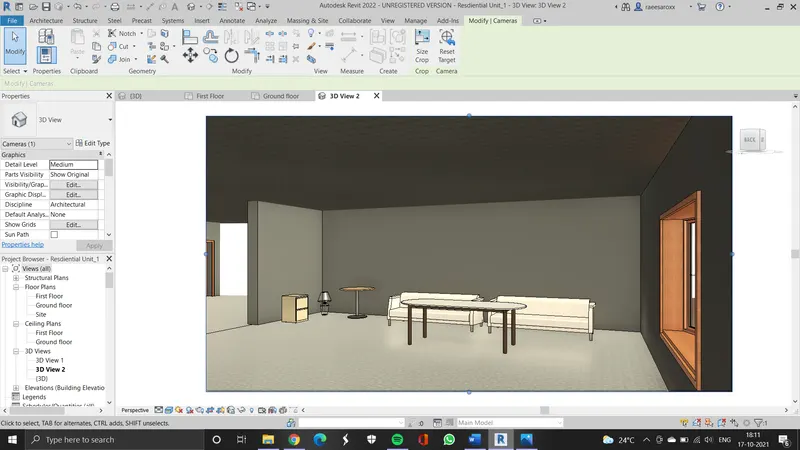
c) Dining room - Dining table with chairs
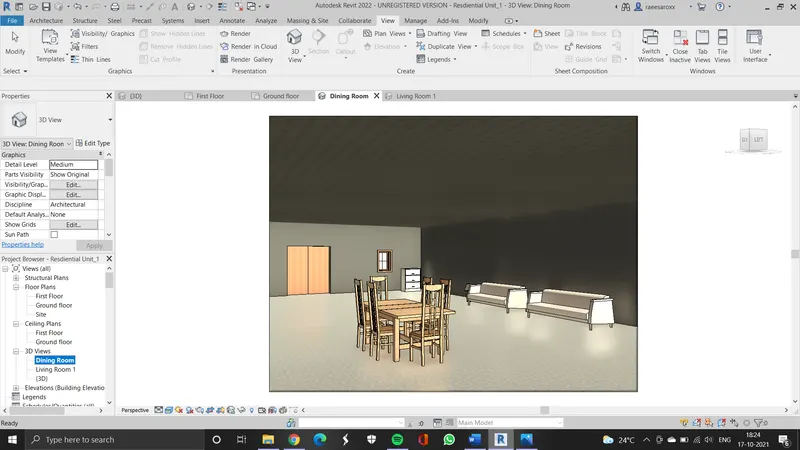
d) Bedrooms - bed, study desk chairs etc.
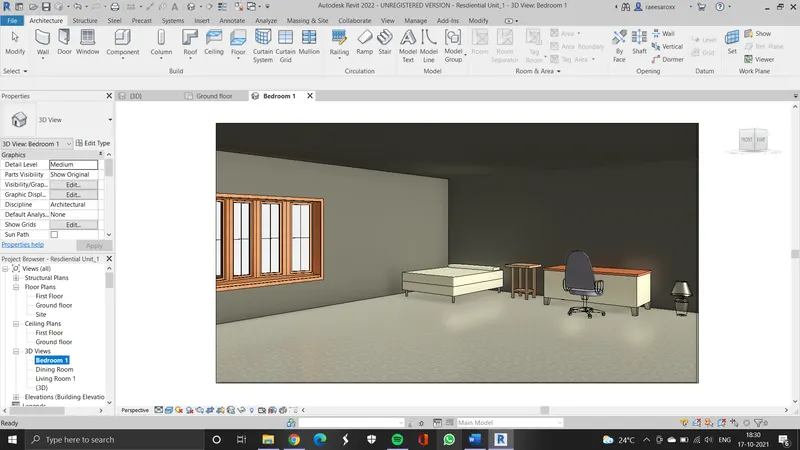
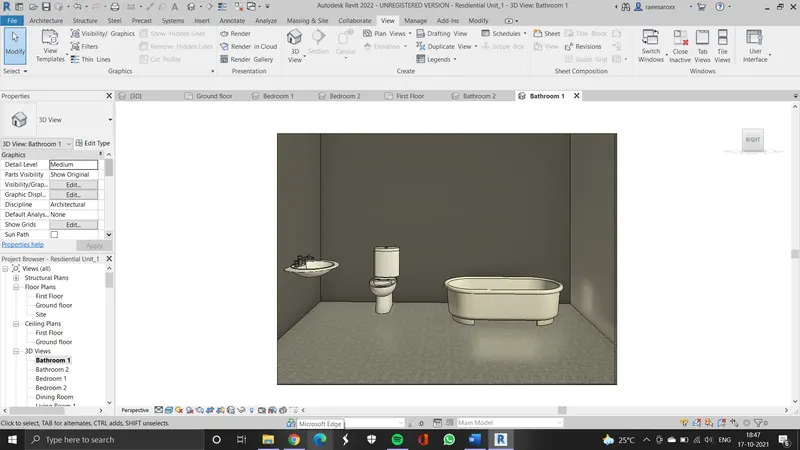
e) Restroom - bath tub, plumbing fixtures etc
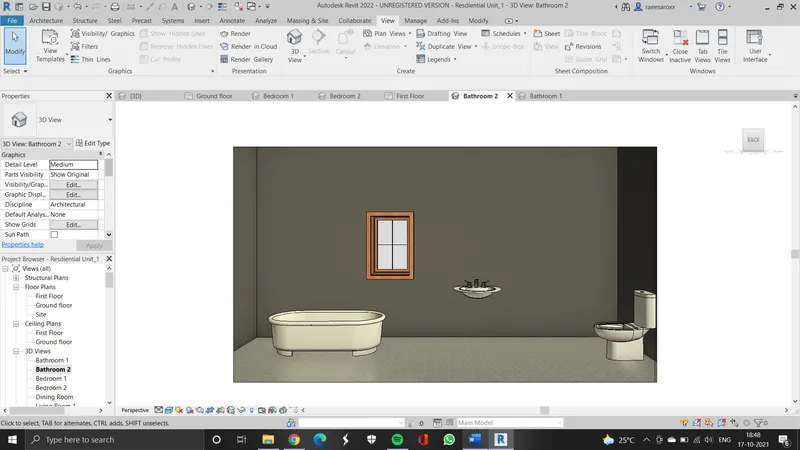
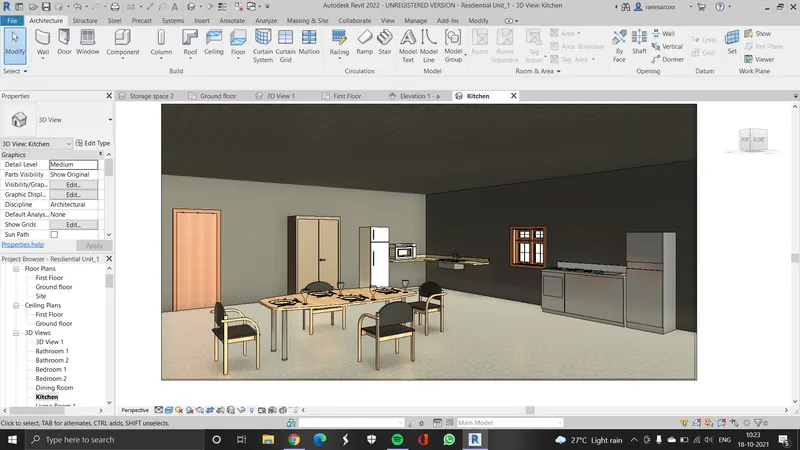
f) Kitchen - countertop, gas stove and shelves
g) Storage rooms - Contains washing machines and wardrobes
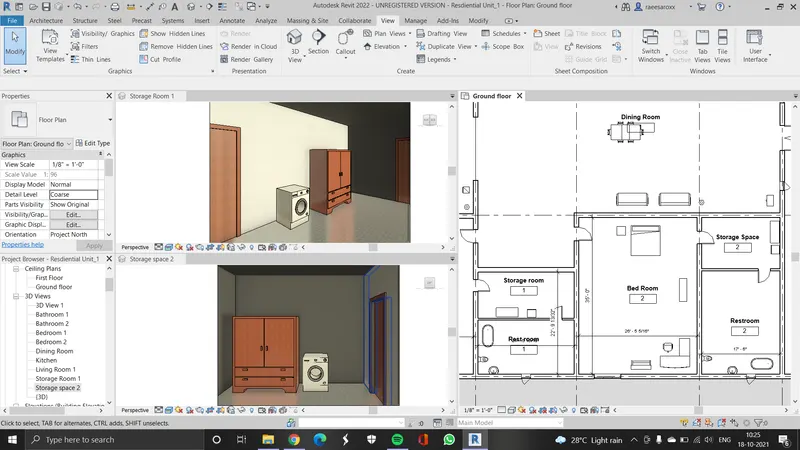
By using 3D navigation - camera view I have added inside views of each room present on the ground floor. This helps us get more clarity on our residential unit and can help us identify what changes to be made and what more can be added.