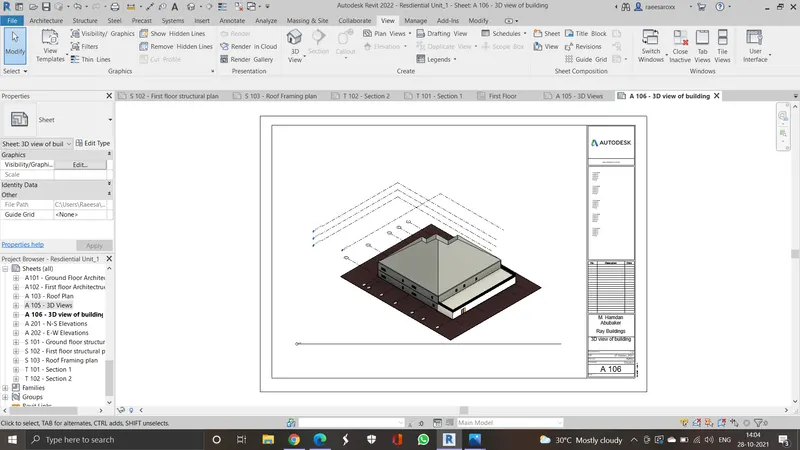
3D Creation of Celing, Roof, Architectural plan, Structural plan, Sectional view, Elevation view and Camera specific view for a house plan using REVIT
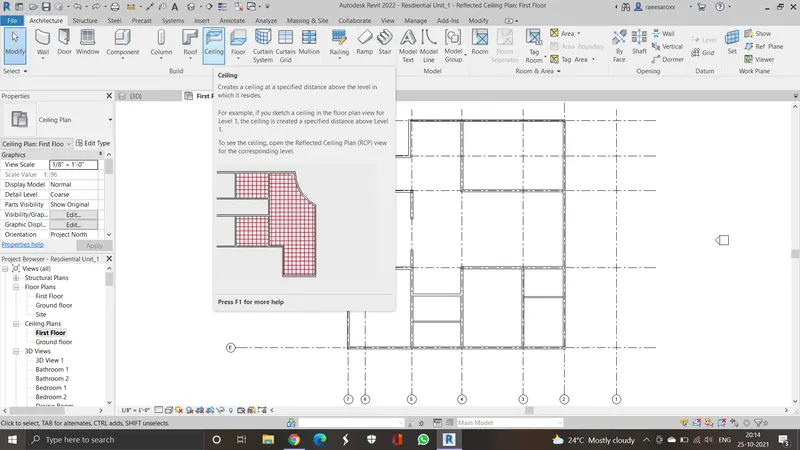
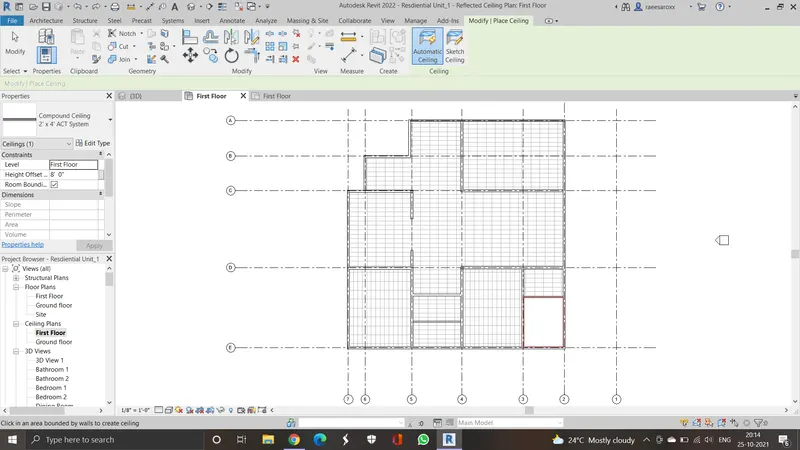
1) To model a Ceiling : Click the architecture tab, choose the ceiling option and then a ceiling component will be added automatically, or u can either sketch the ceiling component to you building. I have placed ceiling on my first floor by the same process.
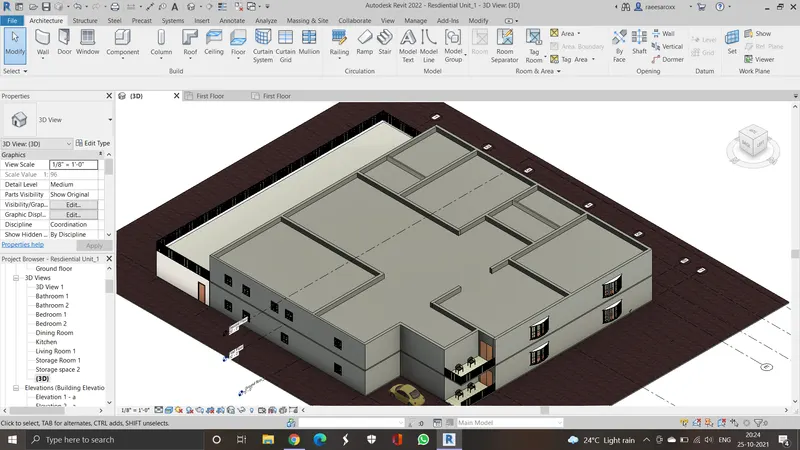
2) Roof:
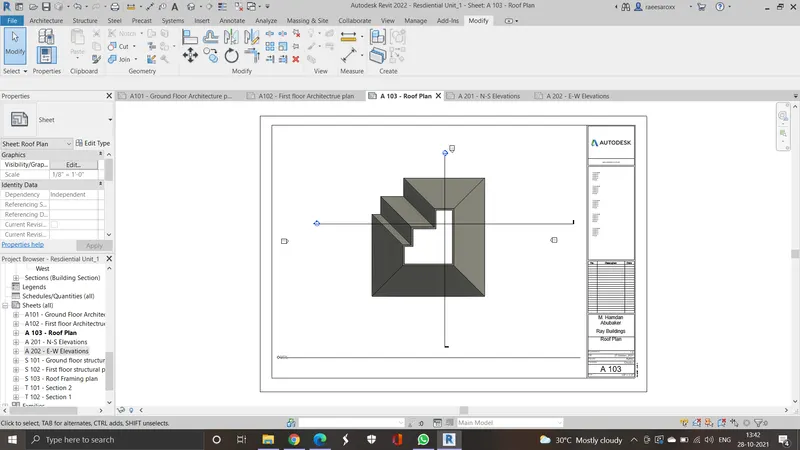
To add roof, click the architecture tab and choose Roof, then choose roof by footprints and either choose line/pick by lines to create the roof element.
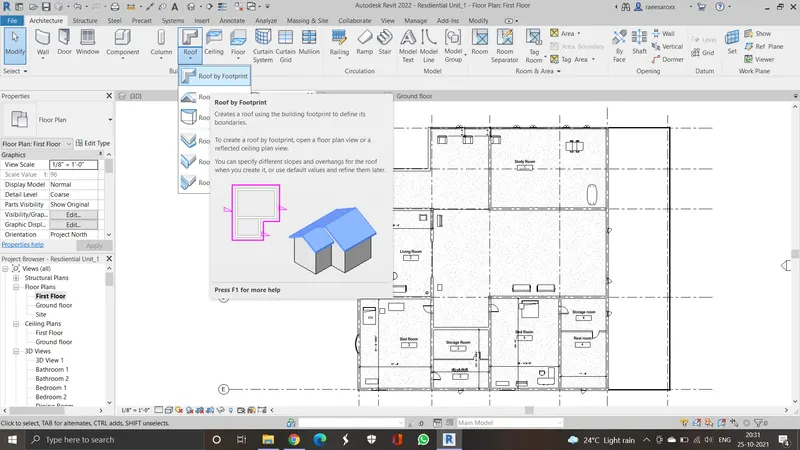
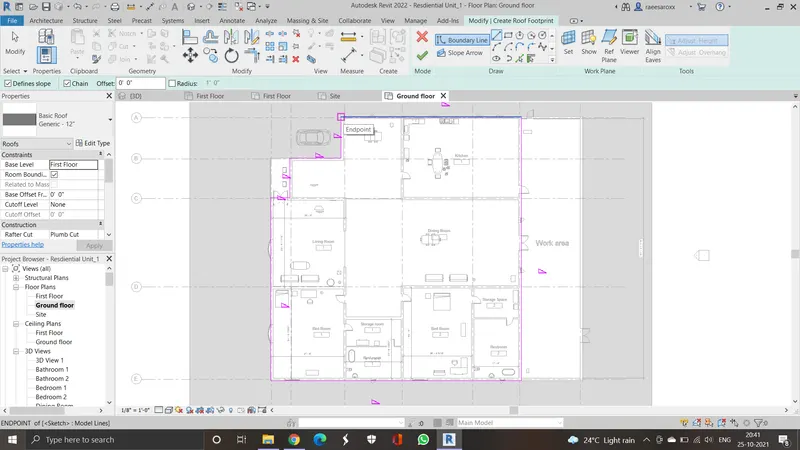
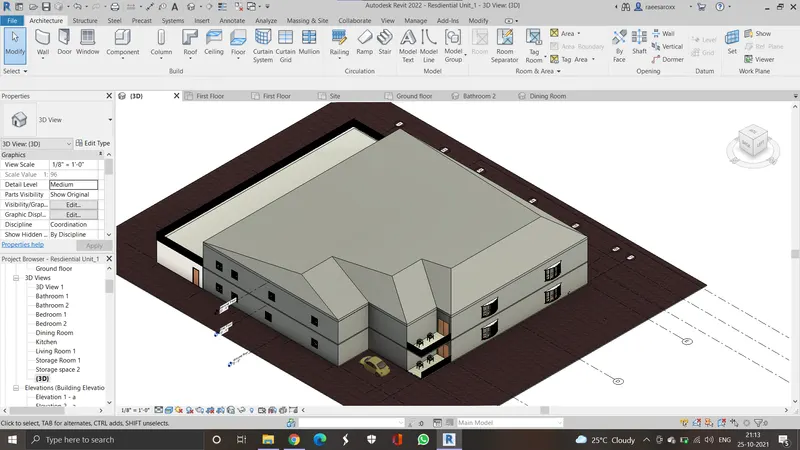
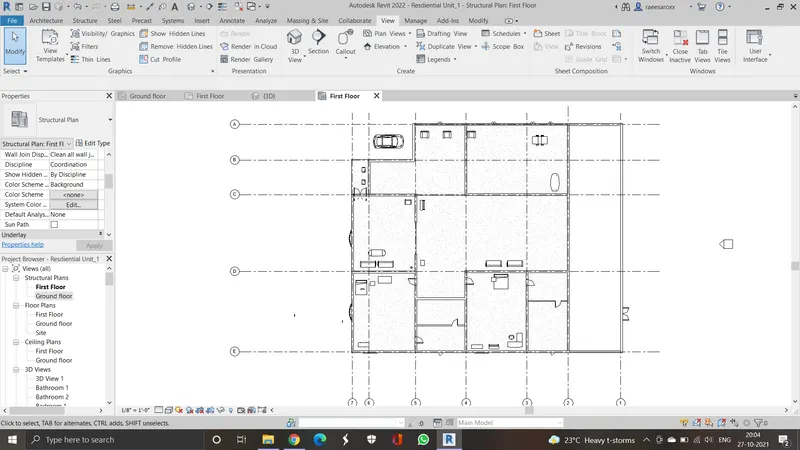
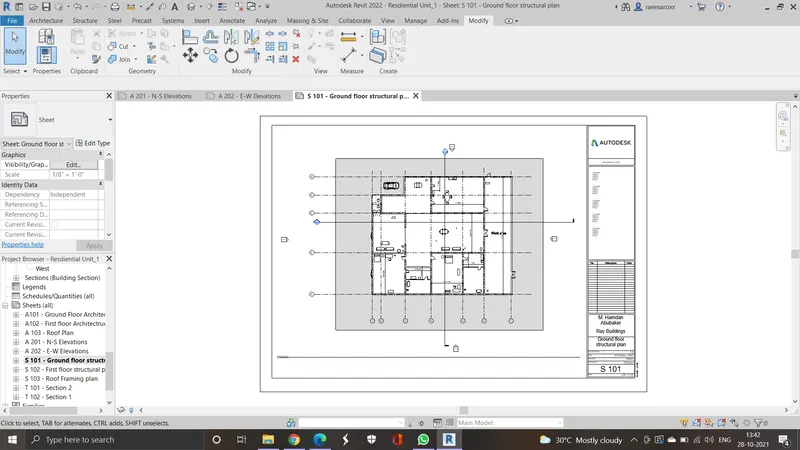
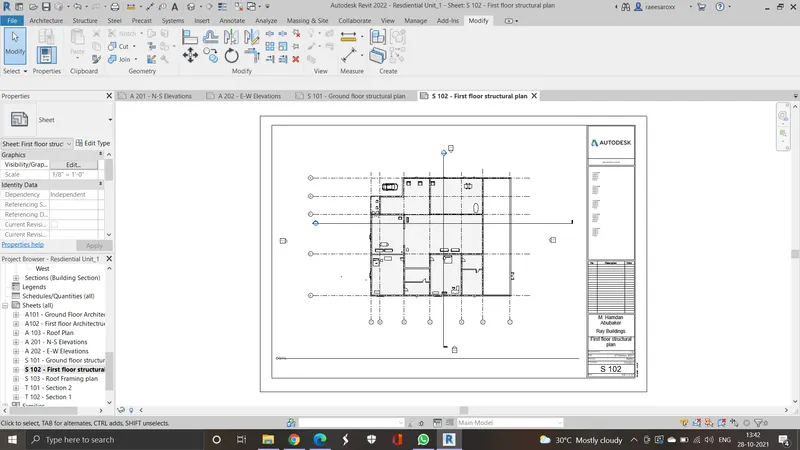
3) To create a seperate sturctural plan from your current architectural plan click the view tab and then choose plan views - click structural plan and then choose the required floor level to be created. You can edit the name and other components can be added as needed.
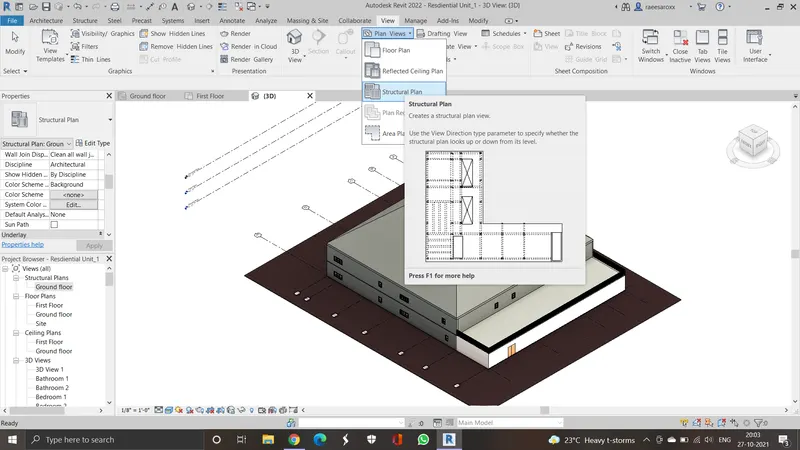
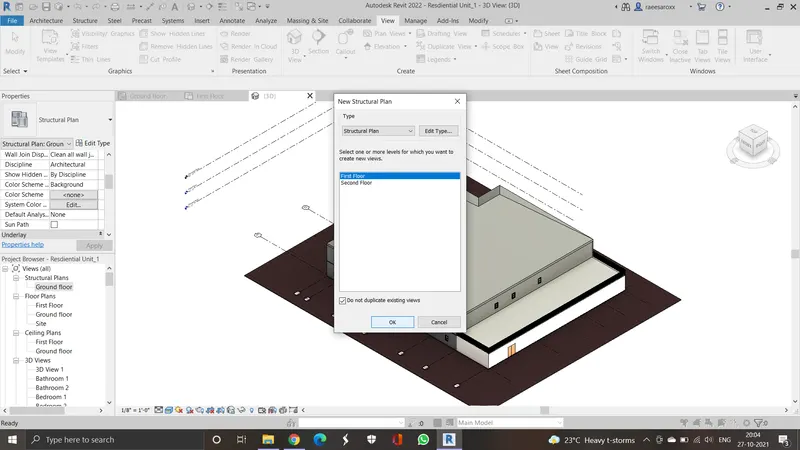
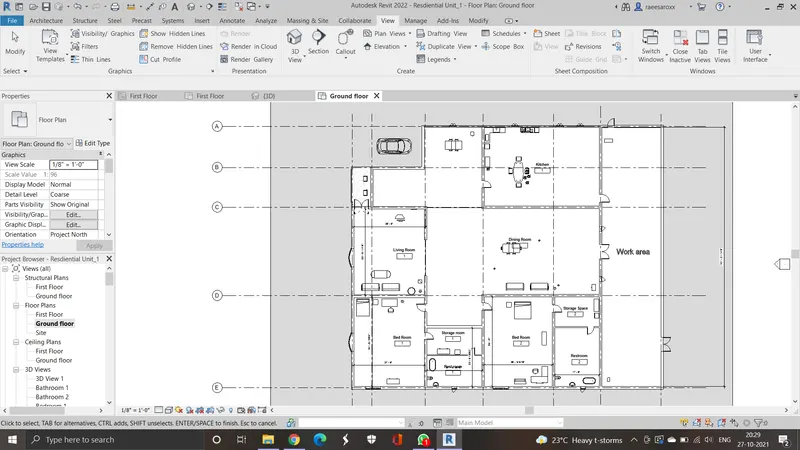
a) Architectural plan - Walls and other components
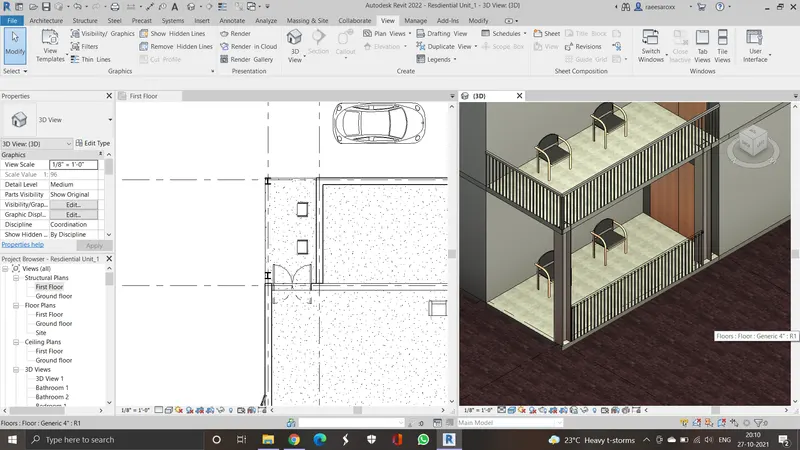
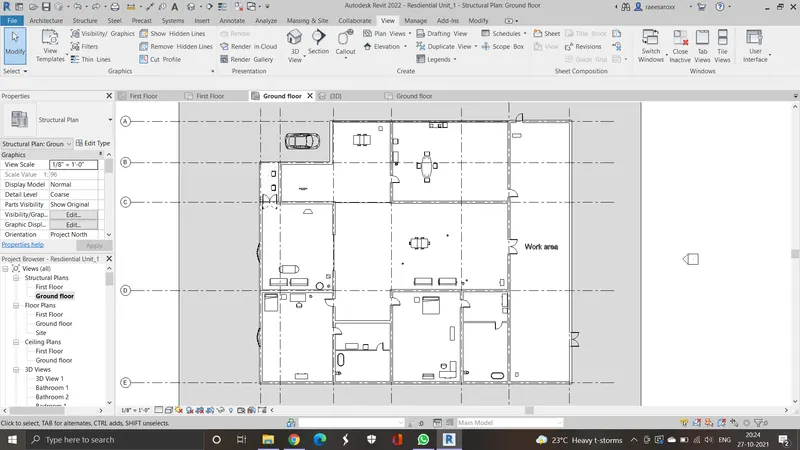
b) Structural plan - Walls, floors have already been created. Columns have been added to the structural floor plan -
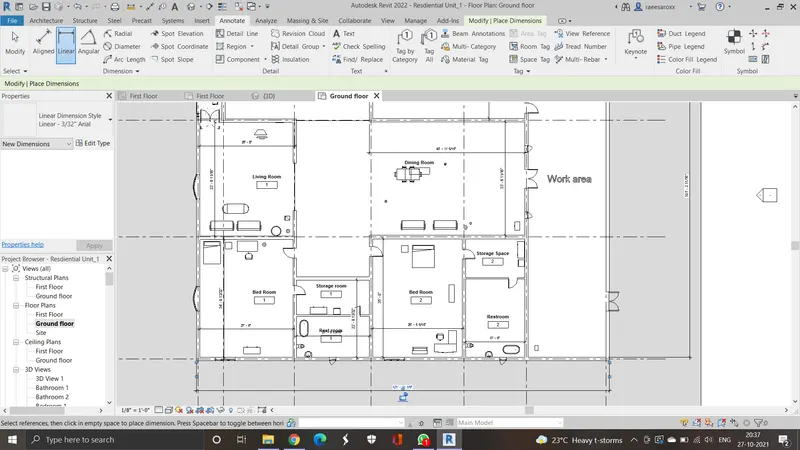
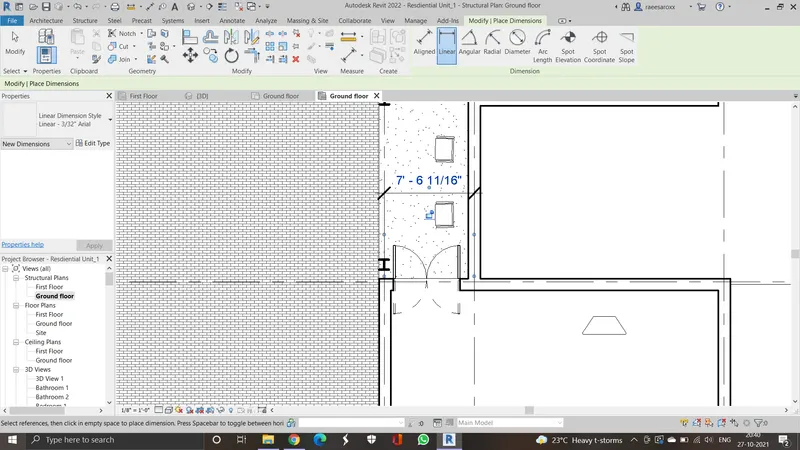
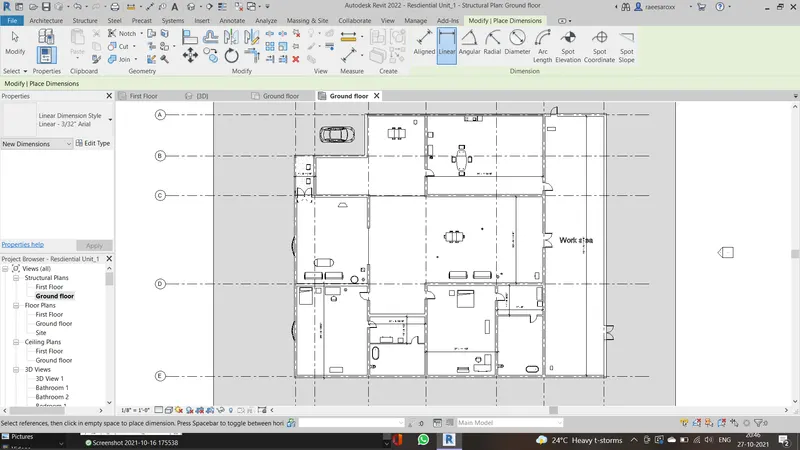
4) To add annotations and dimensions in accordance with the grid lines already created, choose the anotate tab and choose linear for measuring all the required room and overall meansurements.
a) Architectural plan -
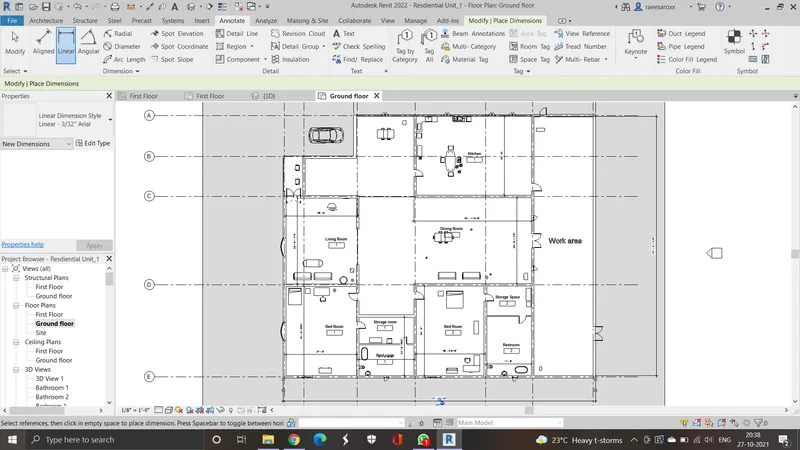
b) Structural Plan -
Dimensions within different grid line positions, longitudinal and transverse -
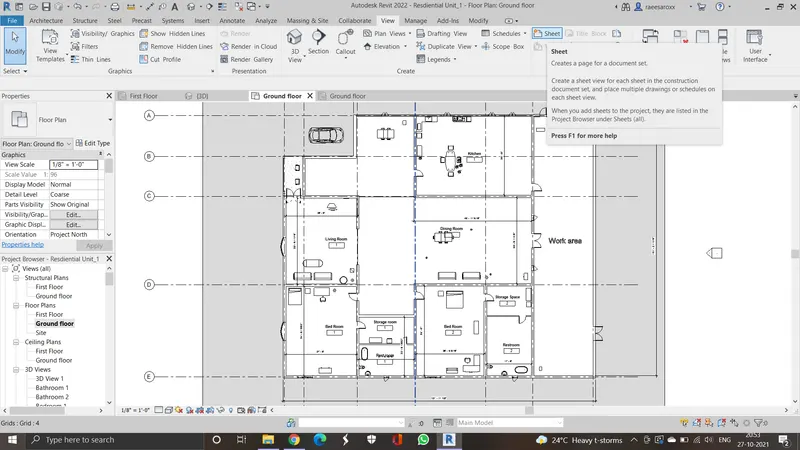
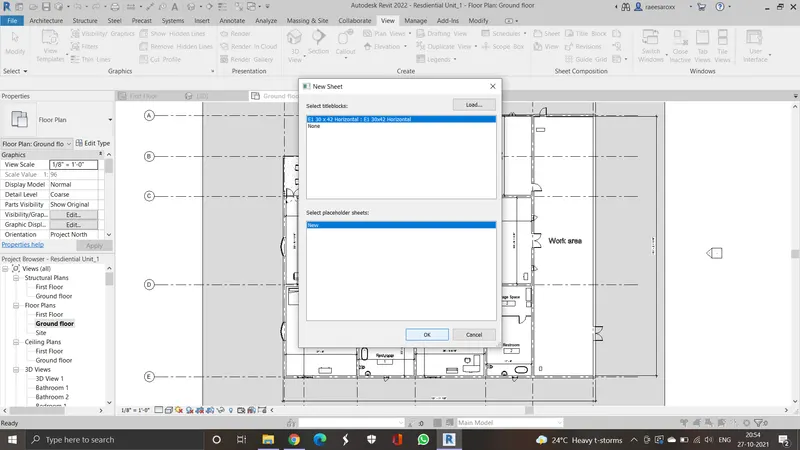
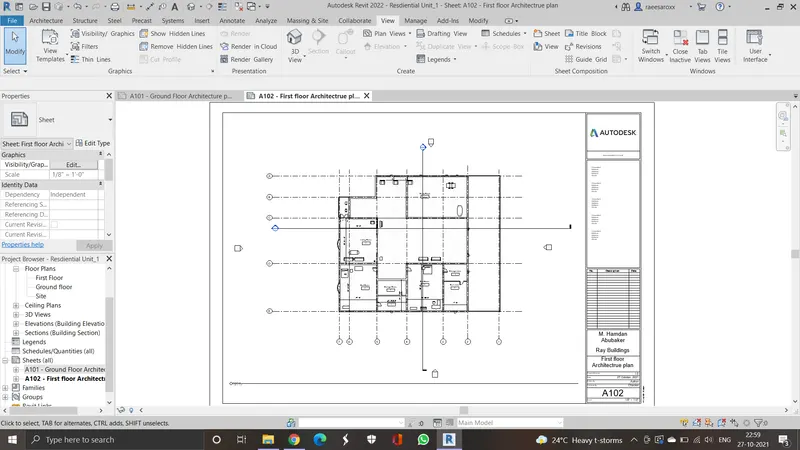
5) To add sheet templates - Click on the view tab and then select Sheet, choose appropriate size and then click OK. Do necessary changes in the parameters of the sheet and add the required views to the sheet.
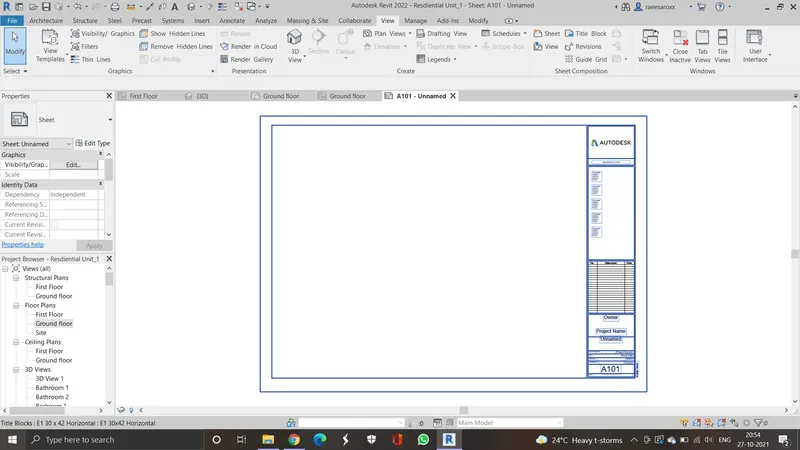
6) Elevation Views - To create elevation views (elevation views will already be created as default) click on the View Tab and choose elevation, place the elevation views wherever required and then rename it (East, west, north and south)
The north, south, east, west elevations have been added below
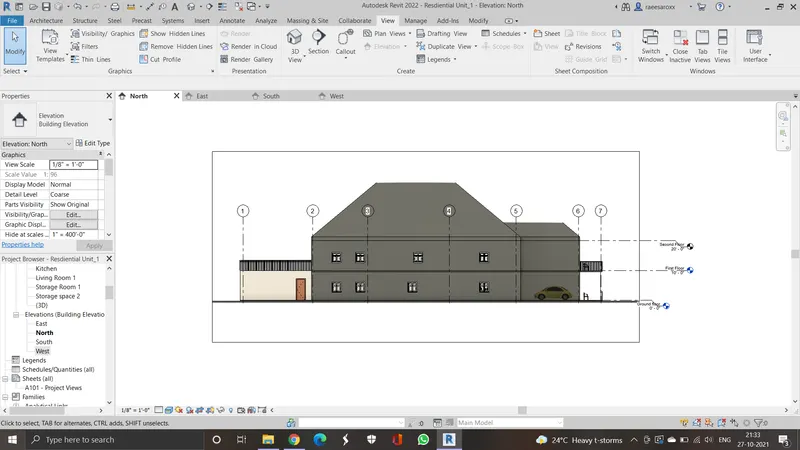
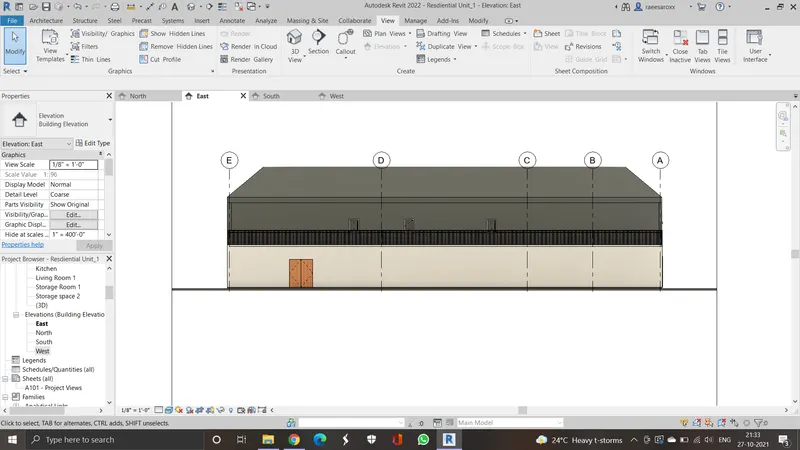
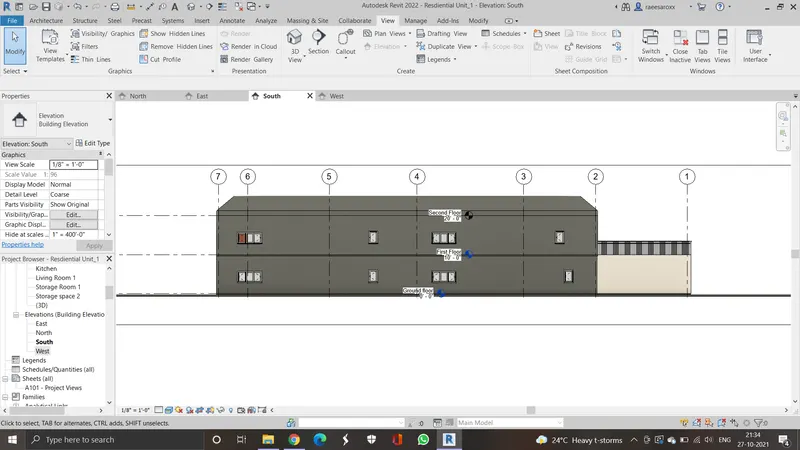
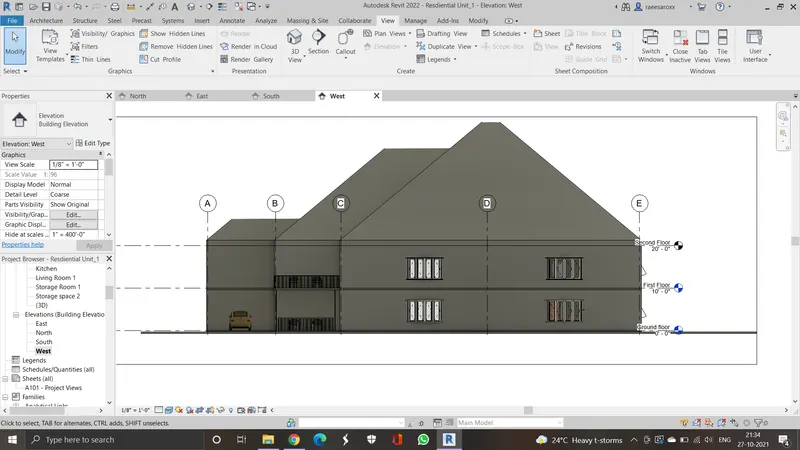
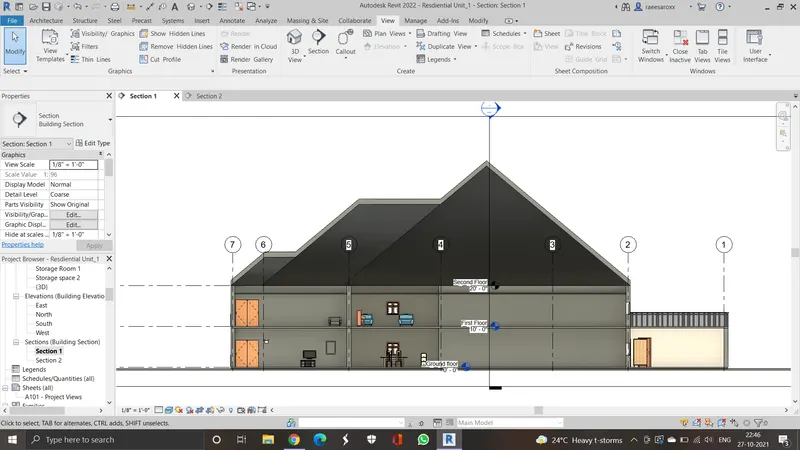
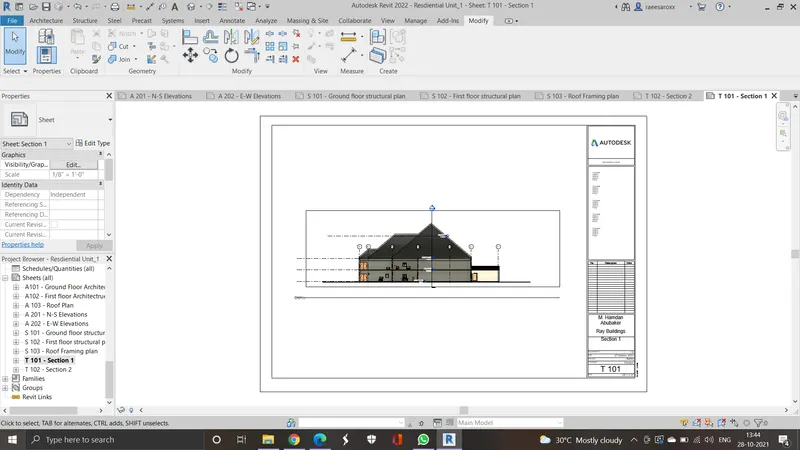
7) Section views - To create section views click the view tab and choose section. Choose the a longitudinal or transverse way of viewing the section as desired.
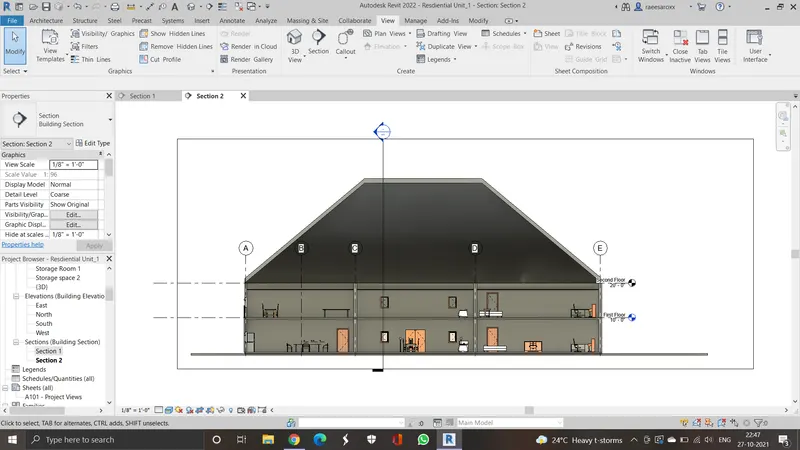
8) Plan, section and elevation views have been converted to PDF files and attached - To do so click Ctrl P and then choose the selected views/sheets required and then combine the mutiple selected views to a single file and save them in the computer click OK. The pdf file will be automatically created.
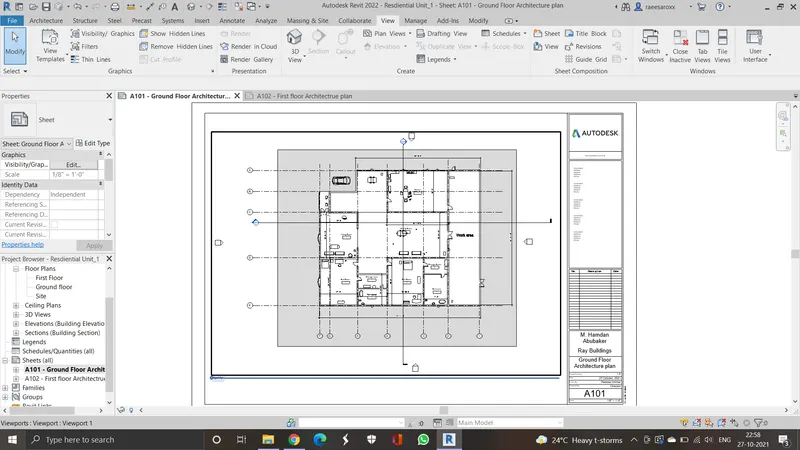
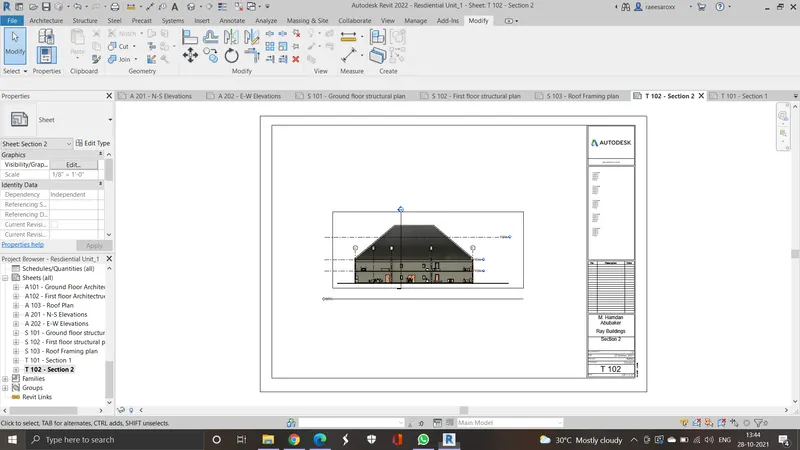
9) Sheets have been created for each plan and section and elevations. Each view has also been added with names been given accordingly.
a)
b)
c)
d)
e)
f)
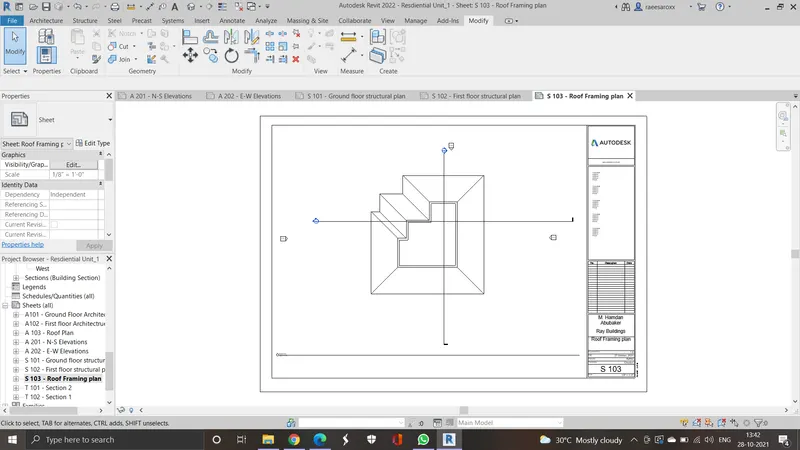
g)
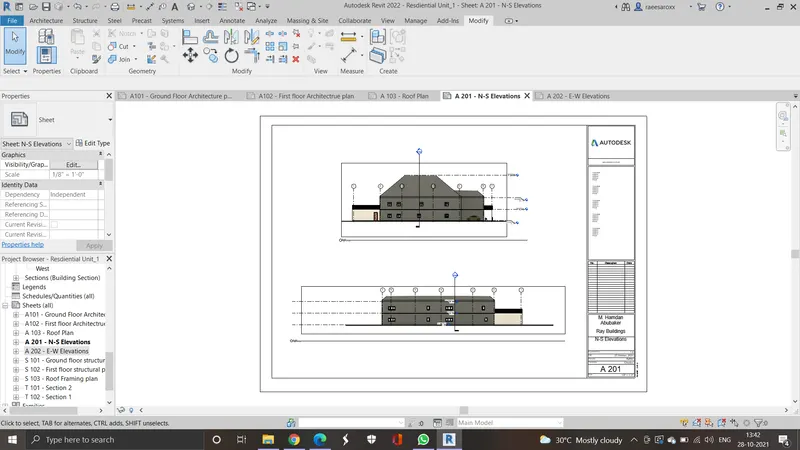
h)
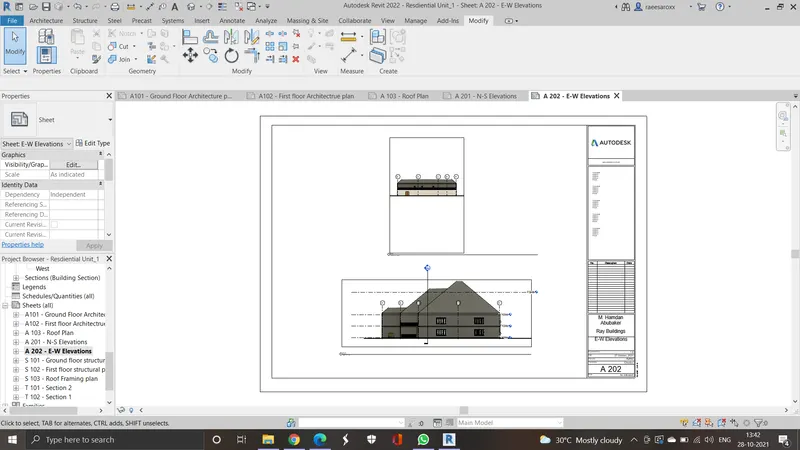
i) Sections
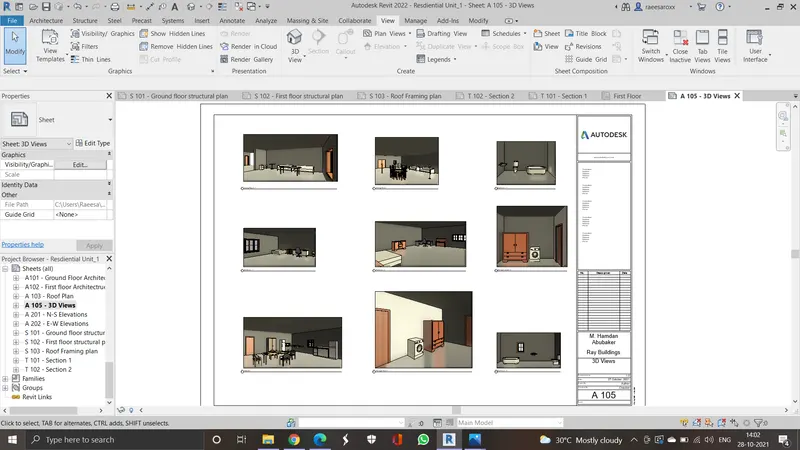
10) Sheets for 3D views of dining, living, kitchen, bedrooms, washrooms have been created