Usage of Collaborate tool in REVIT
1. Aim :
To set the Project Base Point and Project Shared Coordinates of a Project.
Procedure :
- Double click on the Revit application icon and opens the app.
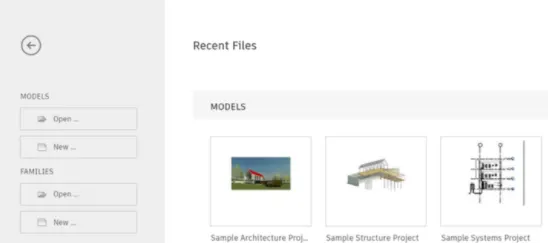
- Click on "New" in the Home page.
- Select "Architectural Template from the Dialog box
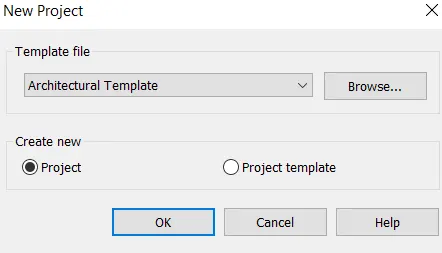
- Select "Project" and then click on "OK".
- Go to "File" tab click on "Save as" option and safe the project by any name.
Creating Base Point of the Project :
- Go to "Architectural" tab.
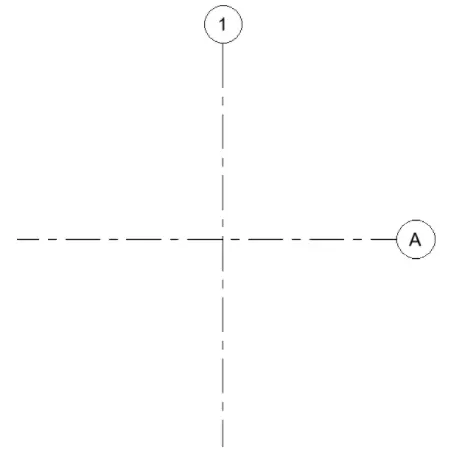
- Click on "Grid" option in "Datum" Panel to draw grid lines.
- Draw one "Horizontal" grid line and one "Vertical" grid line.
- Name the two grid lines drawn.
Specifying Project Coordinates :
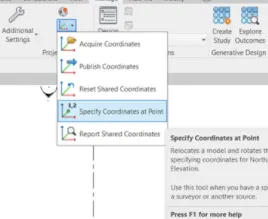
- Go to "Manage" Tab.
- Click on "Coordinates" Dropdown in the "Project Location" Panel.
- Select "Specify Coordinates at Point" options.
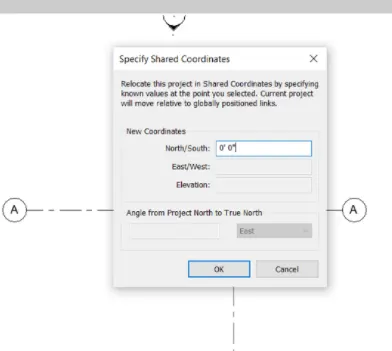
- Click on the Horizontal Grid line "A" and set the New cordinates of "North/South" as O' 0".
- Click "OK".
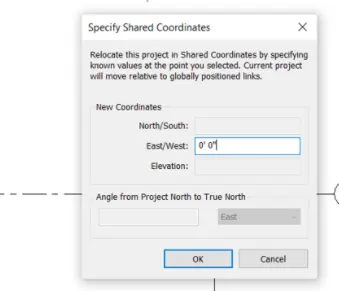
- Click on the Vertical Grid line "1" and set the New cordinates of "East/West" as O' O".
- Click "OK".
Result :
Project base point and Project shared coordinates for the Project has been set
2. Aim :
To set Project Parameters the same as the Architectural Model in a new file but with Structural Template.
Procedure :
- Double click on the Revit application icon and opens the app.
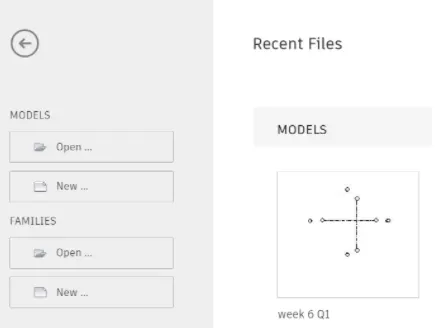
- Click on "New" option.
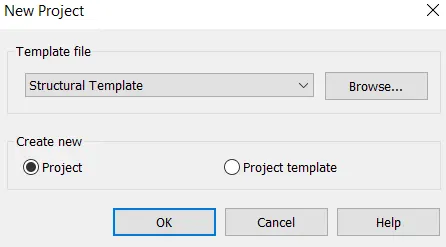
- In the dialog box, click on "Structural Template" in Template File.
- Click on "Project" in Create New.
- Click "OK" to open the "Structural Template Project".
- Go to "File" tab click on "Save as" option and safe the project by any name.
Creating Base Point of the Project :
- Go to "Architectural" tab.
- Click on "Grid" option in "Datum Panel to draw grid lines.
- Draw one "Horizontal" grid line and one "Vertical" grid line.
- Name the two grid lines drawn.
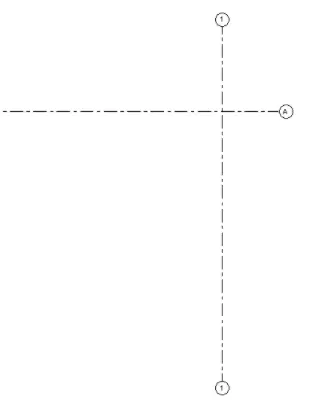
Specifying Project Coordinates:
- Go to "Manage" Tab.
- Click on "Coordinates" Dropdown in the "Projrct Location" Panel.
- Select "Specify Coordinates at Point" options.
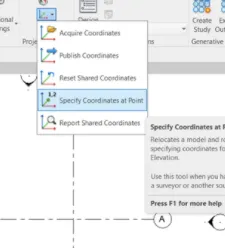
- Click on the Horizontal Grid line "A" and set the New cordinates of "North/South" as 0' 0".
- Click "OK".
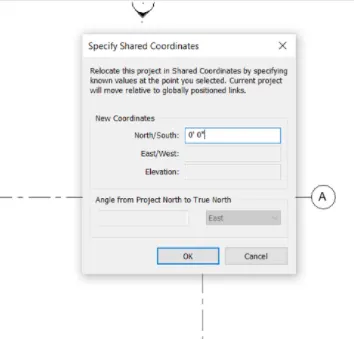
- Click on the Vertical Grid line "1" and set the New cordinates of "East/West" as 0' 0".
- Click "OK".
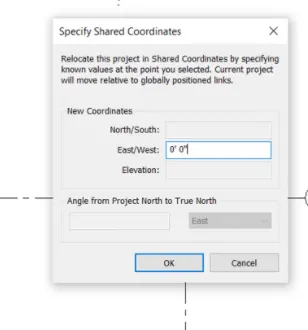
Result :
- Project base point and Project shared coordinates for Project has been set.
3. Aim :
To use the Collaborate tab and save the Architectural Model as a Central Model.
Procedure :
- Double click on the Revit application icon and opens the app.
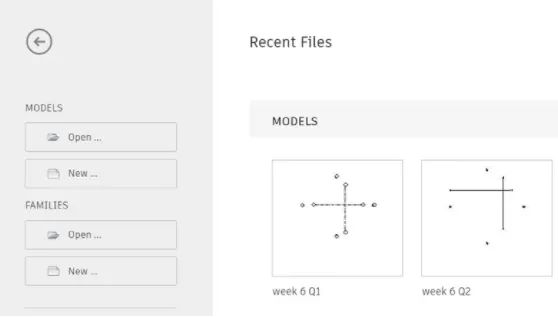
- Open the Architectural Model Project File created in question 1.
Saving File as central Model using collaborate Tool :
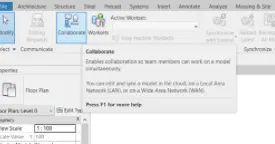
- Go to "Collaborate" Tab.
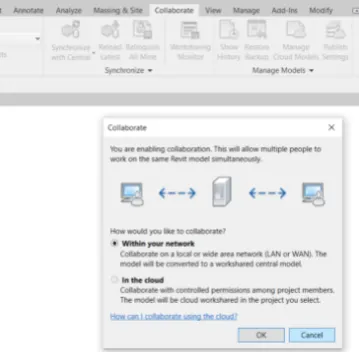
- Click on "Collaborate" Tool in "Manage Collaboration panel.
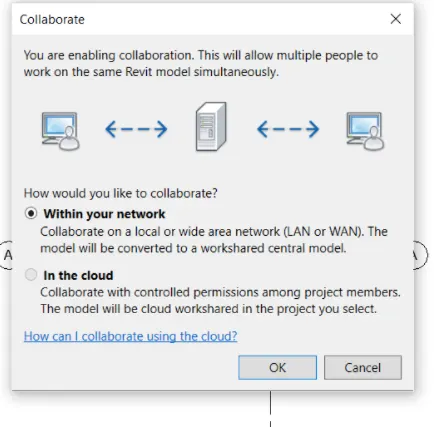
- Select "within your network" option and press 'OK'
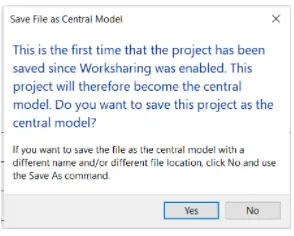
Result :
The file has been saved as "central model"
4. Aim :
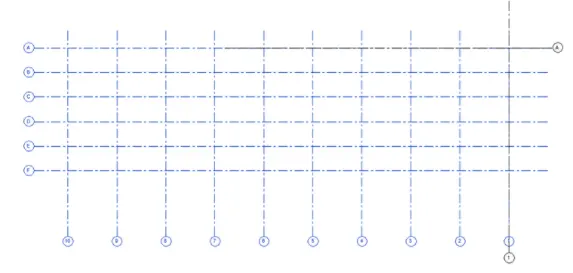
To create the Longitudinal and Transverse Grids pattern for the project as done in Week 2.
Procedure :
- Double click on the Revit application icon and opens the app.
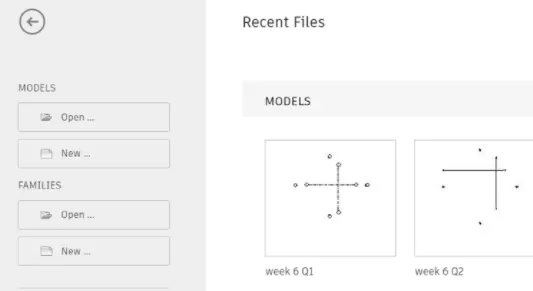
- Open the Architectural Model Project File created in question 1.
Create the Longitudinal and Transverse Grids pattern :
- Click on Vertical Grid and from the modify grid tab, click on "Copy" tool
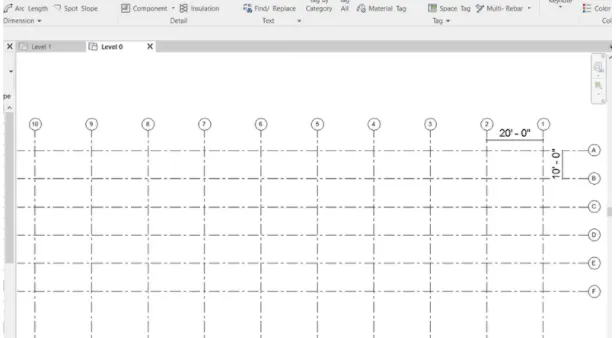
- Copy the Vertical grid in left to the Grid 1 at a distance of "20 feet.
- Draw 10 Vertical Transverse Grids at a Spacing of 20
- Similarly Click on Horizontal Grid A and from the modify grid tab, click on "Copy" tool.
- Copy the Horizontal grid in bottom to the "Grid A" at a distance of 10 feet"
- Draw 6 Horizontal/Longitudinal Grids at a Spacing of 10'
RESULT:
- The Longitudinal and Transverse Grids pattern for the project is created as :
5. Aim :
To Synchronize the changes from the local copy to the Central file of the Architectural Model.
Procedure :
- Double click on the Revit application icon and opens the app.
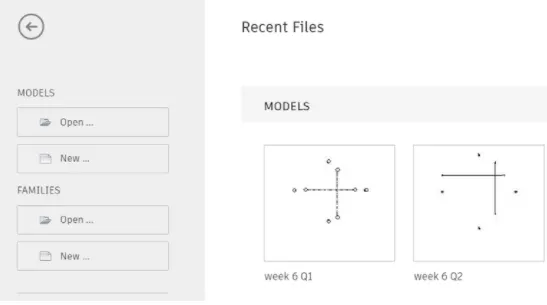
- Open the Architectural Model Project File created in question 1 and saved as Central Model.
Synchronize with the Central Model File :
- Go to "Collaboration Tab.
- From the "Synchronize" Panel, select the "Synchronize and Modify Setting from the drop down of "Synchronize with Center Tool
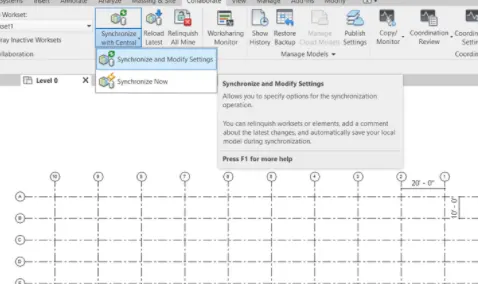
- Select the "Central Model Location" and click "OK" to save the cetral file.
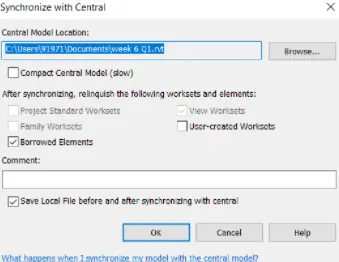
Result :
- The file has been synchronized with the "Central Model.
6. Aim :
To use the Collaborate tab and save the Structural Model as a Central Model.
Procedure :
- Double click on the Revit application icon and opens the app.
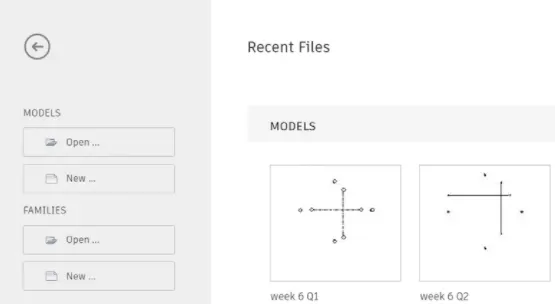
- Open the Structural Model Project File created in question 2.
Saving File as central Model using collaborate Tool :
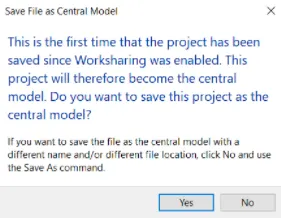
- Go to "Collaborate" Tab.
- Click on "Collaborate" Tool in "Manage Collaboration" panel.
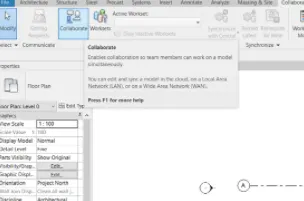
- Select "within your network" option and press 'OK'.
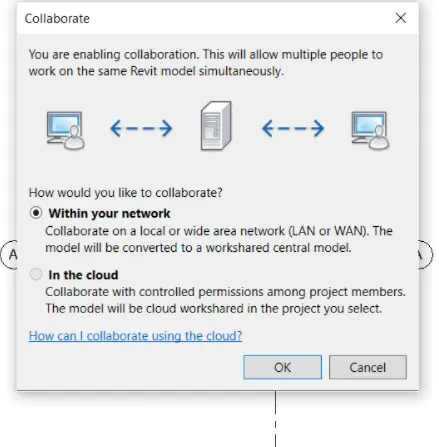
Result :
- The file has been saved as 'Central model'
7. Aim :
To use the Copy Monitor and copy the grids and levels from the architectural model to the structural model.
Procedure :
- Double click on the Revit application icon and opens the app.
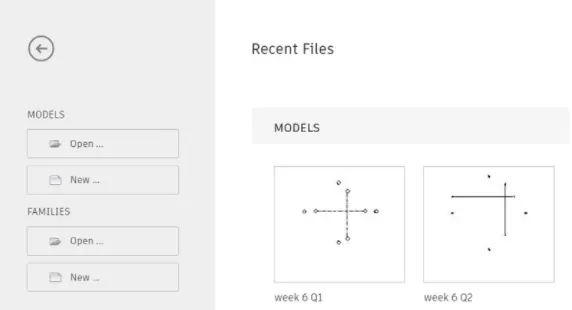
- Open the Structural Model Project File created in question 2.
Using Copy Monitor tool :
- Go to "Manage" Tab.
- Click on "Manage Link Tool.
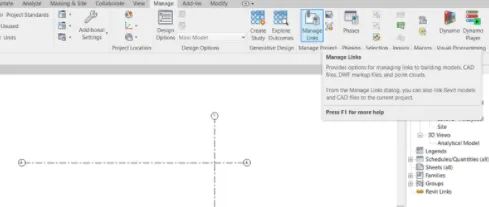
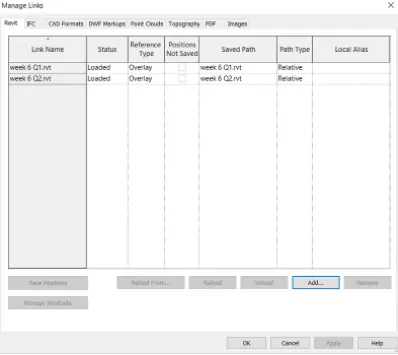
- Manage Link Dialog box will appear.
- Click on add.
- Select the Architectural project saved earlier.
- Go to "Collaboration" Tab,
- From the Copy/Monitor dropdown, click on "Select Link".
- Click on "Copy" on modify tab.
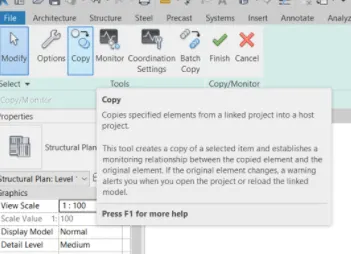
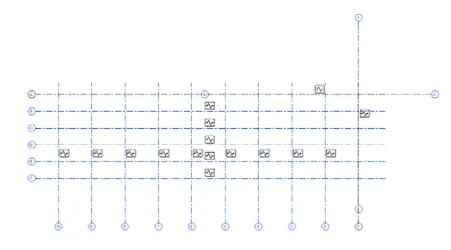
- Select all the grids of Architectural Model to copy them to Structural Model.
- Click on "Finish"
Result :
- The final result after copying the grids using copy monitor is as follows
8. Aim :
To use the Copy Monitor and copy the grids and levels from the architectural model and structural model to the new Construction template file.
Procedure :
- Double click on the Revit application icon and opens the app.
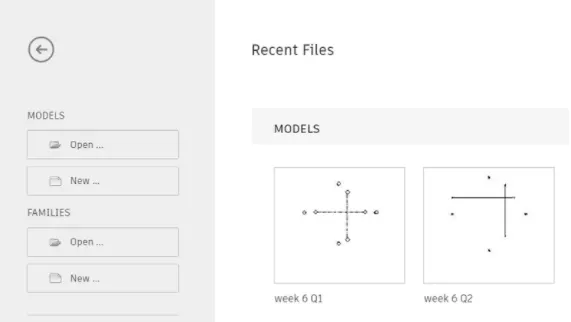
- Click on "New" from the Revit Home page.
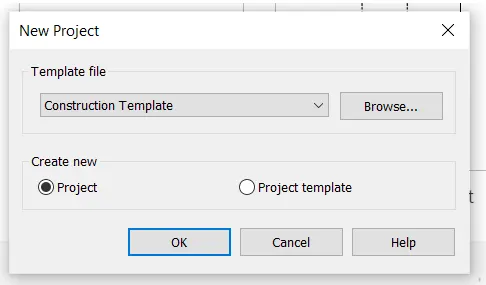
- In the dialog box, click on "Construction Template" in Template File.
- Click on "Project" in Create New.
- Click "OK" to open the Construction Template Project.
- Click on the "File" Tab, select "Save As" and then select "Project".
- Save the file as "Central Model"
Using Copy Monitor tool :
- Go to "Manage" Tab.
- Click on "Manage Link" Tool.
- Manage Link Dialog box will appear.
- Click on add.
- Select the Architectural Project and Structure Project saved earlier.
- Click "OK".
Result :
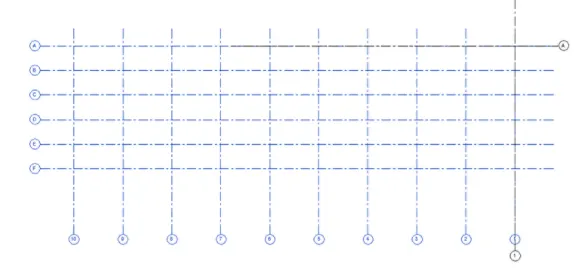
- The final result after copying both the Architectural and Structural Model is as follows:
9. Aim :
To work on shared parameters and linking options to adjust the model.
Procedure :
- Double click on the Revit application icon and opens the app.
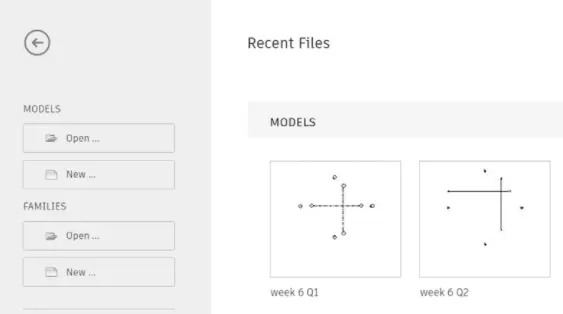
- Open the last construction template file created earlier.
- Check for the Grids.
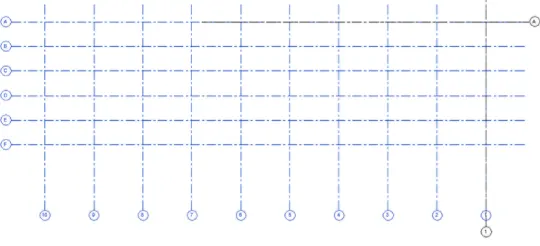
- The file created does match both grids
- In case, if the grids does not match then user should use the "Relocate the Project" tool in the Manage Tab to adjust the Project.
Result :
- The Grids from Structural and Architectural Model matching in the Construction Template created
10. Answer :
The flow chart of a project tree set up in terms of Construction model. Architecture & Structure model is as follows:
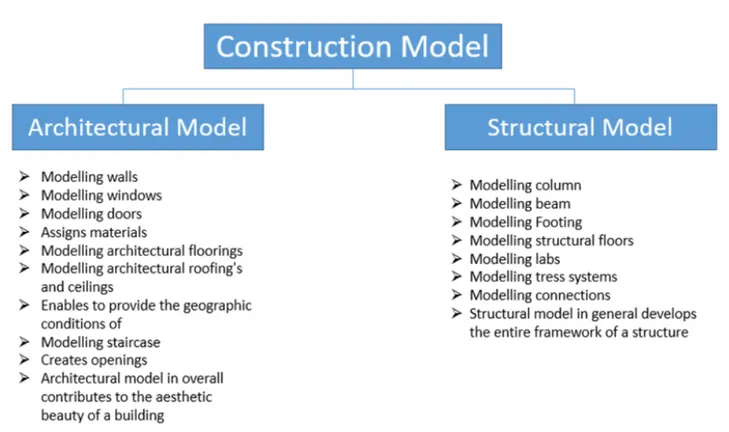
Many people can work on the same project using Revit simultaneously, such as :
- Architect
- Structural Engineer
- Interior Designer
- HVAC Engineer
- Electrical Engineer
- Mechanical and Plumbing Engineer etc.