Usage of Collaborate tool in REVIT
1) Open an architectural template. Using the Manage tab set project base point and project shared coordinates for the project
AIM : To set project base point and project shared coordinates for the project
INTRODUCTION : While designing a model, specifying its geographical location is important to define its position. Once model is georeferenced the coordinates can either be published to linked models or acquire coordinates from linked model.
PROCEDURE :
- Open revit software
- Click on new and open architectural template
- Save as "Architectural"
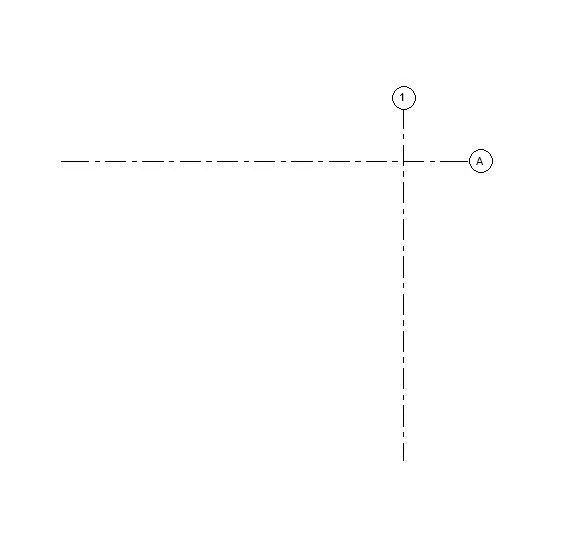
- Select grids in architectural tab and draw horizontal and vertical grids
- Click on manage tab
- Click on coordinates
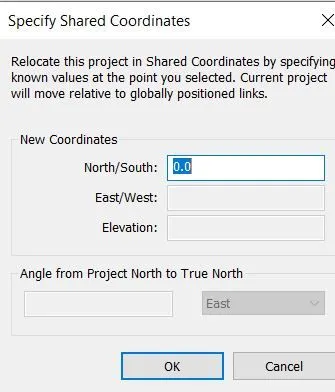
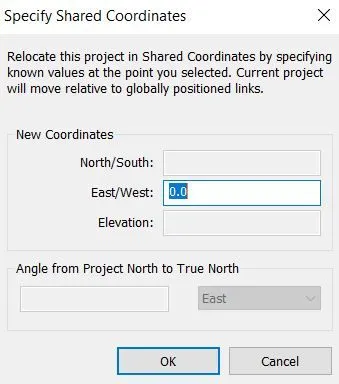
- Click on Specify coordinates at a point
- Select grids and enter N/S as 0'0" and E/W as 0'0"
RESULTS :
Project base point
Project shared coordinates
2) Open another new file but with a structural template. Using the manage tab set project parameters the same as the architectural model. Copy the parameters from the architectural model to the structural template or enter the parameters manually into the structural model
AIM : To set project parameters in structural model from architectural model
INTRODUCTION : Project parameter is a user defined present only in project and it can be transferable
PROCEDURE :
- Open architectural file
- Select project paramters in manage tab
- Add grids from categories and save the file
- Close it
- Open a new file with structural template and save it as "Structural file"
- Click on insert
- Select Link revit
- Select the architectural file and make positioning as center to center
- Click ok
RESULT :
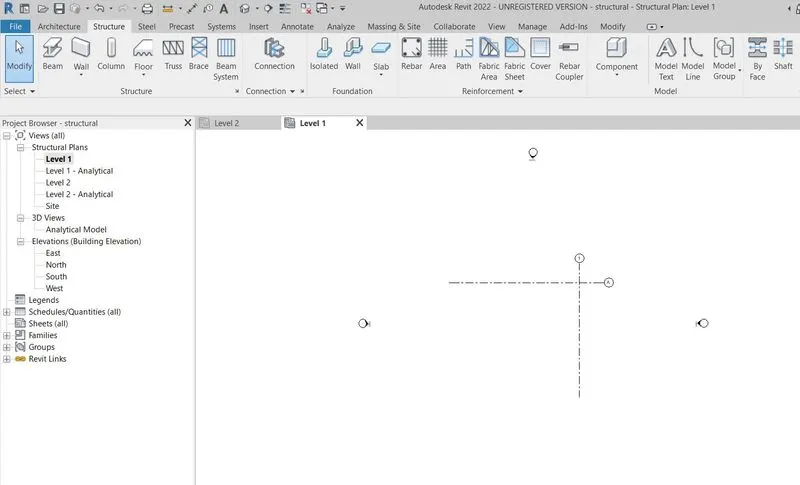
Project parameters from structural file transferred to architectural file
3) Re-open the architectural model. Using the tools under the Collaborate tab make the architectural model a central model (enabling simultaneous working on the model)
AIM : To convert architectural model into central file
INTRODUCTION : Revit collaborate enables worksharing by creating a central model from an existing model. The central model saves all worksets created in the project and acts as distribution point for all changes made to model. Users local file is edited and synchronized with central file to publish the changes to central file so that others users can able to see the changes.
PROCEDURE :
- Open architectural file
- Click on collaborate in collaborate tab
- Click on within network and press okay
- Now save the model
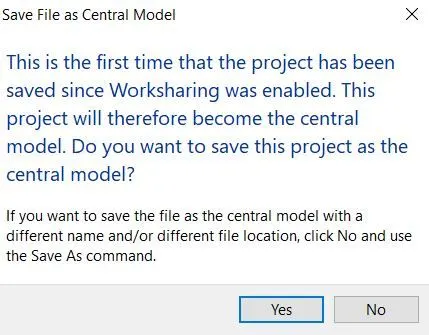
- Click yes to enable as central file
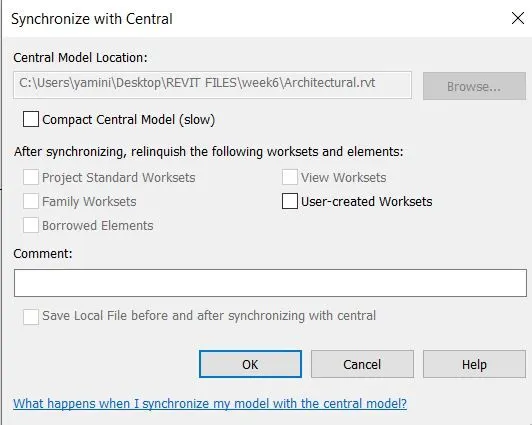
- Now synchronize with central is enabled
- Again click on save as
- Save the file name : architectural.rvt and click on options file save options
- Click on "Make this a central model after save"
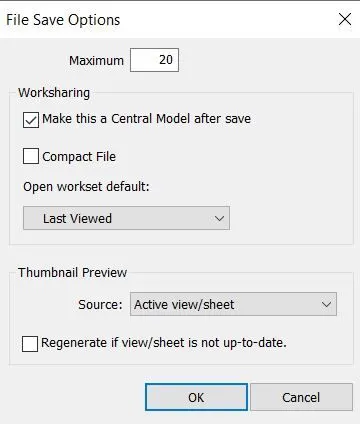
- Click ok and save
RESULTS :
Central file is created
4) Create the Grids Longitudinal and Transverse pattern for the project similar to the task done in Week 2
AIM : To create longitudinal and transverse grids
INTRODUCTION : Grids are finite planes which are straight lines, arcs or multisegmented
PROCEDURE :
- Open revit
- Click on open
- Click on architectural file and make sure create new local is on
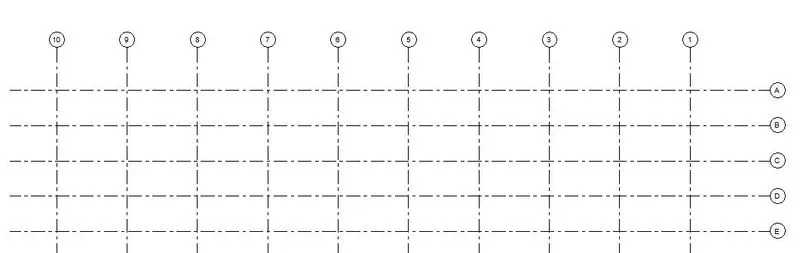
- Now in this file create longitudinal and transverse grids in file
- Transverse Grids A,B,C,D, E @ 10’ spacing and Longitudinal Grids from 1 to 10 @ 20’ spacing
- Save it
- Go to collaboration
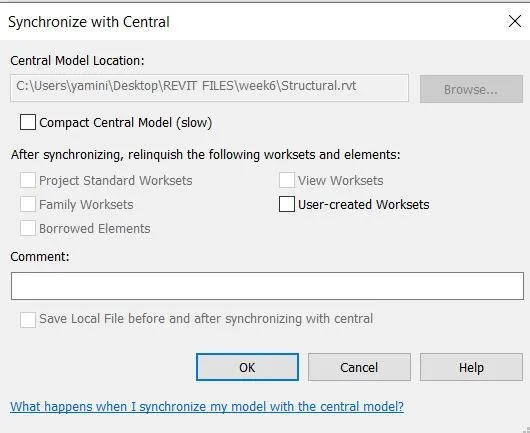
- Click on synchronize with central
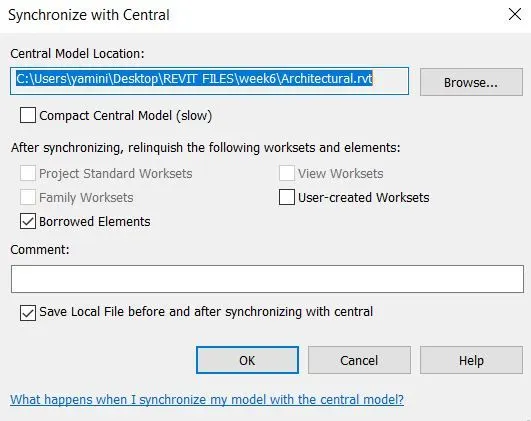
- Save as local file architectural
RESULT : Longitudinal and transverse grids are created in local file
5) Synchronize the changes from the local copy to the central file of the architectural model.
AIM : To synchronize local copy to central file of architectural model
INTRODUCTION : Revit collaborate enables worksharing by creating a central model from an existing model. The central model saves all worksets created in the project and acts as distribution point for all changes made to model. Users local file is edited and synchronized with central file to publish the changes to central file so that others users can able to see the changes.
PROCEDURE :
- Open local architectural file
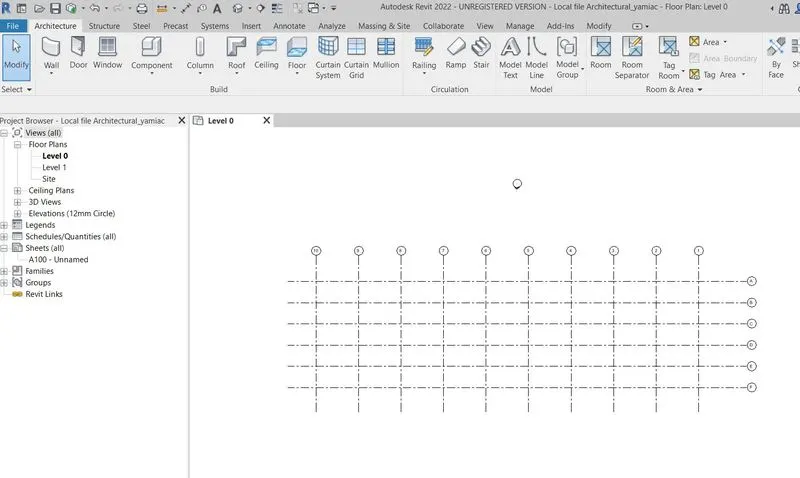
- Add one more grid as shown below
- Save it
- Click on synchronize to central in collaboration tab and click ok
- Close it
RESULTS :
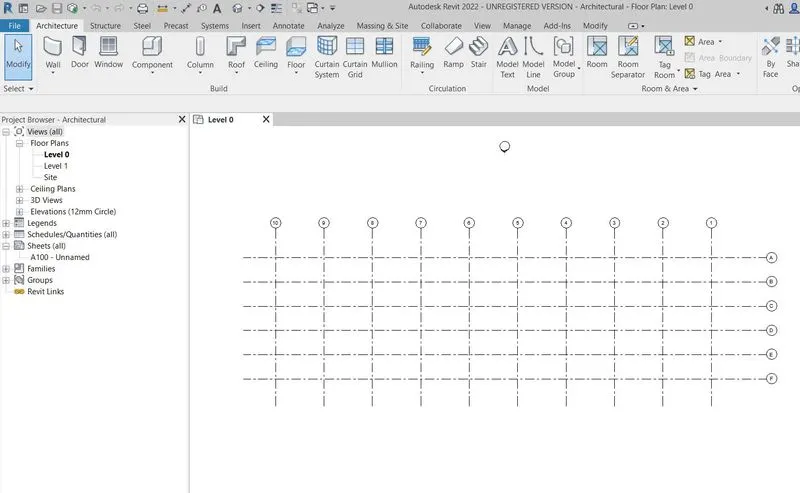
Local copy is synchronized to central file of architectural model
6) Open the structural model and use the collaborate tools to save the model as a central file.
AIM : To synchronize local copy to central file of architectural model
INTRODUCTION : Revit collaborate enables worksharing by creating a central model from an existing model. The central model saves all worksets created in the project and acts as distribution point for all changes made to model. Users local file is edited and synchronized with central file to publish the changes to central file so that others users can able to see the changes.
PROCEDURE :
- Open structural file
- Click on collaborate in collaborate tab
- Click on within network and press okay
- Now save the model
- Click yes to enable as central file
- Now synchronize with central is enabled
- Again click on save as
- Save the file name : Structural.rvt and click on options file save options
- Click on "Make this a central model after save"
RESULT :
Structutal central file is created
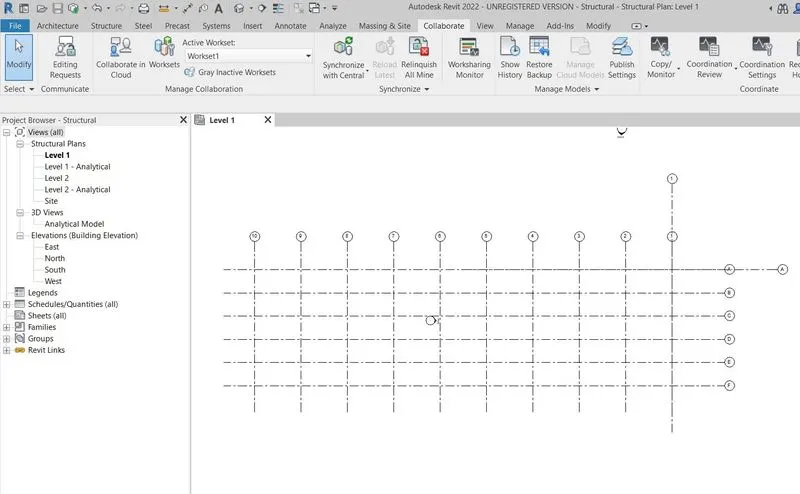
7) Under the Collaborate tab, select the grids and levels from the architectural model, and using Copy Monitor try to copy the grids to the structural model. See what happens when the copy monitored grid is moved around in the structural model
AIM : To copy grids from architectural file to structural file using copy monitor tool
INTRODUCTION : Copy/monitor tool in collaborate tab is used to monitor elements between the host project and linked model or within one project. When one team moves or changes a monitored element, other teams are notified so that they can adapt their designs or work with team members to resolve issues. It helps to reduce size of file for easy handling, to divide the model by disciplines for better collaboration and to protect intellectual property and share only information that is required.
PROCEDURE :
- Open structural file
- Go to insert
- Click on link revit
- Select architectural file and click ok
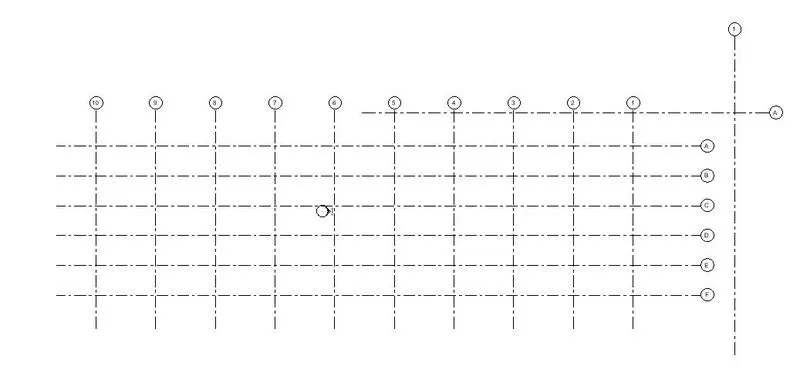
- Now go to collaborate
- Click on copy/monitor
- Click on select the link
- Select the link
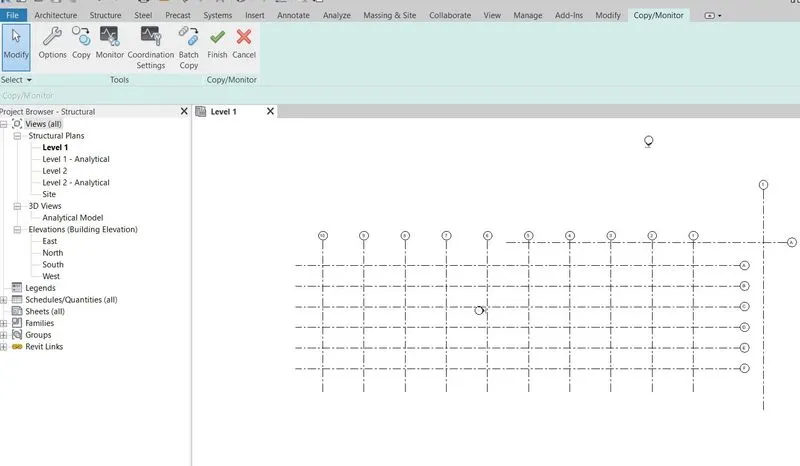
- Click on copy
- Select the grids
- Click on finish
RESULTS :
Grids are copies from architectural file to structural file
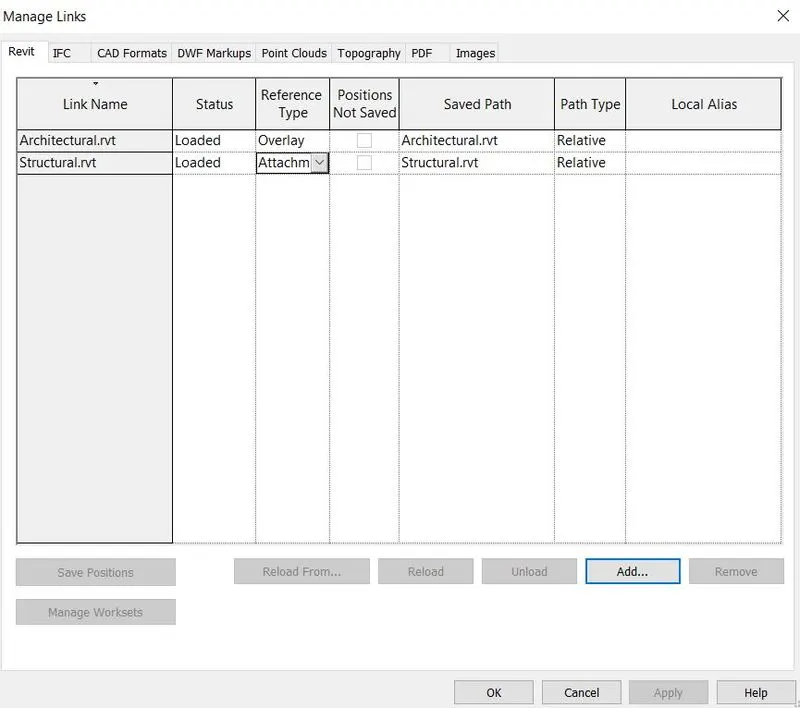
8) Create another new file with a construction template. Save the new file as a central model. This file will include both architectural and structural model. Under the manage tab, Click manage links to link both architectural and structural files. Save the file and close all the files.
AIM : To create construction template file, save it as central file and link it to architectural, structural files
INTRODUCTION : In manage links, one can link revit model and cad files to the project. If any change in source file of link in the project, revit automatically updates the link when project is opened.
PROCEDURE :
- Open new file and construction template
- Save it as construction file
- Select collaborate
- Click on collaborate
- Select within network and click ok
- Click on save again
- Construction file is saved as central file
- Now on manage links in manage tab
- Click on add and select architectural file
- Click on add and select structural file
- Click ok and save it
RESULTS :
Construction file is created and linked to architectural and structural files
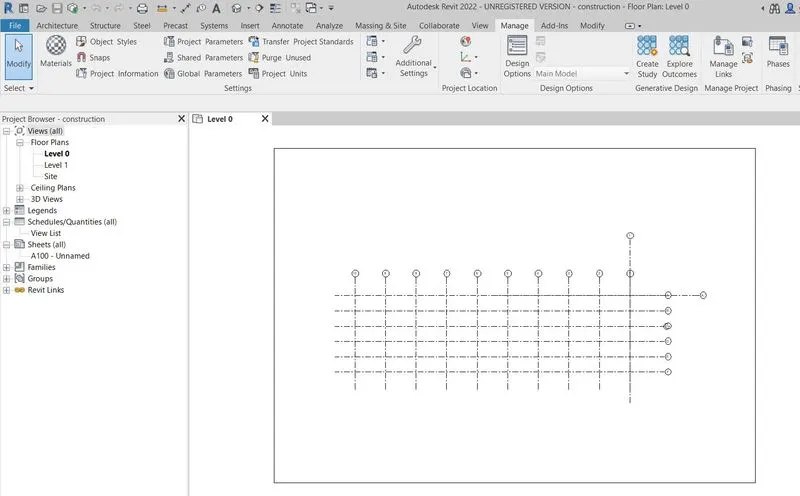
9) Are the grids from structural and architectural model matching in the construction template created? If yes the model is set up for project 2. If not work on the shared parameters and linking options under Manage links
( Hint: origin to origin, by shared coordinates or by project base point to base point ) to link the models in an appropriate manner
Answer : Yes structural and architectural model matching in the construction template created
10) List a flow chart of a project tree set up in terms of Construction model, Architecture & Structure model, in this exercise and understand how many people can work on the same project using Revit simultaneously
Answer : Three major group of disciplines will be working on this project that is construction, structural and architectural. In eah discipline central and local files are created. Along with this electrical, mechanical and plumbing disciplines also be working on this project.
Construction model
- Project manager
- Site engineer
- Quantity surveyor
Architectural model
- Architect
- Interior designer
- Landscape architect
Structural model
- Structural engineer
Electrical engineer
Mechanical engineer
Plumbing engineer
Environment specialist
Fire protection engineer