Usage of Collaborate tool in REVIT
1)
AIM: To opening a architectural template and setup a basepoint and projcet shared coordinates for the projcet.
TOOLS USED:
- Template
- Manage
- Project parameter
- Shared coordinates
PROCEDURE:
step1:
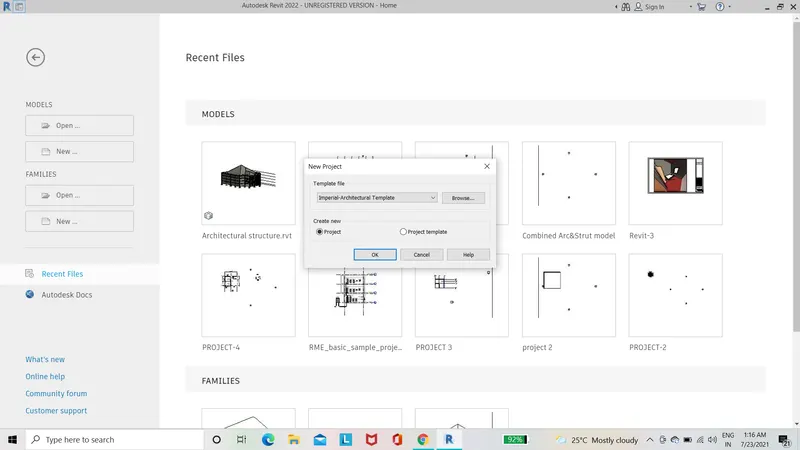
- open revit
- select new and choose architectural template
step2:
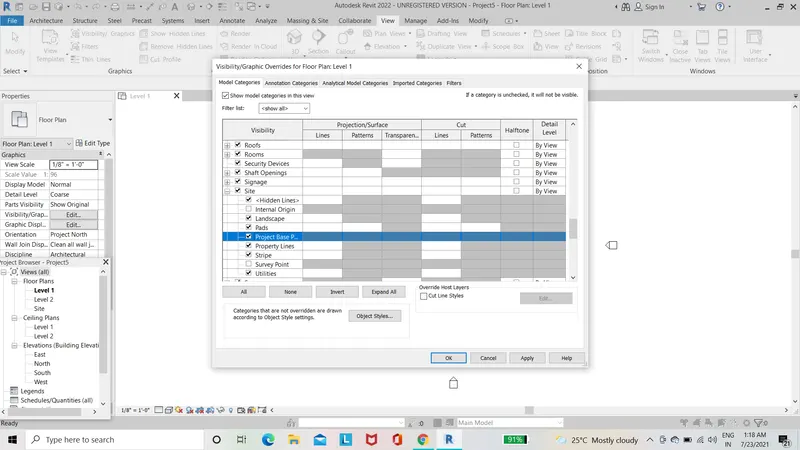
- type the command VG(visibility/Graphics)
- Enlarge site option
- check the project base point and survey point
- click ok and close the dialog box
step3:
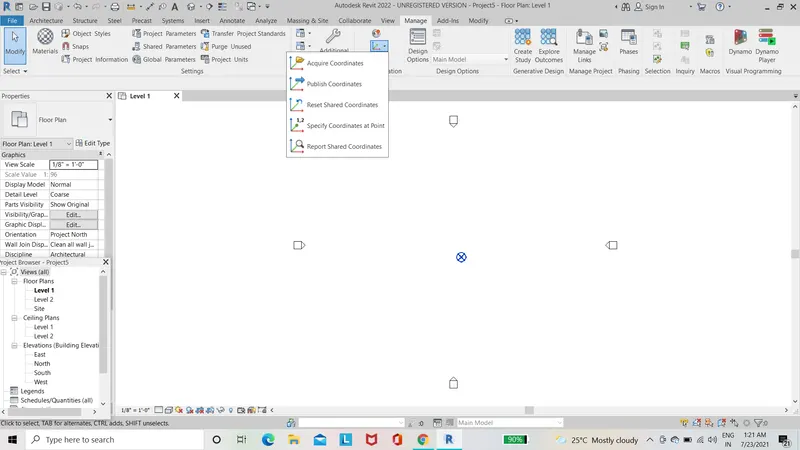
- click the project base point under the manage tab
- place the base point at suitable place
step4:
- click shared coordinates tool under manage tab
- choose specify coordinate at point option
- place it according to the drawing
step5:
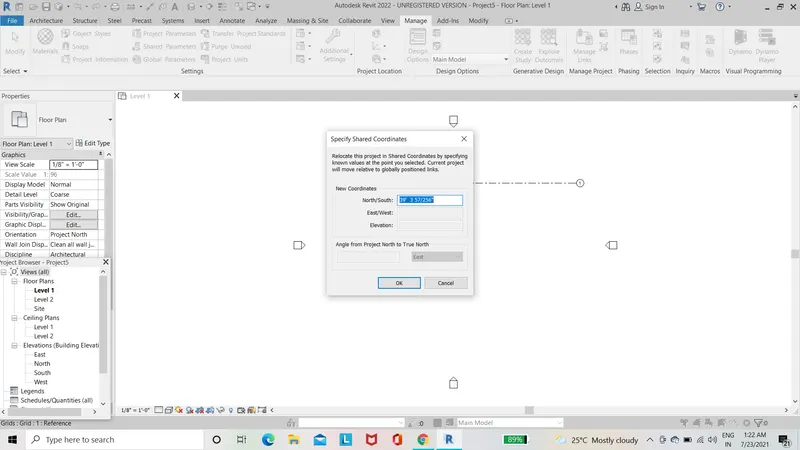
- change the coordinates point after selecting the grid lines
- click ok
step6:
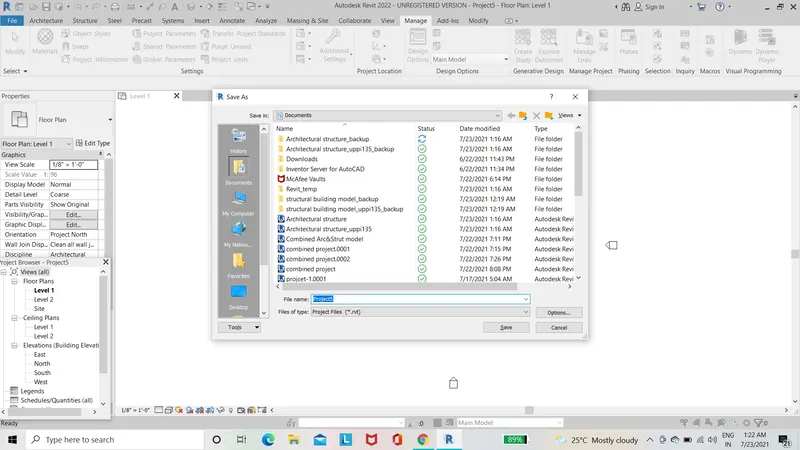
- After creating the base point and shared coordinates click save as
- choose the destination folder and rename it
- click save
2)
AIM: To creating a structural template and copying the parameters from architctural to structural template.
TOOLS USED:
- Template
- Project parameters
PROCEDURE:
- Open the revit application and select new
- choose structural template
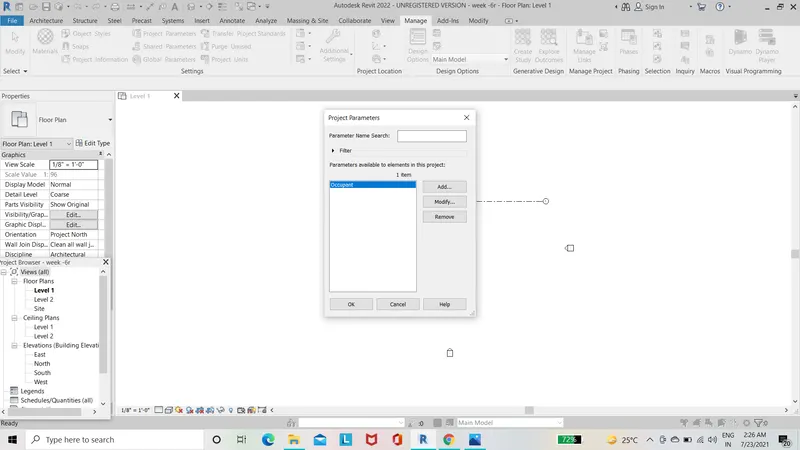
- click project parameter under the manage tool
- name it and select the discipline as structural
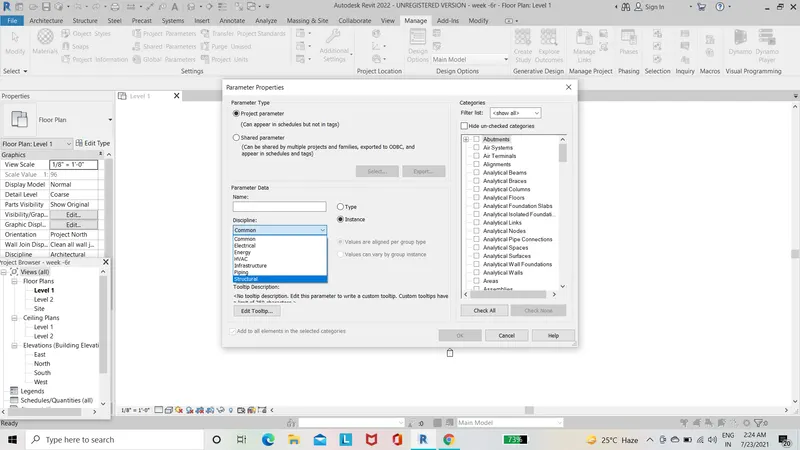
- filter the architectural tool and select all
- after creating the parameters it will shown property browser
- click save a and choose destination folder
3)
AIM:To make the central model of architectural template using collobarate tab.
TOOLS USED:
- Template
- collabarate
- synchronize
PROCEDURE:
- click collobarate tool under collabarate tab
- select within your network option and click ok
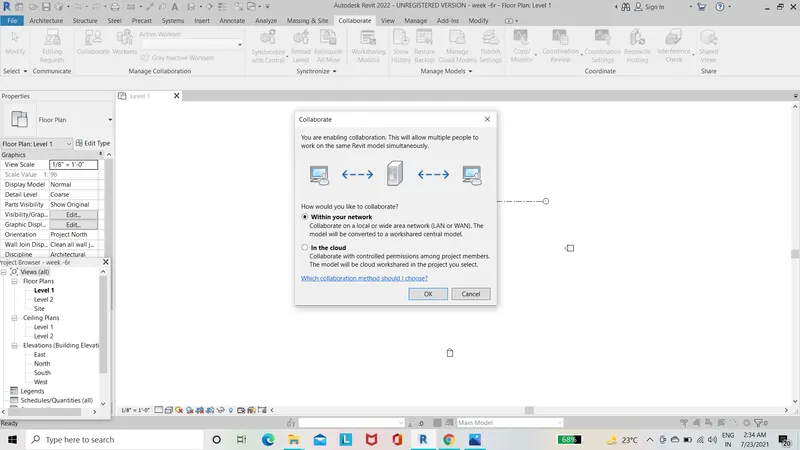
- After setting the collobarate click workset
- check workset tool is it visible or not
- click okclick synchronize with central tool under manage tool
- click save as and choose the destination folder
- click ok
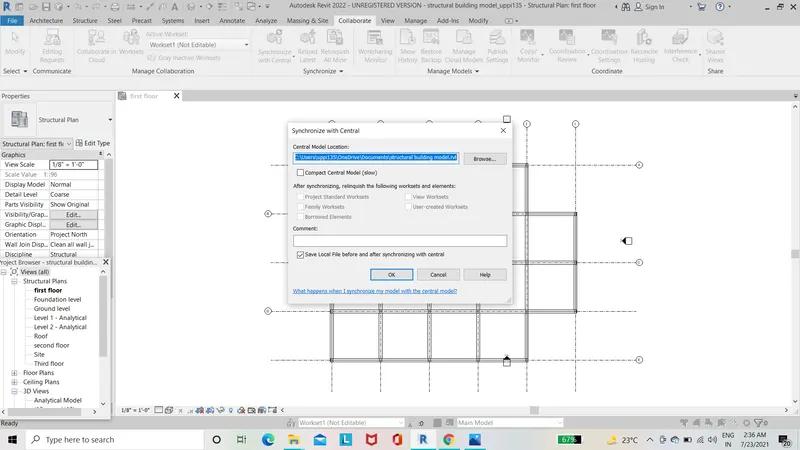
- After creating the central model click save as
- choose destination folder ,rename it and click ok
4)
AIM: To creating the grids longitudinal and transverse pattern for the projcet similar to task done in week 2
TOOLS USED:
- template
- grids
- offset
PROCEDURE:
- open the revit and choose new template
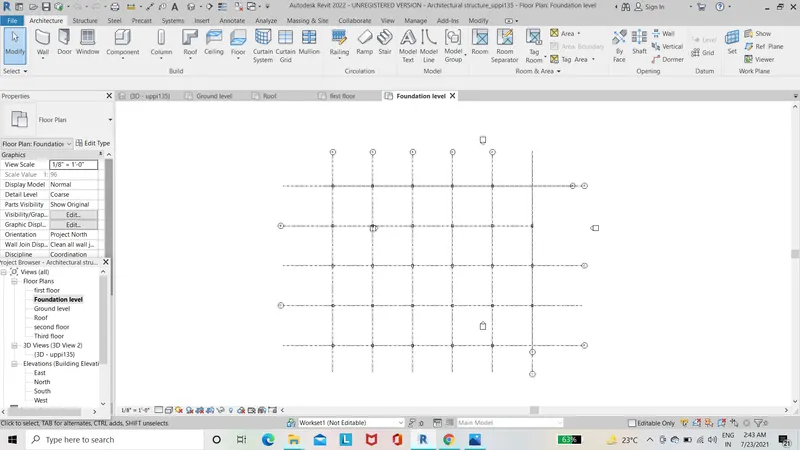
- select grid tool from archicecture tab
- select pick point and change offset value as 30'
- draw the grids logitudinally and transverly
5)
AIM:To synchronizing the changes from the local copy to the central file of architecturl model
TOOLS USED:
PROCEDURE:
- click collobarate tool under collobarate tab
- select within your network option and click ok
- After setting the collobarate click workset
- check workset tool is it visible or not
- click synchronizine with central tool under manage tab
- click save as and choose the destination folder
- click ok
6)
AIM:open the structural model and using collobarate tools save the model as central file
TOOLS USED:
- template
- collobarate
- synchronize
PROCEDURE:
- click to open the structural model which is already created
- After setting the collobarate click workset
- choose within a network option
- click ok
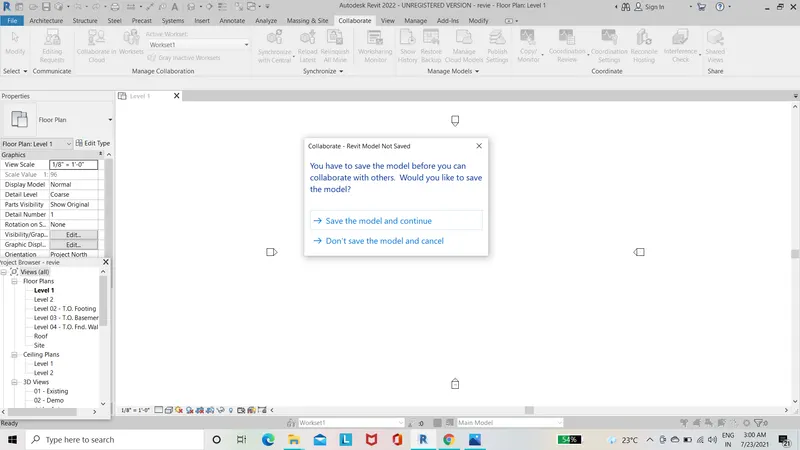
- click synchronizing with central tool under manage tab
- click save as and choose the destination folder
7)
AIM:To copy the grids and levels from architectural to structural model using copy monitor tool
TOOLS USED:
- template
- collobarate
- copy monitor
PROCEDURE:
- open the architectural model which we created as a central model file
- click link und
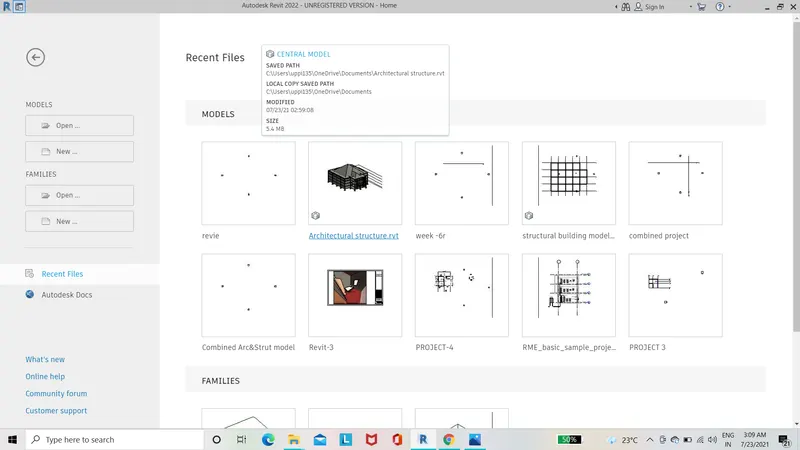 er manage tab
 - add the structural model into the current project using link option
- click copy monitor tool under collobarate tab and choose selcet link
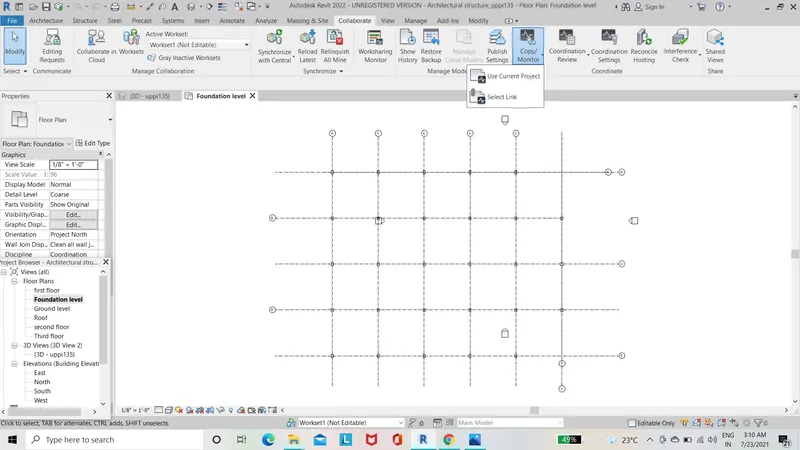
- selcet copy option
- tick the multiple option so that we can copy all the object in a single click
- selcet the object which we want to copy
- click the tick mark and co
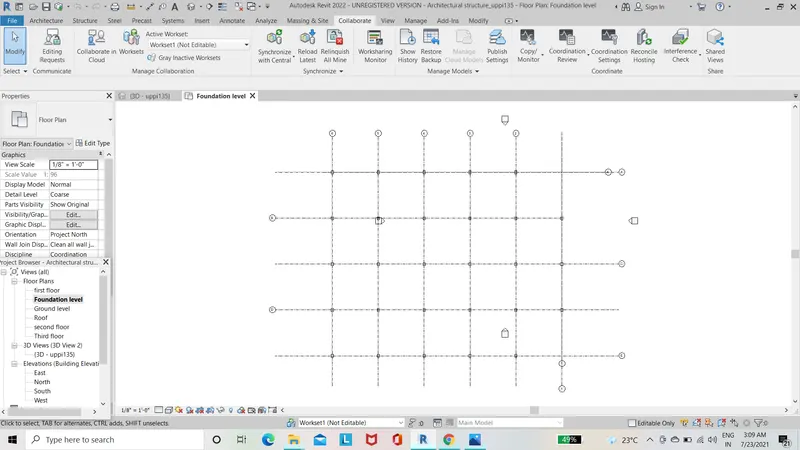 mplete the copy monitor process
 - hence the objects from architectural to structure model completed successfully
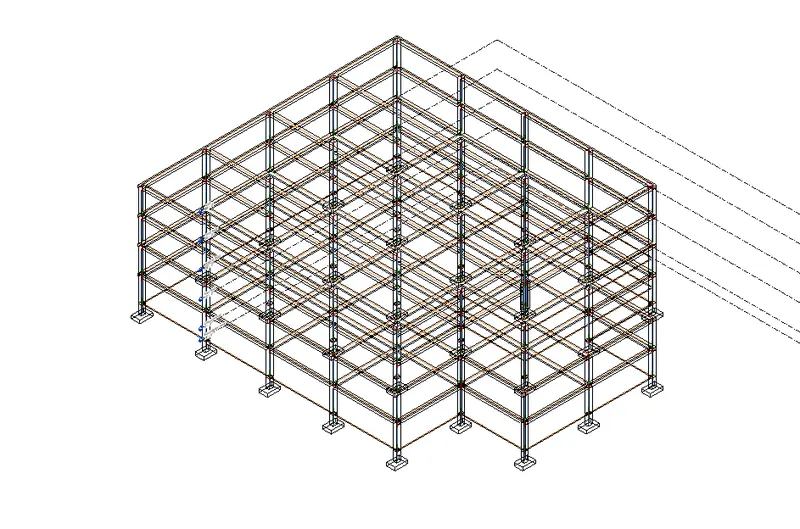
IN STRUCTURAL MODE:
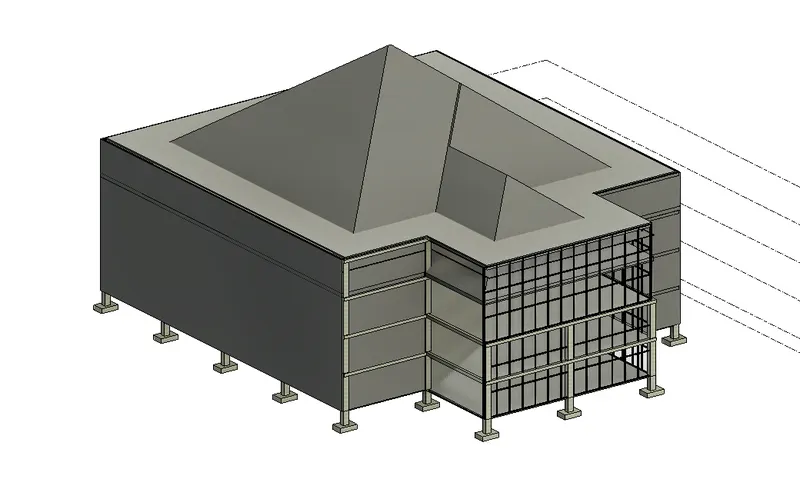
IN ARCHITECTURAL MODE:
8)
AIM:To creating a new file and link both architectural and structural template
TOOLS USED:
- template
- colbarate
- synchronize
- link
PROCEDURE:
- open revit application
- selcet new and choose construction template
- click collobarate tool under collabarare tab
- selcet within your network option and click ok
- after setting the collobarate click workset
- check workset tool is visible or not
- click synchronize with central tool under manage tab
- click save as and choose the destination folder
- click ok
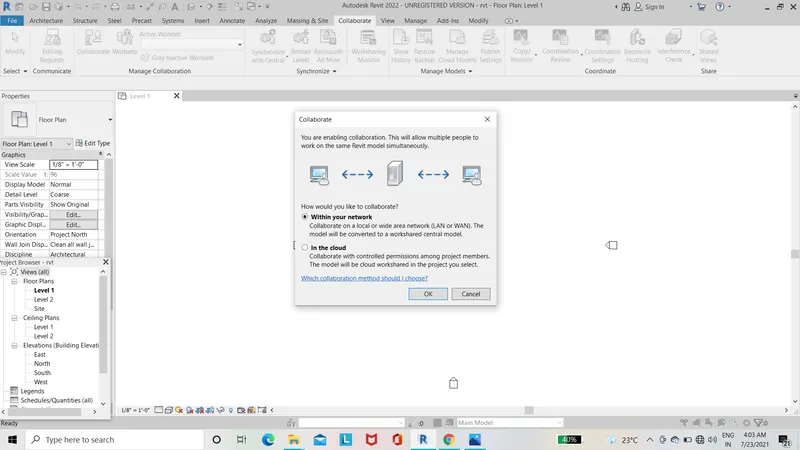
- after creating the collobaration and click save as
- choose destination folder and rename it
- click link under manage tab
- add the structural and architectural model into the current project using link option
- click ok
- click save as and save it
RESULT:
STRUCTURAL STRUCTURE:
ARCHITECTURAL AND STRUCTURAL COMBINED STRUCTURE:
9)
YES,my structural and architectural model are matching in the construction template created. Therefore my week 6 challege is set up for project 2.
10)
FOR CONSTRUCTION MODEL:
- site access
- logistics and storage
- quality control
- outstanding contract details
- outstanding design -related challenges
- health and safety
FOR ARCHITECTURAL MODEL:
- schematic design
- design development
- construction document
- bidding
- construction administration
FOR STRUCTURAL MODEL:
The primary objective of structural analysis and design is to produce a structure capable of resisting all applied loads without failure during its intended life .if improperly designed .elements of a structure would fail causing serious consequenses such as large expense or ultimately losses in lives which cannot be compared with any cost.
once the architectural engineer sets the function and layout of the structure,the role of the structural engineer begins which can be summarized in the following steps to develop a safe ,functional and economic structures.