Usage of Collaborate tool in REVIT
Usage of Collaborate tool in REVIT
Introduction:
Revit provides several different ways to collabrate with the team members who are using the software.
-Several multiple model can be linked together, allowing team members to work in a context.
-Through work sharinng, user on same Local Area Network(LAN) can work together in the same revit model.
-When collbiration needs to occur among user who are not in same geographic location, Revit could worksharing can be used.
- Revit connect offices who shares a network but arer not in the same geographic location.
- Revit could worksharing is a could based service that allows any revit user inside or outside a network to collaborate on a revit model.
When there is a need to combine multiple models and files in a single project,Shared coordinates can be used to establish the position of the files in realation to each other.
To establish a common coordinate position and then share that position between files, Accquire coordinates tools can be used.
1) Open an architectural template. Using the Manage tab set project base point and project shared coordinates for the project
Aim: To set project base point and project shared coordinates for the project
Procedure:
To set the project shared coordinated:
- Open the revit software & open the architectural template which the done the model from the previous weeks.
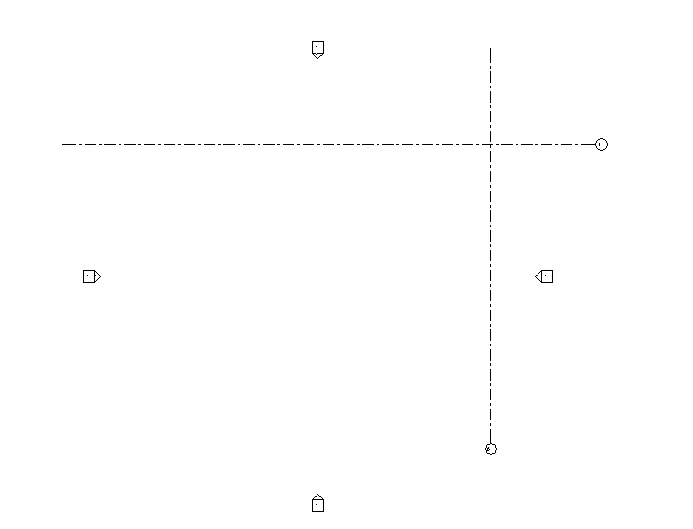
- now draw the horizontal and verticals grids using the grids option.
- now open the manage tab of the ribbion and go to the coordinater option in the project location.
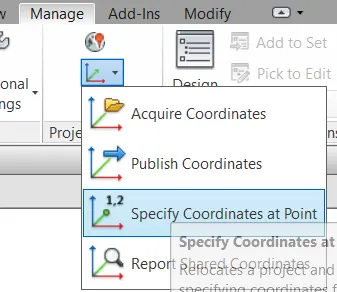
- Now, select project coordinates and in that choose specify coordinates at a point.
- Now, select the for both the grids.
- now enter the all coordintes as 0.
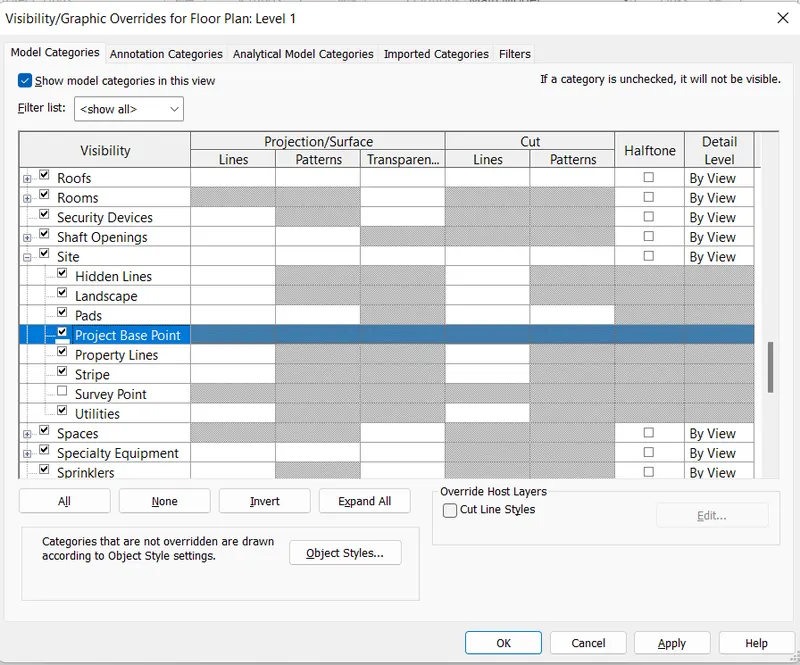
- to visible of base point go to visibility and exapnd the site option .
- Then enable the base point . hence base point shows.
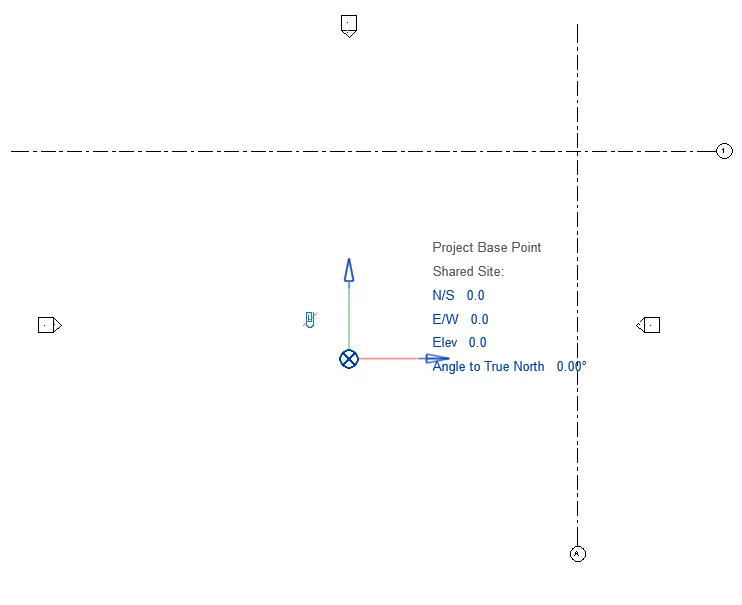
- Hence the base pomt is set and project shared coordinates.
Result:
created the project base point and project shared coordinates for the project in architectural template.
2) Open another new file but with a structural template. Using the manage tab set project parameters the same as the architectural model. Copy the parameters from the architectural model to the structural template or enter the parameters manually into the structural model
Aim: To set project base point and project shared coordinates for the project
Procedure:
To set the project shared coordinated:
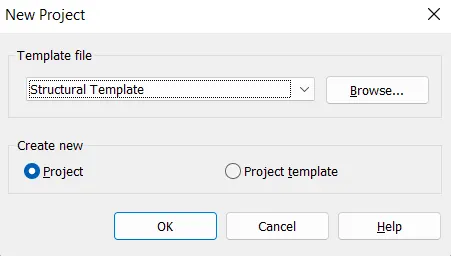
- Open the revit software & open the Structural template which the done the model from the previous weeks.
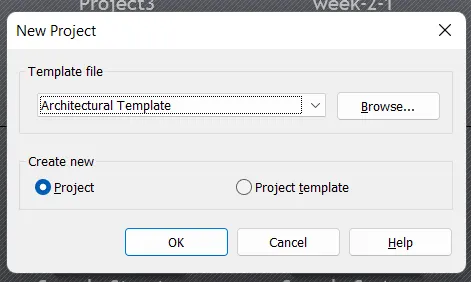
- now draw the horizontal and verticals grids using the grids option.
- now open the manage tab of the ribbion and go to the coordinater option in the project location.
- Now, select project coordinates and in that choose specify coordinates at a point.
- Now, select the for both the grids.
- now enter the all coordintes as 0.
- to visible of base point go to visibility and exapnd the site option .
- Then enable the base point . hence base point shows.
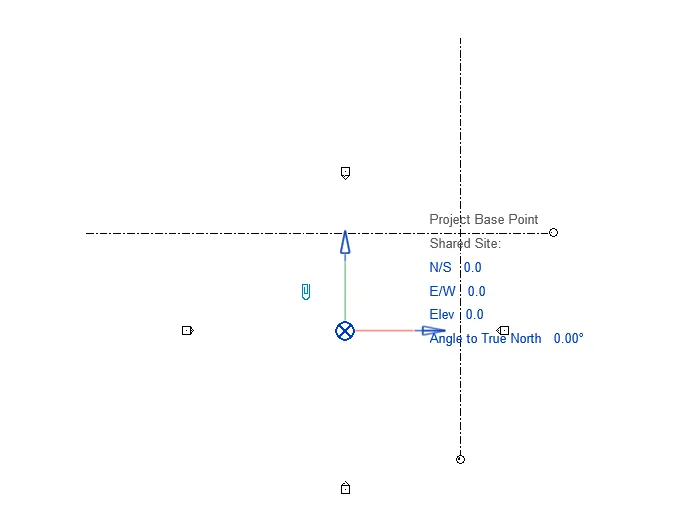
- Hence the base pomt is set and project shared coordinates.
Result:
created the project base point and project shared coordinates for the project in Strutural template.
3) Re-open the architectural model. Using the tools under the Collaborate tab make the architectural model a central model (enabling simultaneous working on the model)
Aim: To Use the tools under the Collaborate tab make the architectural model a central model
Procedure:
- Open the Architectural model which is previously saved.
- Go to the collaborate tab of the ribbion

- Choose the collaboration option.
- Then slect the with in the network.
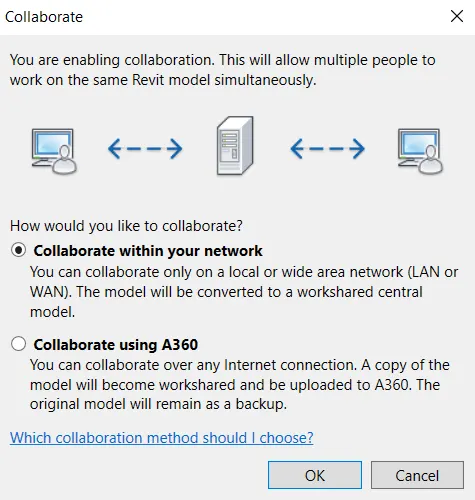
- Now, save the file as central model
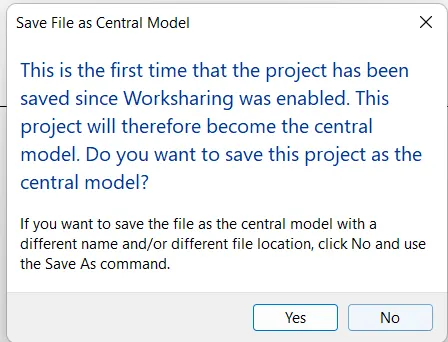
- Hence the model is collaborated and is saved as central file.
Result:
Created the architectural as central model and saved.
4) Create the Grids Longitudinal and Transverse pattern for the project similar to the task done in Week 2
Aim: To Create the Grids Longitudinal and Transverse pattern for the project.
Procedure:
- Open the Architectural model which is previously saved as central file.
- select the grids in datum panel.
- Then draw the draw the longtitudinal and transverse grids and name it accordingly.(i.e, for longtudinal grids- 1-10 and for tranverse grids A-F @ with spacing of 2000)
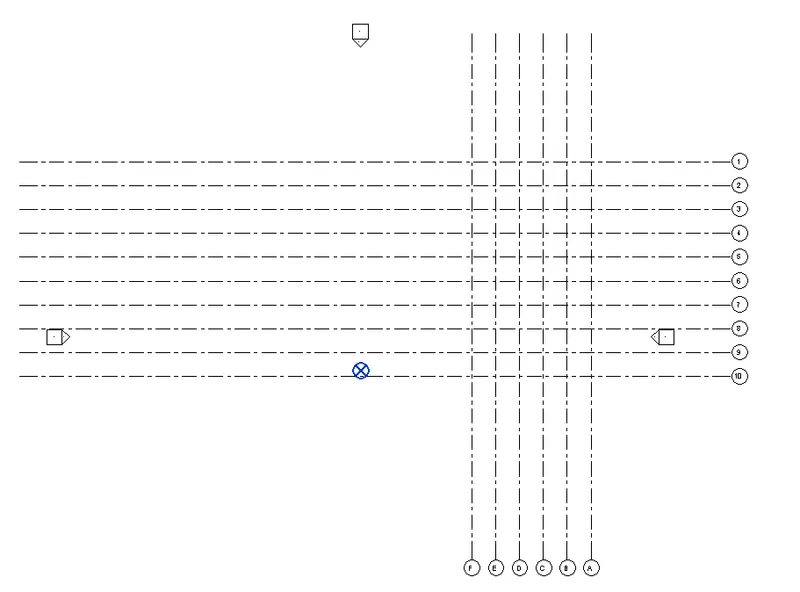
- Hence, all the grids have been created.
Result:
Create the Grids Longitudinal and Transverse pattern for the project.
5) Synchronize the changes from the local copy to the central file of the architectural model.
Aim: To Synchronize the changes from the local copy to the central file of the architectural model.
Procedure:
- Open the Architectural model which is previously saved as central file.
- Go to collaborate tab of the ribbion.
- Choose the sycnorinise with centeral option in the synchronise.
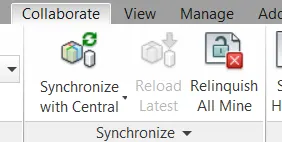
- Then select synchronise and modify settings and then click ok.
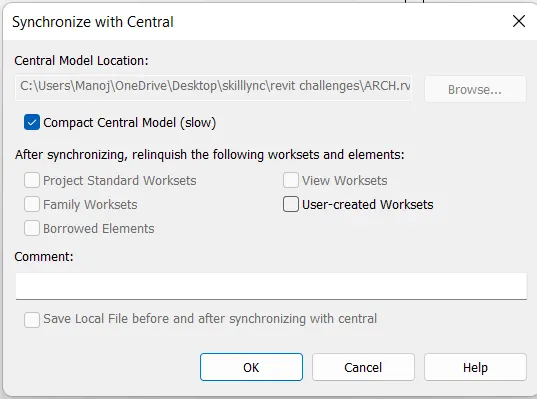
- Hence, it is synchronized.
Result:
Synchronize the changes from the local copy to the central file of the architectural model.
6) Open the structural model and use the collaborate tools to save the model as a central file.
Aim: To Use the tools under the Collaborate tab make the Structural model a central model
Procedure:
- Open the Structural model which is previously saved.
- Go to the collaborate tab of the ribbion
- Choose the collaboration option.
- Then slect the with in the network.
- Now, save the file as central model
- Hence the model is collaborated and is saved as central file.
Result:
created the tools under the Collaborate tab make the Structural model a central model.
7) Under the Collaborate tab, select the grids and levels from the architectural model, and using Copy Monitor try to copy the grids to the structural model. See what happens when the copy monitored grid is moved around in the structural model
Aim : To select the grids and levels from the architectural model, and using Copy Monitor try to copy the grids to the structural model
Procedure:
- Initially open the structural centeral model.
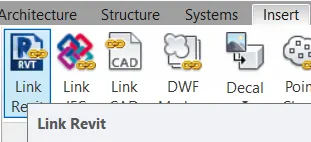
- Then link the achritectural central model into the strutural model by using the revit link which present in the insert tab.
- Then select the archtectural model and then command VG cross check the model is linked.
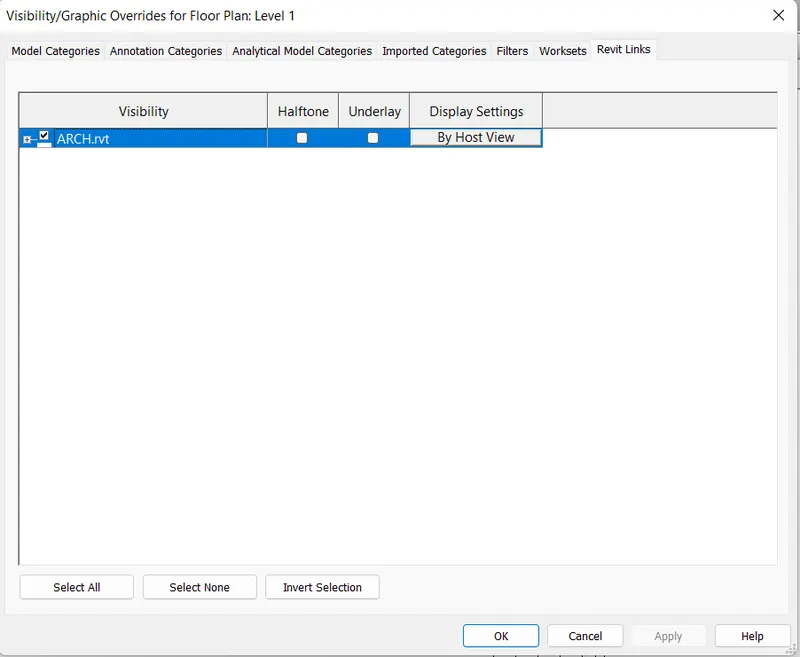
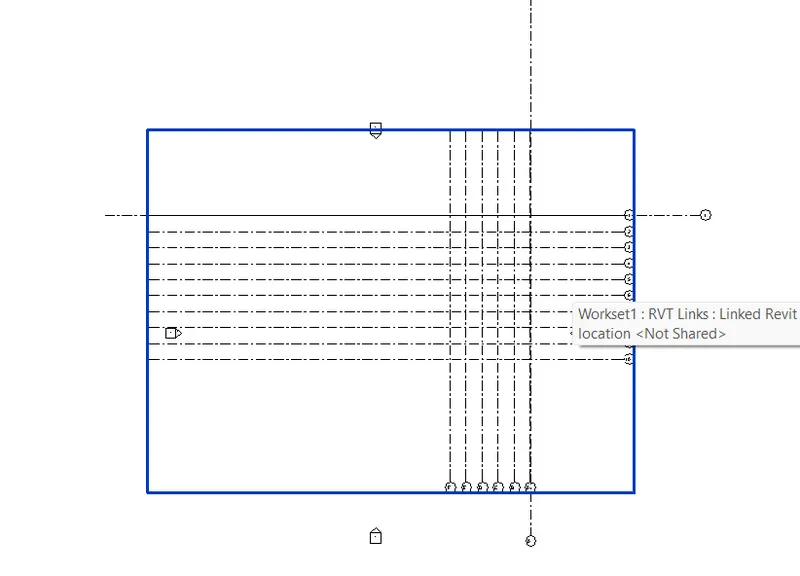
- In this case the archtectural model is only linked to structural model but not coopied in it.
- In order to copied the architectural model into the structural model.
- then go to the collborate ribbion in that click on Copy/Monitor
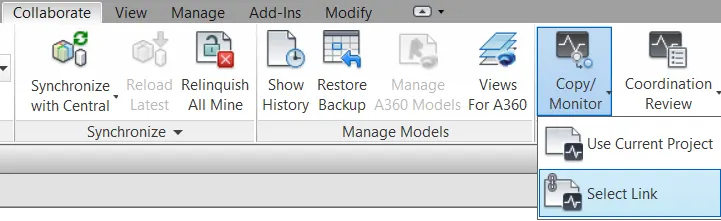
- NOw select the link in the screen and then click on copy and then check multiples.
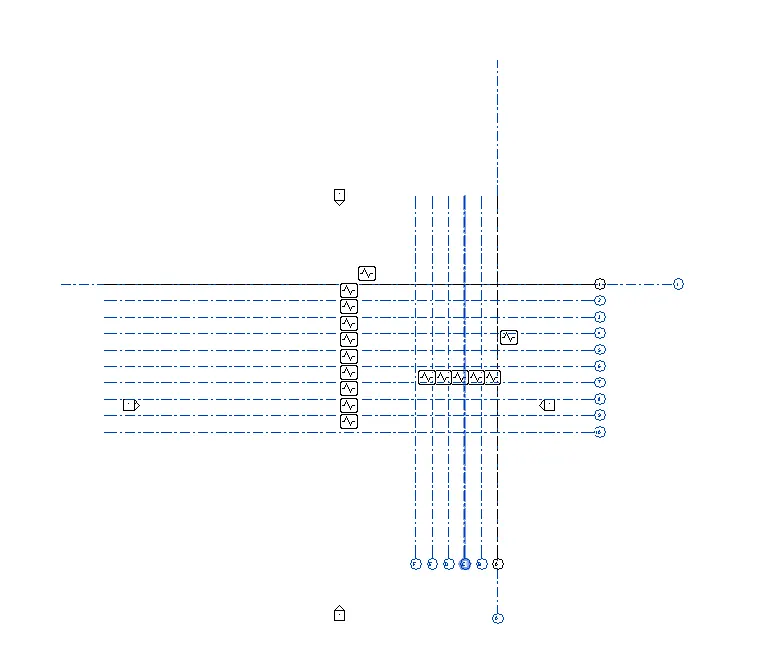
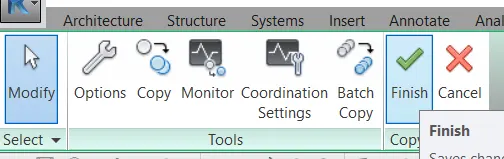
- Now slect the grids, both lontitundinal and tranverse
- Then click finish, provided at the bottom and after that again click finish in copy/monitor.
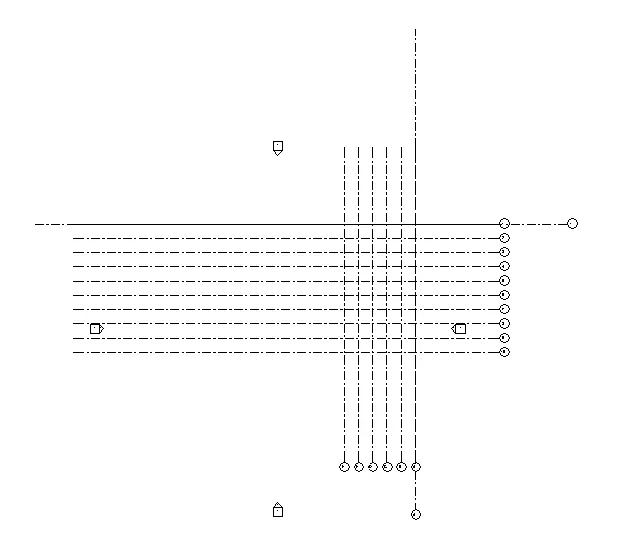
- Hence the link is copied completely.
Result:
created the grids and levels from the architectural model, and using Copy Monitor try to copy the grids to the structural model
8) Create another new file with a construction template. Save the new file as a central model. This file will include both architectural and structural model. Under the manage tab, Click manage links to link both architectural and structural files. Save the file and close all the files.
Aim : To Create another new file with a construction template. Save the new file as a central model. This file will include both architectural and structural model and link both the files.
Procedure:
- Open the construtional model.
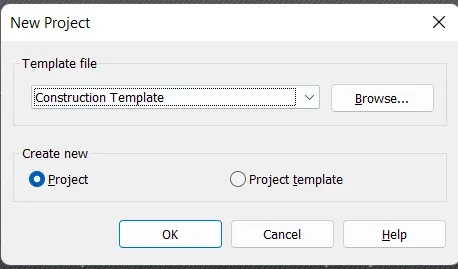
- Go to the collaborate tab of the ribbion
- Choose the collaboration option.
- Then slect the with in the network.
- Now, save the file as central model
- Hence the model is collaborated and is saved as central file.
- Now go to manage tabs--> manage links--> add both architectural link and strutural link.
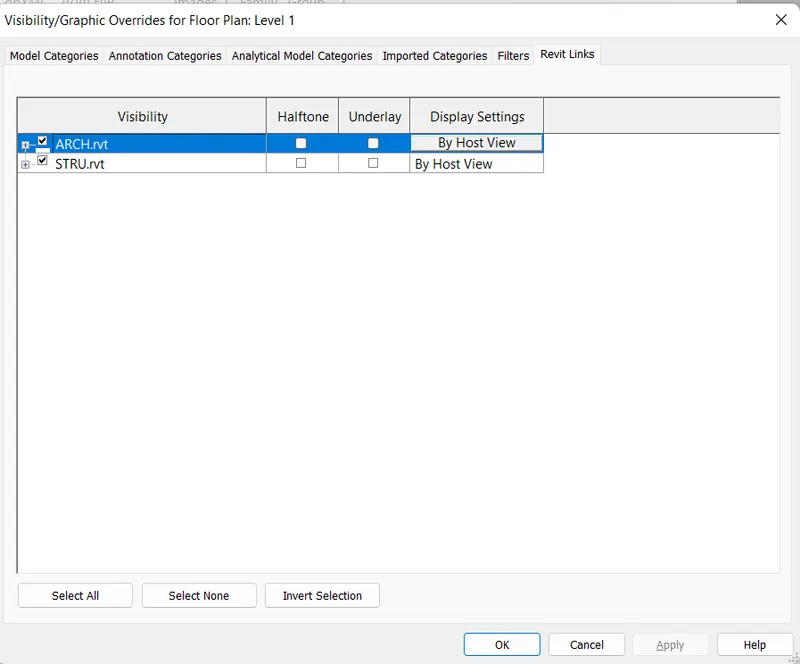
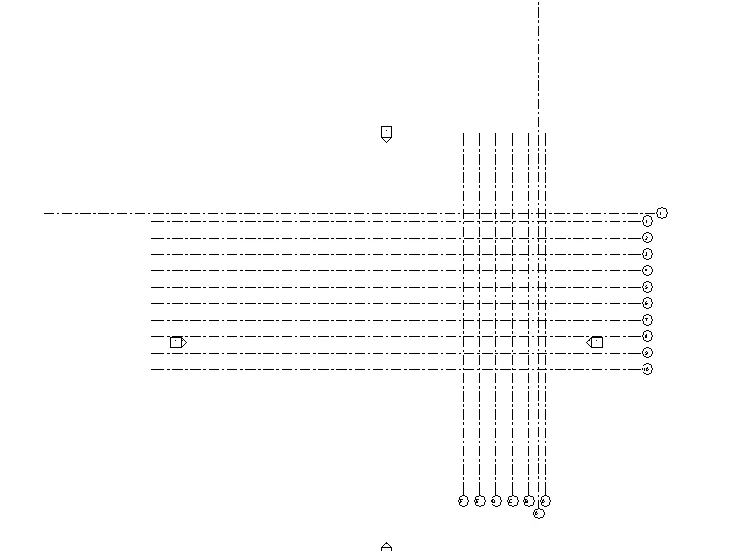
- Hence the both files are linked to the constructional file.
Result:
Create another new file with a construction template. Save the new file as a central model. This file will include both architectural and structural model and link both the files.
9) Are the grids from structural and architectural model matching in the construction template created? If yes the model is set up for project 2. If not work on the shared parameters and linking options under Manage links
( Hint: origin to origin, by shared coordinates or by project base point to base point ) to link the models in an appropriate manner
Aim: To Check weather the grids from the structural and architectural models matches in the construction template is created.
Procedure:
- Here , it is clearly visiblr that the architevctural and strutyural templates matches throughly in the construction templeate craeted. my challenege set fot the project 2.
Result:
Checked weather the grids from the structural and architectural models matches in the construction template is created.
10) List a flow chart of a project tree set up in terms of Construction model, Architecture & Structure model, in this exercise and understand how many people can work on the same project using Revit simultaneously
Answer:
- Construction model is combination of both architectural and structural model.
- Flow chart is given as follows.
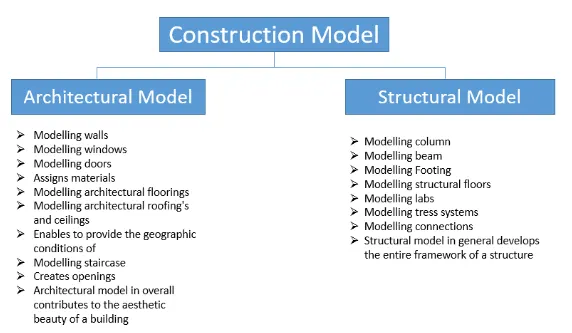
Number of people that can work on the same project using revit simultaneously.
Revit allows multiple user to work simultaneously on one revit project, this can be achived through work sharing, using linked elements, project elements are seprated into indiviually managed models that can be linked together , members from various discplinces can work together in a revit project like.
- Architects
- Structural engineers
- MEP engineers
- HVAC enginners
the number of people working simultaneously may be depending upon the type of project being done.