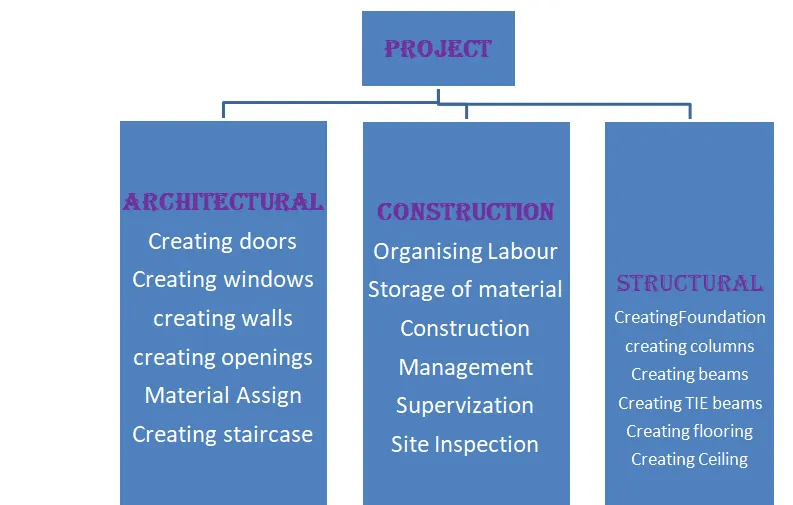
Usage of Collaborate tool in REVIT
1 Ans:
Aim: To set the base point of the project using the manage tab and project shared coordinates for the project.
Procedure:
- First, open the Revit
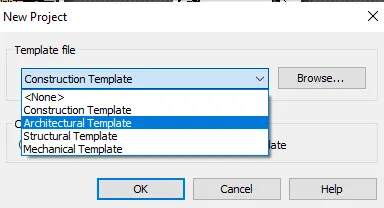
- Now select the Architectural Template
- Now Workspace opens
- Now in architectural tab->In datum->select grid

- Now draw the grid lines as shown
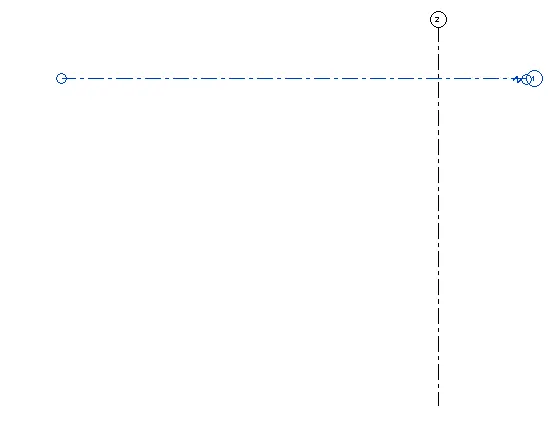
- Now select horizontal grid line and change the name to A and select vertical grid line and name it as 1
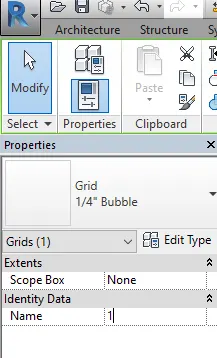
- Now you get grid lines with naming 1 and A as shown
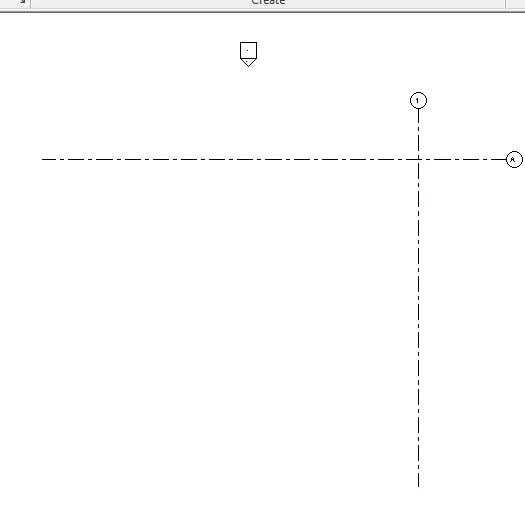
- Now go to manage tab->in project location->click on coordinates and select specify coordinates at the point as shown

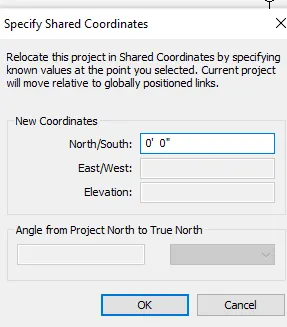
- Now select horizontal line and give 0'0" as shown
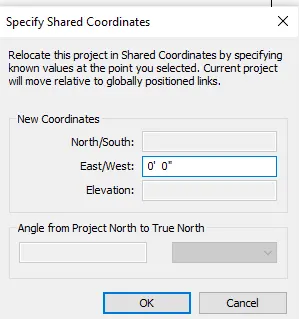
- Now select vertical line and give 0'0" as shown
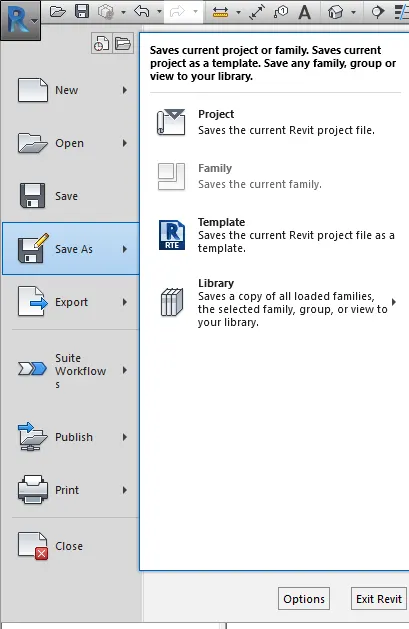
- Now save the project as shown
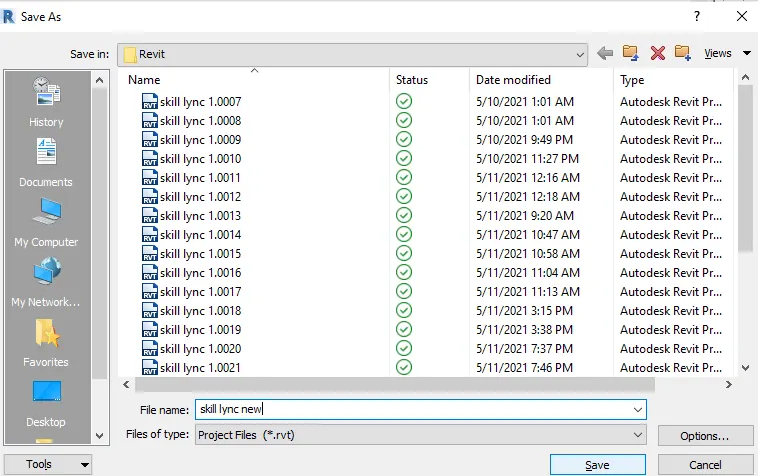
Result:
We have done with setting base point of the project using the manage tab and project shared coordinates for the project.
2 ans:
Aim: To set the parameters of a new structural template same as the architectural model
Procedure:
- First, open the Revit
- Now select the structural Template
- Now Workspace opens
- Now in architectural tab->In datum->select grid
- Now draw the grid lines as shown
- Now select horizontal grid line and change the name to A and select vertical grid line and name it as 1
- Now you get grid lines with naming 1 and A as shown
- Now go to manage tab->in project location->click on coordinates and select specify coordinates at the point as shown
- Now select horizontal line and give 0'0" as shown
- Now select vertical line and give 0'0" as shown
- Now save the project as shown
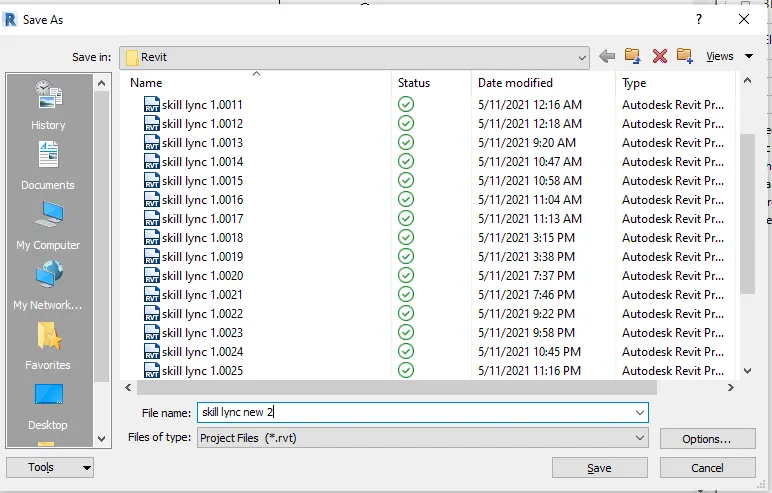
Result:
We have done with setting the base point of the project using the manage tab and project shared coordinates for the project.
3 ans:
Aim: To collaborate the architectural model as a central model
Procedure:
- Open the architectural template which is created in 1st question
- Now in collaborate, tab->select collaborate as shown

- Now a new window opens
- Now select collaborate within your network and click ok
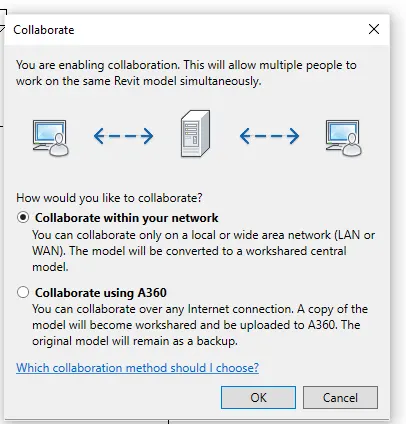
- Now click on save
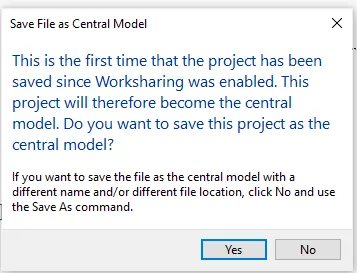
Result:
Now we have collaborated the architectural model as a central model
4 ans:
Aim: To create a longitudinal and transverse pattern for the project similar to the task done in week 2
Procedure:
- Open the Revit software
- now select the architecture template
- Now we get workspace
- Now in architectural tab ->in datum->select grid
- Now draw vertical grid with spacing of 20' each as shown
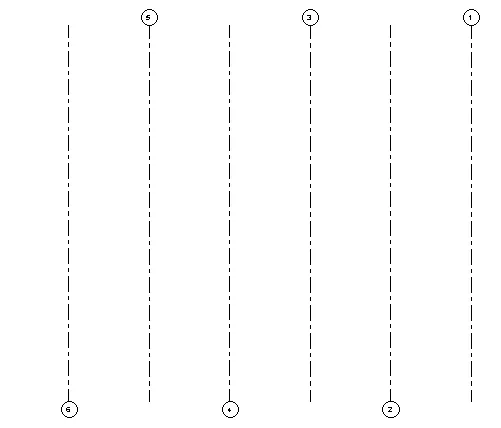
- Change the names as shown
- Now draw a horizontal grid with a spacing of 20' each as shown
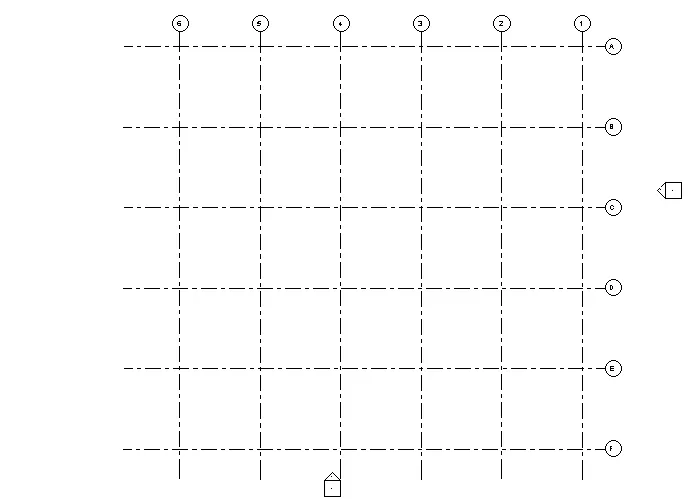
Result:
- Hence the grid is created
5 ans:
Aim: To synchronize the changes from the local copy to the central file of an architectural model.
Procedure:
- Open the architectural template which is collaborated
- Now go to collaborate tab->in synchronizing -> select synchronize with central and select synchronize and modify settings as shown

- Now a synchronize with central dialogue box opens as shown
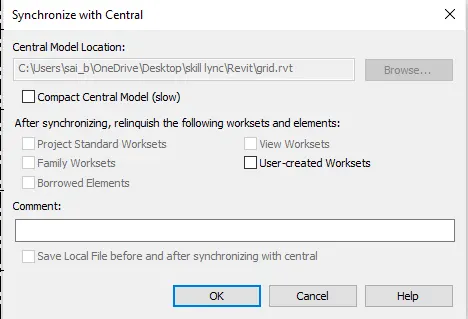
Result:
Now we have done with synchronize
6 ans:
Aim: To collaborate the structural model as a central model
Procedure:
- Open the structure which is created in 2nd question
- Now in collaborate, tab->select collaborate as shown
- Now a new window opens
- Now select collaborate within your network and click ok
- Now click on save
Result:
- Now we have collaborated the structural model as a central model
7 ans:
Aim: Under the Collaborate tab, select the grids and levels from the architectural model, and using Copy Monitor try to copy the grids to the structural model.
Procedure:
- Now open the architectural tab and go to collaborate->in cordinate-> click on cop/monitor->select select link

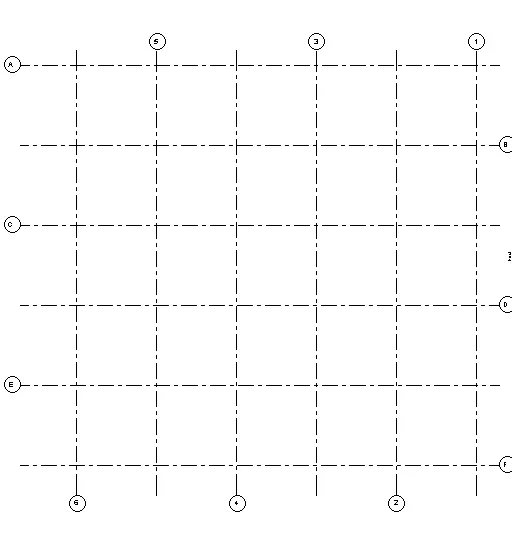
- Now copy option and select multiple and select the grid lines
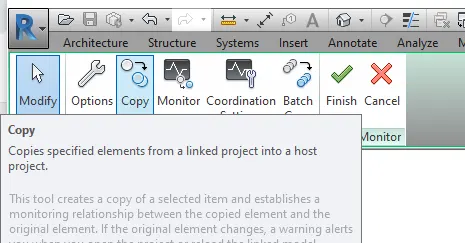
- Now select finsih
- Now open structral template and we could see the same grids again
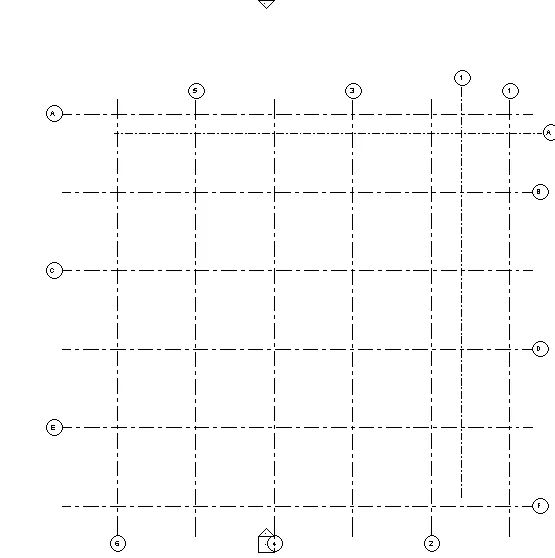
Result:Task has been completed successfully
8 ans:
Aim: To create a construction template and save it as a central model and link both architectural and structural files
Procedure
- Open Revit software
- Now select a new project as a construction template
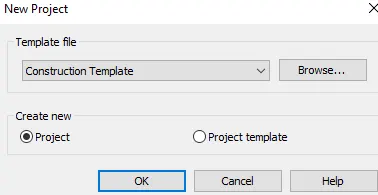
- Now we get a new workspace
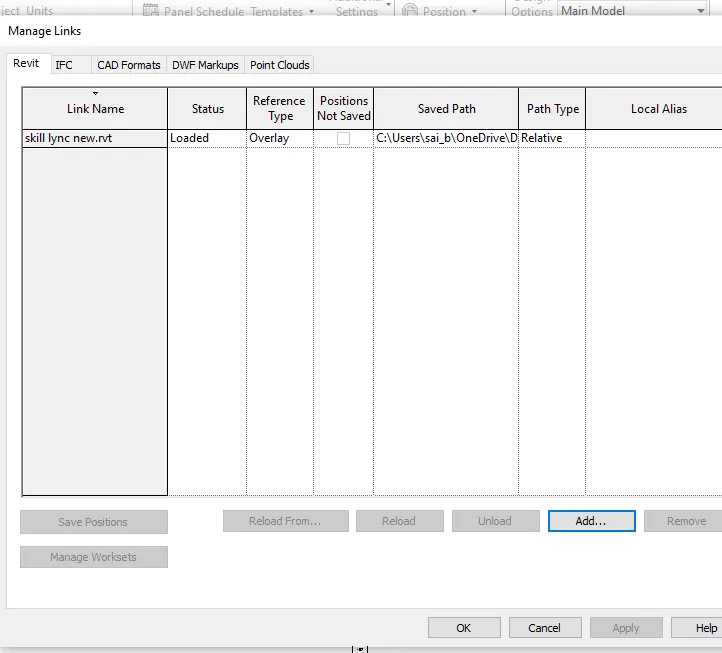
- Now go manage tab->in manage project ->select manage links

- Now manage links tab opens as shown
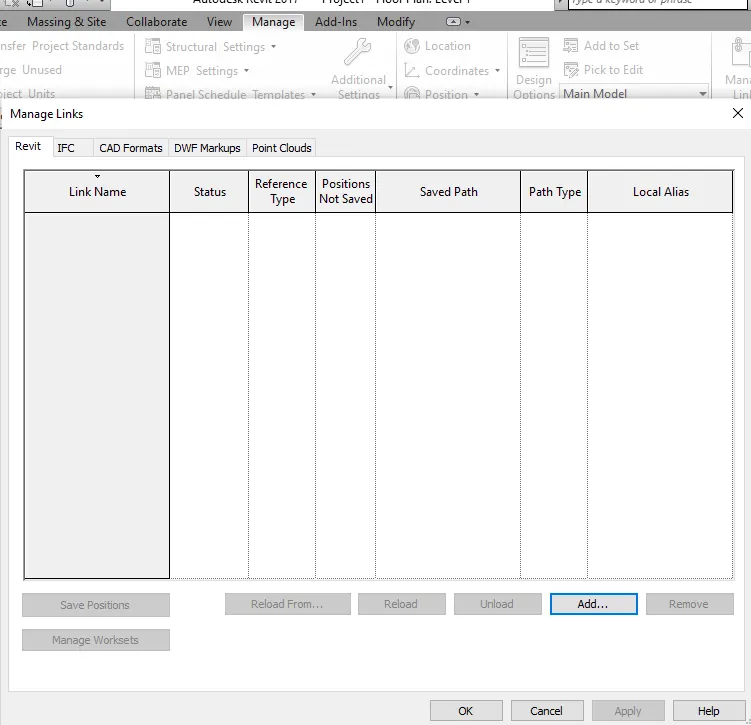
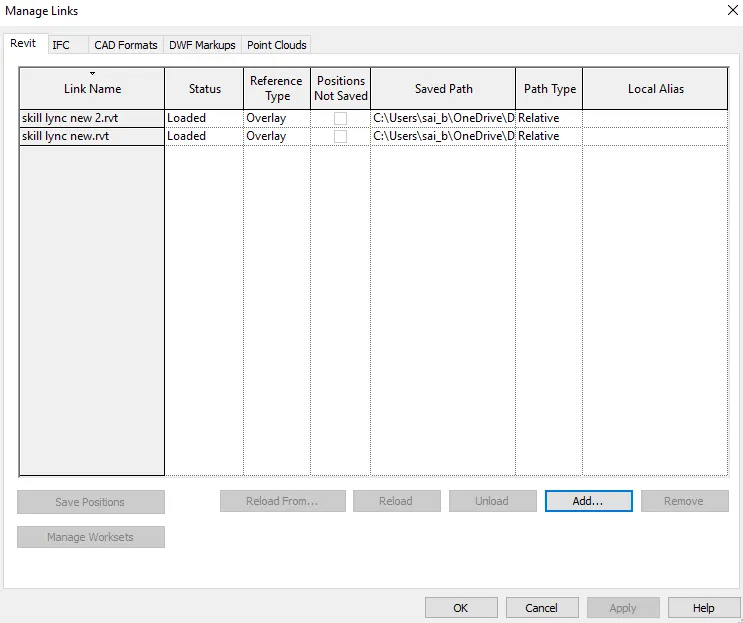
- Now click on add
- Now load the architectural file as shown
- Now load the structural file as shown
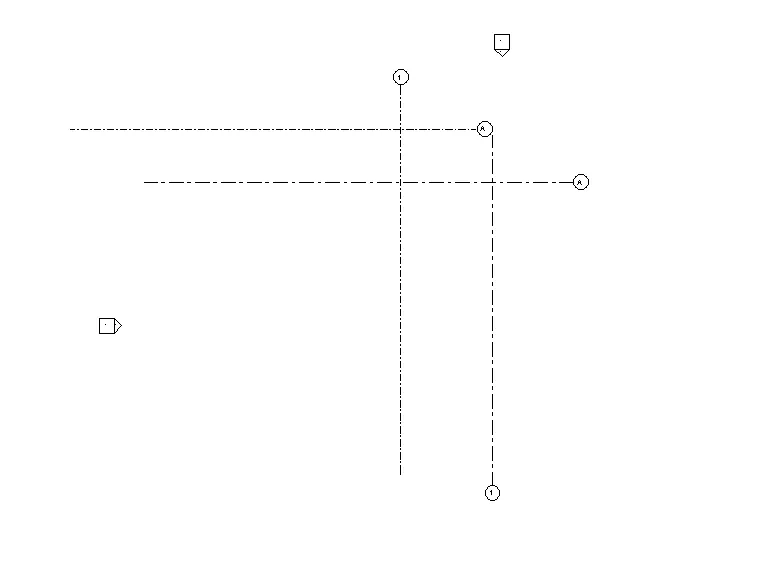
- Now click ok
9 ans:
Aim: To match the grids of the architectural and structural template if not matched using shared coordinates and linking options under manage links
Procedure:
- Open the file that which has been created in 8 ans
- Now go to manage->In project location->click on a position and select relocate the project

- Now match the grids of the architectural and structural template as shown
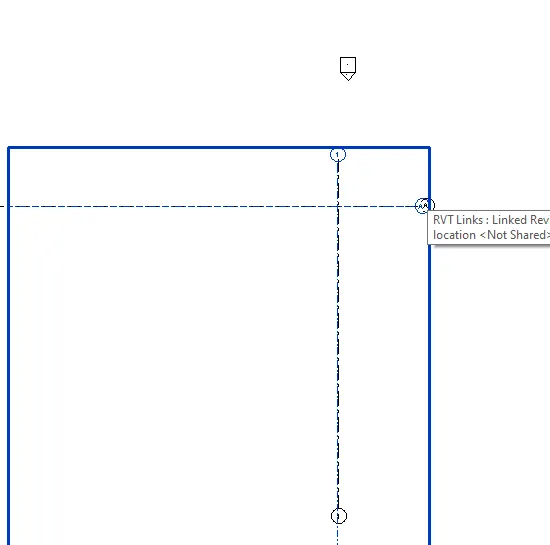
Result: we have done with matching both grid lines
10 ans: