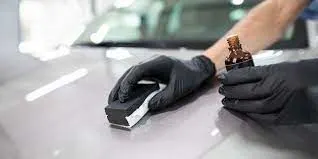
Underbody Coating
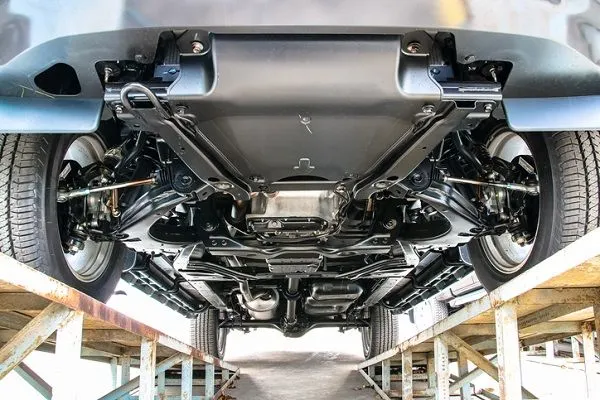
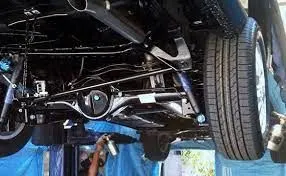
Underbody coating means a coating labeled and formulated for application to wheel wells, the inside of door panels or fenders, the underside of a trunk or hood, or the underside of the motor vehicle.
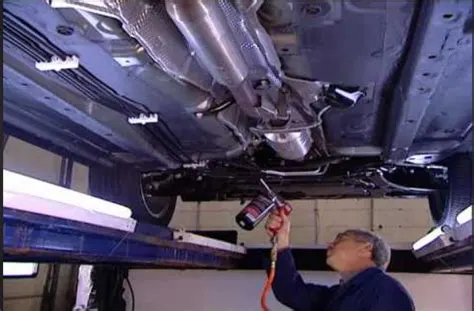
Broadly, it is the process of coating a thick resilient material to the underbody or chassis of an automobile to protect against impact damage from small stones which would rapidly chip ordinary paint, allowing the rusting to begin.
Introduction: - In Indian road conditions, a cars underbody is most prone to corrosion. Underbody coating provides long term protection from corrosion to car’s underbody. It also protects parts like internal body panels, frame rails and other inner cavities that are not physically accessible but are prone to corrosion.
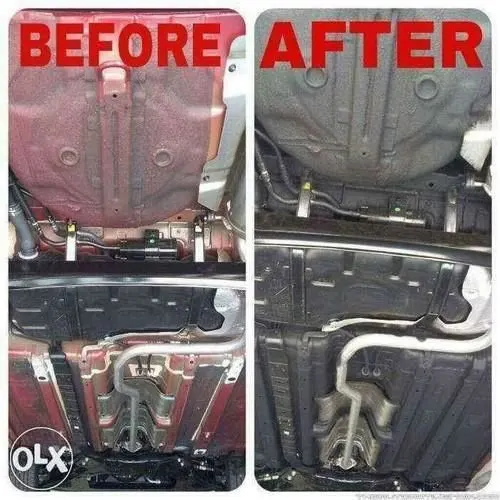
Types of Underbody Coating: -
- Rubberized Undercoating: - Rubberized undercoating is easy to apply and offer sound cushioning as well as protection from dust, moisture, and dings or dents. It is generally the best option for protecting vehicle’s undercarriage as it provides the simplest and best protective measures against rust and moisture.
- Polyurethane Undercoating: - The other option for undercoating the vehicle is to use polyurethane based sealant. This type of sealant works by seeping into all cracks and seams, displacing salt and moisture and oozing around rust areas to bond with and protect unoxidized meta. It is a little bit quicker and easier to apply.
- Wax or Paraffin-Based Undercoating: - A Paraffin based undercoating is the cheapest and quickest option available with to protect the undercarriage of the vehicle. However, keep in mind that it will wear off quicker that other types and will need to be stripped and reapplied at least once a year.
- Asphalt-Based Undercoating: - For standard vehicle the above mentioned can provide the sufficient protection but for large trucks and heavy machinery, asphalt-based undercoating provides a bit of extra durability against rocks, chips and moisture.
Methods of doing undercoating: -
- Spray: - The spray consists of tar-like substance that is applied to the undercarriage. It functions as a barrier for salt, moisture, and oxygen which causes corrosion.
- Electronic: - In this method a weak electrical current circulates through the material, reducing the chances of rusting. It is done only by an expert.
- Drip Oil Spray: - This method is the best option if we want to do undercoating by ourself. It covers every nook and corners of the chassis, forming a robust layer of protection. It takes a long time to dry around 48 hours to a week.
- Dripless Oil Spray: - The waxy substance is applied to the body and undercarriage, forming a strong protective layer. It does not take much time to dry. However, the layer can easily wear and tear that the other counter method.
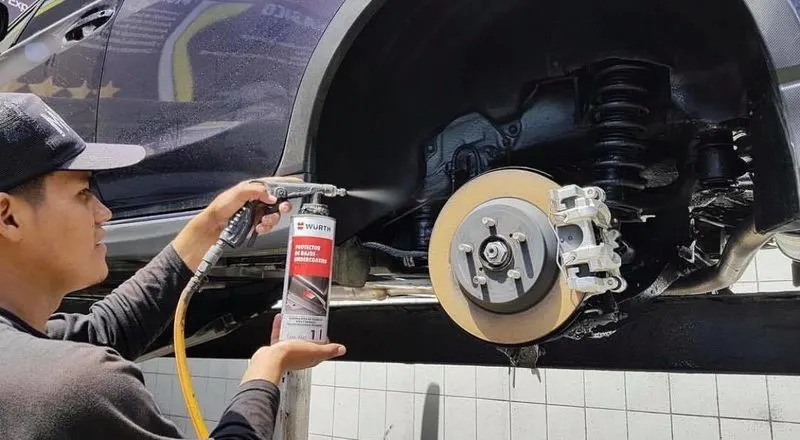
Purpose of doing underbody coating: -
- Minimizes sound: - It minimizes sound from underneath the car resulting a noiseless and smooth driving experience.
- Heat Insulation: - It insulates the interior of the car from extreme temperatures from beneath the vehicle providing a comfortable cabin experience.
- Anti-chipping property: - If any stone heats the coating it does not get chipped away hence protect the underbody from exposure to water.
Pros of Undercoating: -
- The most important thing is the protection it provides to the carriage to the vehicles.
- It gives the vehicle an extra layer of protection against rust and corrosion, protecting the vehicle in the cold whether where salt and sand are used on the roadways.
- Even vehicles in warmer climates gain protection as debris is repelled and kept away from eating at vehicles.
- It extends the lifetime of the vehicle for a significant amount of time.
- It reduces the interior noise inside of the vehicle and comparatively provide with a more peaceful ride.
Cons of Undercoating: -
- It can only work best for a new vehicle and less effective for old one.
- Undercoating will not help if corrosion already exist and corrosion needs to be removed first before it can be applied, which can be expensive.
- It is not impervious to damage as it depends on the condition and on which road types it is driven.
- It needs to be reapplied in every 3 to 5 years.
Is There a Difference Between Rust Proofing and Car Underbody Coating?
You would hear these two terms interchangeably; however, they completely differ in the literal meaning. There is no doubt that the purpose of both treatments is to protect your car from developing rust and corrosion in the end.
Underbody Coating
An undercoating is a spraying accessory that protects the vehicle’s body underneath.
Rust Proofing
Applying a protective layer of wax or other coatings on corrosion-prone areas outside the vehicle is rustproofing. This layer is mainly applied to fenders, weld points, upper body panels, and tailgates.
Rust Protection
Rust protection is often confused with rust proofing. However, when a rust inhibitor is applied during the manufacturing process, it is called rust protection. A rust inhibitor blocks the circulation of electrical current stopping rust from developing in the first place.
Such ingredients are applied to almost every vehicle, car, truck, and SUV by mixing into its materials during the manufacturing process. On the other hand, rust-resistant material is also used for manufacturing cars these days.
How to Undercoat Your Car?
You have a few options to select from while considering an undercoating for your vehicle. Obviously, if you are getting it done through an authorized dealer, then you would have no choice as they have their own preferences.
1. Spray
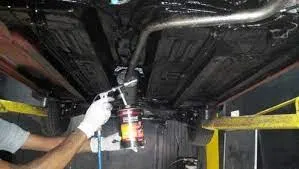
The spray is the most common method used by dealers. The spray consists of a tar-like substance that is applied to the undercarriage. It functions as a barrier for salt, moisture, and oxygen, which causes corrosion.
You can also purchase it as a DIY product, but the whole magic lies behind the method of application, so it’s better to do the job with a dealer, especially if you have a new vehicle.
2. Electronic
Removing the electrical current capacity of items underneath the vehicles is another method for applying to undercoat. A weak electric current circulates through the material, reducing the chances of rusting.
For using this method, a DIY solution wouldn’t work; you would need an expert.
3. Drip Oil Spray
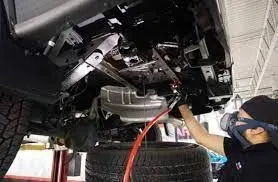
If you want to do it yourself, then drip oil spray is the best option. This can be messy but incredibly effective at protecting the undercarriage. It covers every nook and corner of the chassis, forming a robust layer of protection.
Time is the factor where you have to show patience in this method. It takes a long time to dry. In some cases, it drips around 48 hours to a week.
4. Dripless Oil Spray
Coming to the last option, the dripless oil spray. This waxy substance is applied to the body and undercarriage, forming a strong protective layer. It doesn’t take much time to dry; however, the layer can easily wear and tear than the other counter methods.
How Does Undercoating Protect Your Vehicle From Rust?
To understand the science behind how undercoating protects the vehicle from rusting, you should know about rusting first.
Rusting occurs when the current passes through anode (a piece of metal that gives up electrons like a dude making it rain at a strip club) to the cathode (metal piece that accepts electrons – like that aforementioned stripper on the pole) through the electrolyte (a liquid supporting the movement of electrons).
The electrolyte provides the fuel, which is oxygen in this case, to the anode. Oxygen reacts with the anode, releasing some electrons free. The electrons move from the electrolyte to cathode. The metal at anode starts disappearing and depositing as rust. This rusting of iron or steel results in corrosion.
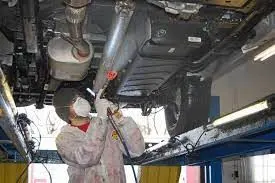
The undercoating is applied to stop a few contributing factors leading to rusting and corrosion.
Coating Solution:
The coating solution stops electrolyte from penetrating inside the metallic surface. Road salt, saltwater, and typical wastewater play the role of the electrolyte most of the time. Such undercoating products last for years. You might also get a lifetime warranty with some of them.
Electrical Method:
The electrical way blocks the anode from releasing electrons to circulate freely in the electrolyte. The anode will be exposed to saltwater or other electrolytes, however, being charged negatively at the same time. This way, electrons cannot move to the cathode, causing rusting or corrosion.
This is the ultimate solution that is going to save your vehicle from corrosion for a lifetime; however, you have to bear the price as it is expensive.
What Are The Benefits of Undercoating Your Car?
Most of the vehicles manufactured these days are rust proofed, especially in rainy and cold regions. When your car is exposed to saltwater and other common electrolytes, investing in an undercoating from an authorized dealer is a smart investment. It does cost a few hundred dollars, but it’s worth it. It will keep your ride in good condition for five years.
1. It extends the lifespan of your car
The protection against rusting gives you the biggest advantage, which is the long-life of the vehicle. If undercoating is done the right way, then it will provide protection for up to 10 years. In some cases, the time span is more than ten years, which extends the lifespan of your vehicle.
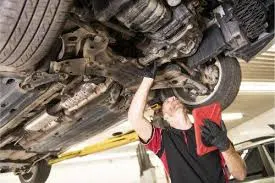
2. No more loud road noise
The undercoating serves as an extra layer of insulation, reducing the noise from penetrating inside components. Thus padding acts as a barrier between you and the source of the noise. If the road noise bothers you while driving your car, truck, or SUV, then applying to undercoat can help you.

What Are The Disadvantages of Undercoating?
Nothing comes for free in this world. The same goes for undercoating. The undercoating or rustproofing spray is heavy in pockets. However, it is nothing when you compare it with the cost of replacing a vehicle after corrosion.
Your list of undercoating supplies:
- Degreasing products
- A disc grinder and pads
- Air hose
- Eye protection
- Protective gloves
- Sandpaper ( od 200 grit)
- Scraper
- The Undercoating & reliable application products
- A hydraulic lift (for removal and spraying)
Moving forward, here is how to apply a DIY undercoating.
Step 1 – Cleaning the Underbody
You have to remove all debris and contaminants from the chassis to start with the undercoating process. It is another way to maintain your car in routine. You will need a hydraulic hoist or lift to complete this step in the right manner.
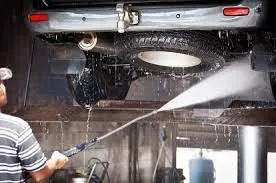
Here is how you can clean the underbody.
Degreaser:
A high-quality commercial-grade degreaser would be helpful in removing oil and grime from the undercarriage. Follow the exact steps listed on the cover or recommended by the manufacturer. Spray the degreaser, then allow it to soak for a moment, then wipe it off with a microfiber towel or shop rag.
Grinding:
Now, grind the existing hard contaminants and rust from the undercarriage and other components that you want to treat. You can use a mild grinding pad to remove the debris easily, but remember to wear eye protection while doing it.
Sanding:
After degreasing and grinding, remove those scratches and other stubborn contaminants using a 200 to 400 grit.
Use a Tack Rag or IPA solution:
To wind up the cleaning process, wipe down the area with a tack rag or IPA solution.
Step 2 – Applying Priming
You will need a primer for applying DIY consumers. Primers serve as a basecoat. You need to follow the instructions listed by the manufacturer for expected results. The recommended primers usually contain a high level of zinc. Zinc helps in reducing rusting, even if the protective layer is penetrated.
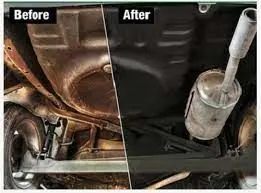
Step 3 – Applying Undercoating
This is the final step. The undercoating sprays are similar to bed liners. Most products are applied in two steps as dual layers. The first layer should be thin, covering the entire surface. Allow it to rest at least for an hour, especially if you are applying a rubberized undercoating.
After this layer has been dried, you can apply the second coat generously. Don’t forget to apply it as per the instructions given by the manufacturer. It will take a few hours to days for curing.
When you are done with the process, you need to look after the undercarriage to protect it from saltwater, road grime, or mag chloride as these contaminants are corrosive and result in oxidation and rusting.

The Right Way to Protect Your Vehicle From Corrosion
There are different rustproofing sprays available in the market which you can apply without a mess; however, they would last only for a year or even less just like a paint sealant. We would recommend a DIY ceramic coating if you want a long-lasting solution to apply on body panels, plastic materials, headlights, vinyl, and PPF.
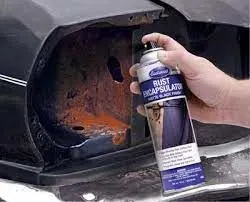
The ceramic coating is a concentrated polymer made from quartz (silica dioxide or SiO2). This automotive coating is available in a liquid formulation, which seeps in the clear coat or porous surface, creating a flat and hydrophobic surface.
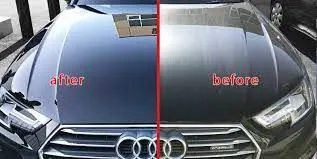
The coating dries off, creating a strong and semi-permeant protective layer. This layer blocks UV rays from penetrating into the coating and paint surface. The layer is transparent, so it enhances the shine of the natural color of your car paint, blocking electrolytes and reducing the chances of corrosion at the same time.
Putting a Stop On The Rusting Undercarriage
Corrosion is real, especially for people living in coastal communities. Protecting your car underbody is a smart way of reducing the corrosion build-up. It extends your car’s life. Don’t forget the rest of your car while going for the car underbody coating.
A ceramic coating like Armor Shield IX adds value to your car by protecting its shine and keeping the surface cleaner for a long time. Investing in a quality DIY ceramic coating to extend your car life by saving it from rusting.