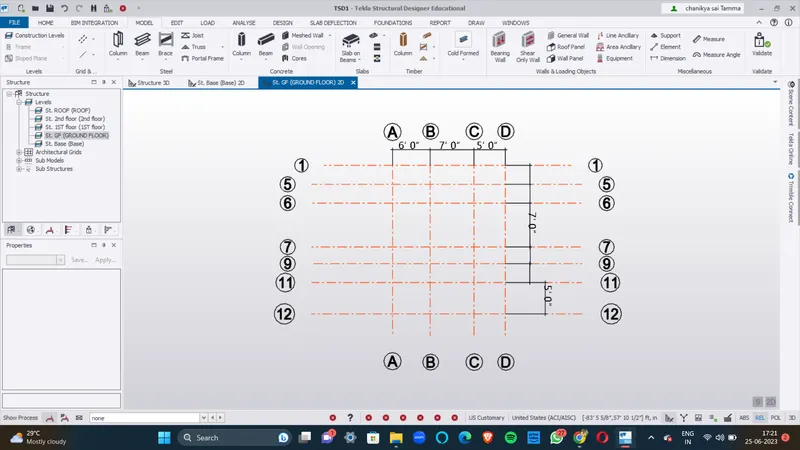
To plan a structural layout and to create grids using TSD
1A.
1. Project Workspace – How to access and usage
- First open the tekla software.
- Next click on the New option, then the project workspace will be visible as shown below.
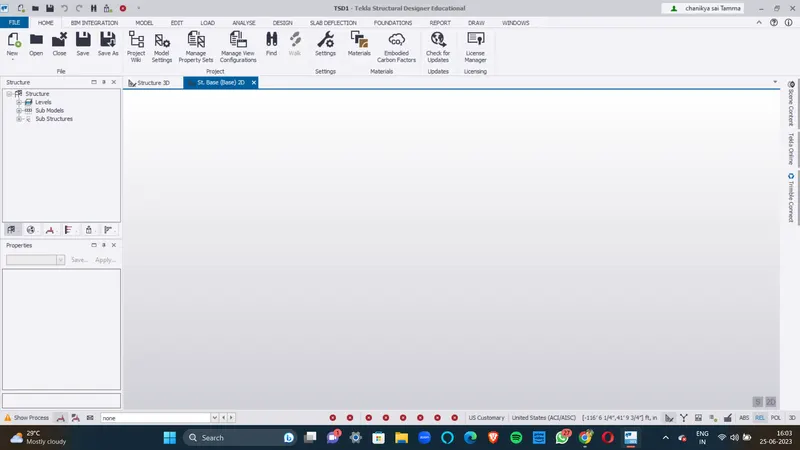
2. Scene Content – Demonstrate the use of scene content
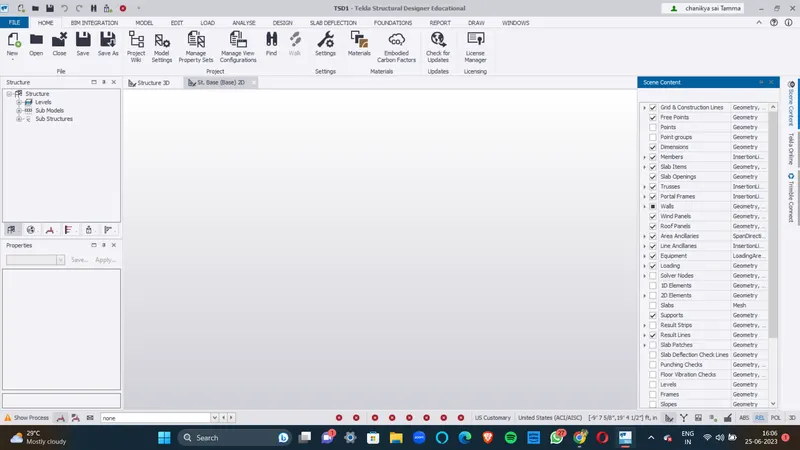
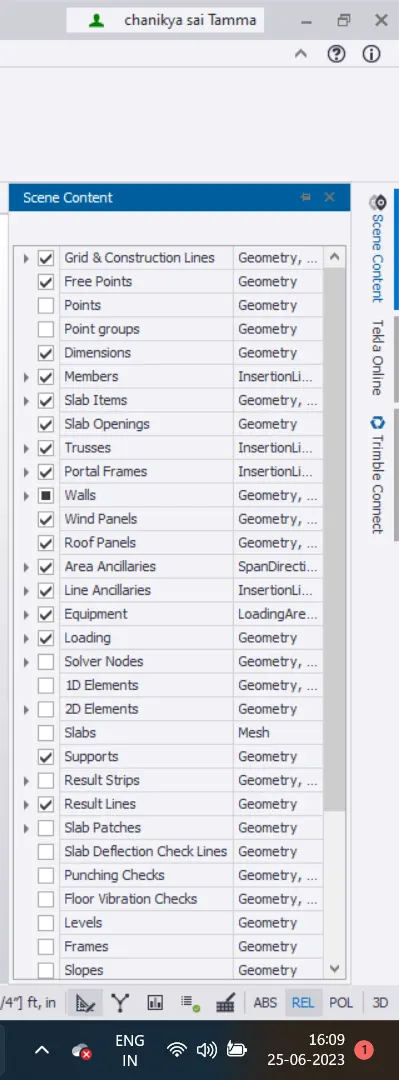
- Now click on the scene content option at the Right side of the screen, as shown below.
- The use of scene content is, we can enable & disable the elements and that is applied to the model.
3. Create two scene views
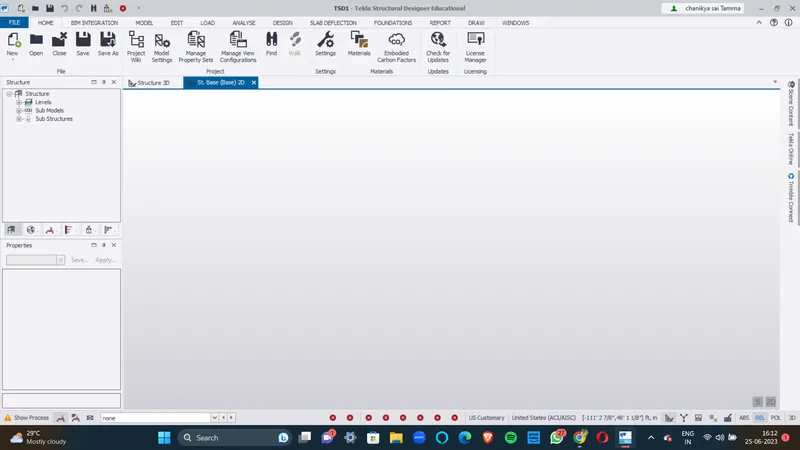
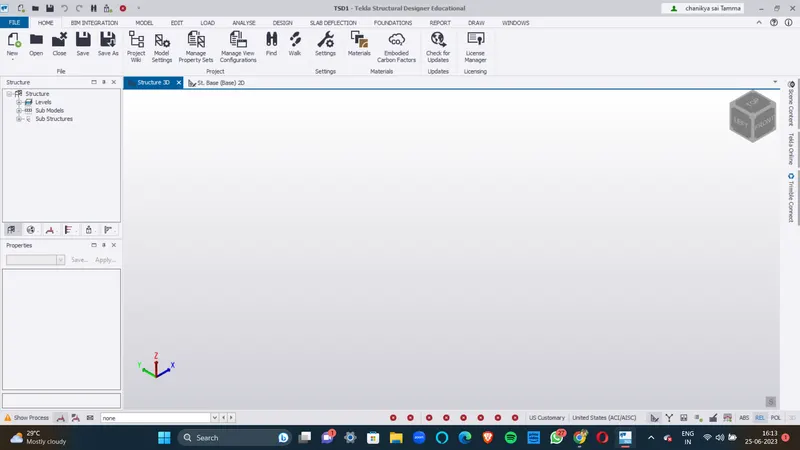
- The two scene views are 2D view and 3D view.
- The 2D & 3D views are viewed, as shown below.
4. Loading drop list- How to access
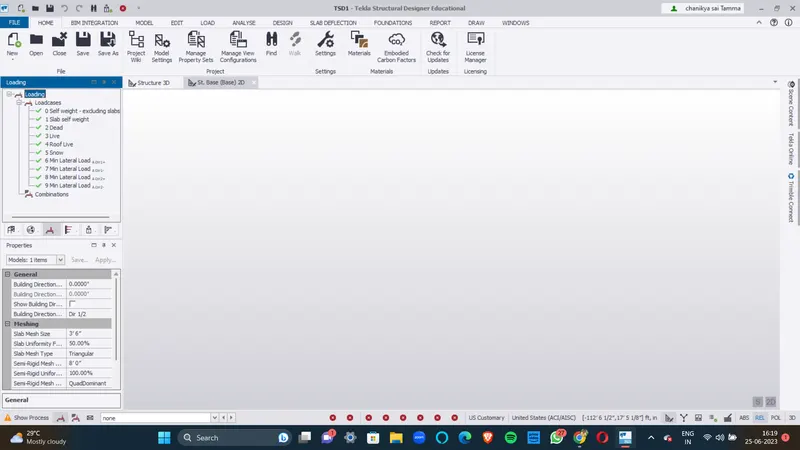
- On the left side of project interface we can see the loading drop list.
- In the loading drop list we can see loadcases and load combinations, as shown below.
5. Properties windows – how to access and usage
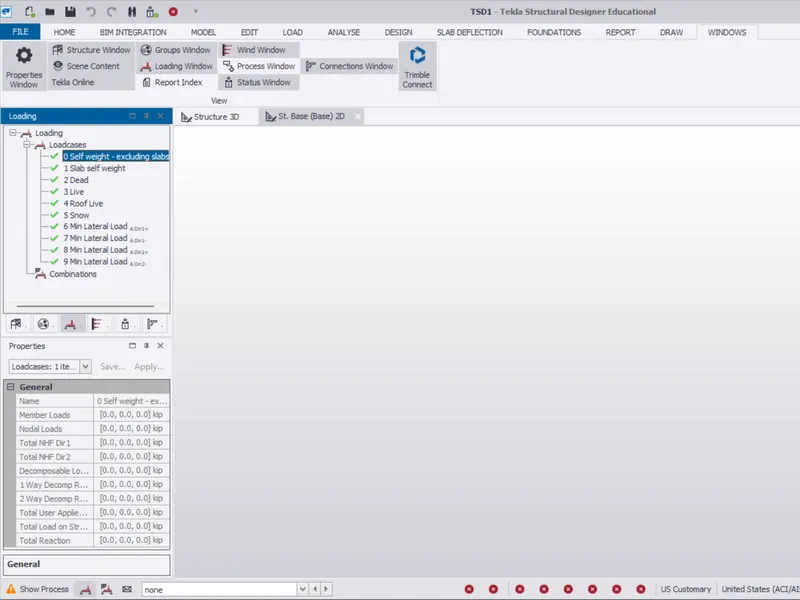
- Open the windows option and select the properties window option.
- Then the properties will be visible on the project interface, as shown below.
2A.
- First we have to open the tekla software.
- Next select the materials option and then the materials tab appears.
- In that materials tab and select the steel grade as Fe410 and concrete grade as M30, as shown below.
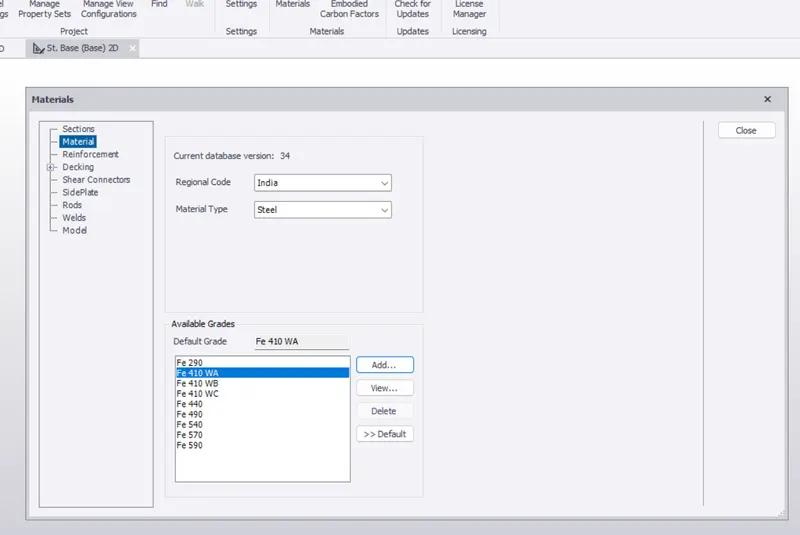
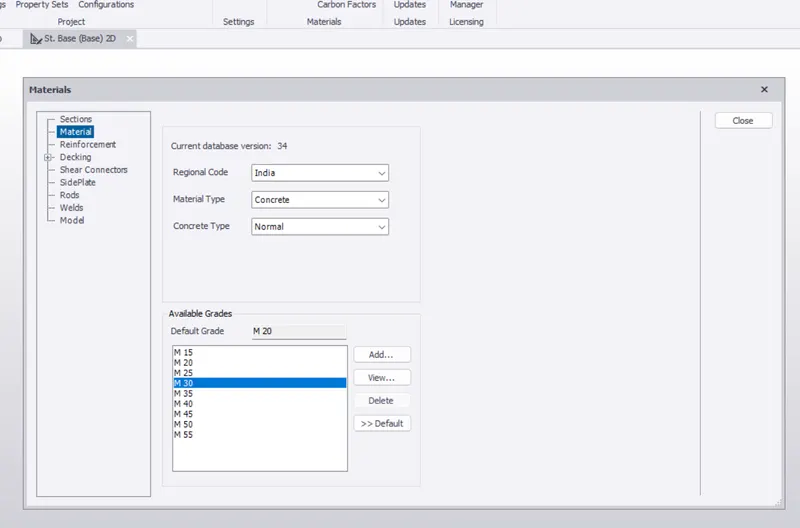
- Next we open the settings and set the nominal covers for given members in contact with ground and above ground, as shown below.
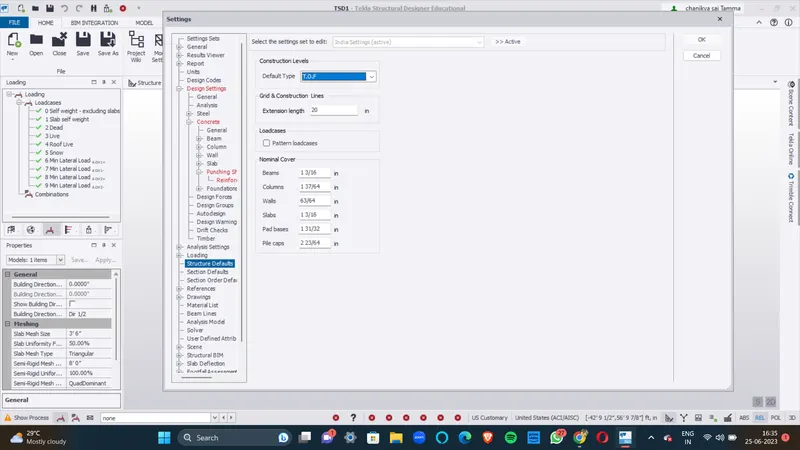
3A.
Attachment -1
- According to the Ground floor plan we have drawn the rough sketch of columns and beams in the required places, as shown below.
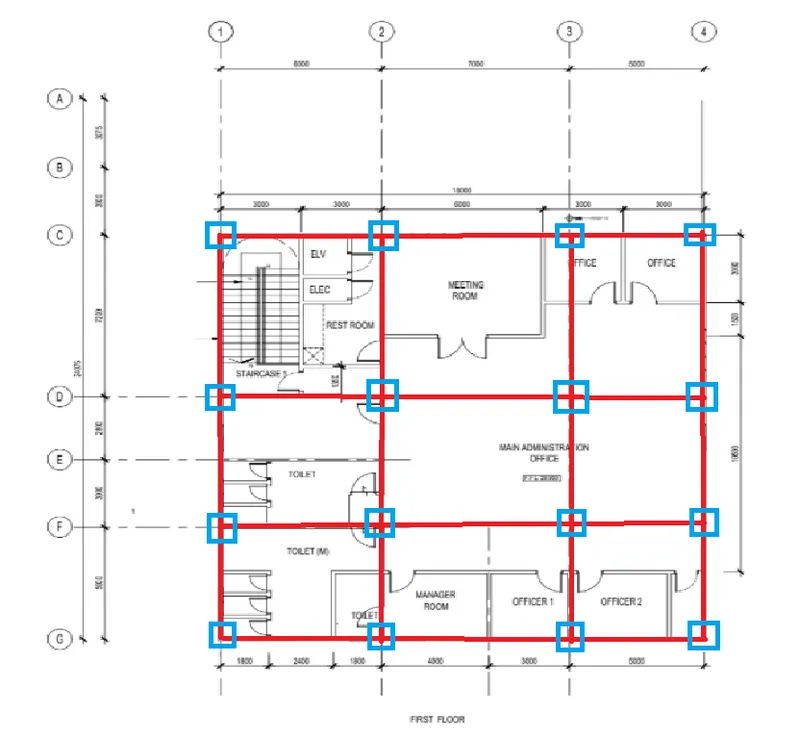
Attachment -1.1
- According to the First floor plan we have drawn the rough sketch of columns and beams in the required places, as shown below.
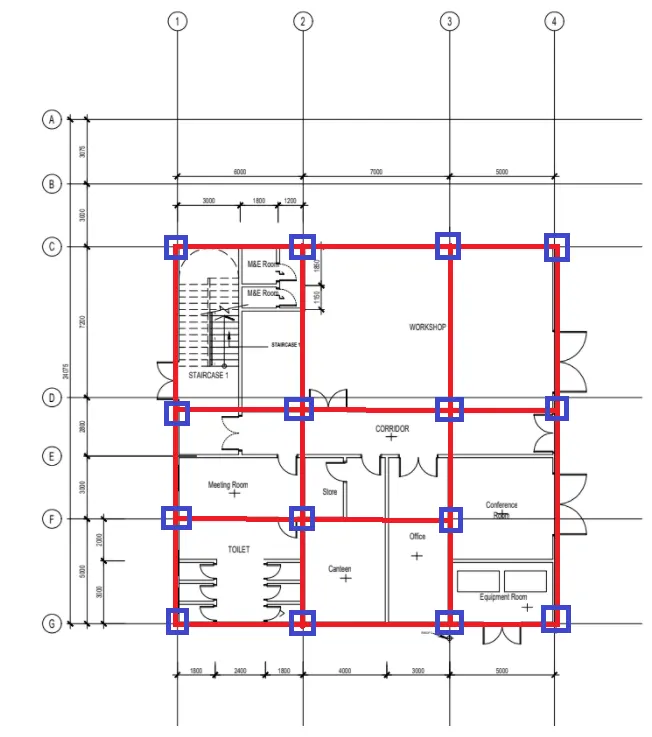
Attachment -1.2
- According to elevation plan we have drawn the rough sketch of columns and beams in the required places, as shown below.
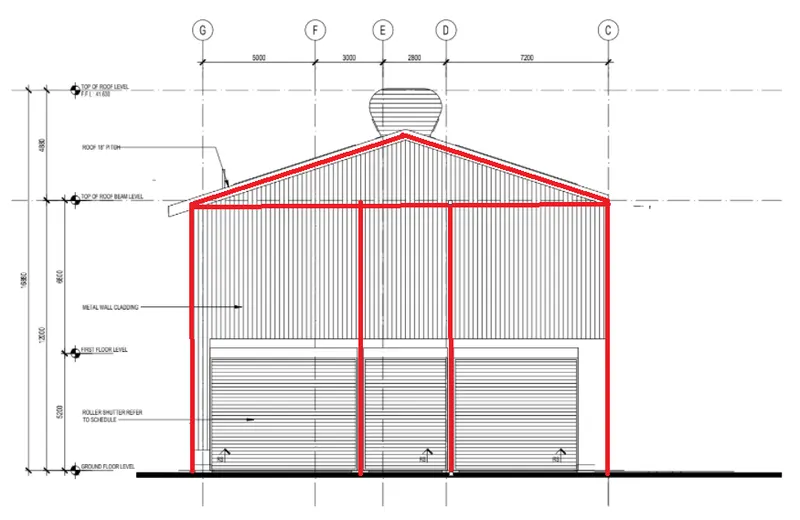
4A.
- First we have to open the TEKLA software.
- Here we set the levels using the construction levels option, as shown below.
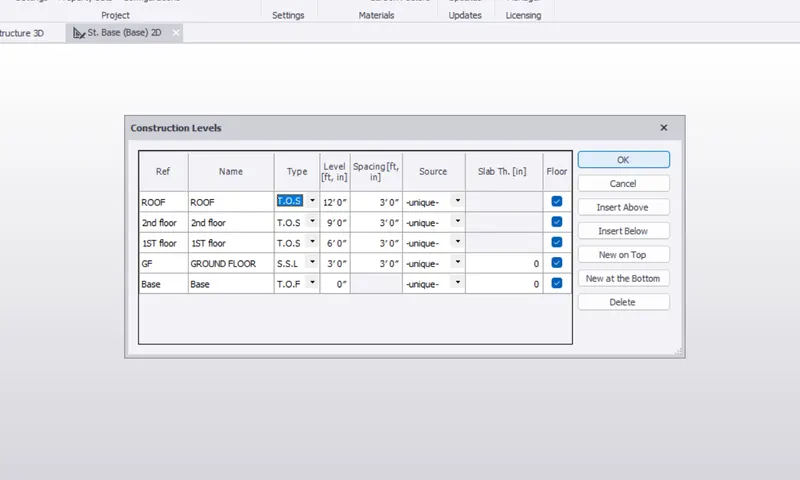
- And the grid lines are drawn according to the given attachments, as shown below.