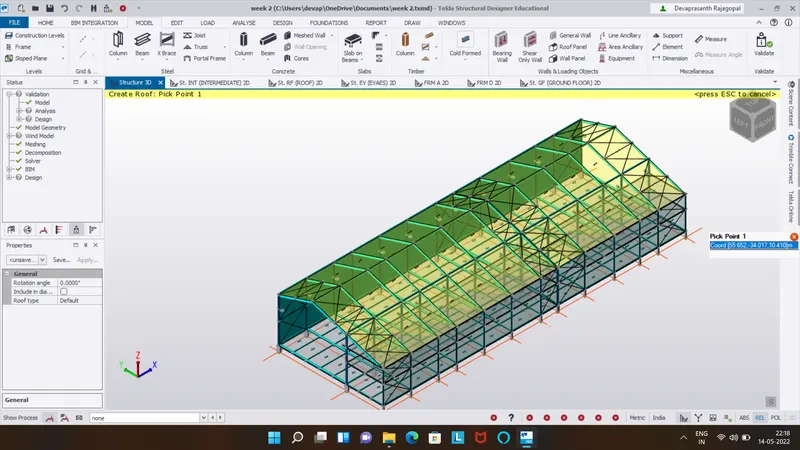
To model beams and bracings for industrial steel structures using TSD
1.
Aim:
To create beam properties for first floor and model the beams
Procedure:
Step 1:
- Open tekla software
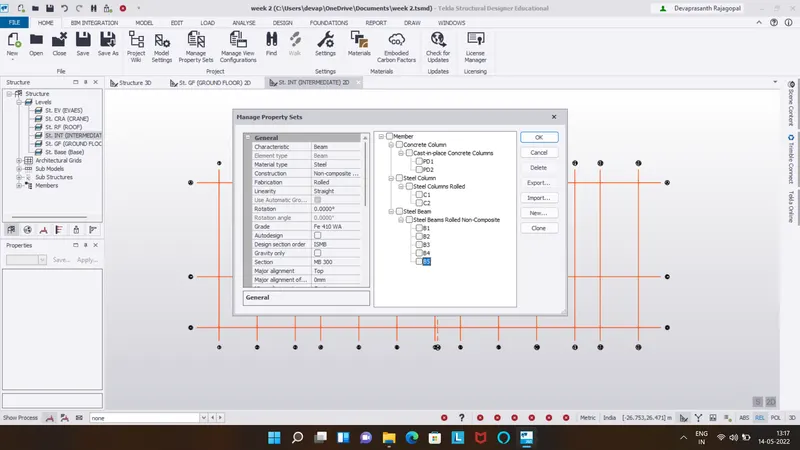
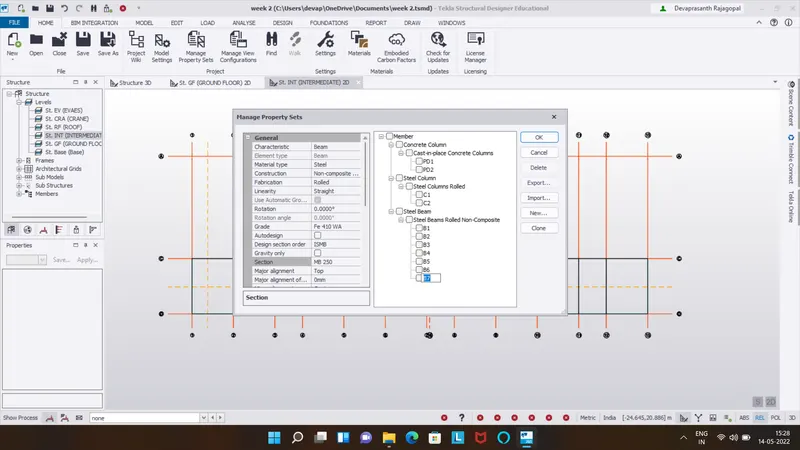
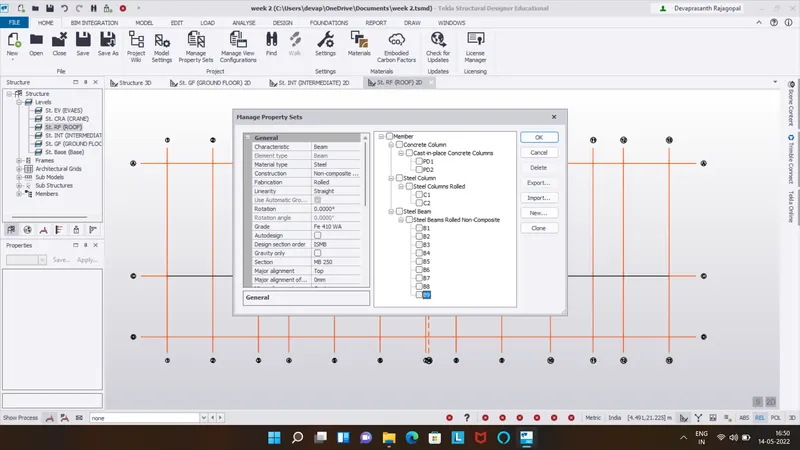
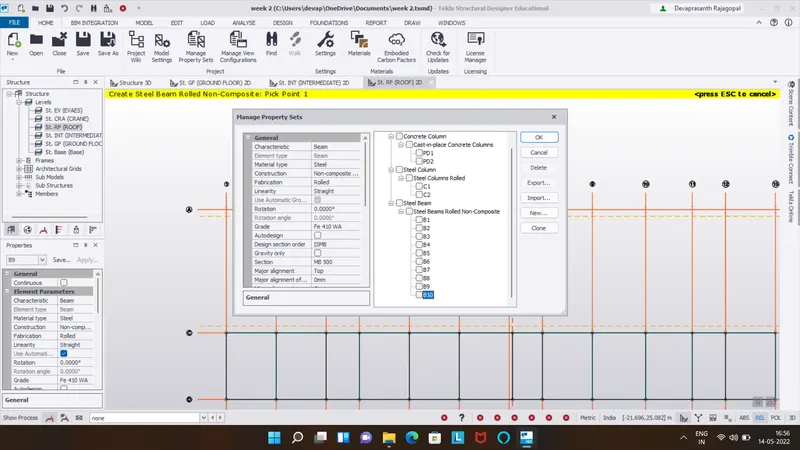
- Click on manage property sets
- Click on new
- Select steel beams
- Create the beams and assign steel beam properties
- Types of beams are taken : Beam 6 - MB300,Beam 7 - MB250,Beam 8 - MB250,Beam 9 - MB500,Beam 10 - MB300
- untick autodesign in each of the beam
- Major alignment is taken as bottom in the beams
Step 2:
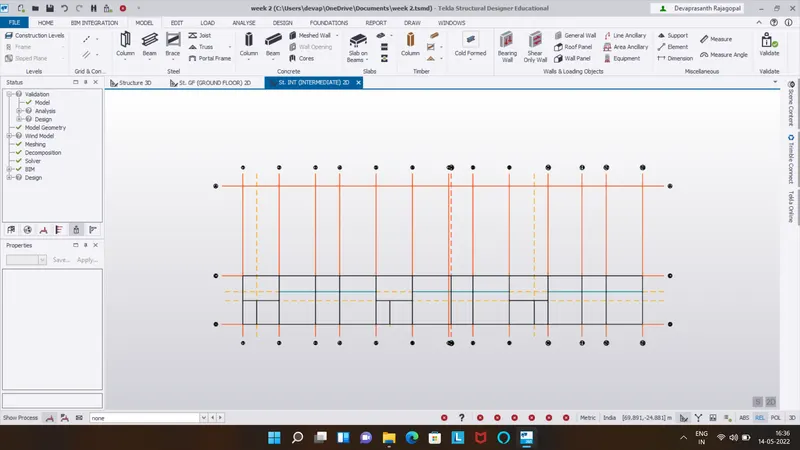
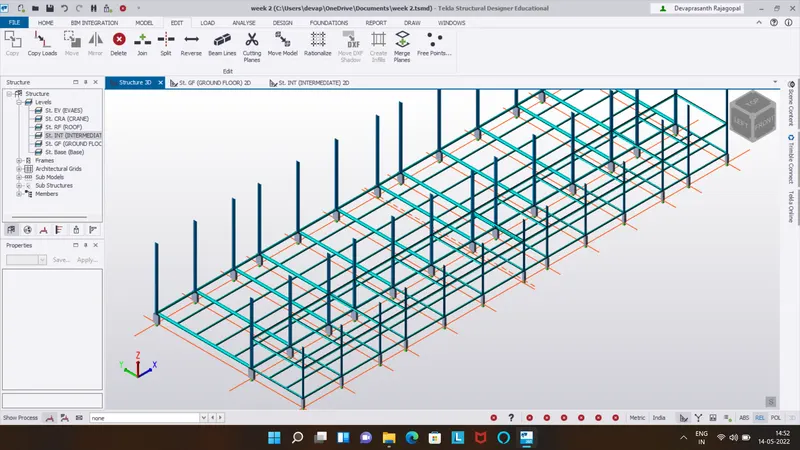
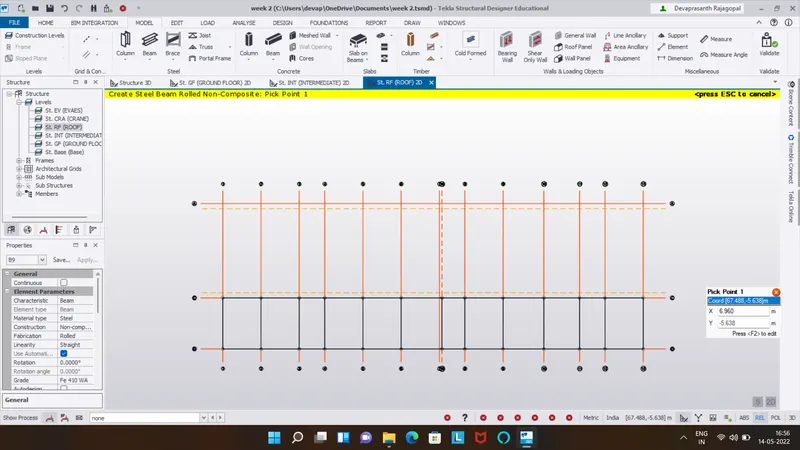
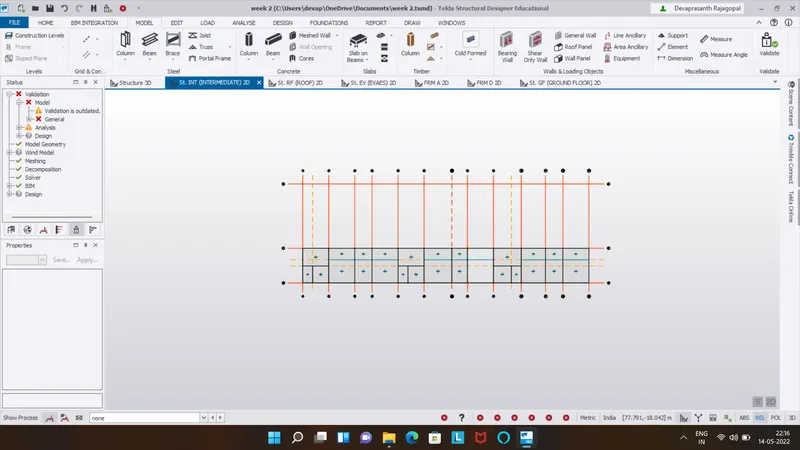
- Now place beams at the first floor
- MB300 beams are placed horizontally on plan
- MB250 beams are placed horizontally on plan
- MB250 beams are placed vertically on plan
- MB500 beams are placed first beam on plan
- MB250 beams are secondary beam on plan
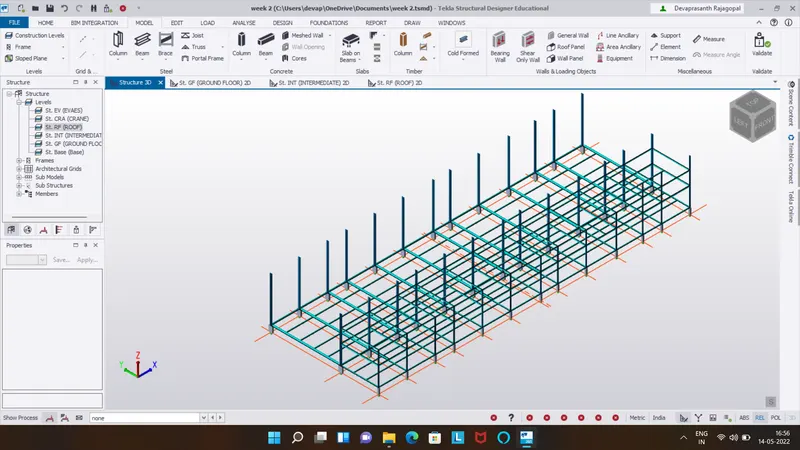
Result:
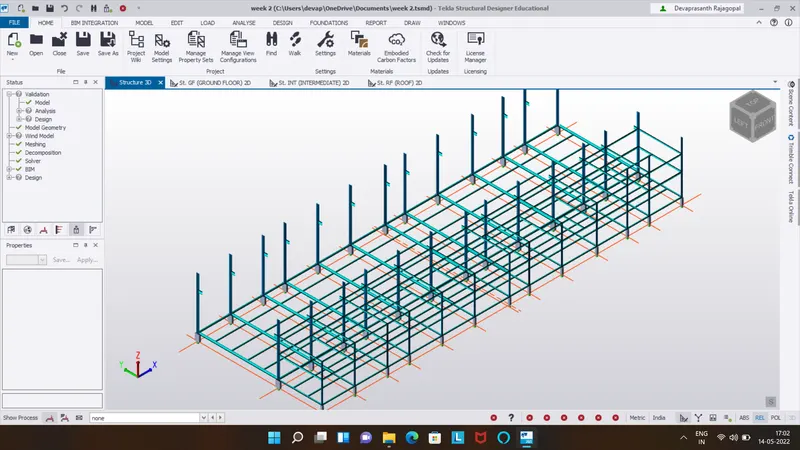
2.
Aim:
To create rafter beam on second floor as roof and moment frame action in one direction and add bracings at suitable location
Procedure:
Step 1:
- Go to model tab
- Go to manage property set
- Select new steel beam:Rafter
- Assign properties to the beam:section is MB500
- Untick autodesign,major alignment is bottom and under release both end are fixed
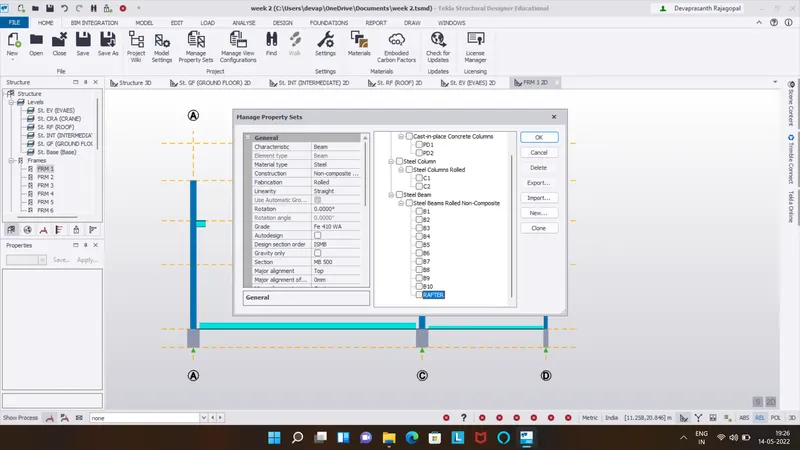
Step 2:
- Create another steel beam:Ridge beam
- Assign properties to the beam:section is MB350
- Untick autodesign and major alignment is bottom
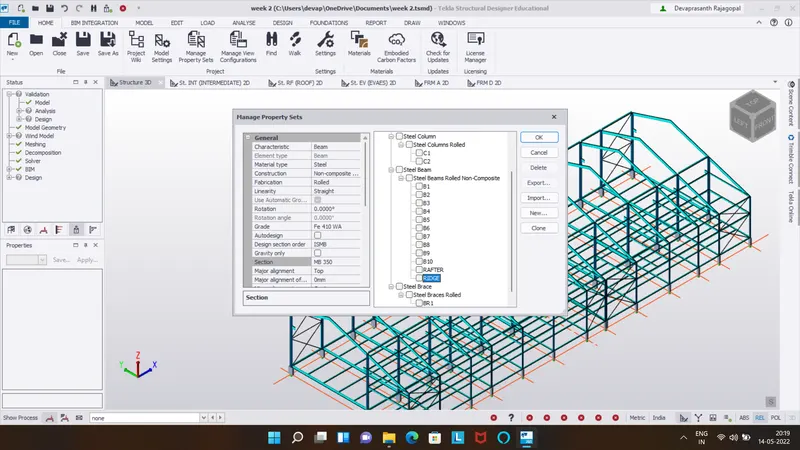
Step 3:
- Now click on frames
- Select all the grids and assign frames
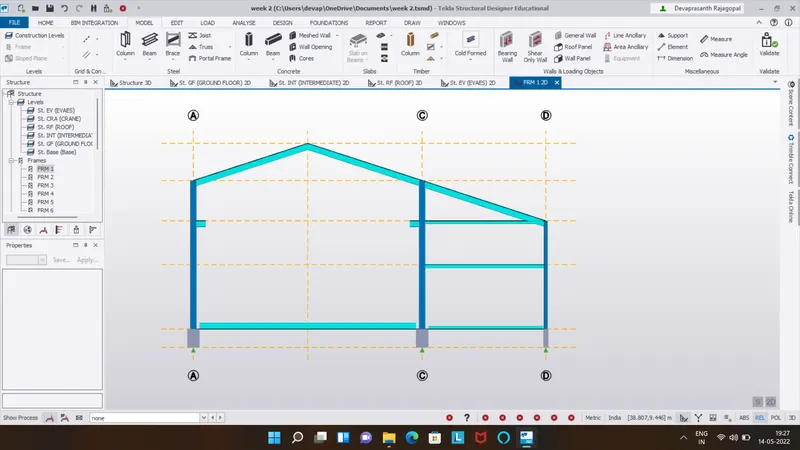
Step 4:
- Now open the Frames 1 2D
- Draw construction line midpoint
- Draw another construction line above first floor level
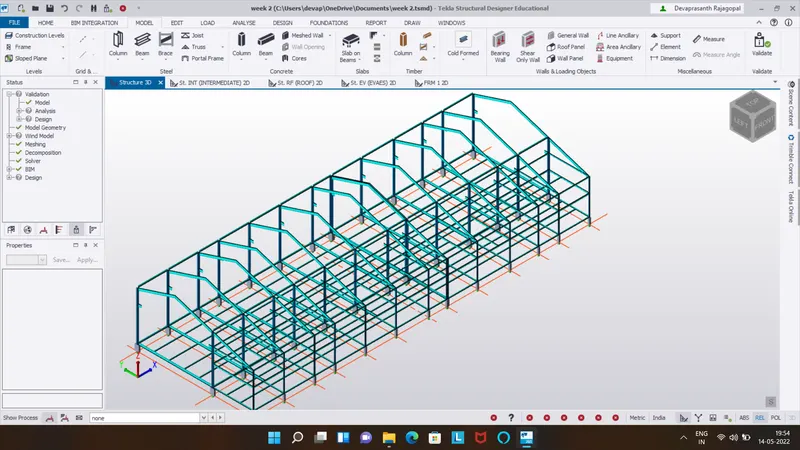
Step 5:
- From the intersectioting point draw rafter beam connection to both the end points
- Draw similar rafter beams at remaining grids
- Noe place ridge beam on top of the rafter beams
Step 6:
- Go to the manager property sets
- Add new member:Steel braces
- Assign section as:Equal angle 75x75x8 size and connection as bolted
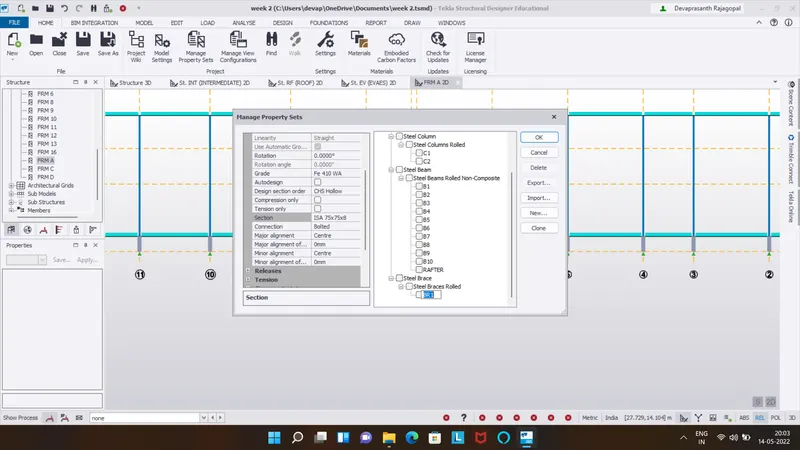
Step 7:
Select brace = X from model and draw bracing in frame
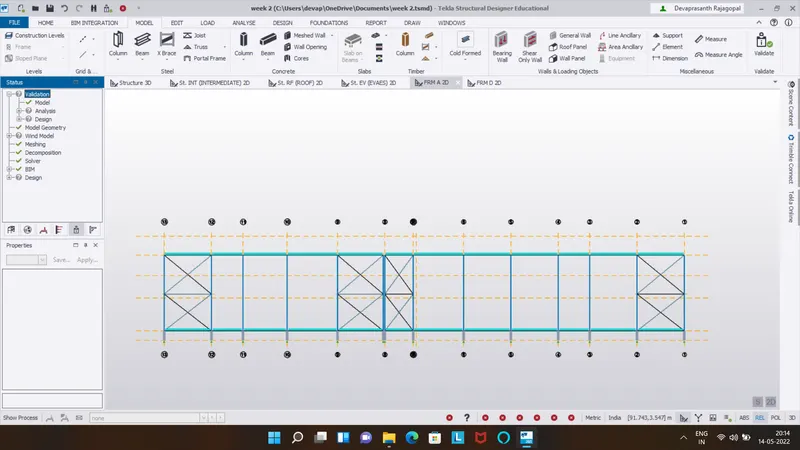
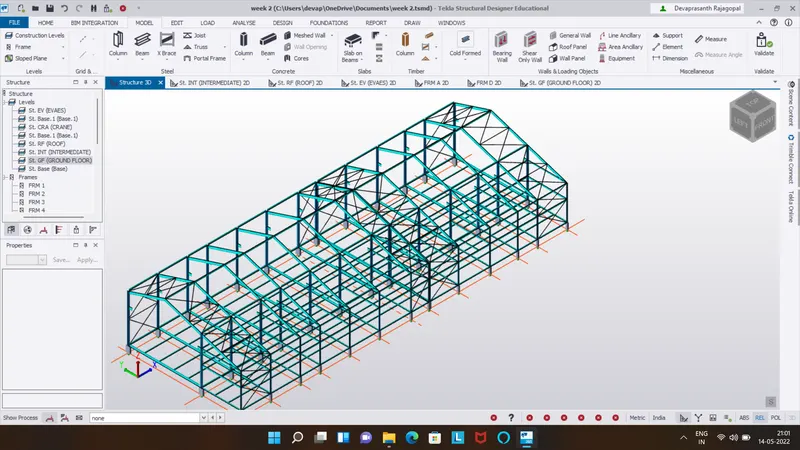
Step 8:
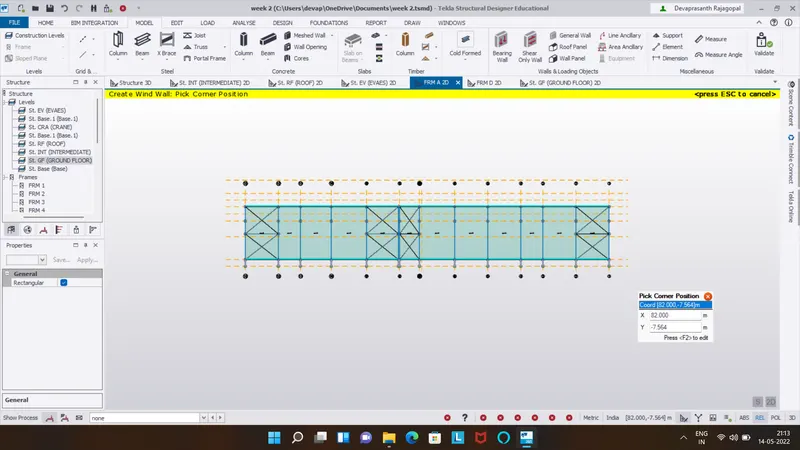
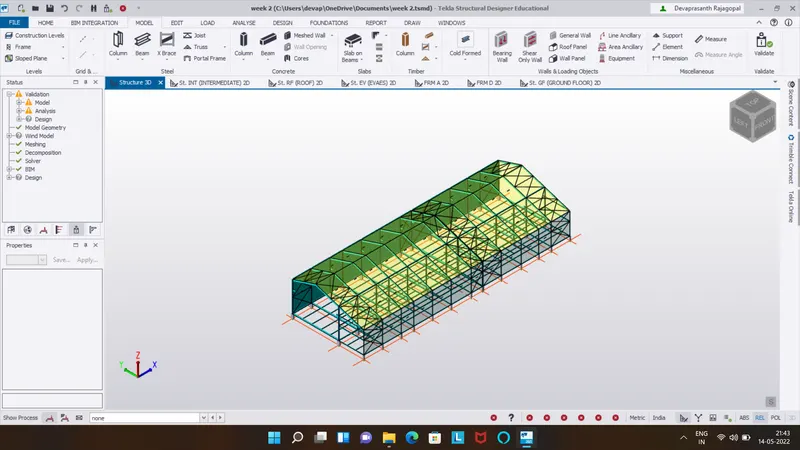
Now click on Wall panel in model tab and Roof panel at rafter beams
Step 9:
- Go to model tab
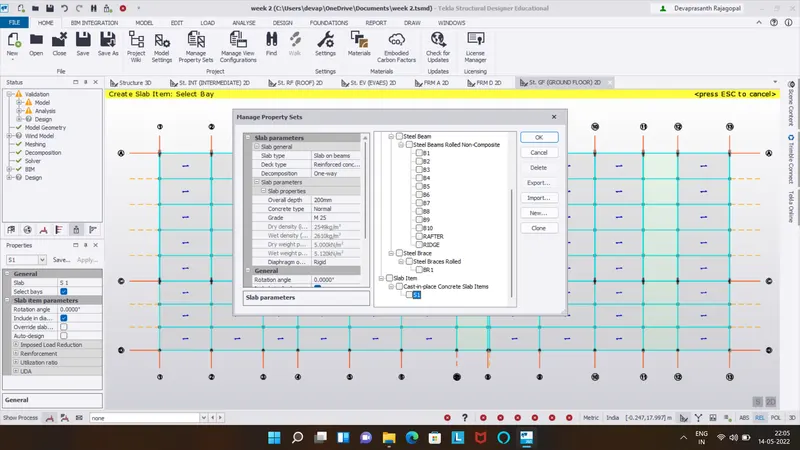
- Go to manage property set
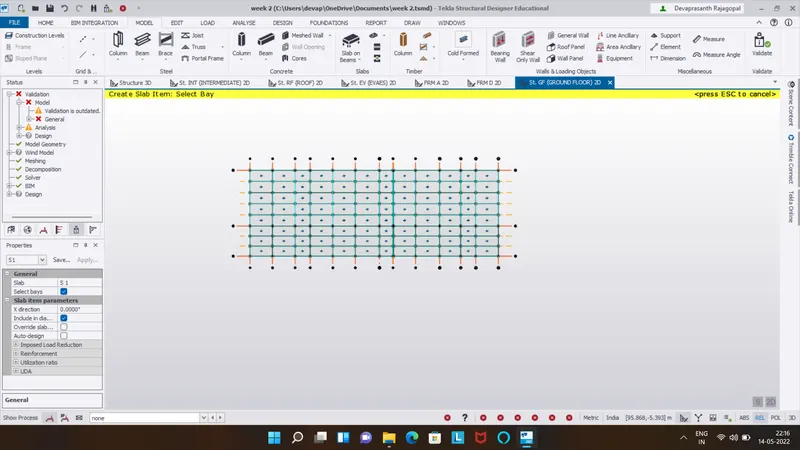
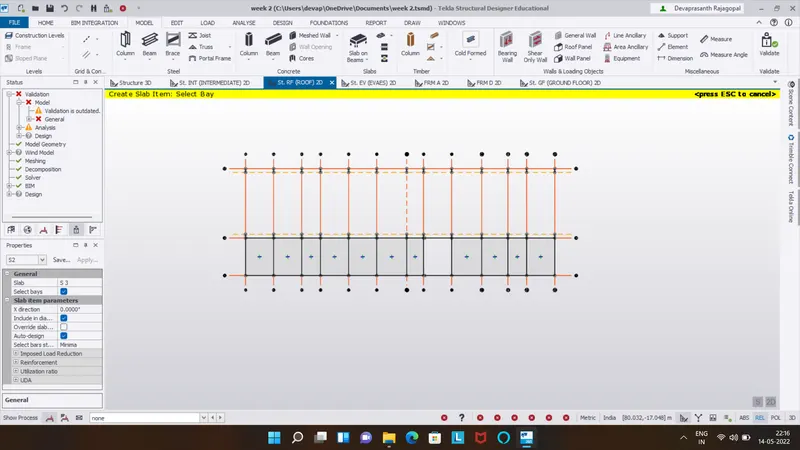
- Create the slab
- Assign properties to the slab type : slab on beam
- Untick autodesign
Results: