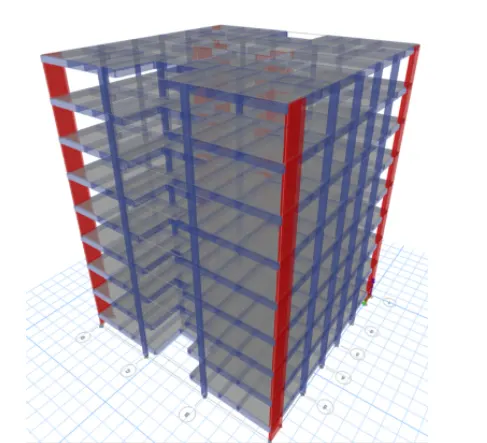
Structural Modelling using Etabs 2018
Q1-
Aim -to model and analyze the G + 7 residential building from the given architectural drawing using etab
Introduction-
- it have is an engineering software product that heaters to multistory building analysis and design
- modelling tools and templates code based on road prescription analysis method and solution technique all coordinate with the green leg geometry unique to this class of structure
- basic or advanced system understanding for dynamic condition may be evaluated using it up modelling is the generalisation that multi storey building typically consists of identical floor plans that repeat in the vertical direction
- Etab modeling feature that streamline analytical model generation and simulate advanced seismic system
- once modeling is complete it have automatically generated and assigned code based networking condition for gravity wind and thermal forces
Procedure-
- first we have to open the heat apps of software
- next to click on the file option at the left side top corner and select the new model as shown below
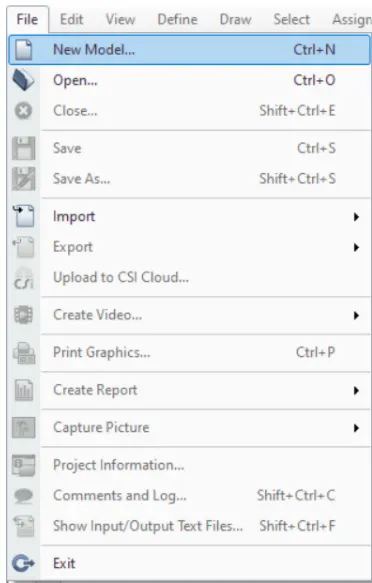
After selecting the new model the new tab opens in that tab we have to select use built-in sitting with option as shown below
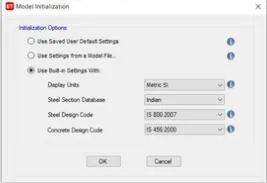
After sitting the model initialization the template tab will be opened and selected the grid only and press ok next to we need to do the sitting in a greatest system data as shown below
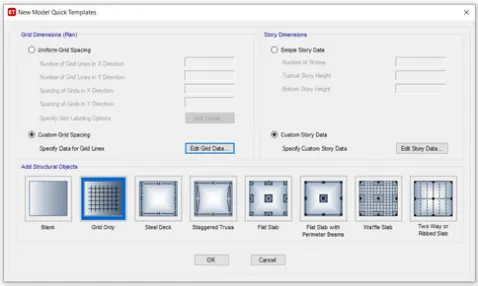
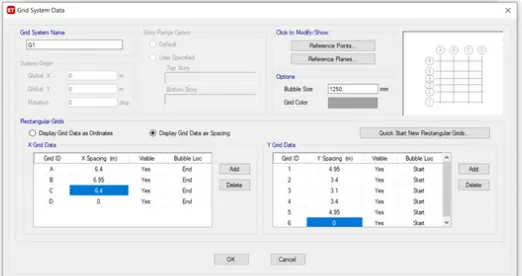
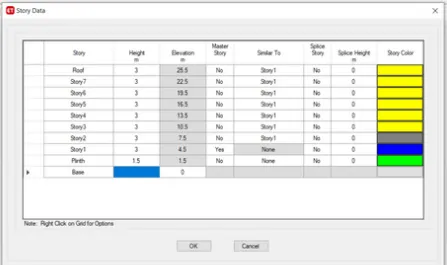
Next we need to add the stories up to 7 story in the story data
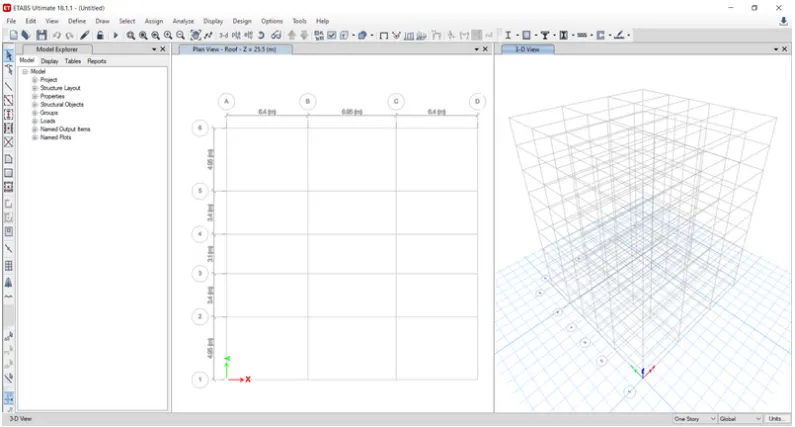
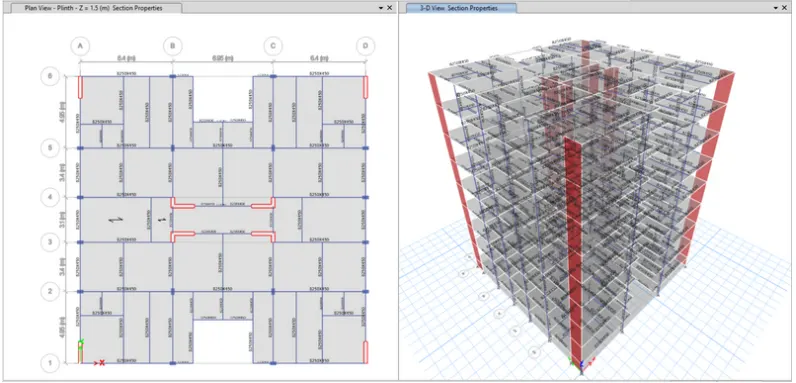
Next the plan views are visible in the Etab screen
next to we need to open the 3D view as shown in below figure
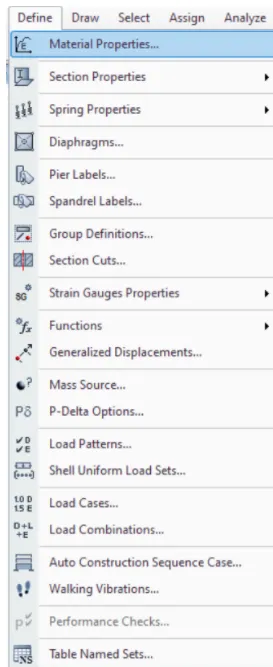
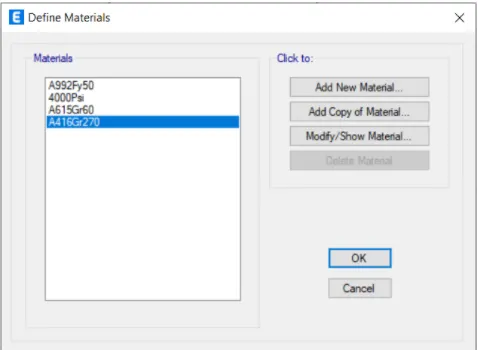
Next we need to define option and select a material properties
After selecting the material properties the new tab appears then we add new Material by selecting add a new material option shown below
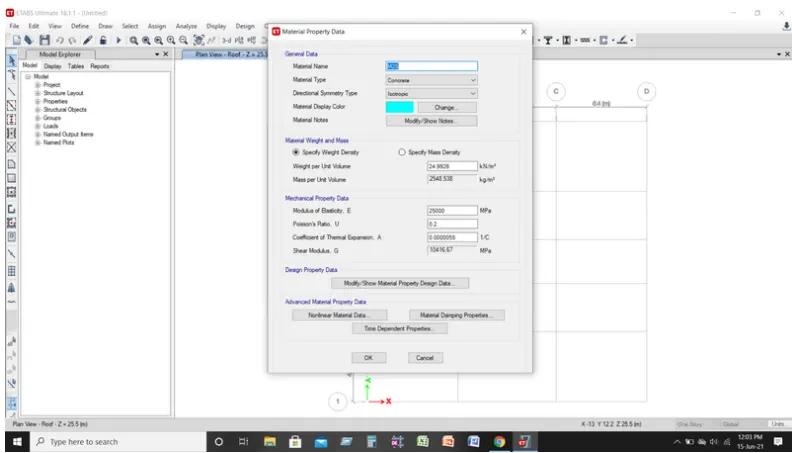
Now we need to add material type as a concrete and grade as M25
next we need to check the material property data as shown below
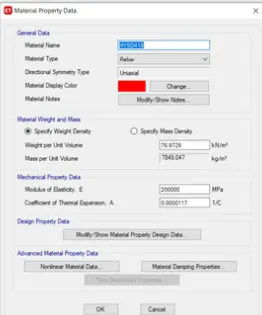
Now we need to add new material type as a rEBAR and grade as HYSD grade 415
next to we need to check the material property data
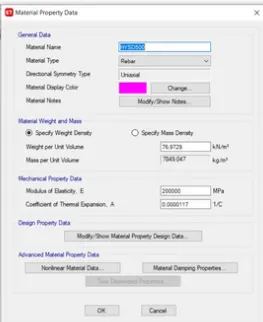
Now we need to select the section properties and click on the frame section
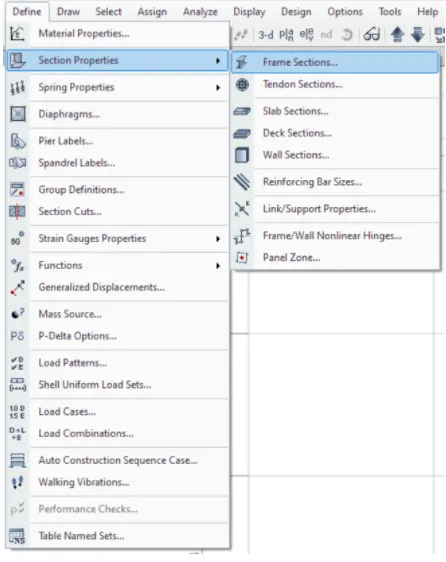
After selecting the frame section the new tab will visible in that we need to select the add new property action shown below
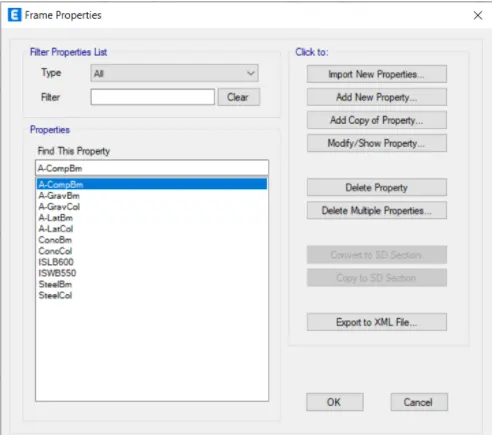
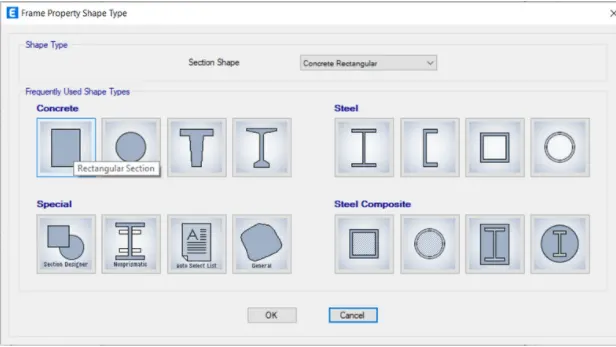
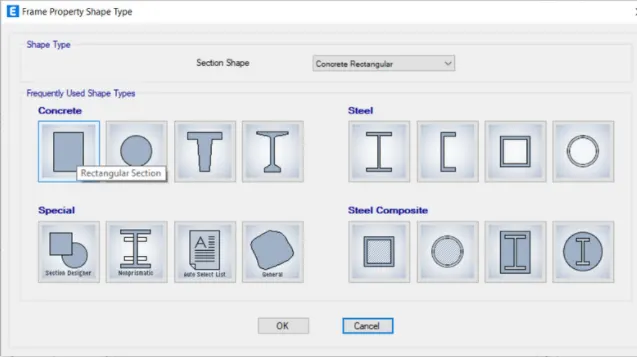
After selecting the add new property the new tab appears in the new tab we select the rectangular shape type in a concrete
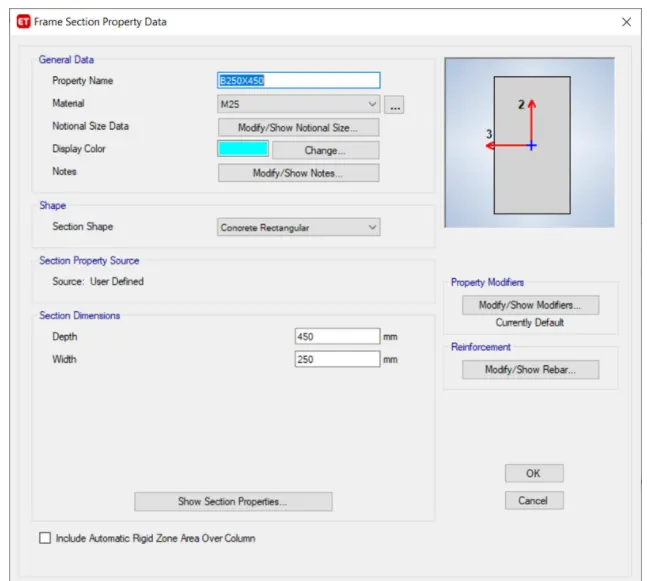
Next to the frame section property data will be visible in that we add beam size as a B250 into 450
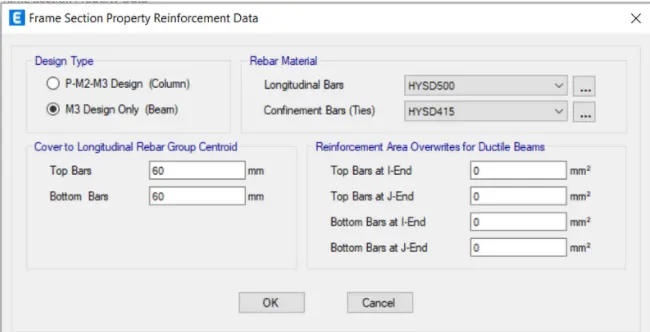
next we need the select the modify show rebar option
After selecting the modify show rebar option the new tab appeares
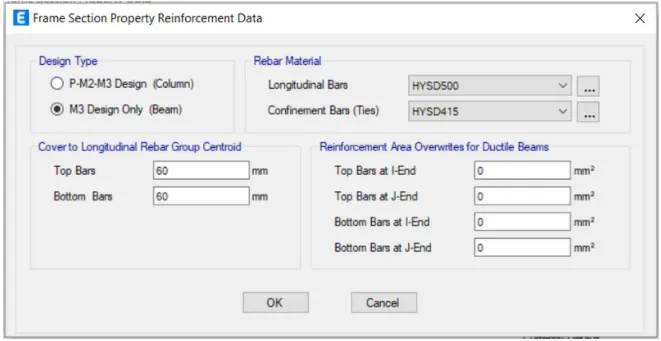
in that we select the design Type as M3 design only
Next we select to longitudinal bars with the grade of hysd 500 next to be select a confinement bars with the grade of Hysd 415
again we have to selct rectangular type in concrete
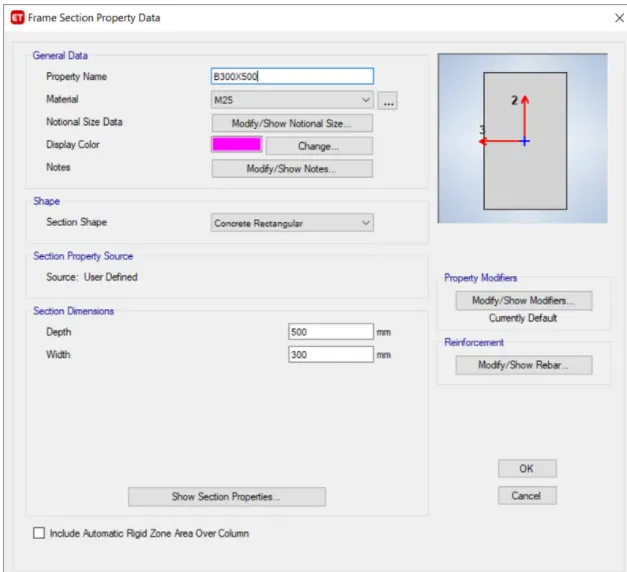
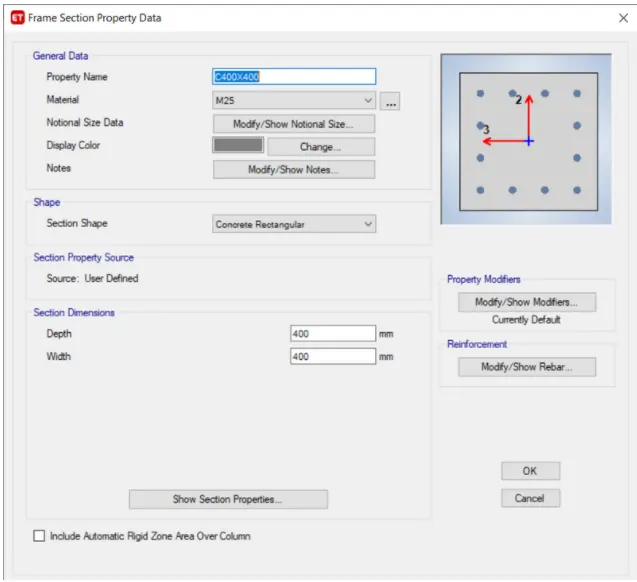
Again we have to add the another column size As 400 into 400 in the frame section
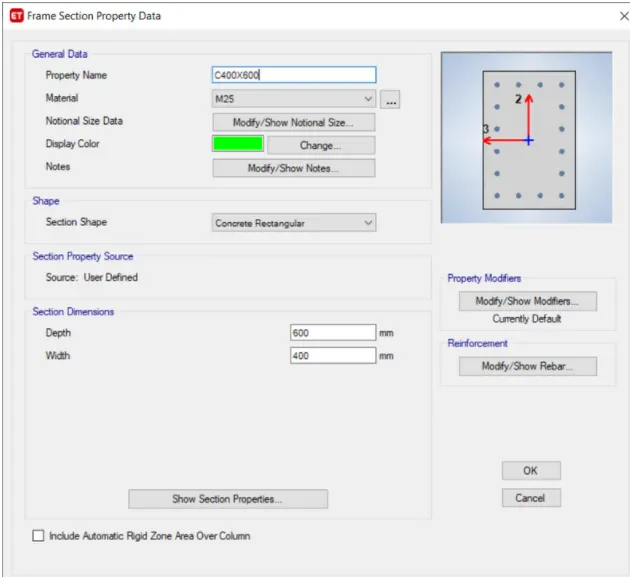
Again we have to add the another column size As 400 into 600 in the frame section
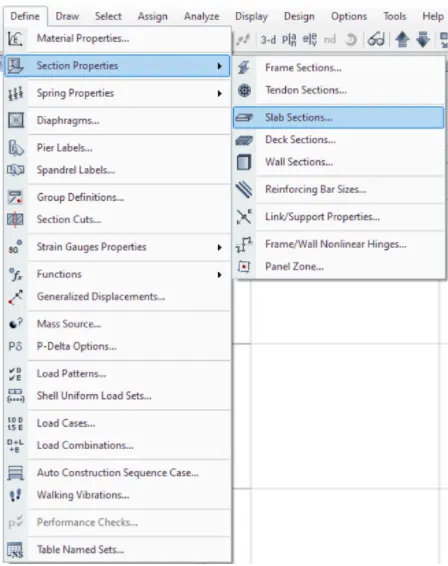
Next to be selected the slab section option from the section
Next to the slap properties tab will be visible in that select to the modify property option
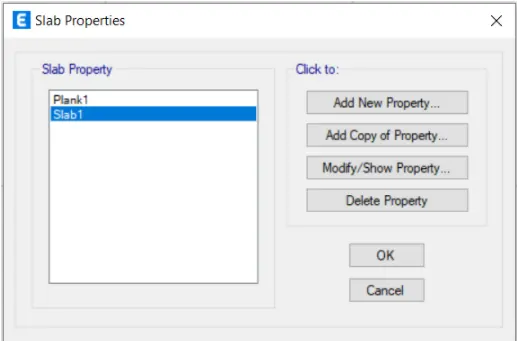
We need to put this slab name as slab 125 it means slab with thickness of 125 meter
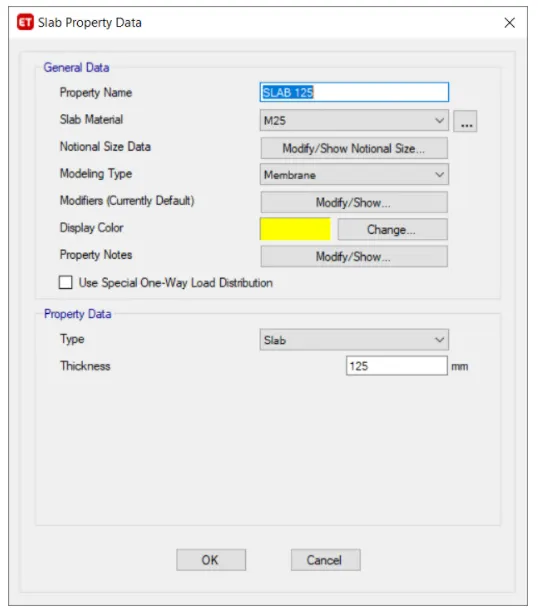
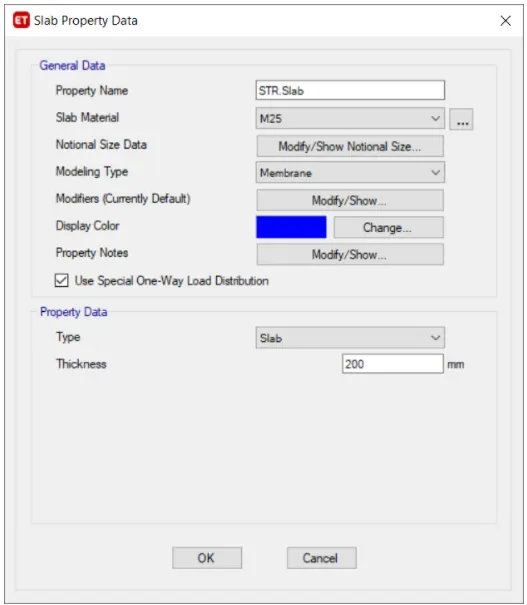
Now we take this left thickness separately from staircase with thickness of 200 mm
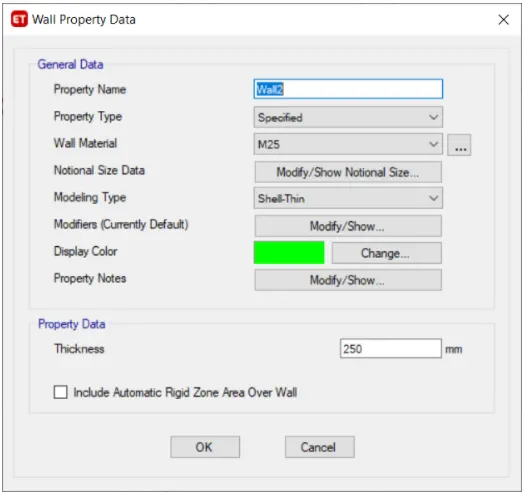
Next we have to add the wall properties in the wall property data
Next a we need to add the colum using the quick draw column options
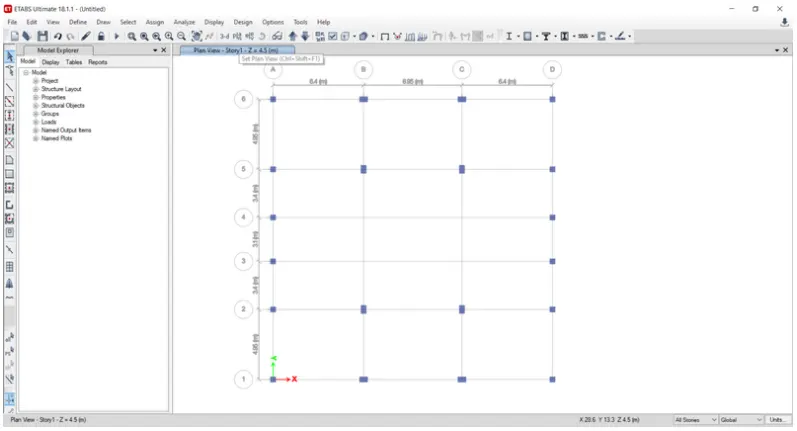
Next we need to add the beams using the quick draw beam option
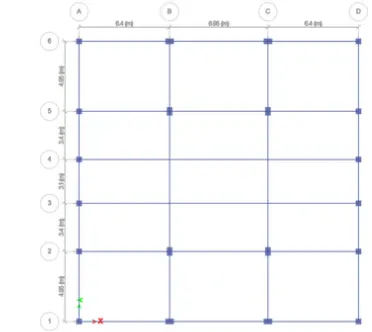
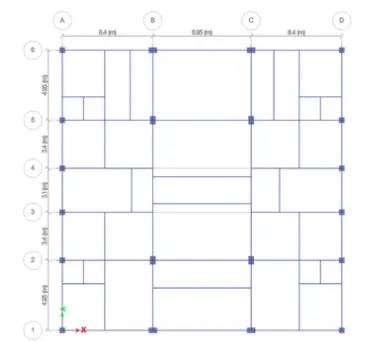
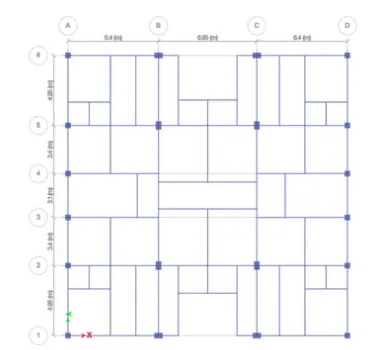
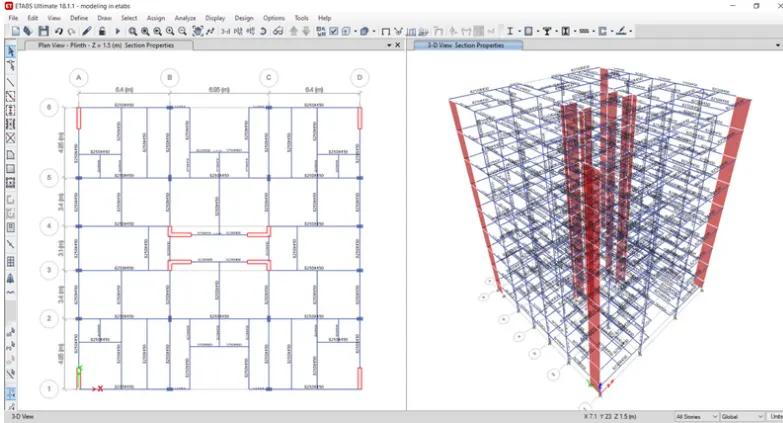
Next we add at shear wall in required location in the residential building
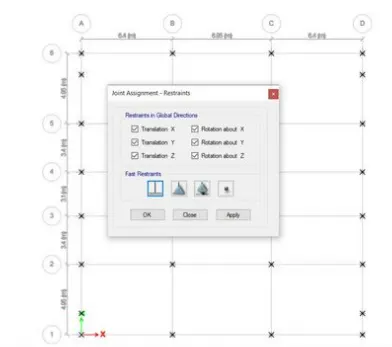
Now go to the base plan and select restarin fr0m all base joints
next we select restrains from joint option
Now go to the base plan and select restarin fr0m all base joints
next we select restrains from joint option
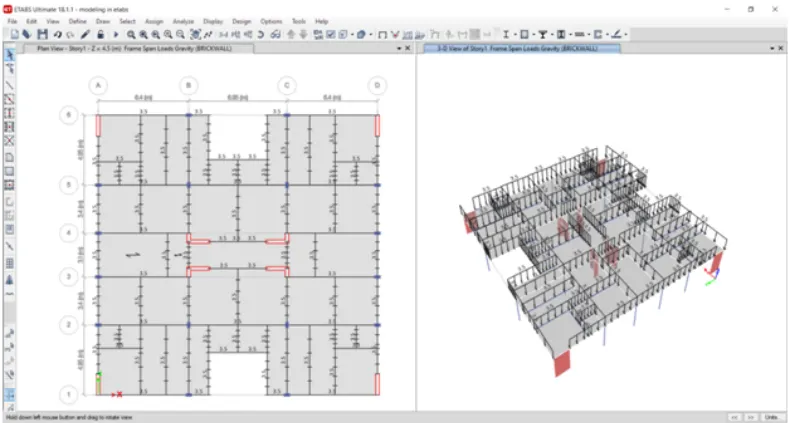
Next we need to select the load pattern of from the define option
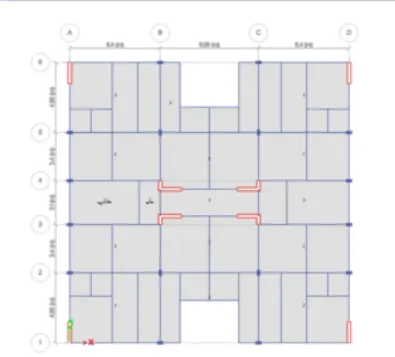
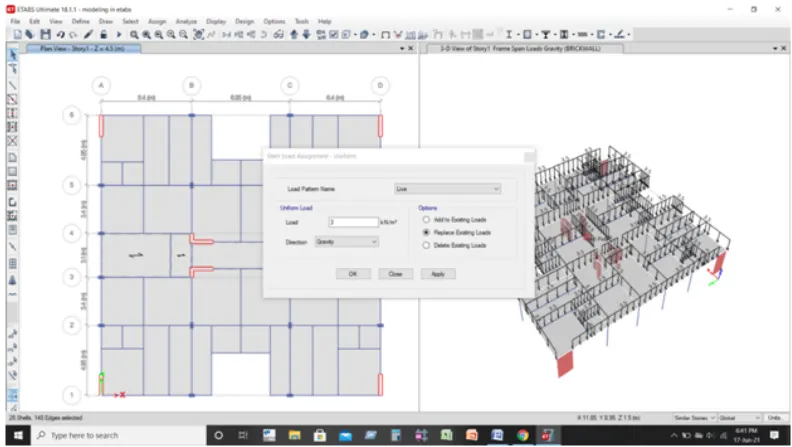
Now we need to select the distributed load from the frame load
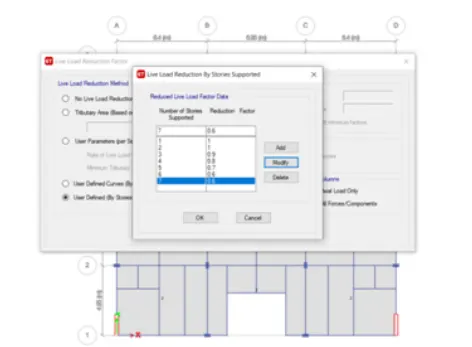
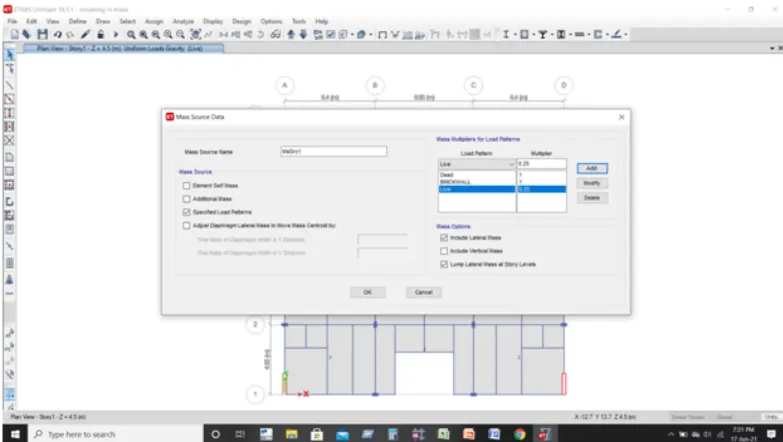
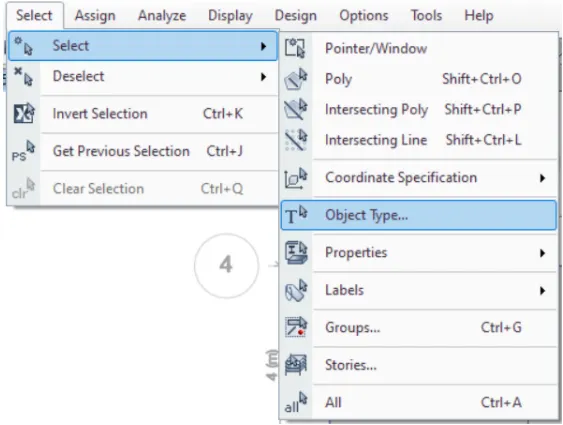
Then after the new tab will appear .in that case we selecte as the recall and waiting uniform Road as 3.5 and then click on the apply button and close
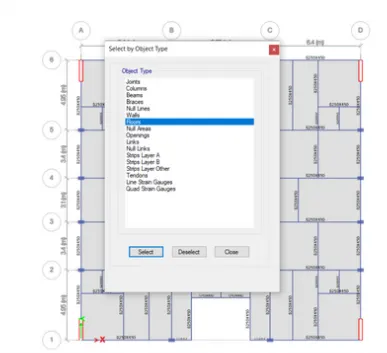
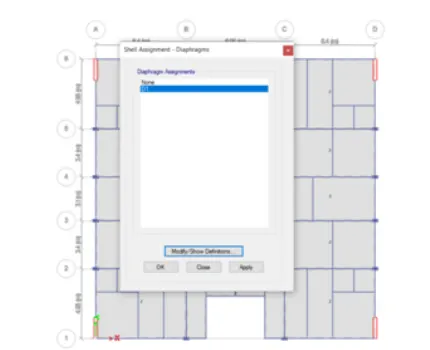
After selecting the diaphragm the new Tabu appear in that selected due one and click on the apply button and close
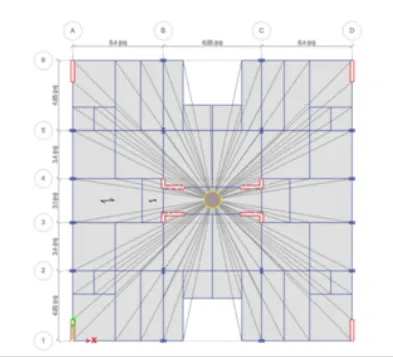
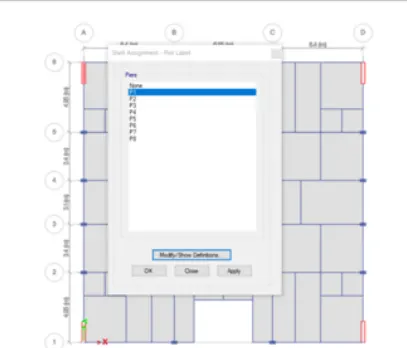
Now we have to select the pier level from the Shell option
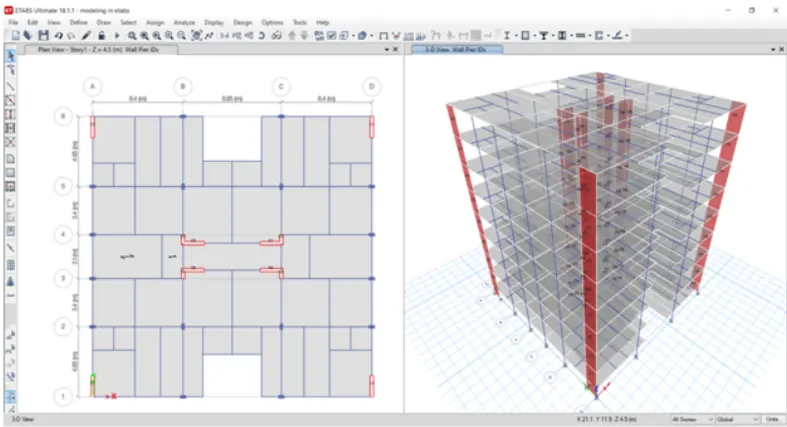
Next of from the define option we selected load combination
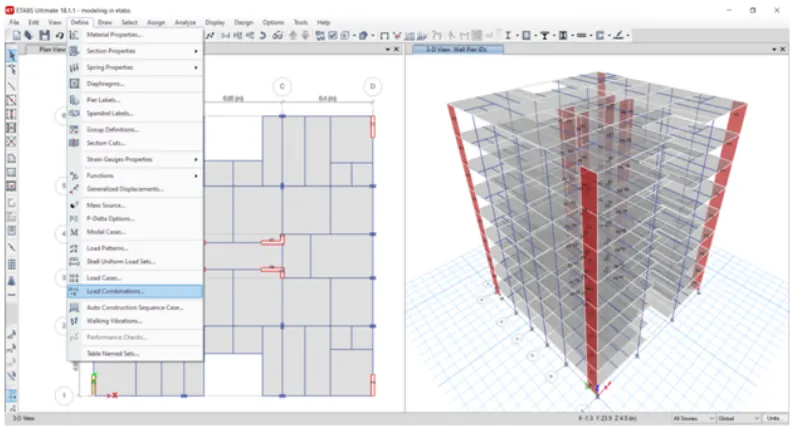
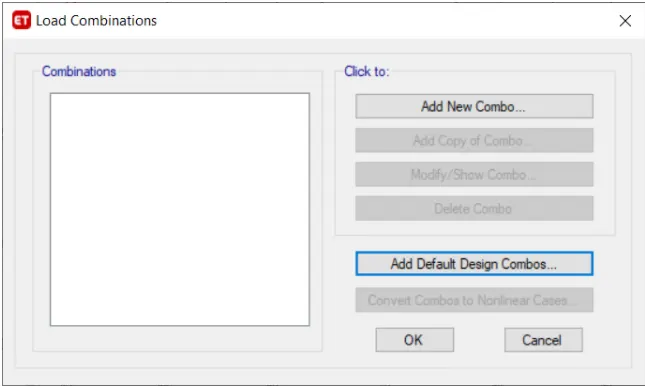
next we selected concrete frame design and concreteshear wall design in the add a defaulter design combination
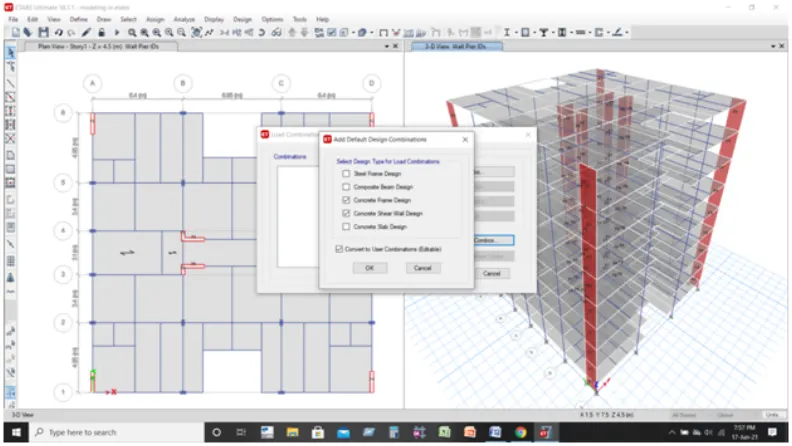
Next to be selected the model case from the define option
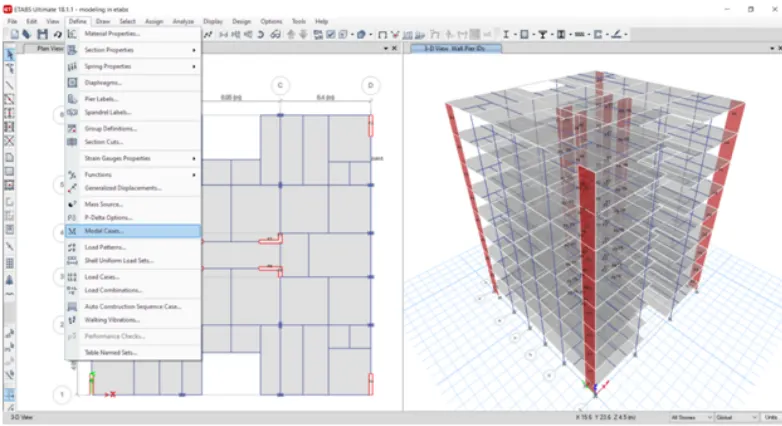
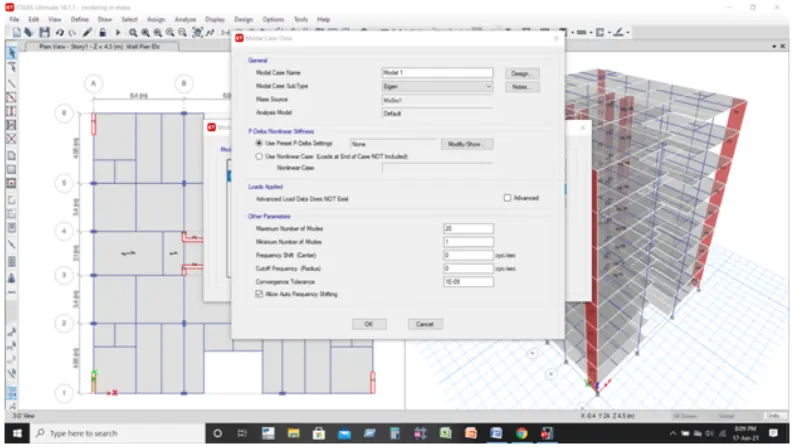
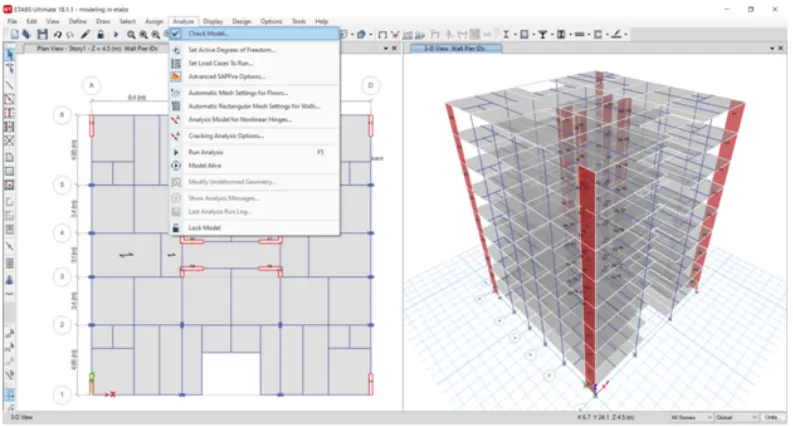
Next to have to check the model by clicking the check model action shown below
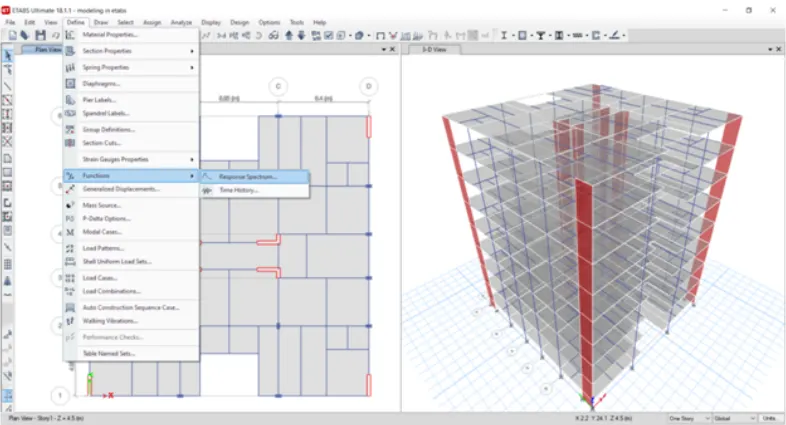
Now we select the response spectrum from the function from define option
Next we have to select the load cases from the define option
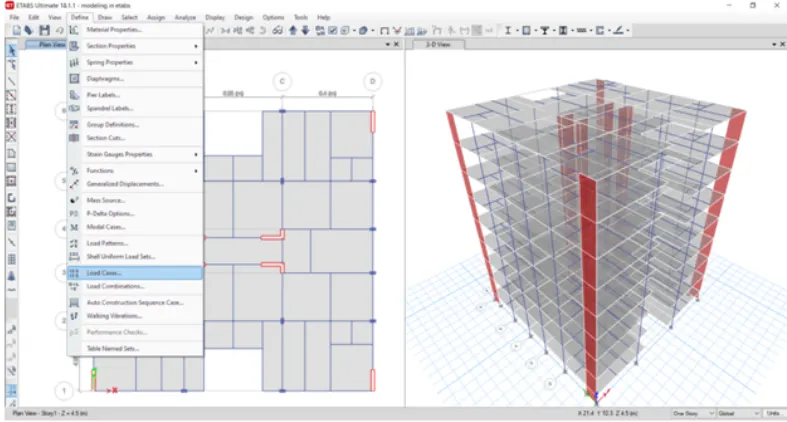
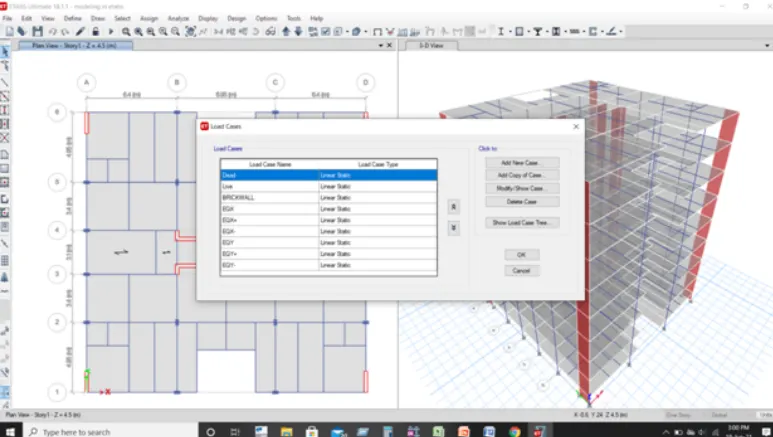
Next the load cases stable be visible in that we select to the add a new case now we have to enter the details of the load case data
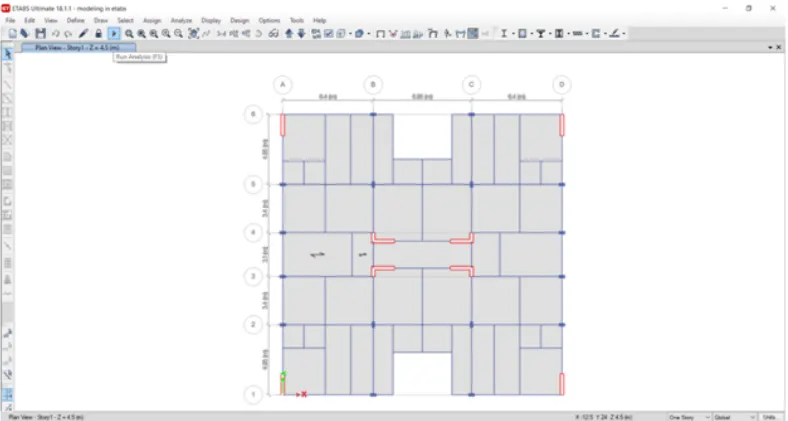
now we have to do run analysis
Now we have to do that an analysis after selecting the suitable option the new tab will be visible now we select the best reaction and click on the okay button
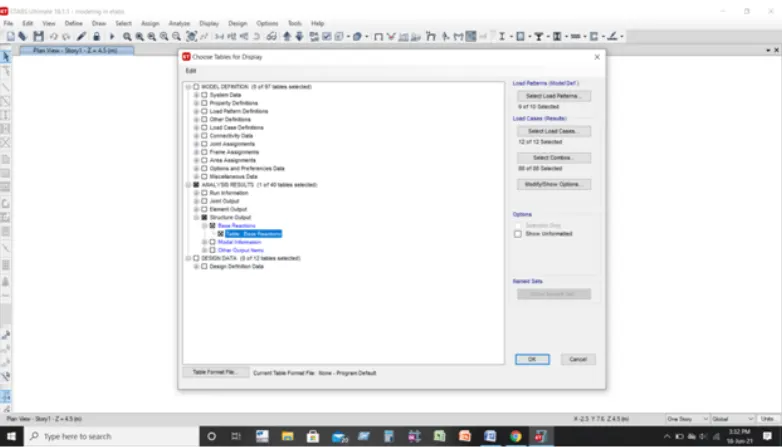
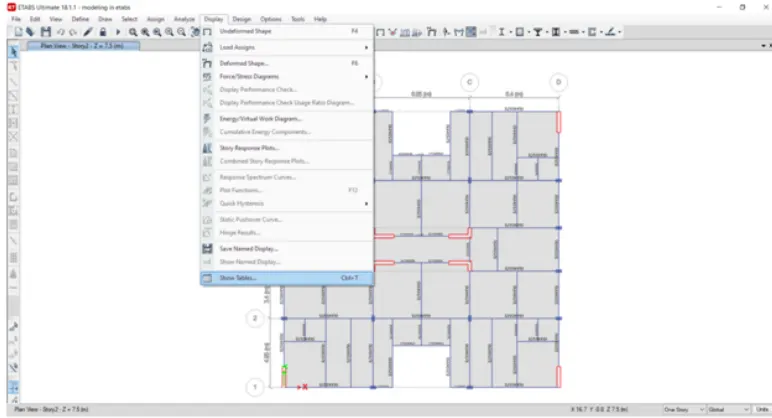
Next from the display option we select to the show table option
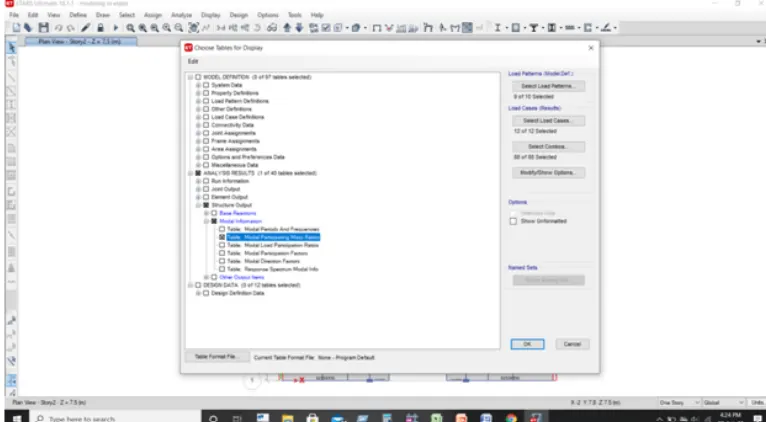
After selecting the show table option the new table be visible and now we select the model participating mass ratio and click on the button
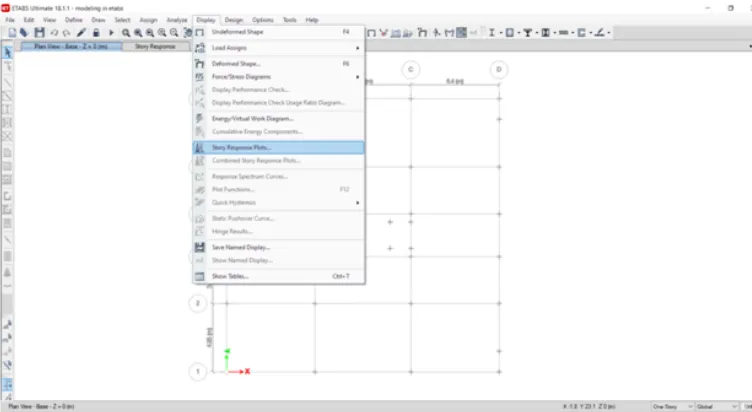
next we selected the storey response plot from the display option
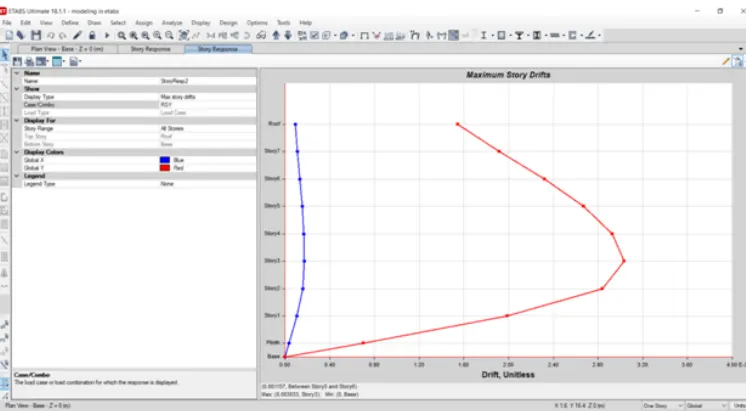
The storage sponsor for maximum story drift at X and Y direction should not be more than 4%
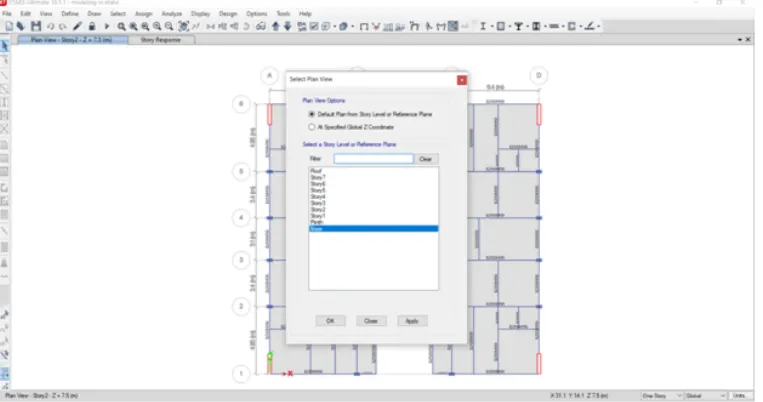
next we open the select the plan view tab and selected the base floor
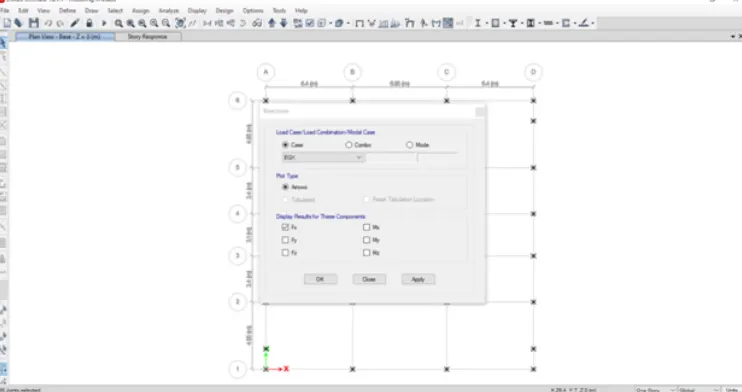
Next we have to open the reaction tab then we select the earthquake load towards its direction in that case then click on the okay button I shown below
Now the best shear reaction will appear when we divide the base shear taken up by the shear wall divided by the total mass share of building will get the percentage of the share for taken by the shear wall
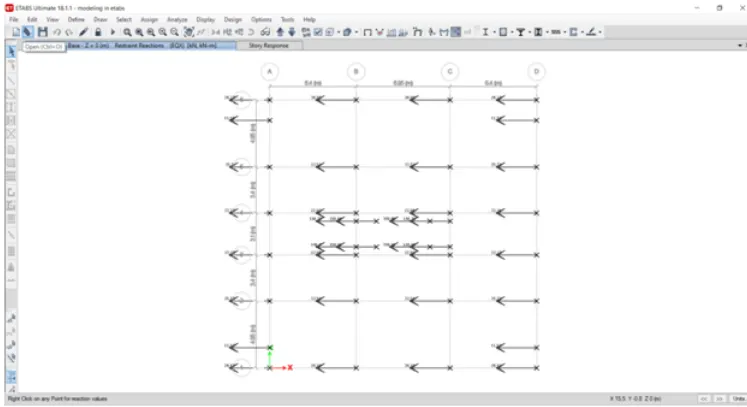
Result -
the G+ 7 residential building has been model and analysed a successful using Etab