REVIT_Dynamo Project- 3
1ans
AIM : To create a seet of sinusoidal points and create a curve and create a surface out of the curve.
TOOLS USED :
Dynamo.
Code block.
Range.
Mat.sin.
Integer slider.
Product (*).
Add (+).
Points by coordinate.
List.
Surface by loft.
PROCEDURE :
1. First open a new revit file and open a architectural template.
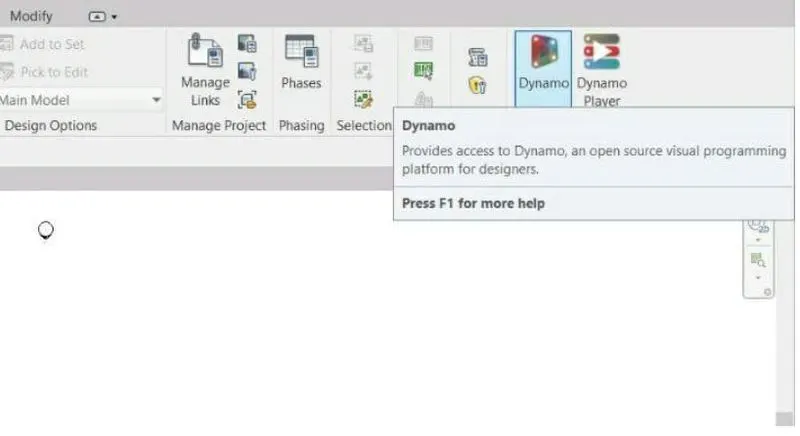
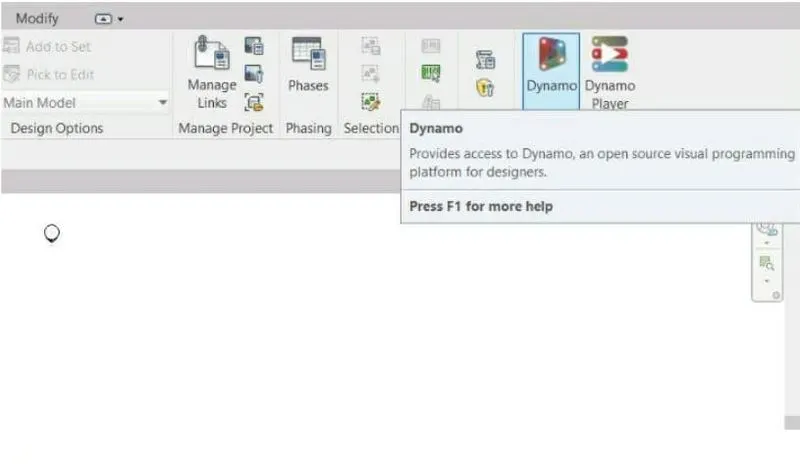
2. Next click on manage tab and select dynamo tool.
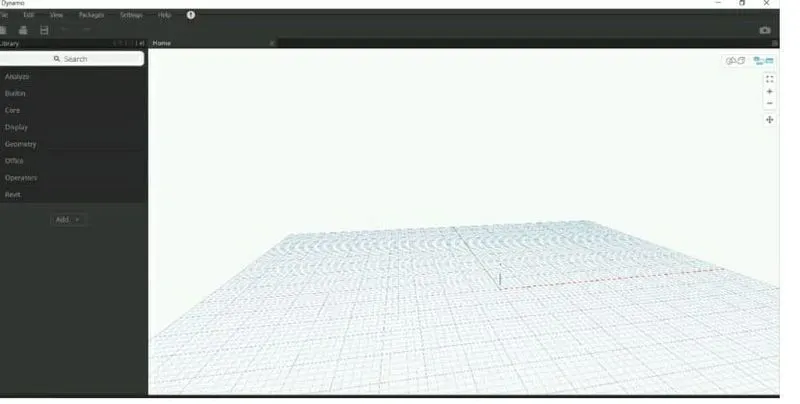
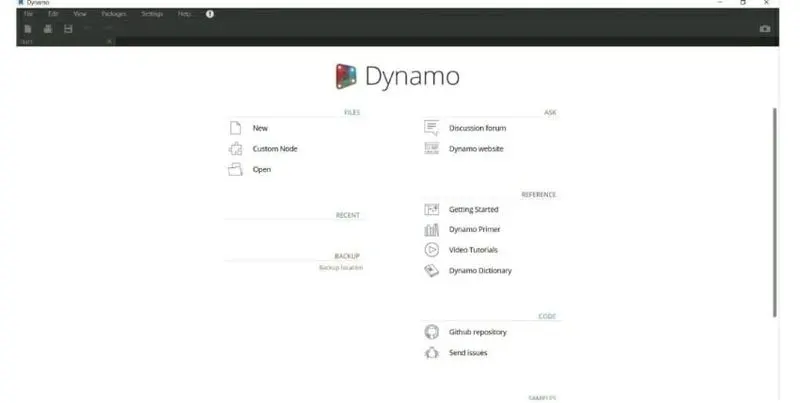
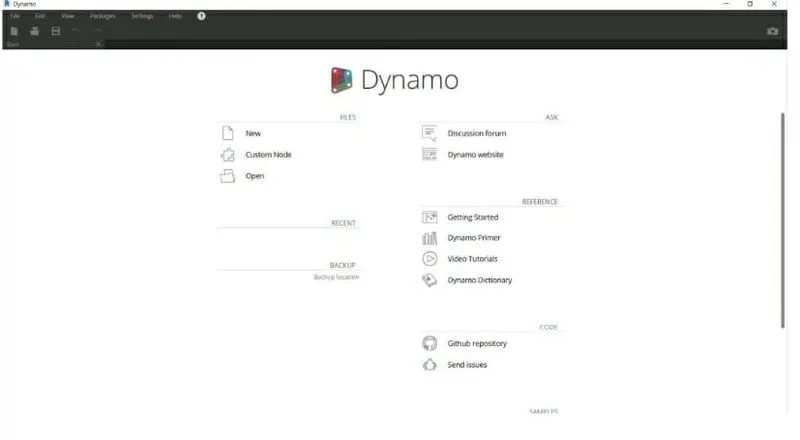
3. Dynamo work space opens and click on new and start the work in dynamo.
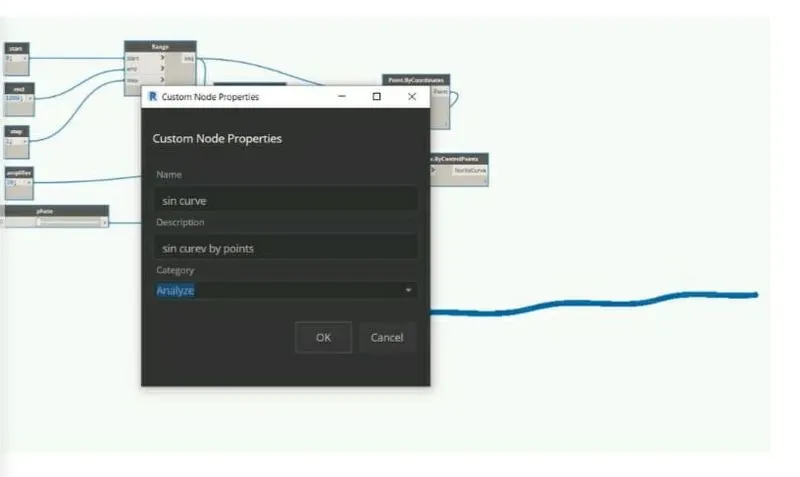
4. For drawing a sinusoidal curve we have have some parameters such as start, end and step of the curve.
5. With the help of code block option we have to assign start, end and step of the curve.
6. Next we need amplifier and phase for the curve, so we can use code block and integer slider.
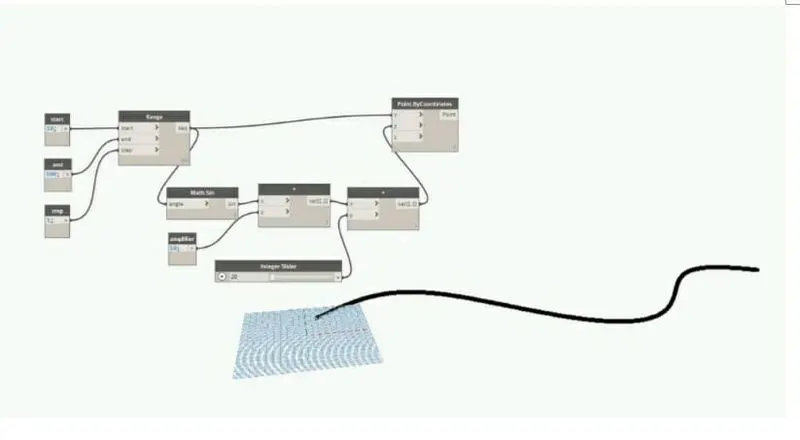
7. We have to connect the start, end and step to the range.
8. We have to assign a new parameter called Math.sin for the sin curve.
9. Connect Math.sin to x of * and amplifier to y of *.
10. Connect variable of * to x of + and interger slider to y of +.
11. Connect the variable of + to y of point by coordinate.
12. Connect points to points in nurbs curve and integer slider to degree in nurbs curve.
RESULT :
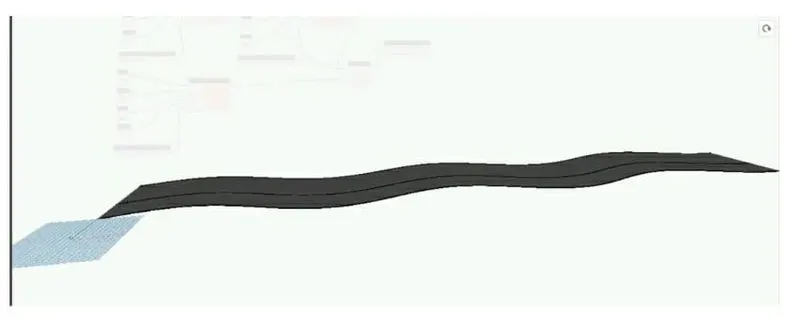
With the above steps we can create a set of sinusoidal points and join them, later we can assign surface to the curve.
2ans
AIM : To create a conceptual layout of floor in dynamo. Use appropriate parameters like wall types, wall paramenters and use sliders for wall height and length.
TOOLS USED :
Integer slider.
Code block.
Point by coordinates.
Line by start and end point.
List.
Wall type.
Levels.
Wall by curve and height.
PROCEDURE :
1. First open a architectural template.
2 Click on manage tab and select dynamo option.
3. In dynamo select new.
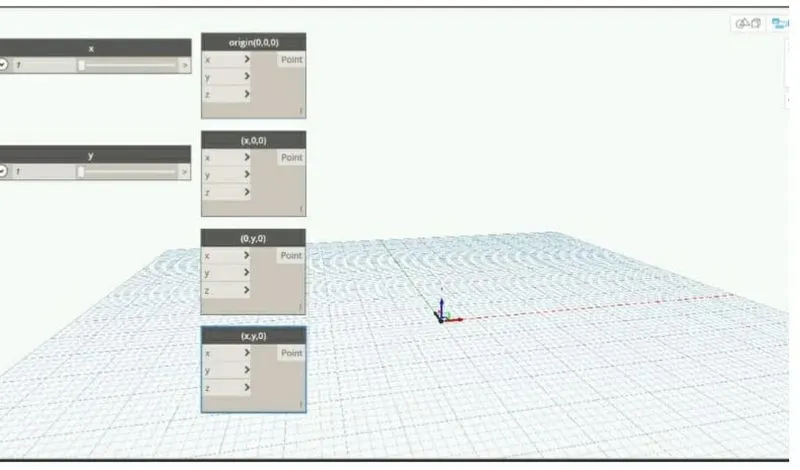
4. Create two integer sliders for x and y.
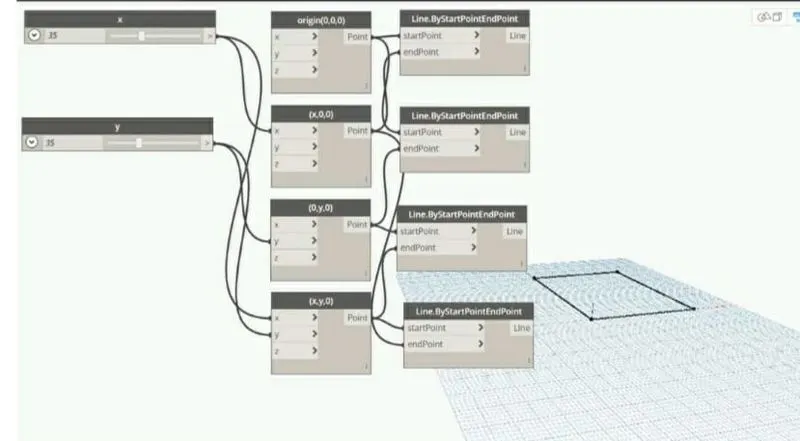
5. Create four points by coordinates.
6. Connect the points to line by start and end point.
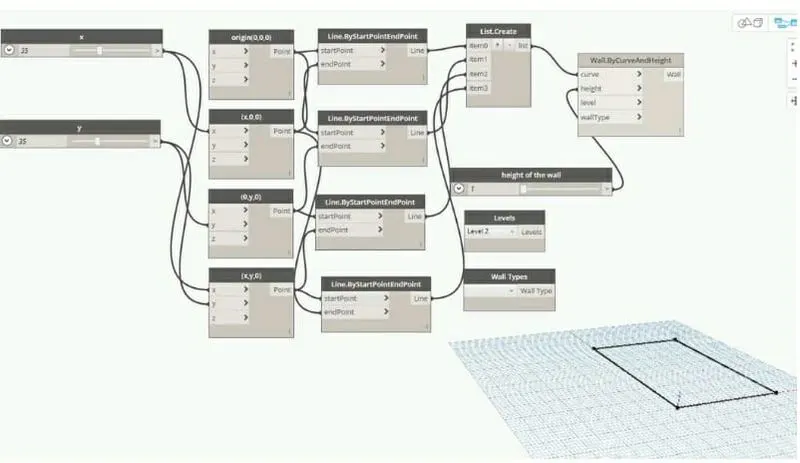
7. Create levels, height of wall and wall type parameters.
8. Connect height of wall, wall types, levels and list to wall by curve and height.
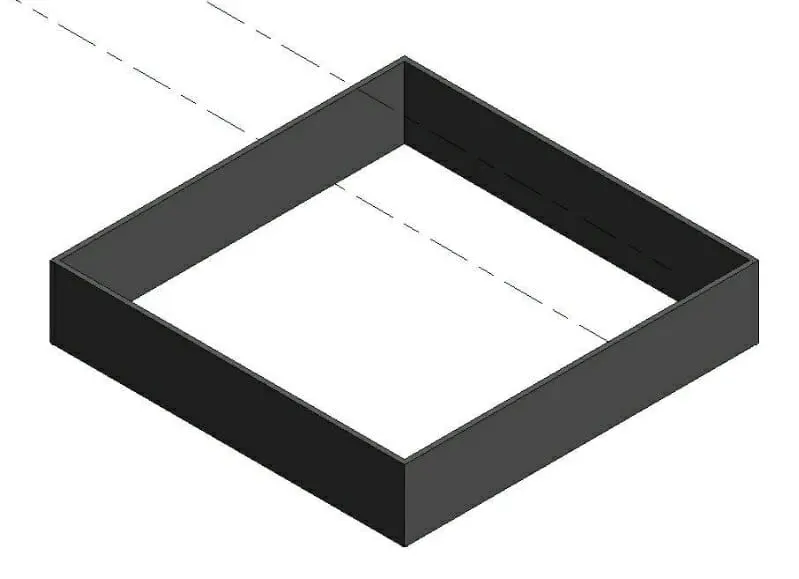
9. Now we can go to the revit file and see the wall in 3D view.
RESULT :
Now we have successfully created a conceptual layout of floor with all the required parameters.
3ans
AIM : To create an array of elements in revit using dynamo.
TOOLS USED :
Architectural.
Columns.
Dynamo.
Set rotation.
Integer slider.
Code block.
Select model element.
View.
Default 3D view.
PROCEDURE :
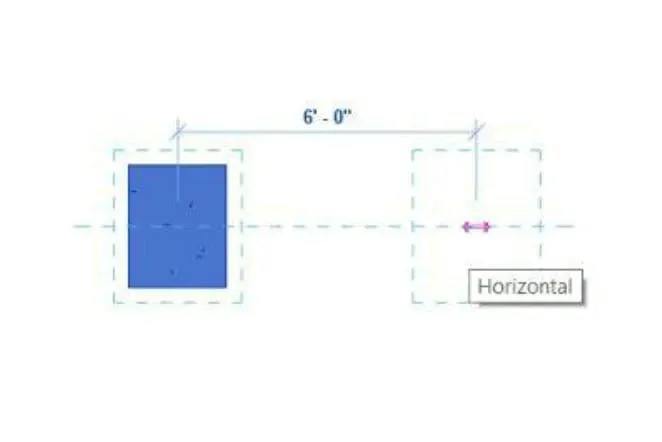
1. First open architecture template in revit and draw a architectural column.
2. Next Select the column and copy and paste it at a horizontal distance od 6'0".
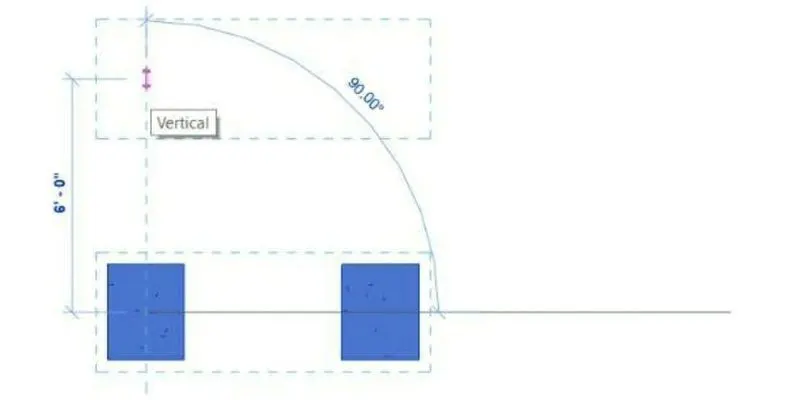
3. Nect select both the columns and copy and paste them vertically, Totally we get 4 aarchitectural columns in the drawing.
4. Next go to manage tab and select dynamo option.
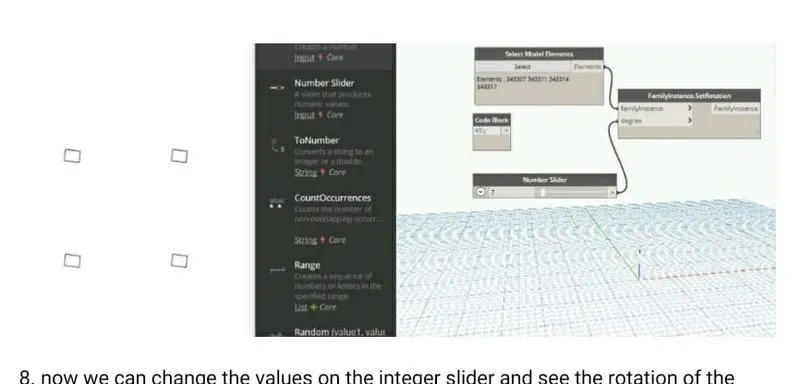
5. In the dynamo window Add select model elements, set rotation, code block and integer slider parameters.
6. Give a standard value to the code block and connect select model elements and code block to set rotation.
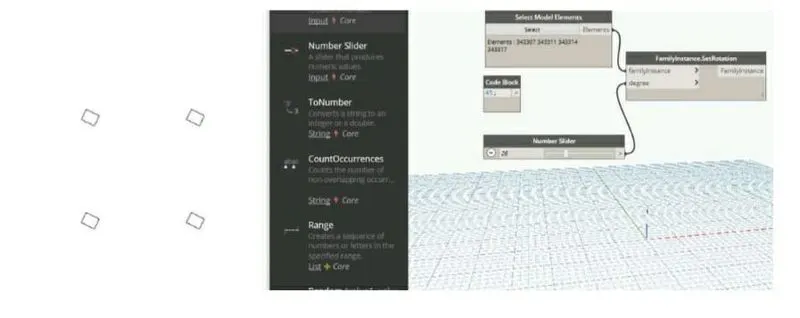
7. Now connect the integer slider to the set rotation parameter to change the rotation of the columns.
8. now we can change the values on the integer slider and see the rotation of the columns simultaneously in the revit file with different values.
9. We can observe the same rotation in the 3D view.
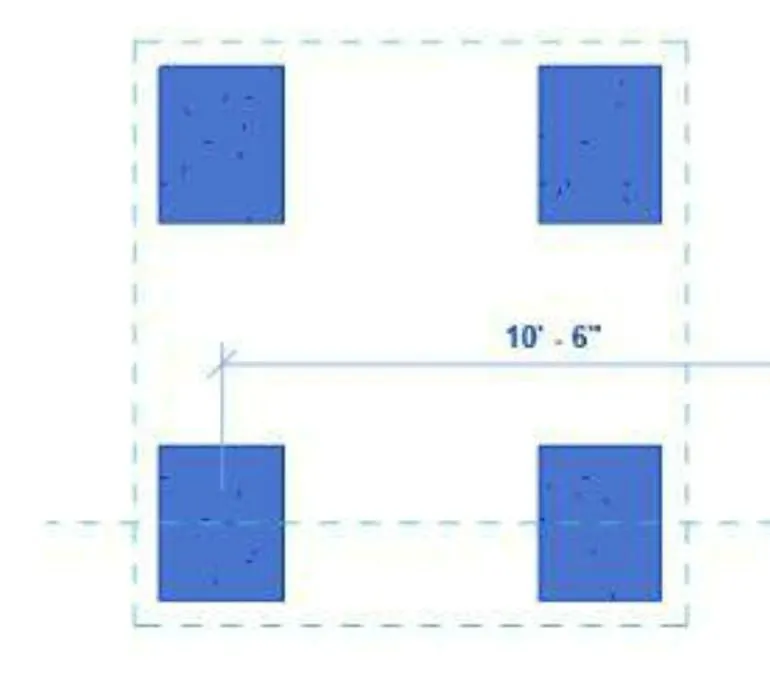
RESULT :
We can create and change the parameters of an array of elements in revit with the help of dyna