Radar Mast & Final Assembly of Yacht
Yacht Modeling Using SolidWorks
Objective:-
- To create a model of different part of Yacht.
- Assembly of different part of model for Yacht.
- Create a photorealistic model and render the model of the Yacht using Solidworks Photoview 360.
What is part modelling ?
Part Modelling is feature in which I create solid body and see the part that how to looking in reality, like as realise the vertuility. It uses different purpose. With the help of this I create many parts and assemble them and check it. If it is not correctly then I can change in part. And get a final part.
Specially Yacht is made under surface modelling of Solidworks.
Part which is created for Yatch :
The following part of Yatch is modelled by Solidworks and assembled them.
- Propeller Fan
- Radar
- Hull
- Garage Door
- Front Seat
- Middle Seat
- Rear seat
- Super Structure
- Radarmast
- Now let us see the every part in detail.
- Propeller Fan :- Propeller fan is used to move the Yatch in front direction or reverse direction. When propeller fan move in round direction then it push the yatch by thrust of water and propeller fan. It is fitted back side on the shaft of Hull.
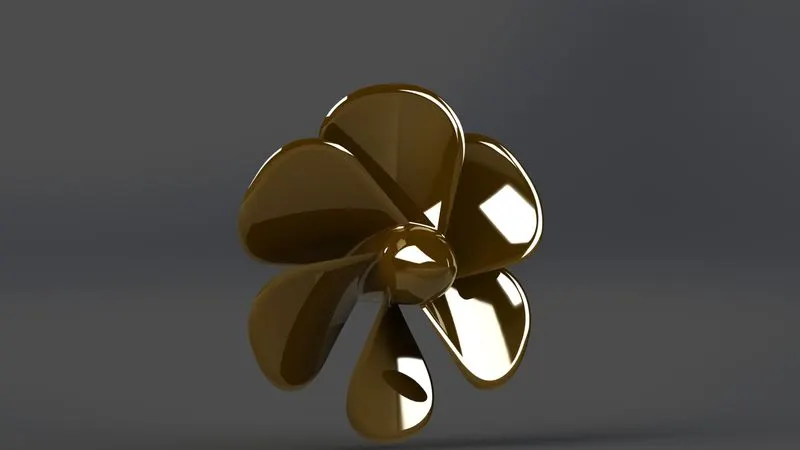
Feature is used to create the Propeller Fan –
- Sketch
- Revolve
- Loft
- Fillet
- Cut Extrude
- Circular Pattern
Sketch- Sketch is a 2D drawing representation respect to the plane in solidworks. It is a basic drawing. I draw a sketch with the help of line, arc, rectangle, circle, spline etc.
Revolve – Revolve is a feature by which we create a solid body in round direction with the help of 2D sketch and round axis which I select.
Loft - With the help of this tool we create a extrude with the help of single or multiple 2D or 3D sketch.
Fillet- Fillet is used to where the edge is on the body (external or internal). With the help of this I change the edge into circular edge.
Cut Extrude - By this tool we cut the solid body with the help of sketch.
Circular Pattern - In this feature I create a pattern in circular basis. With the help of this I create many leaf of this fan.
Procedure followed to create the model of Propeller Fan.
- First of all I opened the solidworks software. Then click the new part to create the model.
- Then Right Plane is selected to sketch.
- I draw a 2D sketch with given dimension and relation with fully defined.
- After it I changed the 2D sketch to 3D body.
- I create a sketch again.Then I create a Loft body.
- Then I cut the loft body to get a required shape.
- Then I gave the fillet as required dimension.
- After it I create a pattern to get many leaf. After it the model of Propeller is ready.
- And then I saved with part name as Propeller.
- Radar :- Radar is used to find out the location. It is fitted with Radarmast.
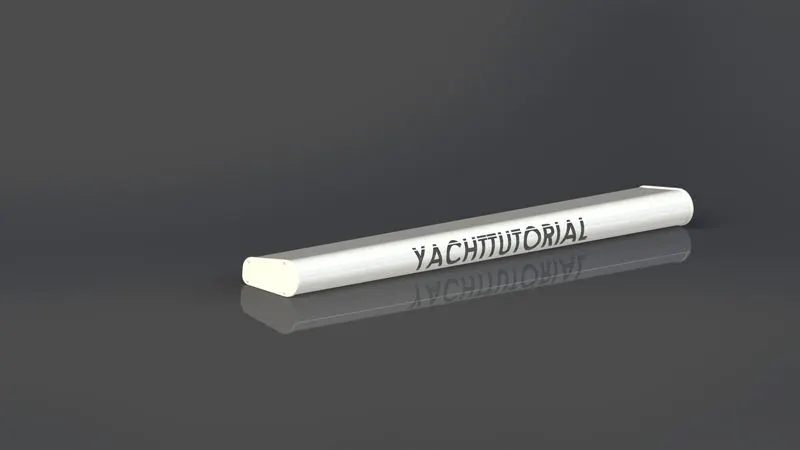
Feature is used to create the Radar.
- Boss Extrude
- Fillet
- Cut Extrude
- Sketch Pattern
- Mirror
- Split Line
Boss Extrude- Extrude is a feature in which I convert 3D solid body from 2D sketch.
Sketch Pattern- With the help of this I create a many feature (which I select) altogether in different palace.
Mirror - With the help of mirror we select the body and mirrored along a plane which I select.
Split Line- By this tool I draw a line or sketch and project the sketch on body. So sketch is showing on body.
- Hull :- It is the base structure of Yatch. Every parts is fitted with this like superstructure, propeller fan etc. Some part of Hull is in under the water and some part is on upper the water. With the help of this the Yatch float on the water.
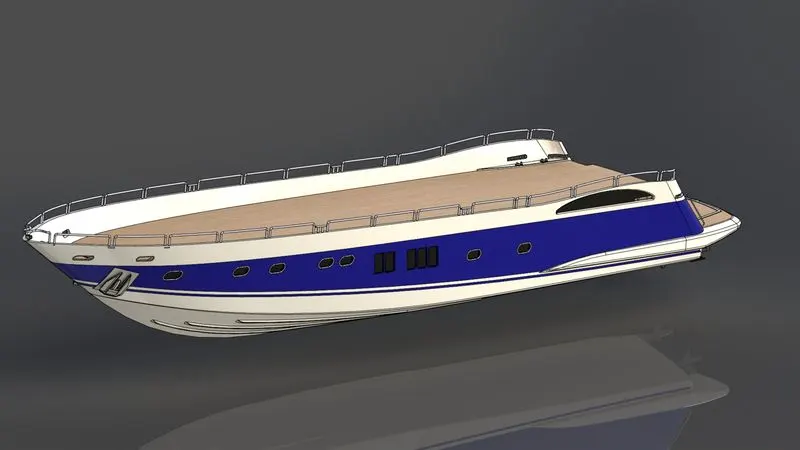
Feature is used to create the Hull.
- Blueprint
- Sketch
- 3D Sketch
- Projective Curve
- Surface Loft
- Surface Trim
- Surface Knit
- Surface Extrude
- Surface Fill
- Shell
- Boss Extrude
- Cut Extrude
- Fillet
- Chamfer
- Sweep
- Revolve
- Dome
- Helix/Spiral
- Linier Pattern
- Delete Face
- Mirror
- Split
Blueprint :- First of all we insert the blueprint and fix it with the reference of origin point. It is very useful and easy to create the Hull.
3D Sketch :- In this feature to draw the sketch, no need any plane. We draw the line, spline etc and fix the end point with the body ( which point I select). Then sketch will be fully defined.
Projective Curve :- Projective Curve is a 3D curve which is projected by two different 2D curve.
Surface Loft :- With the help of this tool we create a surface where I draw the sketch.
Surface Trim – By this tool we trim (cut) the surface where I want with the reference of sketch, surface or line etc.
Surface Knit - Surface Knit is used to knit the 2 free edge of the surface together. It also reduce the gap between two surface.
Surface Extrude :- By this feature I draw the sketch and when I do the surface extrude it will be create only surface where sketch entities is exist, not a whole body.
Surface Fill :- By this tool we fill the surface on closed loop.
Shell :- Shell is special tool. With the help of this I create hollow in solid body.
Chamfer - Chamfer is nothing but like as fillet. In chamfer I make an edge into flate with angle as chamfer.
Sweep - By this feature we can create a solid round shape with the help of 2D sketch profile along a path.
Dome - With the help of this entity I create a dome on regular or irregular shape. The centre of dome is outside from face.
Helix/Spiral :- By this feature we create a spiral/spring with the help of base circle.
Linear Pattern - Linear pattern tool is a kind of pattern tool. It works as circular pattern but slightly difference. This pattern works on linear basis.
Delete Face :- By this feature we transfer solid body to hollow surface body.
- Garage Door :- Garage door is main door of the luggage room of Hull. Where we can put any l thing like car, bike etc.
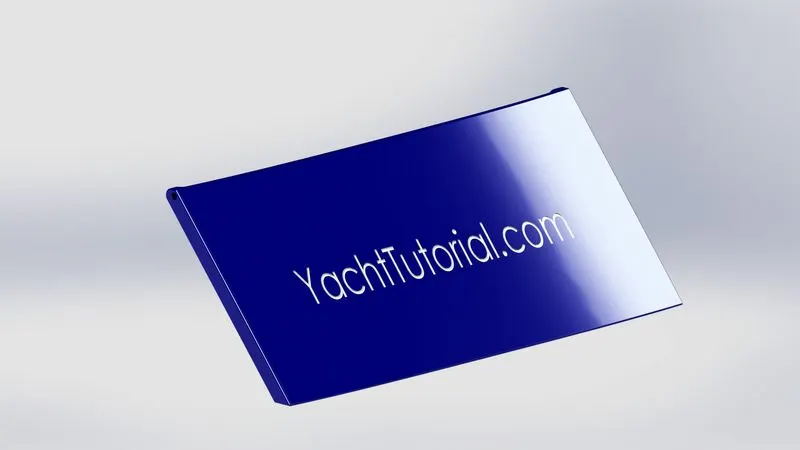
Feature is used to create the Garage Door.
- Stock Hull
- Sketch
- Cut Extrude
- Shell
- Fillet
- Mirror
Stock Hull :- By this feature we had taken cut body in stock from Hull. When I realised to make the garage door then I open the cut body and next operation is proceed on it.
- Front Seat :- This seat is situated on Hull and front of superstructure. It is used to seat and take rest for those person who is presence on Yatch.
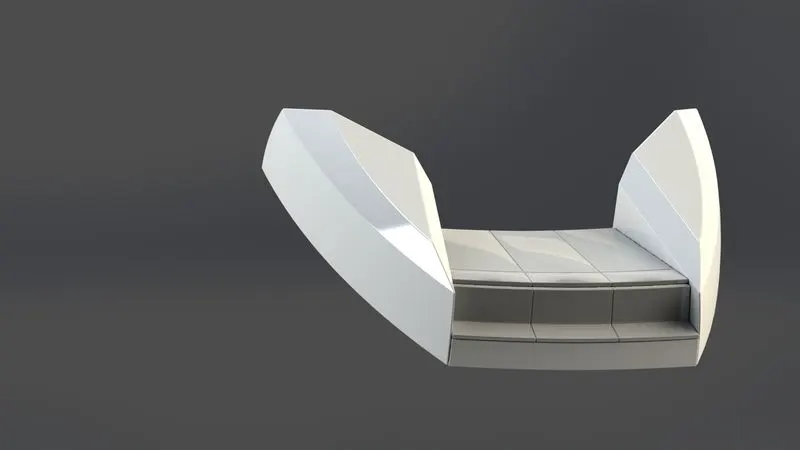
Feature is used to create the Front Seat.
- Sketch
- Surface Sweep
- Surface Trim
- Surface Fill
- Surface loft
- Surface Knit
- Chamfer
- Revolve
- Cut Extrude
- Cut Extrude Thin
- Fillet
- Mirror
- Dome
Surface Sweep :- By this feature we create a surface along a path ( which I draw like round, spline or line etc).
- Middle Seat :- This seat is situated on Hull and just back of superstructure. It is used to seat and take rest for those person who is presence on Yatch.
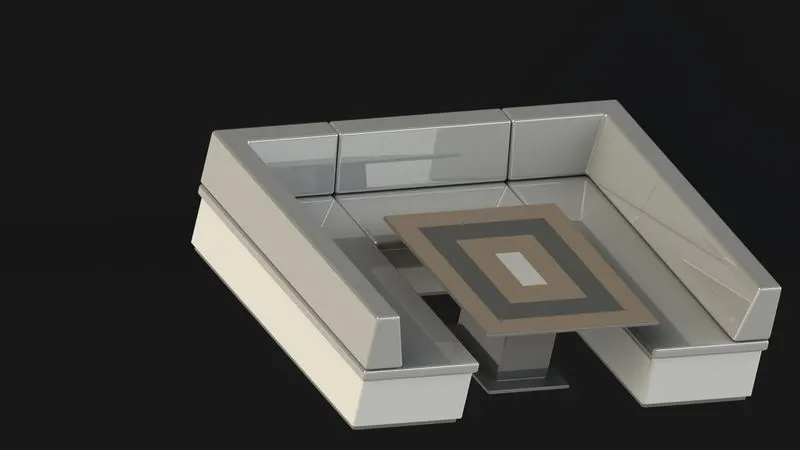
Feature is used to create the Middle Seat.
- Sketch
- Boss Extrude
- Chamfer
- Fillet
- Mirror
- Rear seat :- This seat is situated on back side of Hull. It is used to seat and take rest for those person who is presence on Yatch.
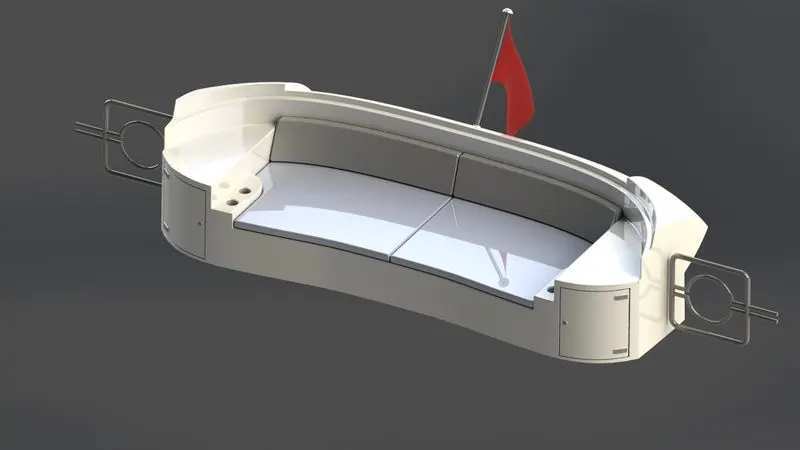
Feature is used to create the Rear Seat.
- Sketch
- Surface Sweep
- Surface Offset
- Surface Trim
- Ruled Surface
- Surface Knit
- Surface Extend
- Surface Extrude
- Surface Loft
- Boss Extrude
- Cut Extrude
- Chamfer
- Fillet
- Sweep
- Mirror
Surface Offset :- With the help of this we can create a new surface with offset distance.
Surface Extend :- By this feature we can extend the surface which I select in same type (direction) which is already exist.
Ruled Surface :- This feature is slightly difference from Surface extend. In this feature we can extend the surface in any direction like taper, tangent, normal or any angle.
- Superstructure :- Superstructure is the main second part of the Hull. It is fitted on Hull. Mainly operating system is done here. And many room is made in superstructure.
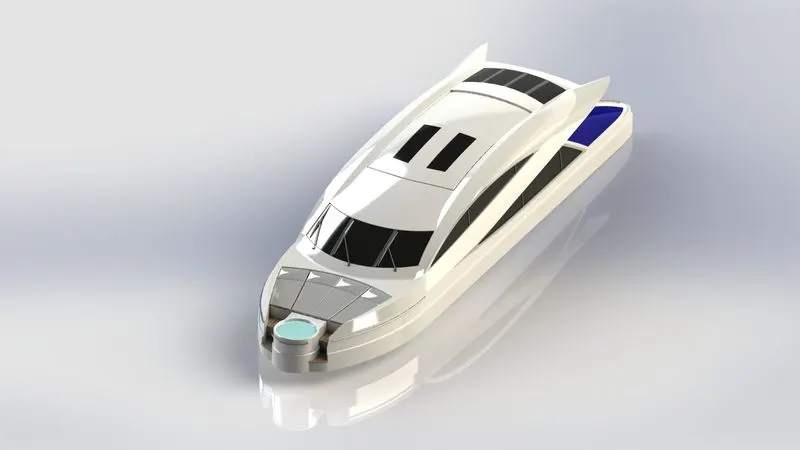
Feature is used to create the Superstructure.
- Sketch
- Surface Extrude
- Surface Sweep
- Surface Knit
- Ruled Surface
- Surface Trim
- Projective Curve
- Surface Loft
- Surface Fill
- Delete Face
- Surface Offset
- Thicken
- Cut Extrude
- Dome
- Fillet
- Sweep
- Split Line
- Boss Extrude
- Mirror
- Chamfer
Thicken :- With the help of this we can extrude the surface in thick direction Then it convert in surface to solid body.
- Radarmast :- Radarmast is base of Radar. It is situated on superstructure. Antenna and Horn is also fitted with it.
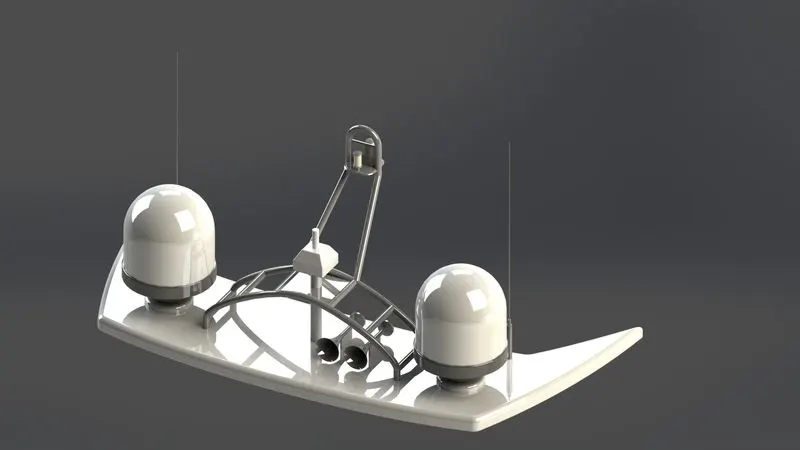
Feature is used to create the Radarmast.
- Sketch
- Boss Extrude
- Fillet
- Revolve
- Sweep
- Mirror
- Projective Curve
- Chamfer
- Dome
- Shell
- Cut Extrude
Assembly of Yatch Model :-
First of all I inserted the Hull part in assembly feature in environment. Then I insert the every part one by one and assembled the part with Hull by mate tool.
Feature is used to assemble the Yatch Model.
- Insert
- Mates
Where as ,
Insert - Insert is a option by which we insert the part of model.
Mates - Mates is a geometrical relation combination. With the help of this we mates the part as possible relation. We can move a component within degrees of freedom.
Photo Realistic Rendering :-
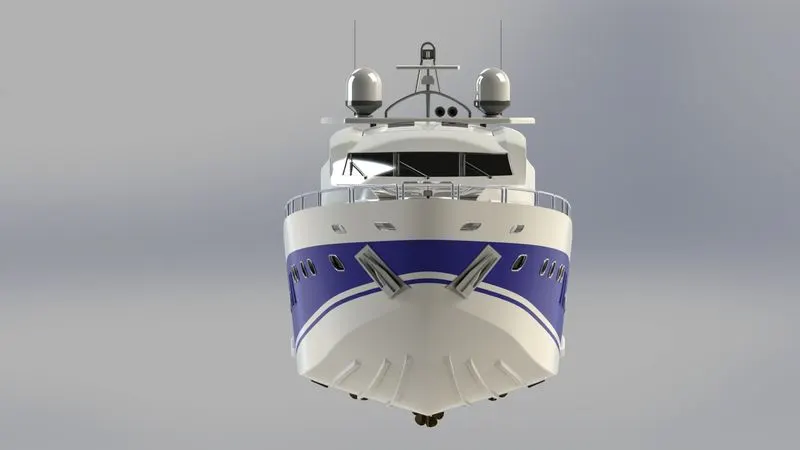
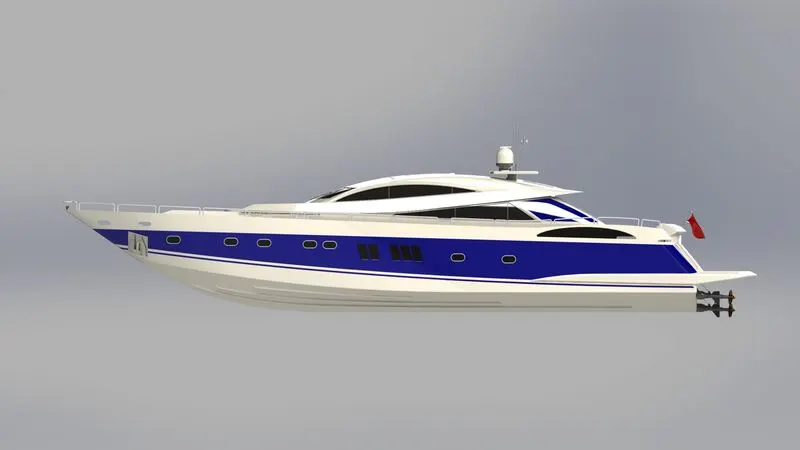
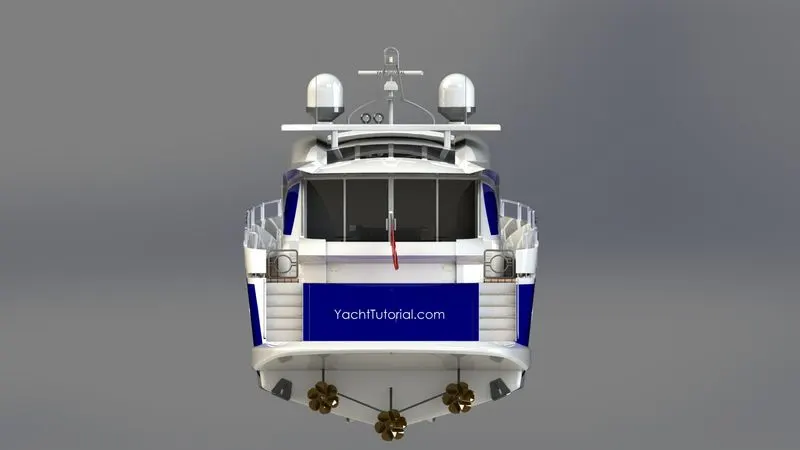
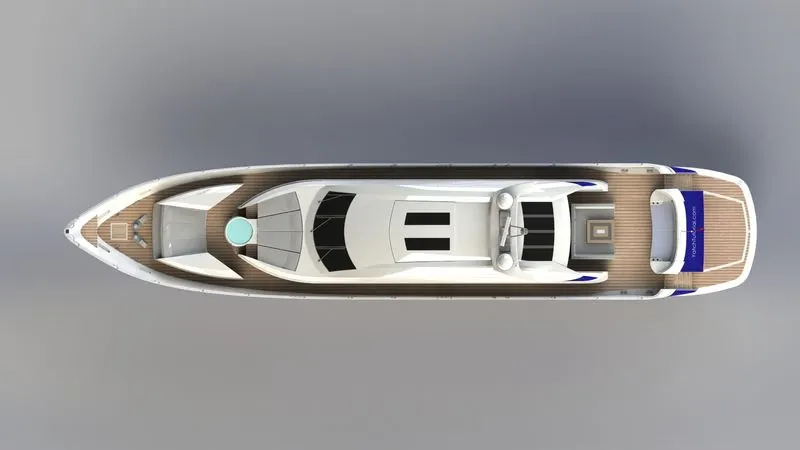
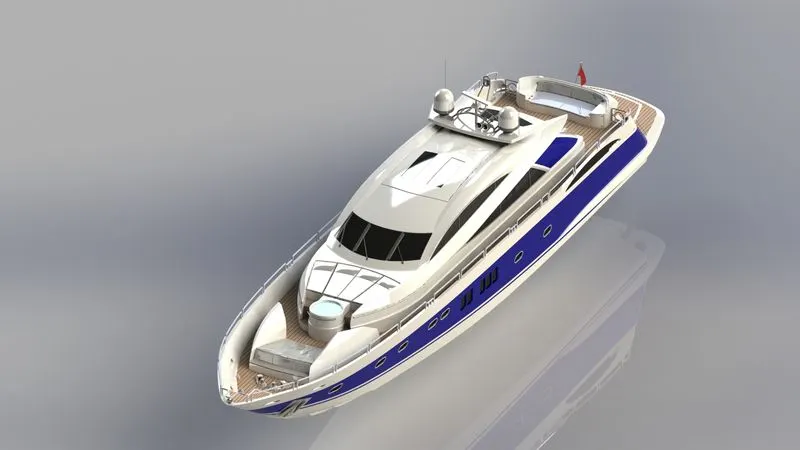
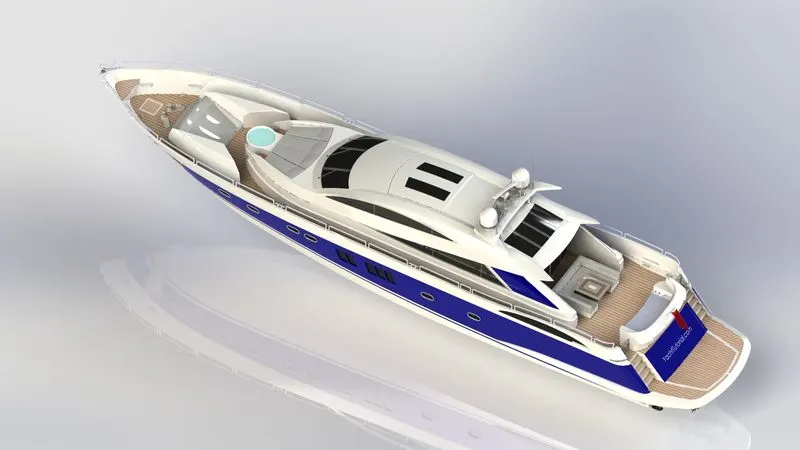
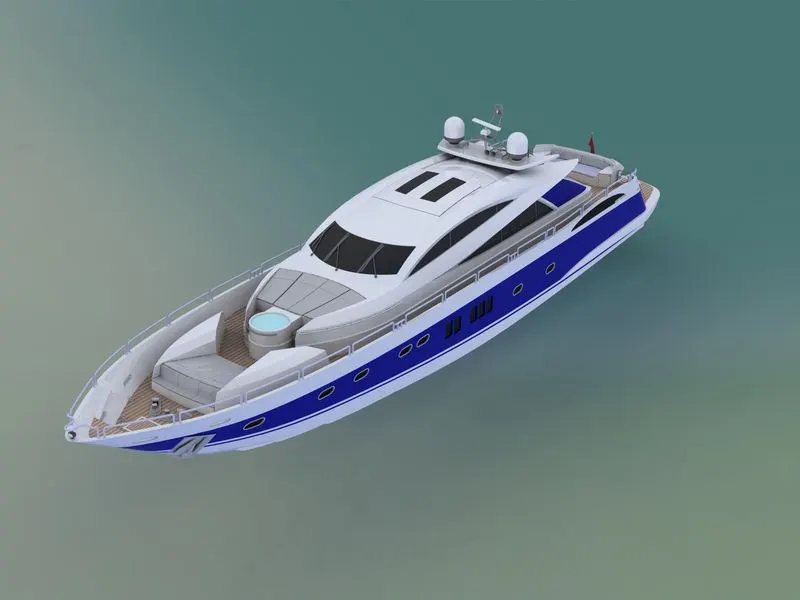
- Rendering is the process of creating realistic image of the Photorealistic model with the environment.
- Rendering has been done in two ways in solidworks.
- Photoview 360
- Solidworks visualize
- In the photorealistic model some of the mate condition and position are changed to render realistic model.
- Then realistic model is rendered into realistic image with different views.
Here are some Rendered images-
Conclusion :
- The parts of the Yacht are modelled using most of the surface modelling of Solidworks modelling tool in solidworks.
- The parts are inserted into assembly environment and Yatch is assembled using assembly module of solidworks.
- The realistic image was rendered with the use of Photoview 360 & Solidworks Visualize.