Project - 2 - Meshing on the suspension Assembly
Aim:-
Mesh the given rear suspension accordingly with 2D & Volume meshing as per the given quality criteria. Connections to be deployed for the model. Replicate the model symmetrically after all the meshing and connections.
Steps Followed:-
- Geometry Clean-up.
- Mid surface extraction & 2D meshing.
- Volume Meshing.
- Bolt & Seam Weld Connection.
- Symmetrical Replication.
Quality Criteria:-
Surface Meshing of Tyre and Rim (Element type: Tria) :
|
S.No |
Quality Criteria |
Value |
|
1 |
Target/Average length |
6.5 |
|
2 |
Minimum Length |
5 |
|
3 |
Maximum Length |
10 |
|
4 |
Skewness |
45 |
Surface Meshing of Non-Uniform thickness components other than Tyre and Rim (Element type: Tria) :
|
S.No |
Quality Criteria |
Value |
|
1 |
Target/Average length |
4 |
|
2 |
Minimum Length |
2 |
|
3 |
Maximum Length |
6 |
|
4 |
Skewness |
45 |
Volume meshing of all Non-Uniform thickness components (Element type: Tetra Elements):
|
S.No |
Quality Criteria |
Value |
|
1 |
Tet-collapse |
0.2 |
Mid surfacing of Uniform thickness part which has a thickness less than 5 mm (Element type: Mixed elements) :
|
S.No |
Quality Criteria |
Value |
|
1 |
Target/Average length |
4 |
|
2 |
Minimum Length |
2 |
|
3 |
Maximum Length |
6 |
|
4 |
Aspect |
3 |
|
5 |
Warpage |
15 |
|
6 |
Skewness |
45 |
|
7 |
Jacobian |
0.7 |
|
8 |
Minimum Quad Angle |
45 |
|
9 |
Maximum Quad Angle |
135 |
|
10 |
Minimum Tria Angle |
30 |
|
11 |
Maximum Tria Angle |
120 |
Procedure:-
1. Import the given model to ANSA. Clean up the model and check for geometrical errors.
2. Once the geometry is clean, extract mid surface by Faces->Mid Surface->Skin method for parts which are having uniform thickness and Faces->Middle for non uniform thickness parts.
3. Complete the meshing of 2D elements by Mesh Generation->Best in Mesh module, with appropriate quality criteria as shown in Fig 1.
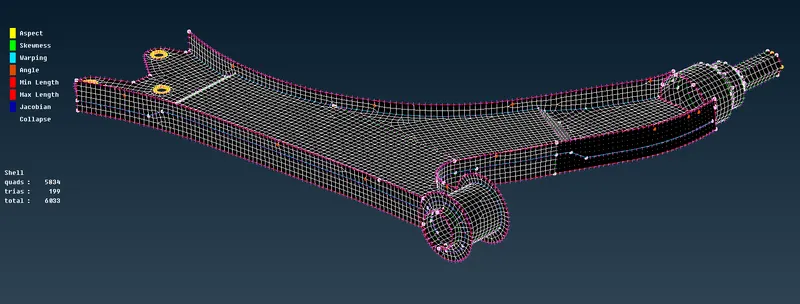
Fig:- 1
4. Similarly perform 2D meshing for the parts (Lower Arm & Strut) shown in Fig 2.
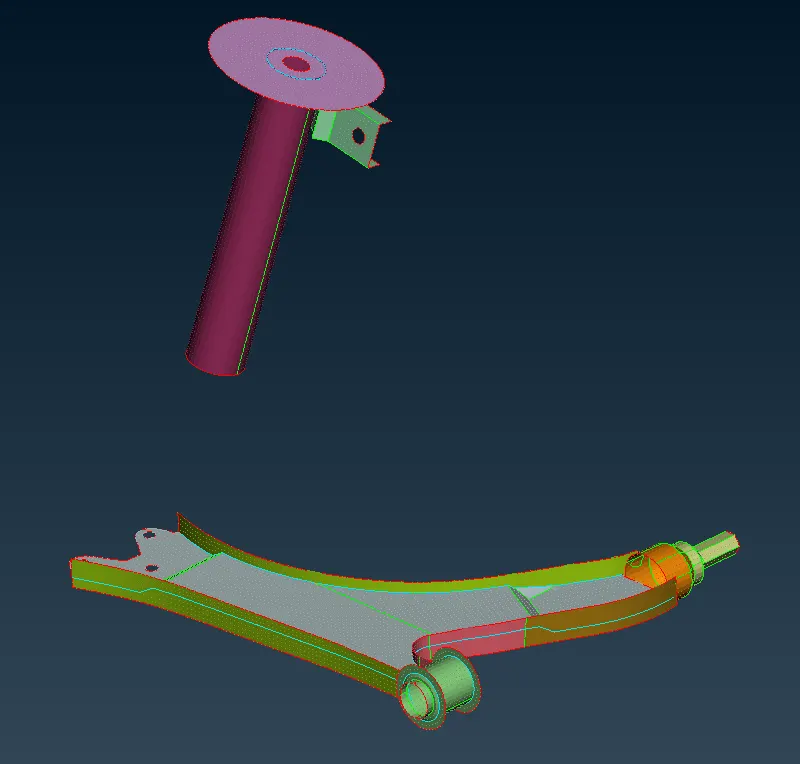
Fig: 2
5. After 2D meshing is completed, perform Solid meshing by first having Spot mesh with ortho trias element using Mesh Generation->Spot Mesh and later proceed by using Volume->Define->Manual and select the component/region that covers a particular volume. Select Auto mode so that it detects the closed volume automatically.
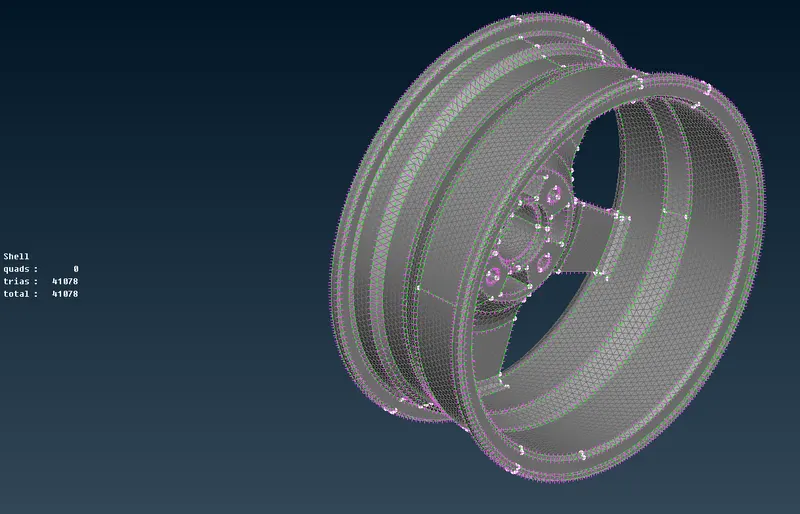
Fig: 3.1
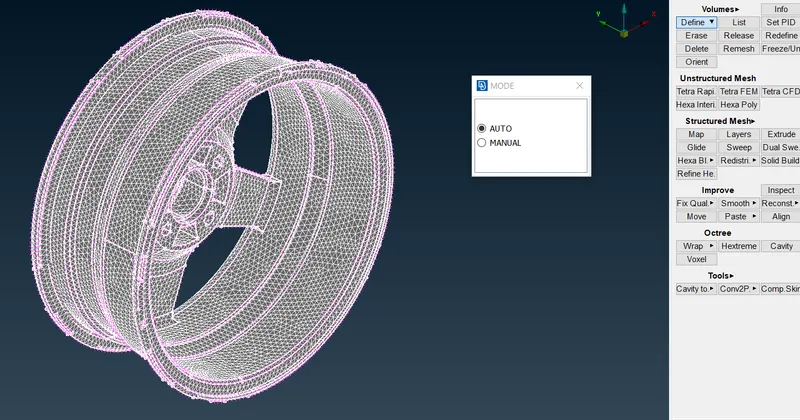
Fig : 3.2
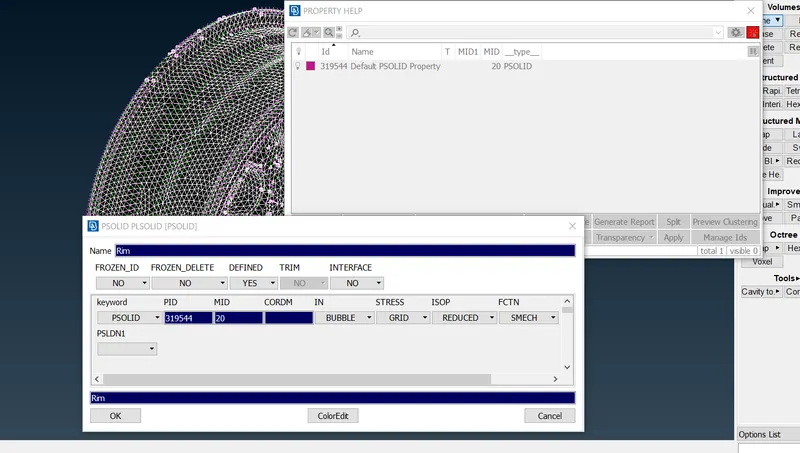
Fig : 3.3
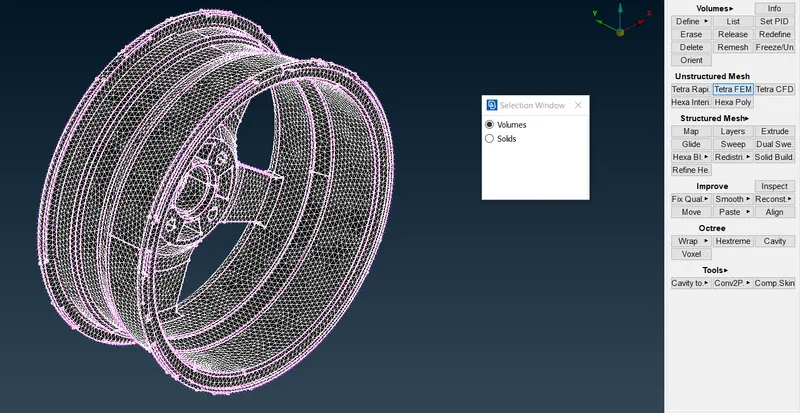
Fig : 3.4
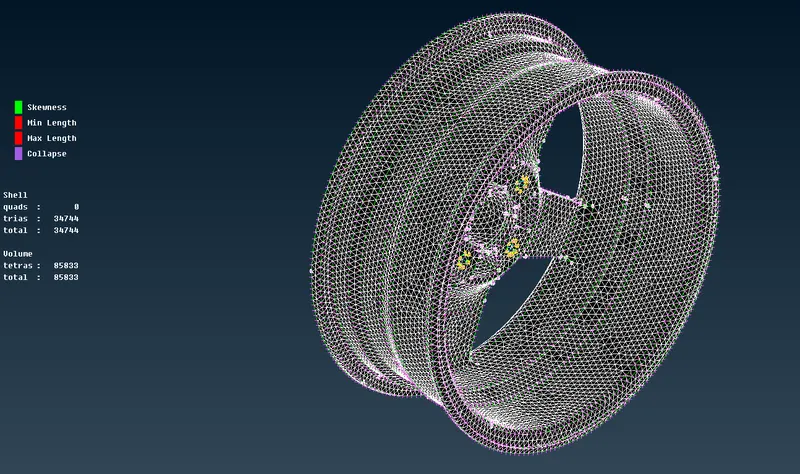
Fig : 3.5
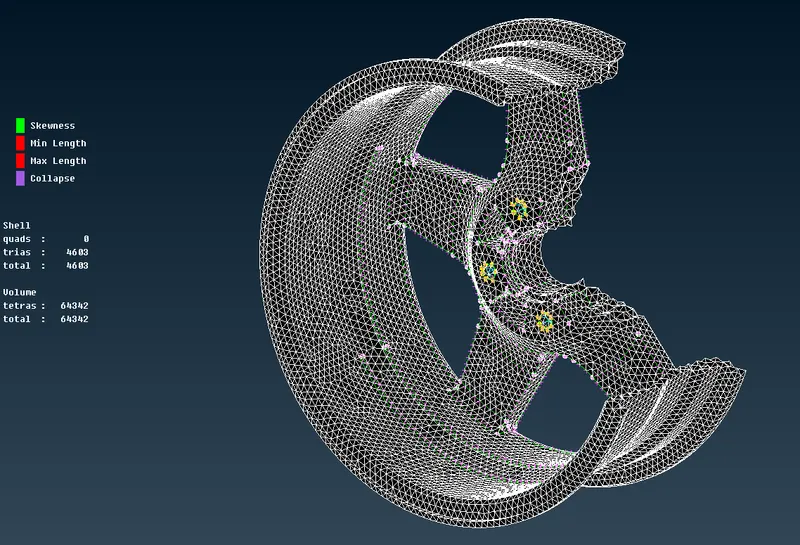
Fig : 3.6
6. Similarly perform Solid meshing for tyre, brake disc, tie rod, support brackets, brake callipers etc as shown in Fig 4.1
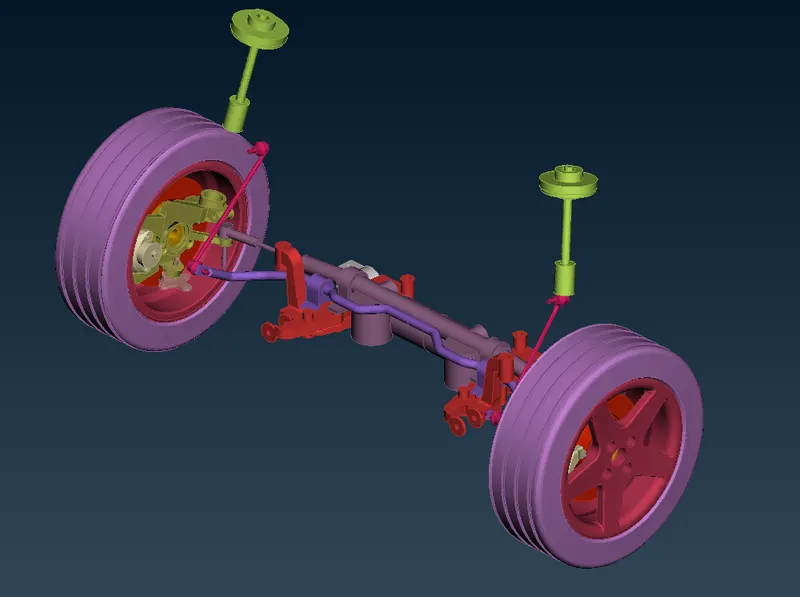
Fig: 4.1
Assign property ID for each solid component as shown in fig 4.2
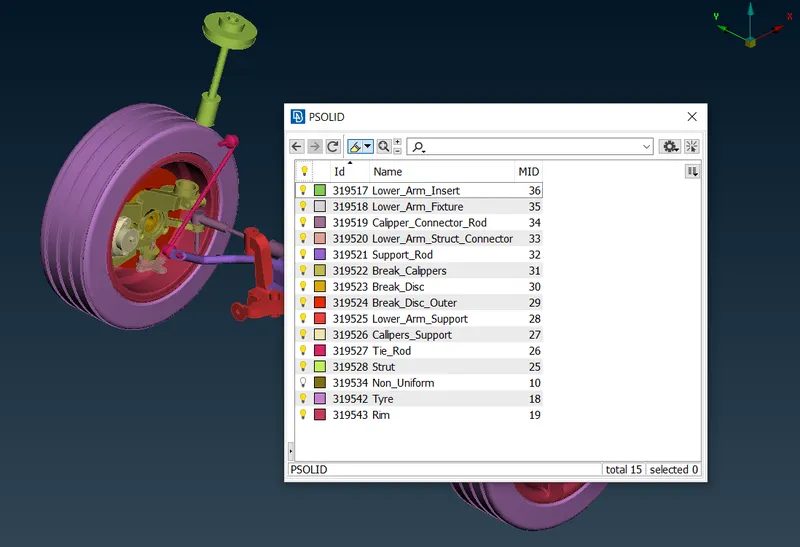
Fig: 4.2
7. 1D meshing is to be performed in Spring. Generate middle curve running through the entire spring using Curves->Middle in Topo Module as shown in Fig 5.2. Convert the curves to a single curve using Curves->Connect->Multi in Topo Module as shown in Fig 5.3
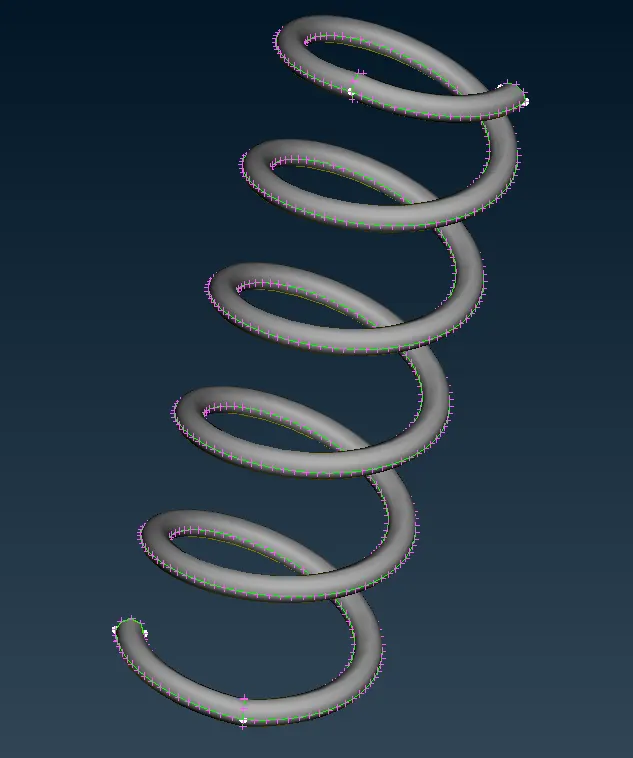
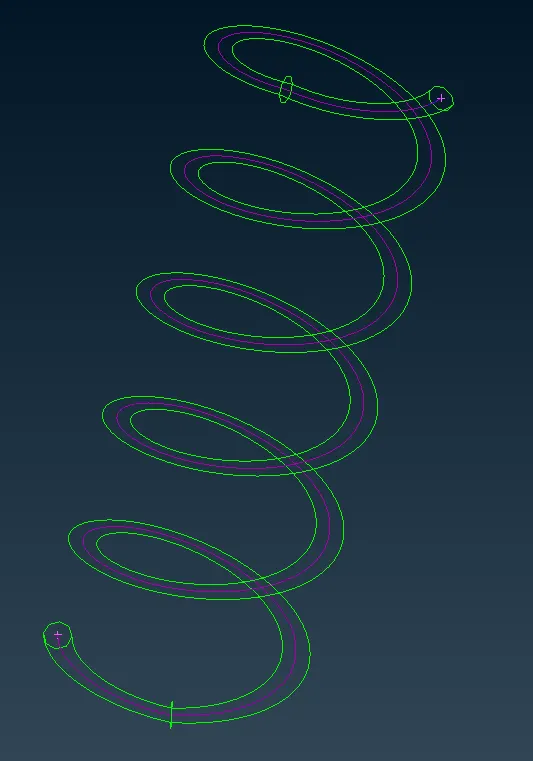
Fig : 5.1 Fig : 5.2

Fig: 5.3
Define (Center of Gravity) COG point using Points->On COG in Topo Module a shown in Fig 5.4 & 5.5
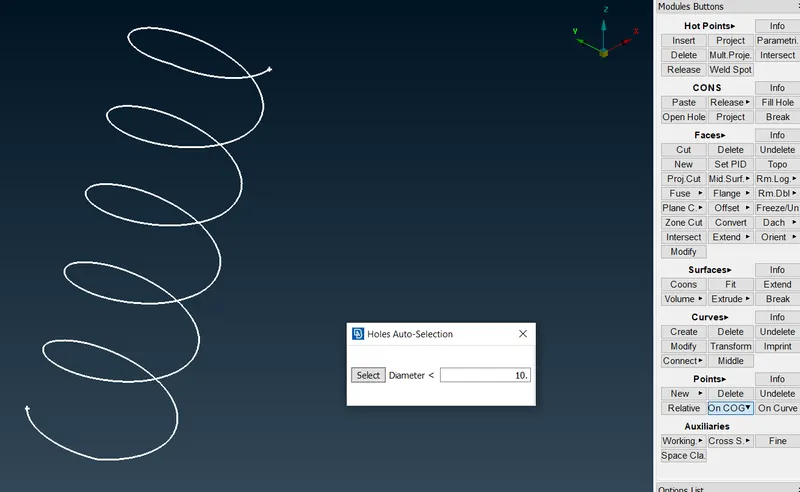
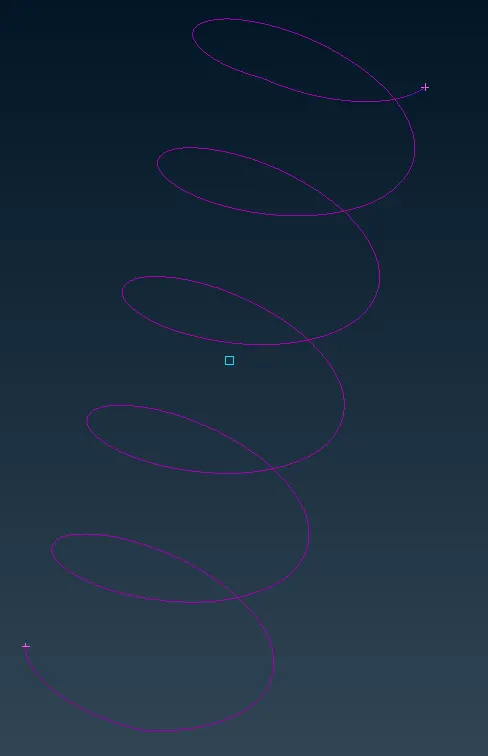
Fig : 5.4 Fig : 5.5
8. Open NASTRAN deck to assign 1D mesh element. Select Elements->CBAR, check "Orientation with nodes" and pick "Curve (box)", select the spring curve and click on middle mouse click.
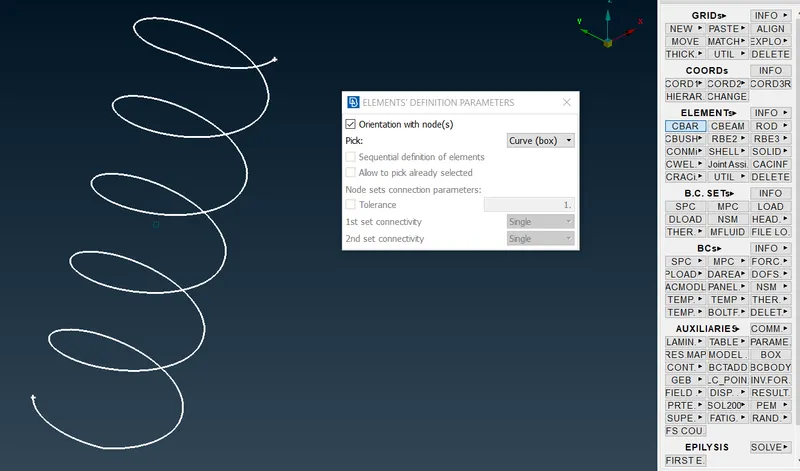
Fig : 6.1
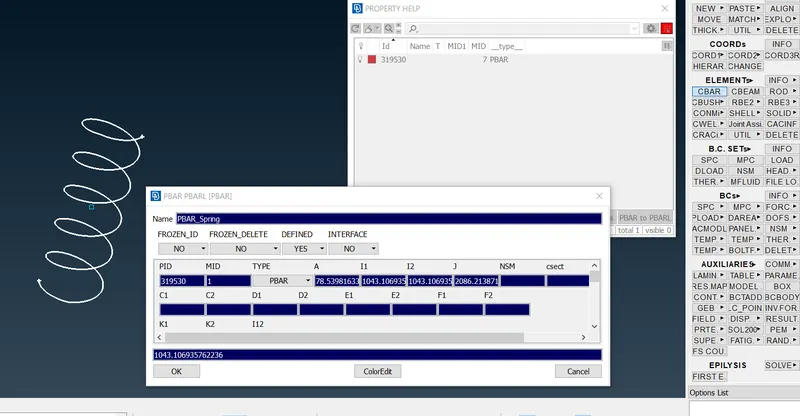
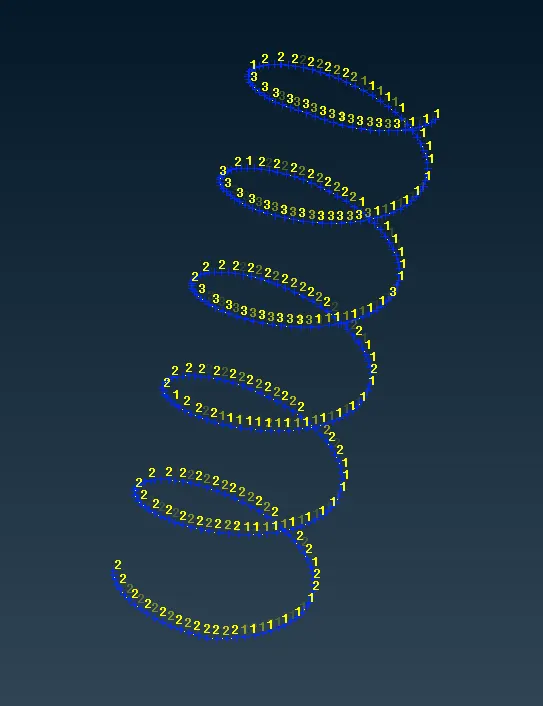
Fig : 6.2 Fig : 6.3
9. Once all the components are meshed, deploy connections accordingly.
Use RBE2 in NASTRAN deck. Create RBE2 component for each hole separately by Elements->RBE2->Many Nodes as shown in Fig 7.1
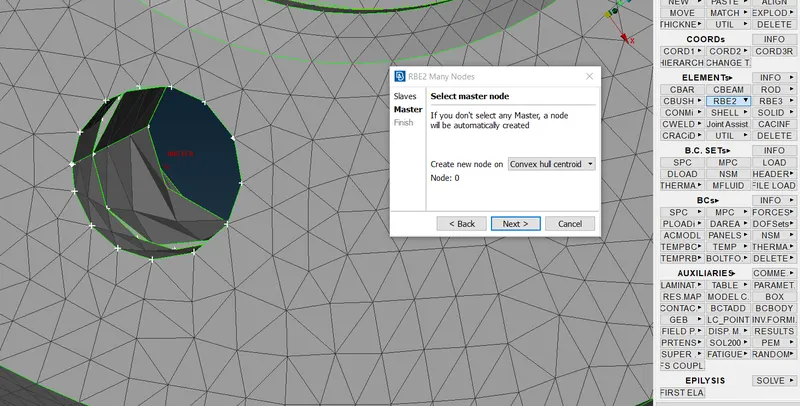
Fig : 7.1
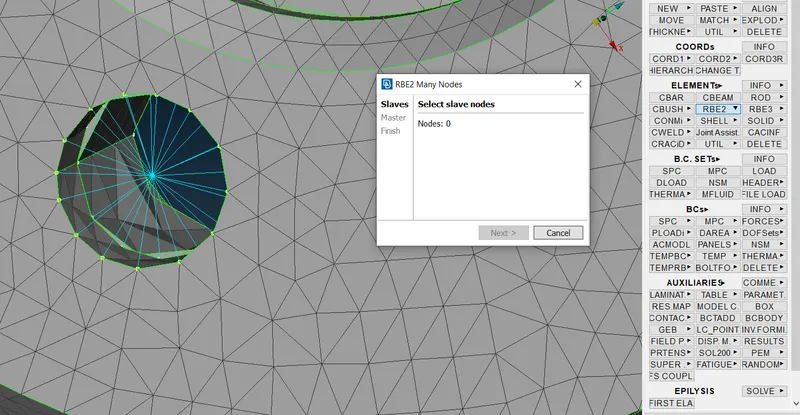
Fig: 7.2
Similarly, perform RBE2 for all holes and connect the two master nodes using Elements->RBE2->Two Nodes. Repeat the same procedure for all bolt connections.
10. Similarly, using Elements->RBE2->Two Nodes, connect the relative parts like a shaft or tie rod lowering in the hole (Fig 8). Similarly, perform connection for all such conditions.
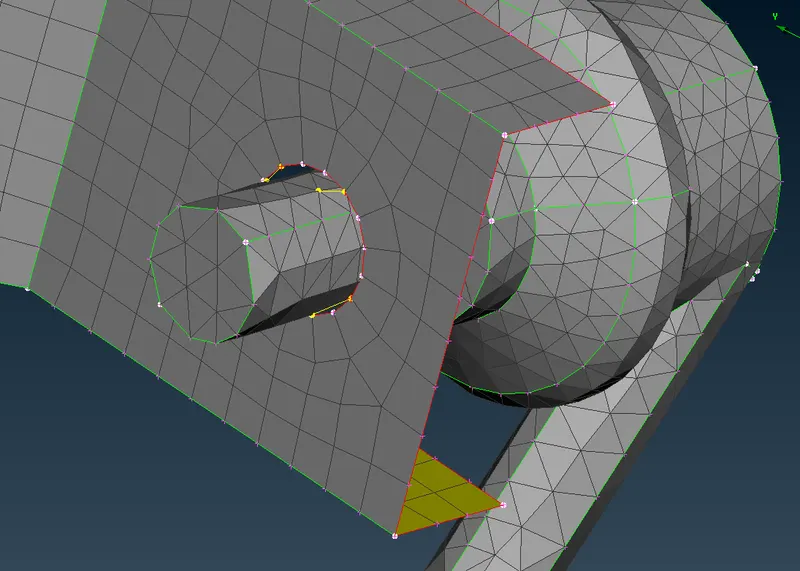
Fig: 8
11. Deploy Seam weld connection for the tie rod bracket and the strut as shown in the Fig
Select Curves->Cons2Curve in topo deck and create a curve along the weld surface. Convert the curve to seam line as shown in Fig 9.1
By using connection manager, select the two components to be welded and consider it as P1 & P2, P2 should be the base sheet on which the weld should be deployed.
Select FE rep type as OVERLAP-SHELL, Search distance = 10 mm, Base sheet = P2, Step length = 4 mm, Width = 4 mm & Root Shells = Double Row.
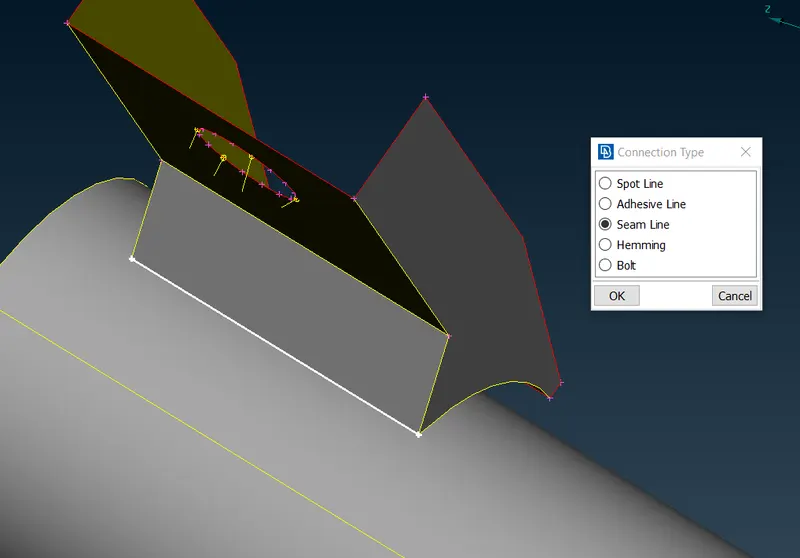
Fig : 9.1
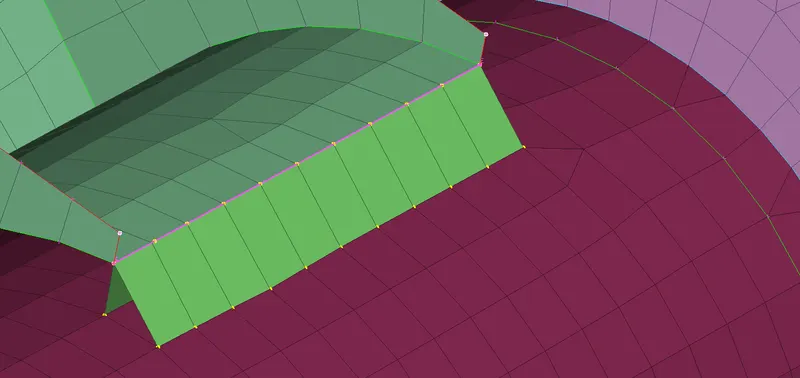
Fig : 9.2
12. The spring element should be connected to the neighbouring elements using Cluster RBE2. Select Elements->RBE2->Many Nodes in NASTRAN Deck to connect the spring and the neighbour part with single master node.
Fig : 10.1
Fig: 10.2
13. Once the complete meshing and deploying connections, the model it to be symmetrically replicated. the steps for replication is as follows;
- Go to the Transform option in the toolbar, select "Copy".
- Select all the elements that are to be replicated as shown in Fig 11.1 and click on the middle mouse.
- Select the "Mirror 3 points plane" underuse option.
- Select the points as shown in Fig 11.2 and apply and Finish.
- Replicated model is as shown in Fig 11.3
Fig: 11.1
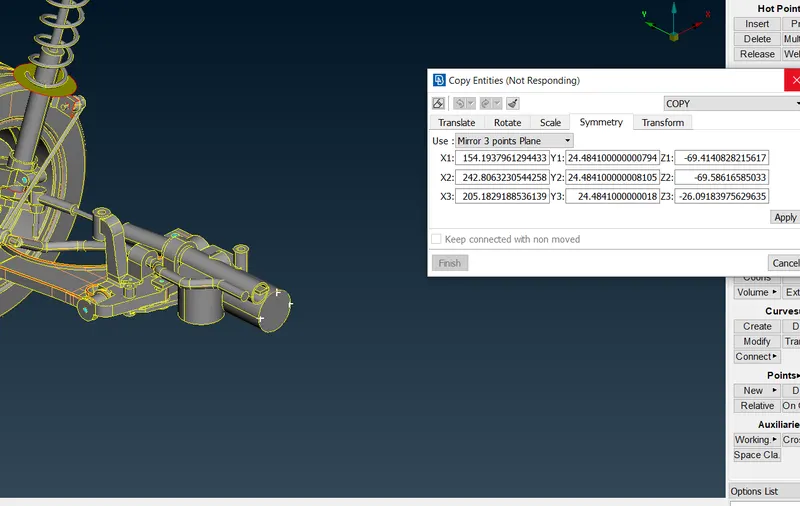
Fig: 11.2
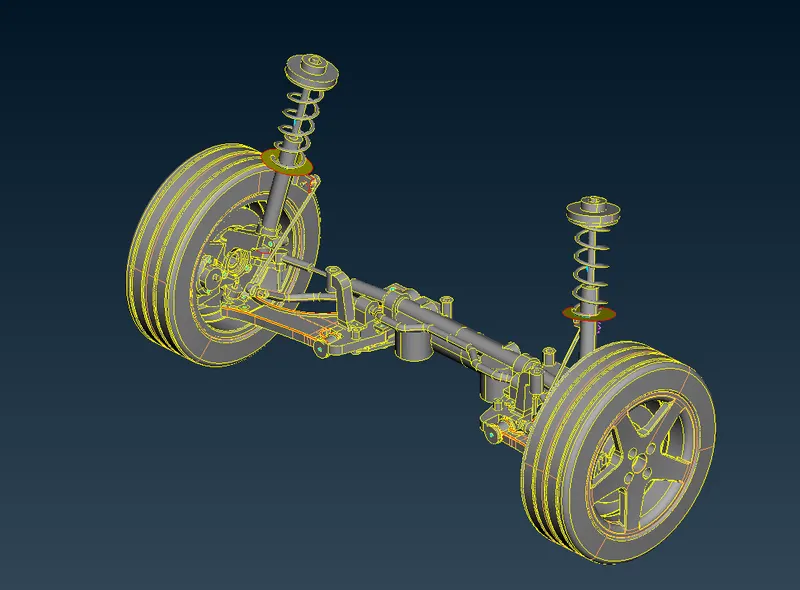
Fig: 11.3
learning Outcome:-
- Manage 2D and Solid meshing together with different quality criterias.
- 1D CBAR element for Spring.
- Symmetrical replication of components.
- Concept of suspension assembly meshing.
Result:-
The given Suspension assembly is meshed using 2D and tetra mesh with the prescribed quality criteria. Connections are deployed as required. The other half of the assembly is reflected symmetrically.
Google drive link:
https://drive.google.com/file/d/1M4Ifmlg3VUOv-d1YS_Yc3UAmshWw9T08/view?usp=sharing