Week 6-Meshing of Hood Challenge
Aim- two generate mid surface and the hood model the given aspects.
Follow the below- mentioned quality criteria, Mesh components given below on ascent thickness:
Target Element Length = 5 Units
|
S.N |
Quality Criteria |
Value |
|
1 |
Aspect Ratio |
5 |
|
2 |
Skewness |
45 |
|
3 |
Warping |
15 |
|
4 |
Taper |
0.5 |
|
5 |
Min. Length |
2 Units |
|
6 |
Max. Length |
8 Units |
|
7 |
Min angle Quad |
45 |
|
8 |
Max angle Quad |
135 |
|
9 |
Min angle Tria |
20 |
|
10 |
Max angle Tria |
120 |
|
11 |
Tria % |
10 |
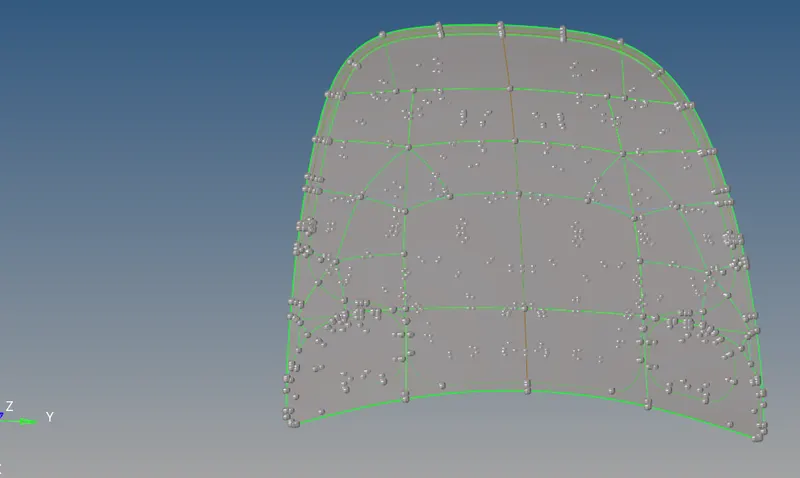
Given model
Procedure:
Step one: importing geometry and cleanup:
- To import the geometric, go to files >> import >> select the file >> import.
- After importing the geometry, the geometry is checked for any missing surfaces or triple cons. If there are no errors present in the geometry then the geometry is ready for the mid-surface extraction.
Step 2: Extracting mid-surface and assigning properties:
- Mid- surface can be extracted by any of the 3 methods below.
- Offset + plane + sweep
- Offset + plane
- Skin offset.
- To extract the mid surface, go to geom – mid surface -select any extraction option – select the surface -extract. In this challenge offset- plane- sweep is used.
- In hemming area I used to toggle the 3 line.and I don't use the midline option for creating middle line because it takes long time
- After extra extracting the mid surface, it is checked for any geometrical errors like needle faces, missing surfaces and triple cons. If any of the errors present then it should be rectified immediately.
- Now the properties like thickness, material etc. Need to be ascend to the mid surface. To assign the properties, select model in database and right click and choose create and then property.
- Now all the properties are entered in the property tab and the properties are assigned to the respective mid surfaces.
- To assign the properties to mid surface, right click on the mid surface and then select assign and select the respective properties which needs to be assigned.
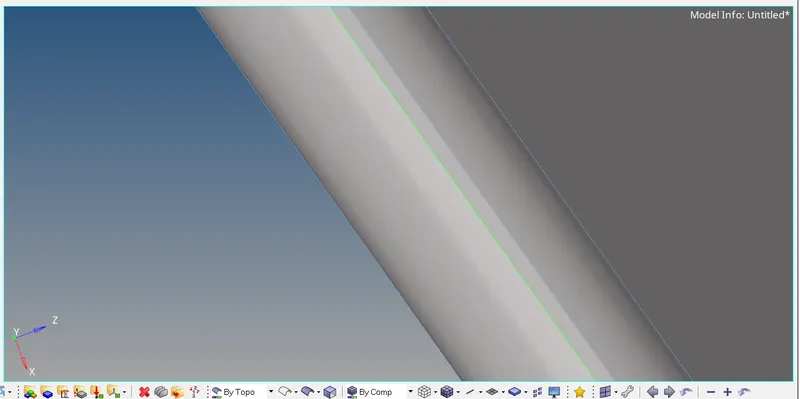
:The curved surface where toggle the line :
Step 3: Generating mesh within the given quality criteria:
- Before generating mesh, the geometry is cut into smaller rectangles for good mesh flow.
- To generate mesh, go to 2D – automesh - select the surface- mesh.
- If any elements are failing for quality then cleanup tools option which is present in quality index can be used.
Conclusion: For the given wood panel mid surface is extracted and mesh is generated with in the given quality criteria.