Project-2-Meshing of Door Inner Panel Challenge
Project-2-Meshing of Door Inner Panel Challenge
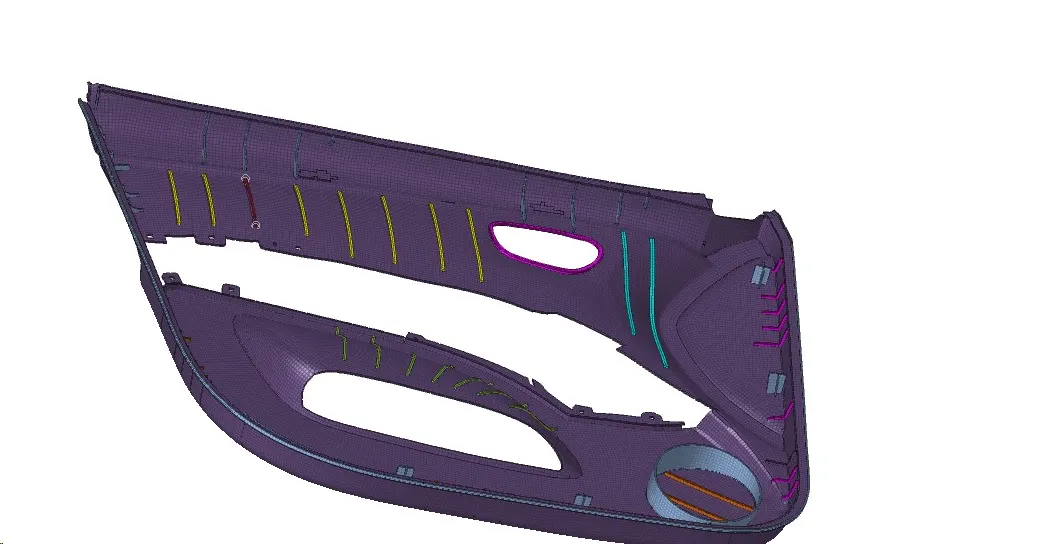
Follow the Quality Criteria and mesh the following component and assign thickness:
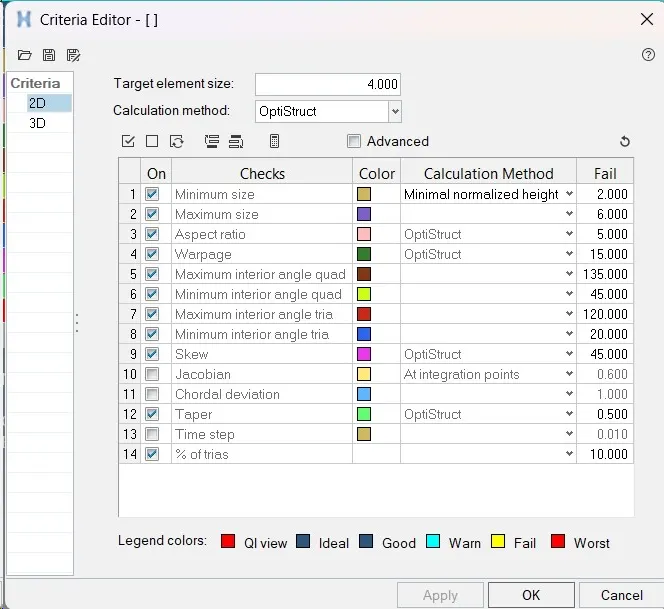
Target Element Length = 4 Units
| S.N | Quality Criteria | Value |
| 1 | Aspect Ratio | 5 |
| 2 | Skewness | 45 |
| 3 | Warping | 15 |
| 4 | Taper | 0.5 |
| 5 | Min. Length | 2 Units |
| 6 | Max. Length | 6 Units |
| 7 | Min angle Quad | 45 |
| 8 | Max angle Quad | 135 |
| 9 | Min angle Tria | 20 |
| 10 | Max angle Tria | 120 |
| 10 | Tria % | 10 |
AIM - In this challenge our aim is to be create a mid surface or the model and mesh
the model according to the given quality criteria. After this we give the thickness or the component accordingly.
OBSERVATION - To began with start the challenge. We se this is a plastic model.
Some areas of the component in different thickness or some areas have over 6
mm thickness.
PROCEDURE -
1 - First step to start the challenge we download the model from the question
As step or igs file. After this we import the model in hypermesh. Import> geomerty>import. Then press F in the keyboard for fitting the model on working screen.
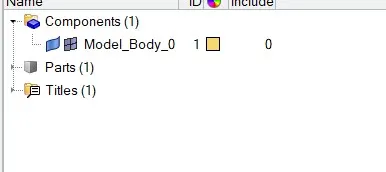
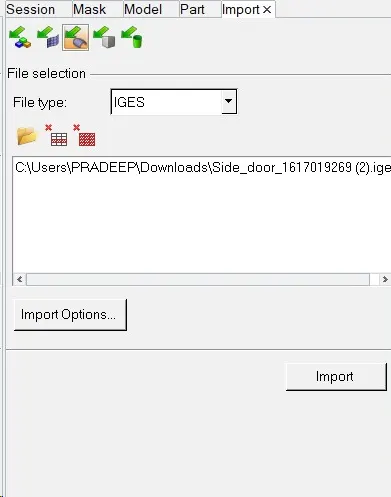
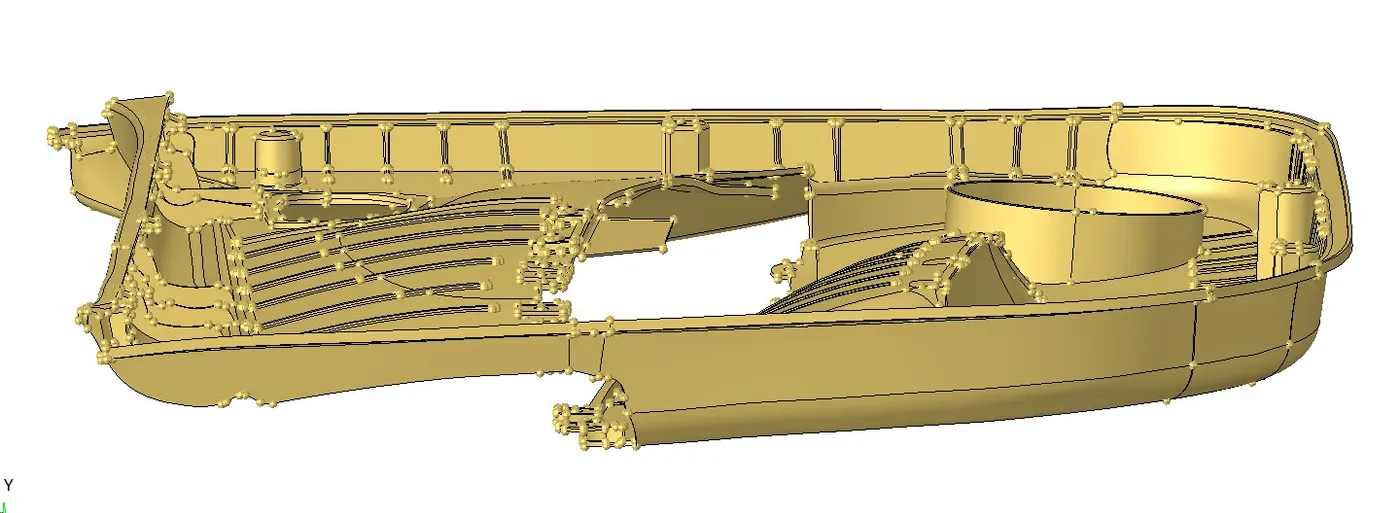
2 - In this we go for the topology cleanup work if any hole, cracks are present and any feature line are not present or not required we toggle the the line . Go to menu bar> geometry>quick edit panel.

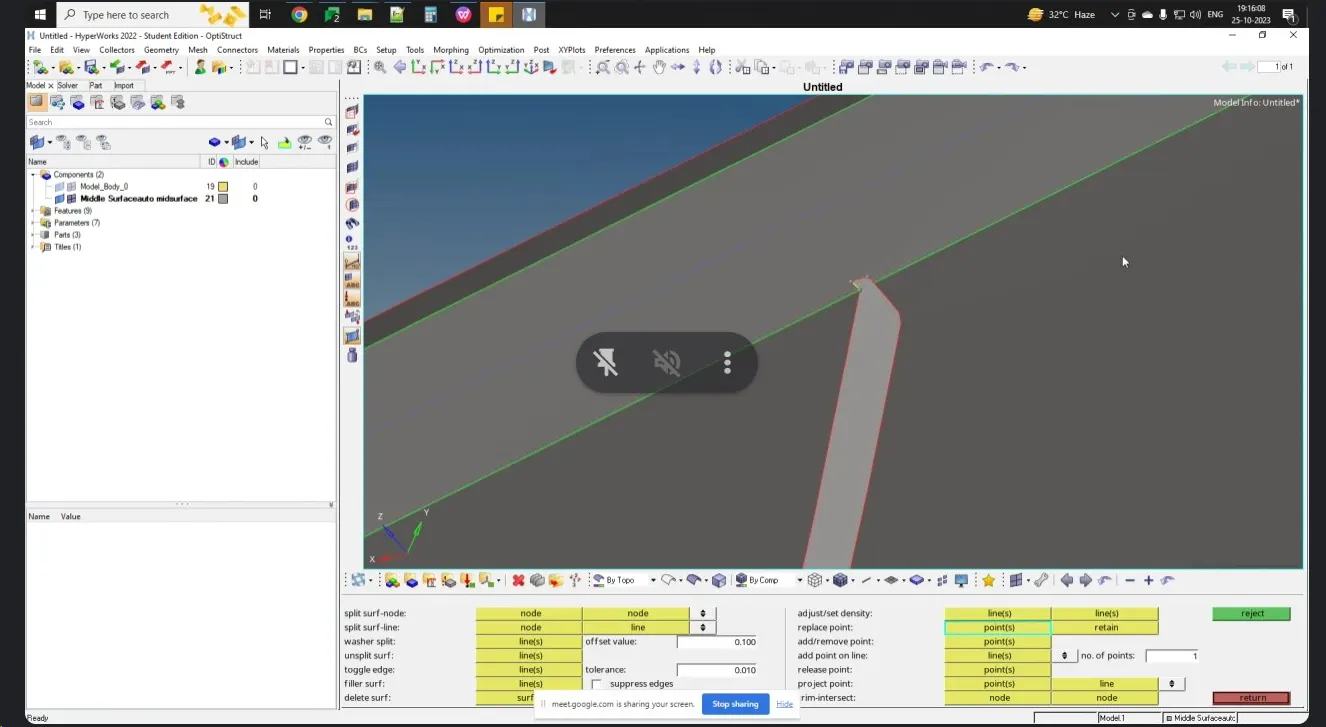
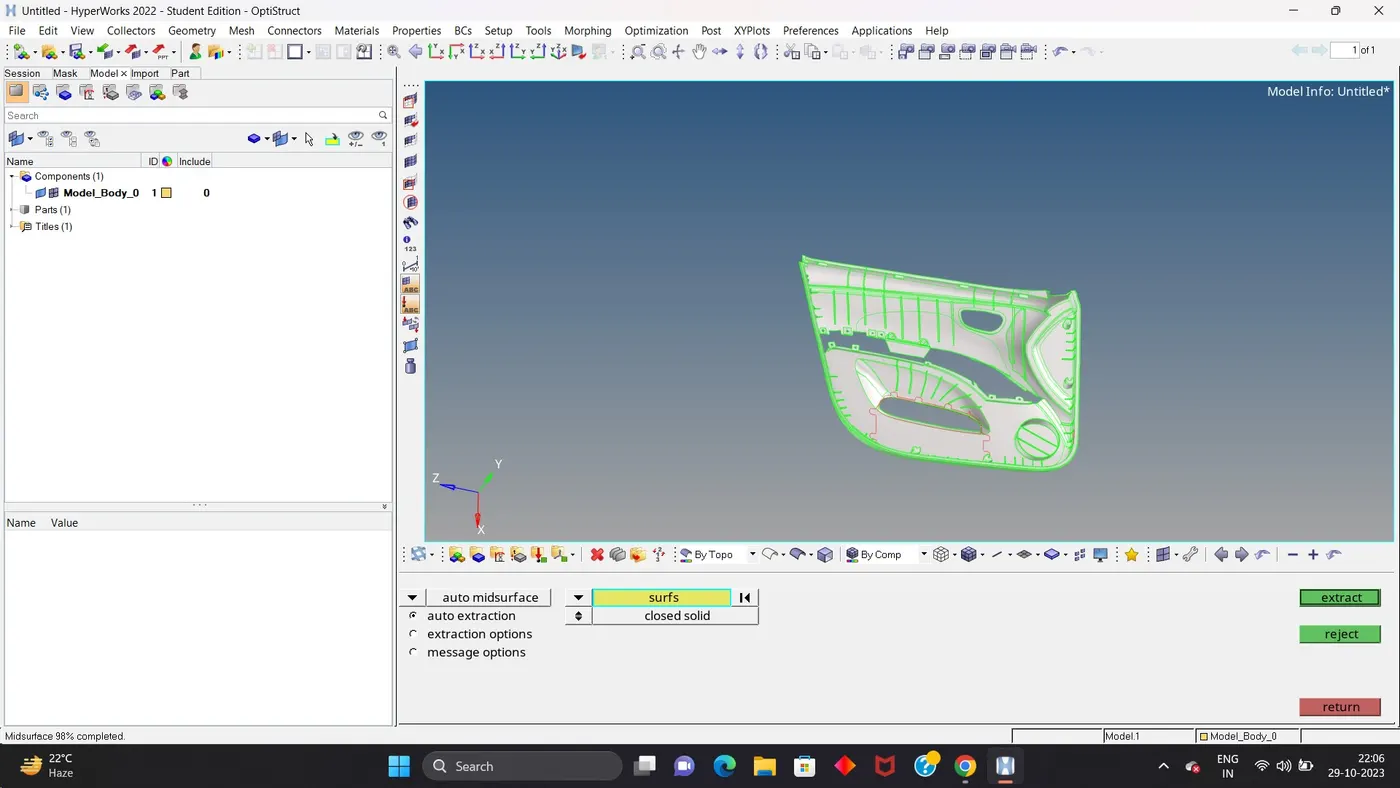
3 - After this we go for the create the midsurface for the model. By automidsurface option by Geometry> midsurface>auto> plain +offset+sweep.
4 - Then we go to observe the mid if any mistake in the surface then we go for manual midsurface creation by geo>surface edit>offset.
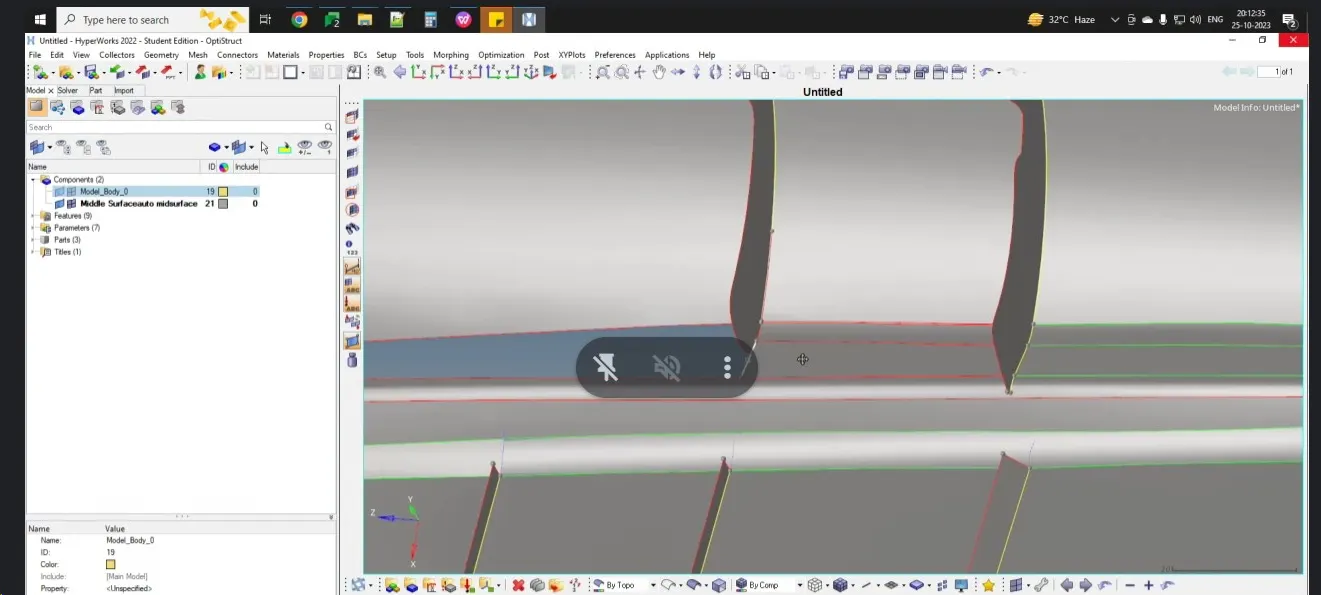
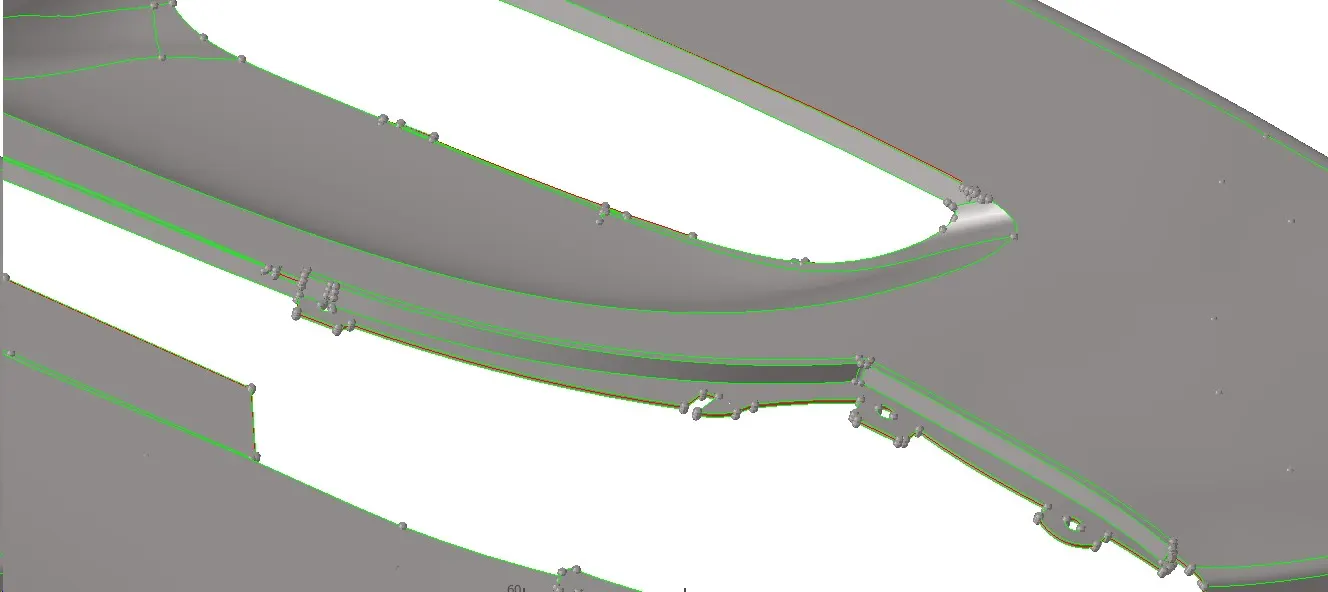

5 - After this saw the mid if is clear or good then we go for the mesh creation on the surface.
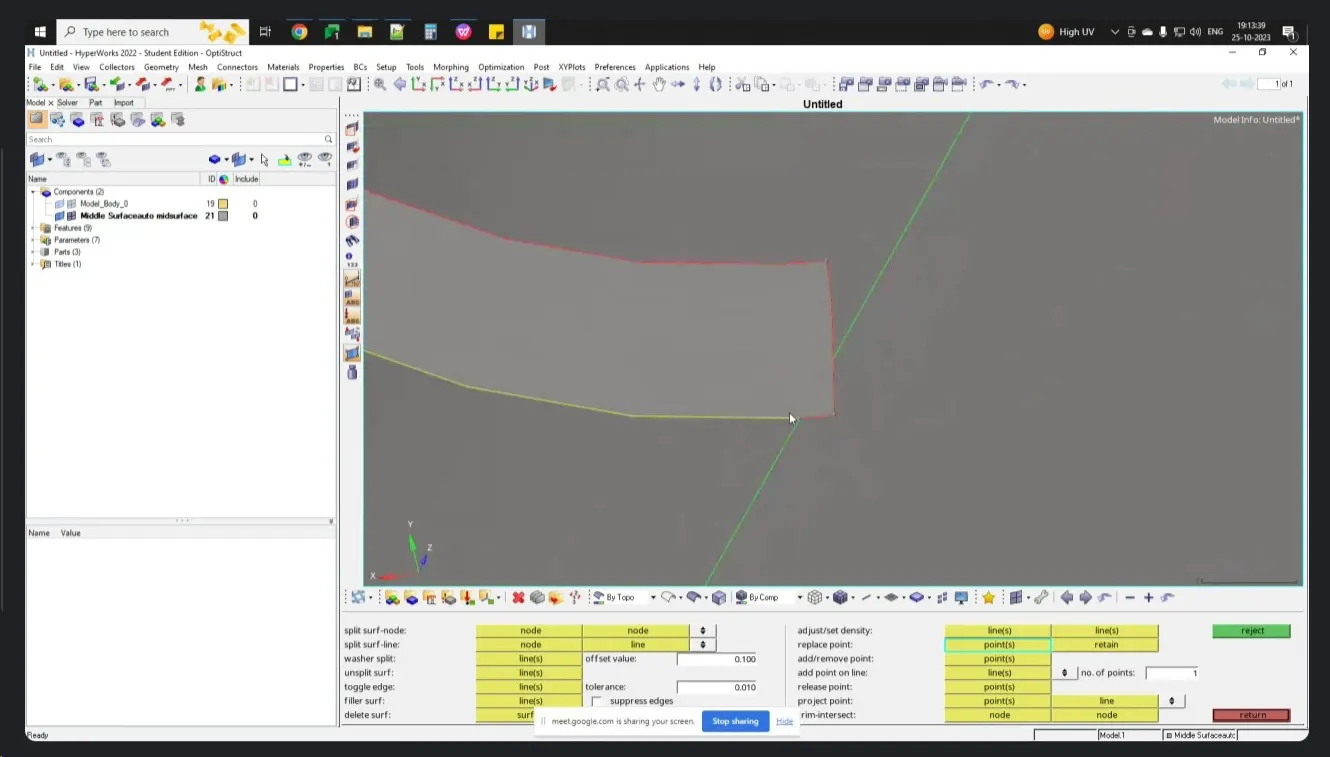
6 - Before that we will set the quality criteria, parameter and topology revision.
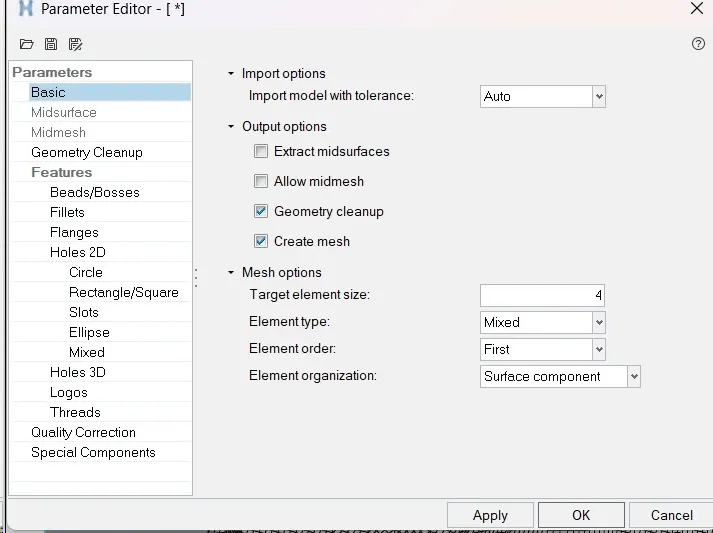
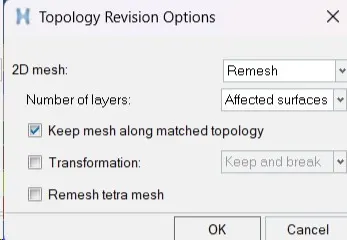
7 - Then go for meshing by main menu bar>2D>automesh>select surface or press f12 in the keyboard.
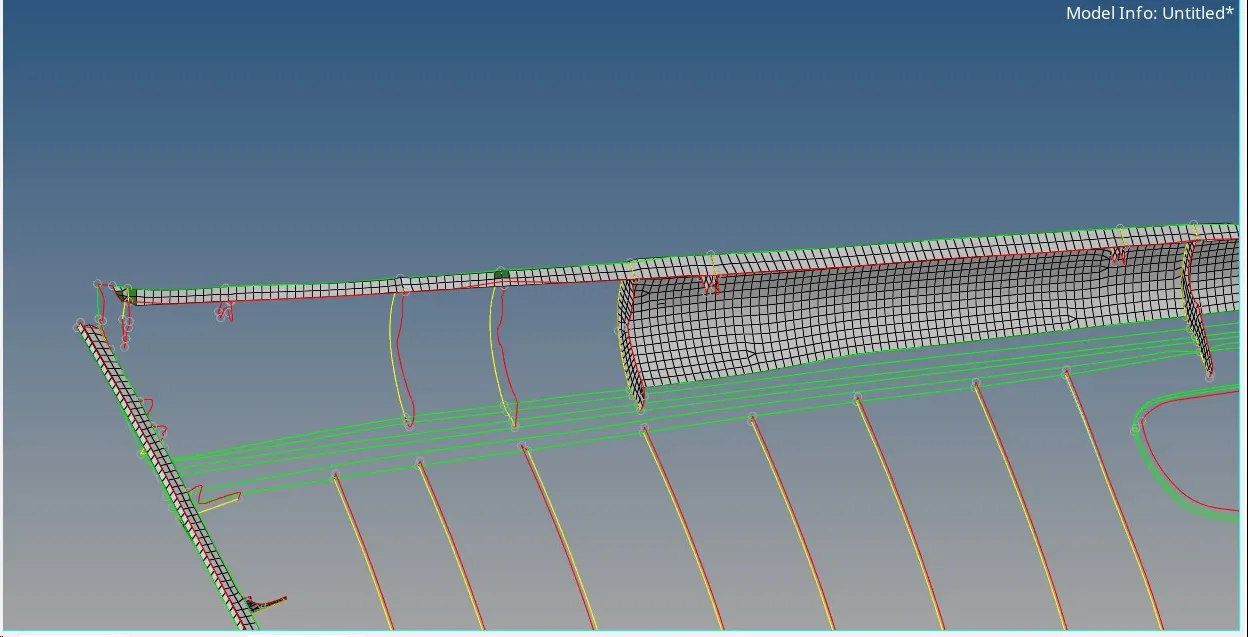
8 - After this we correct the quality failure if any persent in mesh and also we check flow of the mesh.
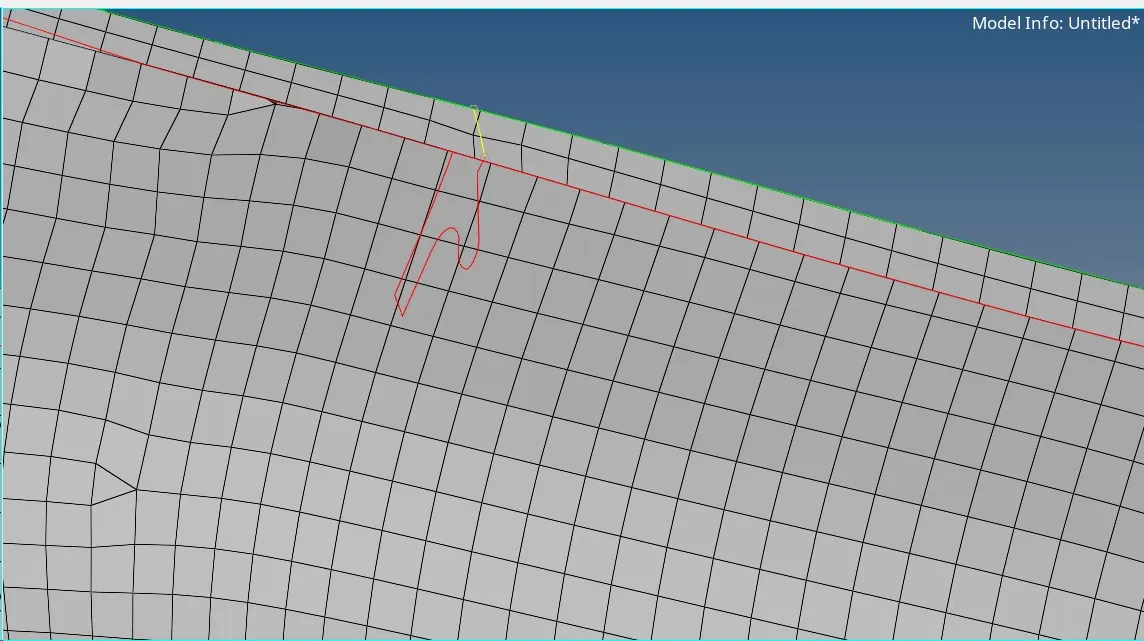
9 - Then we check the feature capturing of the mesh, meaning mesh is capture the model or surface correct or not.


10 - Then we go for the final checks like find edge, check connectivity, duplicate.


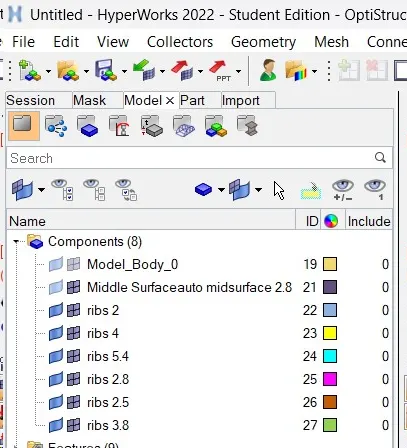
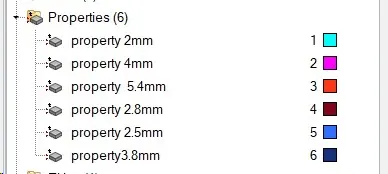
11 - Last we go for assign thickness or the component, if there is different thickness part we organized the component and then give the different thickness for different different component.

LEARING OBJECT -
In this challenge we use and learn this tools and options.
a. Rotate option for rotating the nodes of holes.
b. Edit element option for create element, split the element, combine the two tria element and for this option we use a shortcut key F6.
c. Replace option for use the nodes replace option and use shortcut key F3.
d. Organise option for move one part to another component and use shortcut key shift+ F11.
e. Use rebuild option for reconstruct the element.
f. For generate the mesh we use automesh by use shortcut key F12.
g. Quick edit for the geometry cleanup use shortcutkey F11.
h. Use the reflect option for copy the symmetry part .
i. Use mask option for hide the part use shortcut key F5.
j. Here we also know about the final checks after meshing like connectivity, normals, edges, duplicate element.
</form>