Project 2_Design & Analysis of a Hostel building at Guwahati, Assam
AIM:
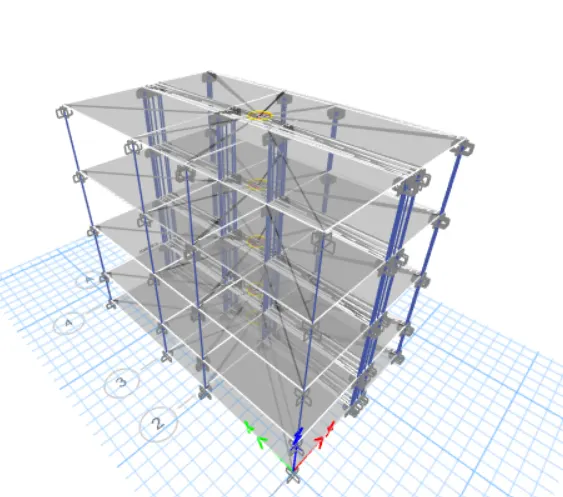
Design & analysis of G+3 hostel building in Etabs & foundation Of CSI SAFE
INTRODUCTION:
CSI coordinated SAFE to be used in conjunction with ETABS such that engineers could more thoroughly detail, analyze, and design the individual levels of an ETABS model. While ETABS features a variety of sophisticated capabilities, the software is equally useful for designing basic systems.
PROCEDURE:
Open Etabs software & open now modal
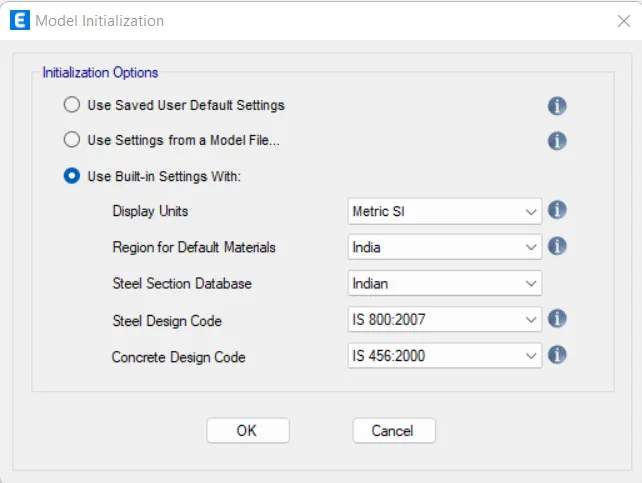
Use built-in-settings & give ok
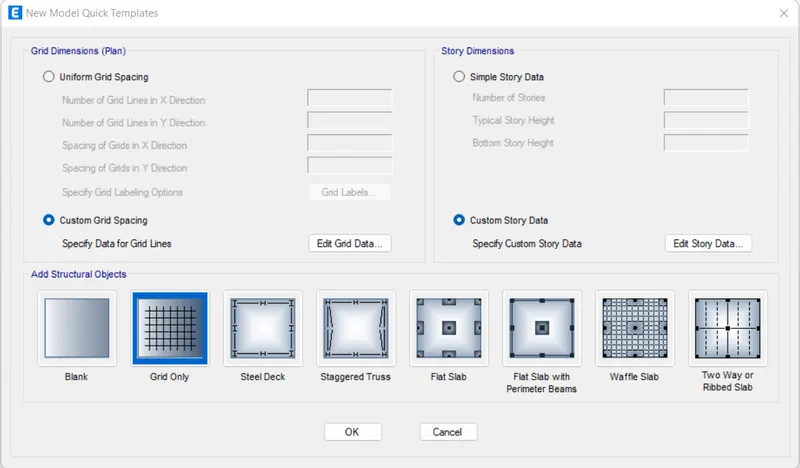
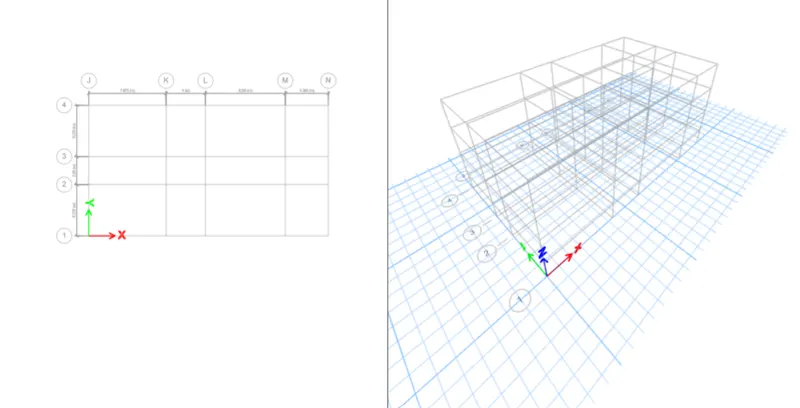
Now a new template opens ,edit grid settings & give ok
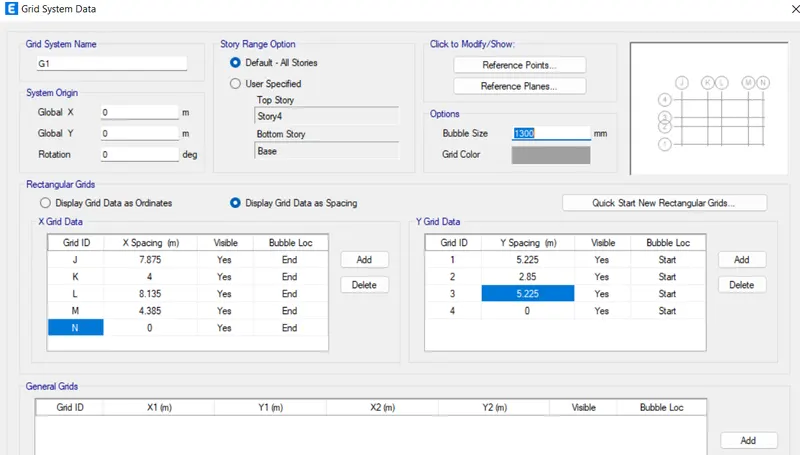
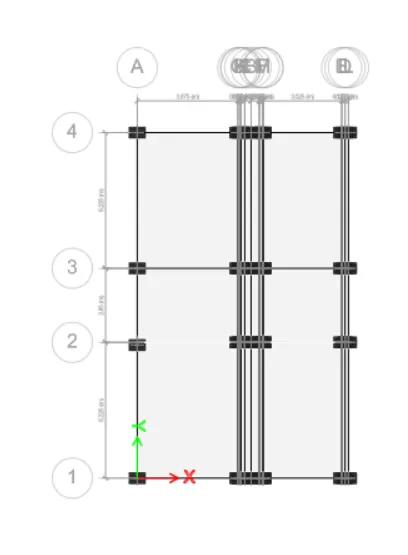
Edit story & grid systems
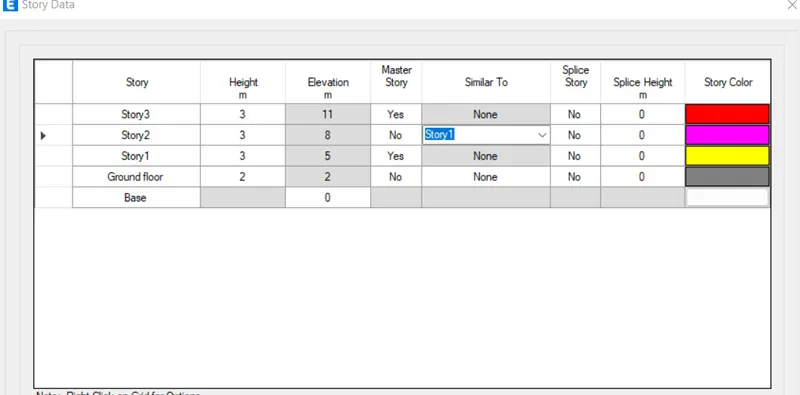
Add upto 3 stories
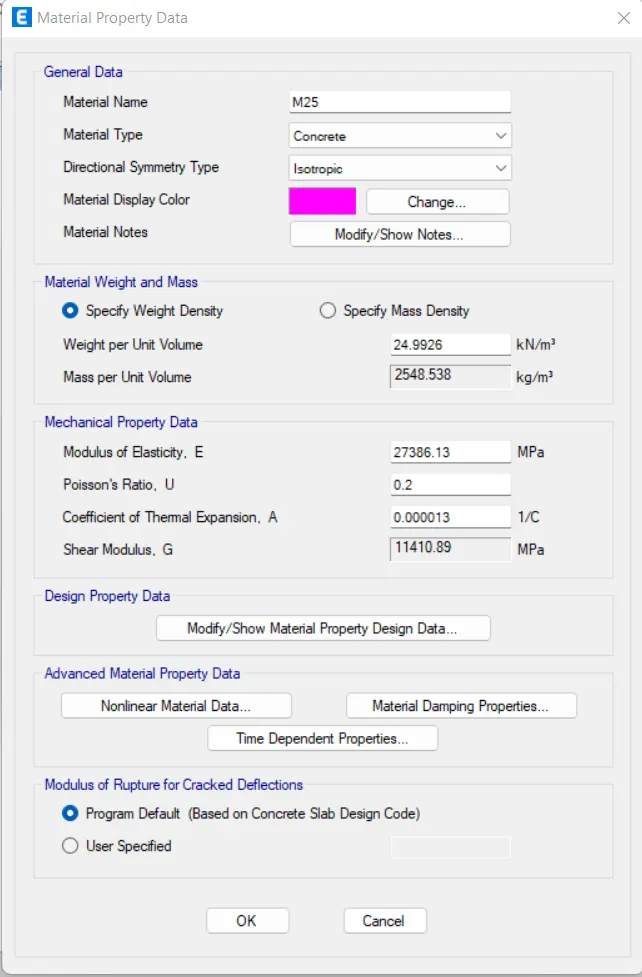
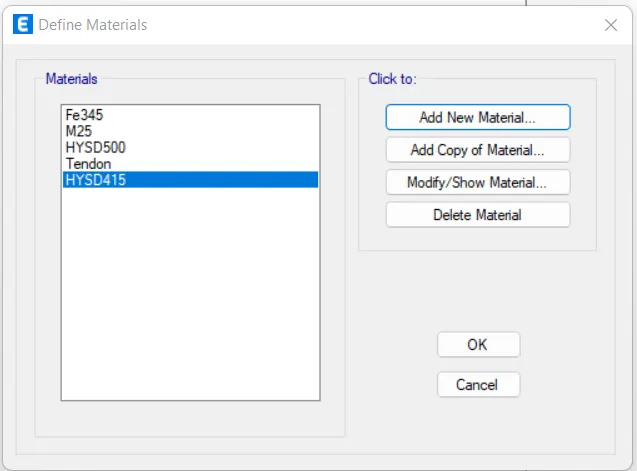
Add new material as M25 & type has concrete
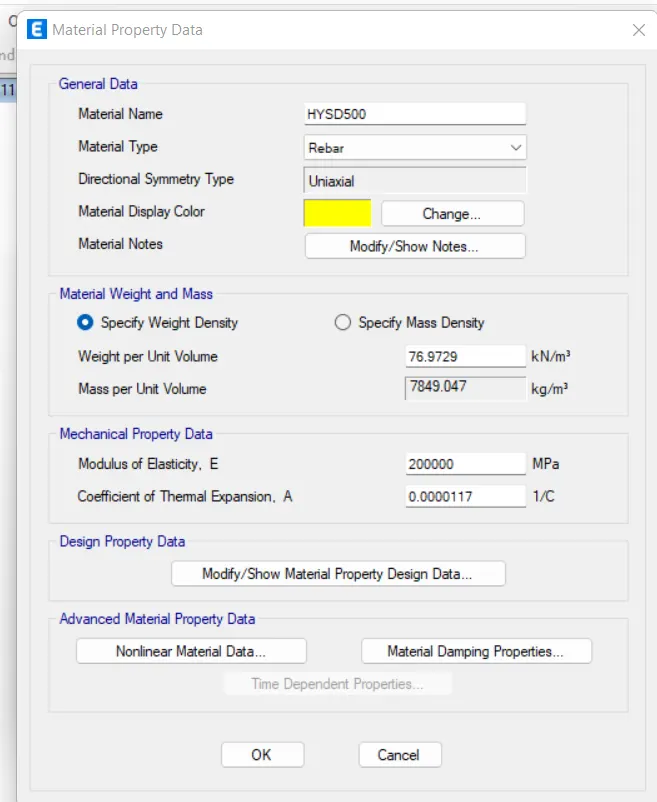
Add new material as rebar & grade as HYSD grade 500
Check material property
Add new material type as rebar & grade HYSD 415
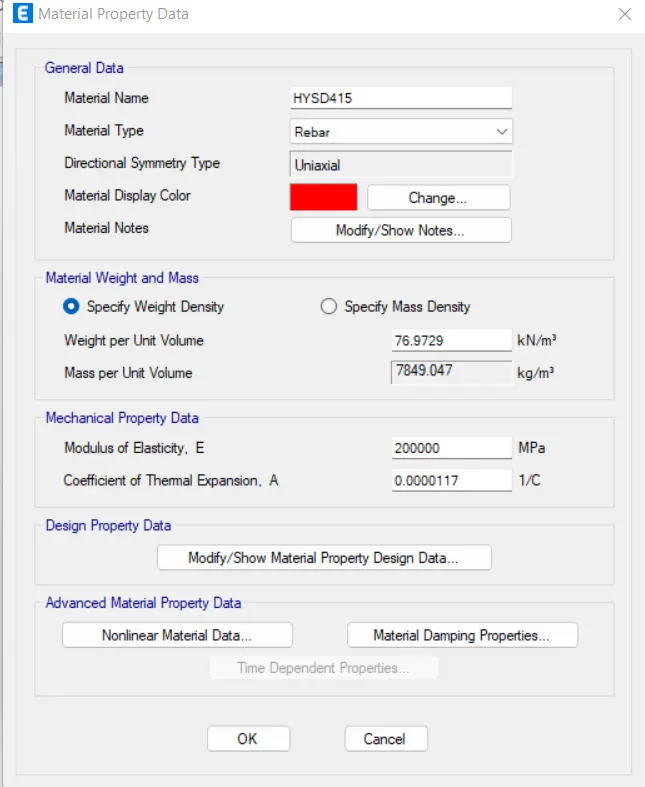
Assigned material is shown below
Under define tab select section property & choose frame section
Add a new property ,a new tab opens choose rectangular shape
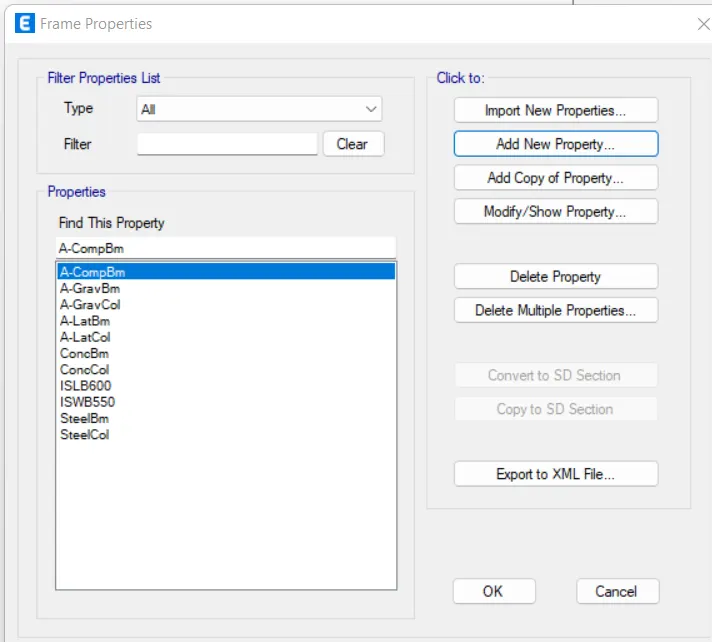
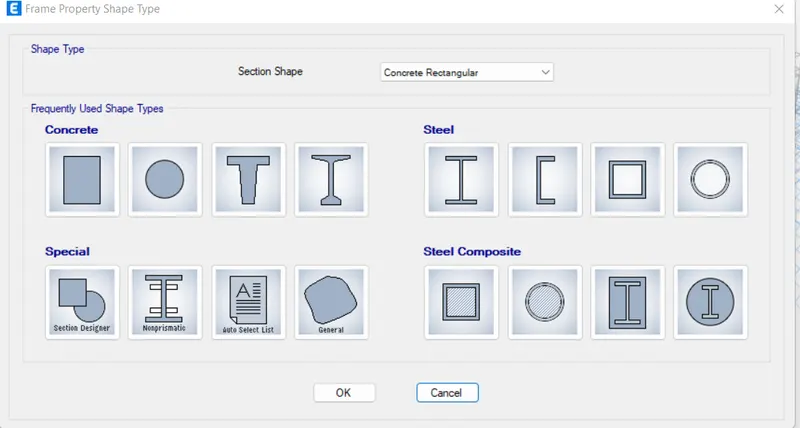
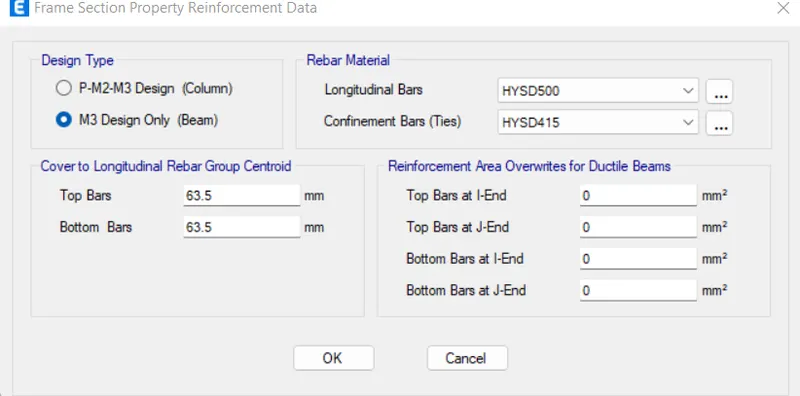
Now the frame section property tab opens add the beam size of 450*650
Select modify/show rebar option
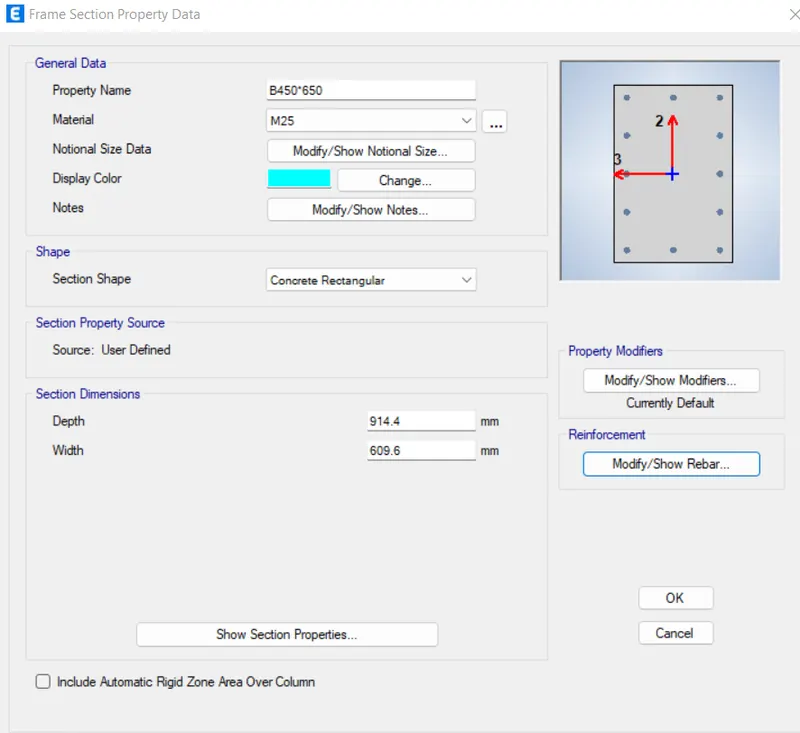
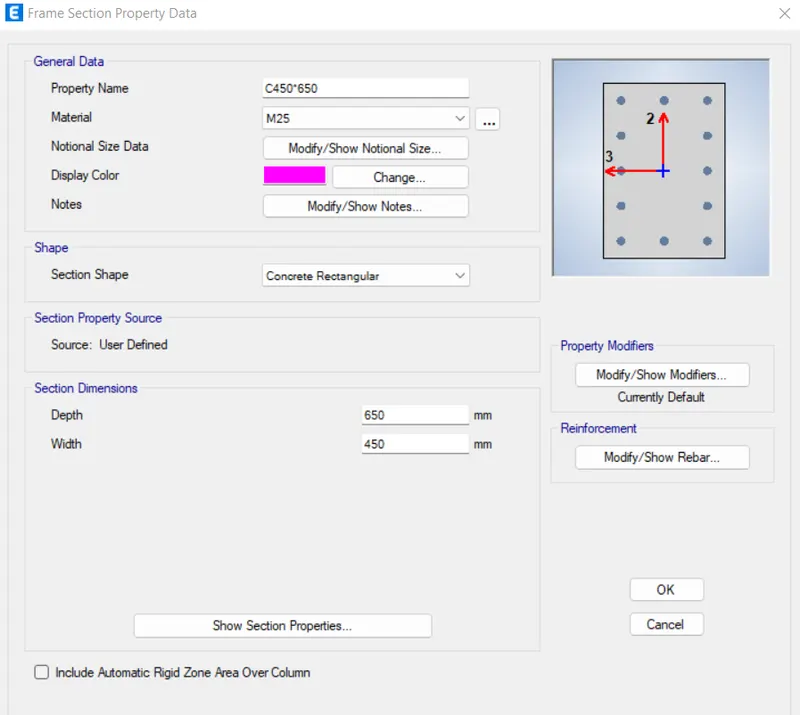
Add column size 450*650
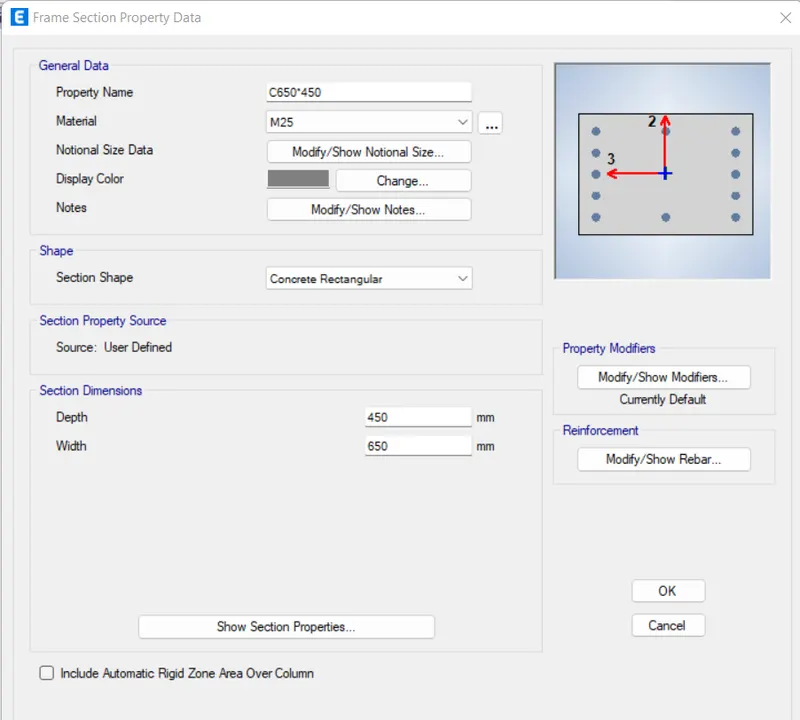
Add column size of 650*450
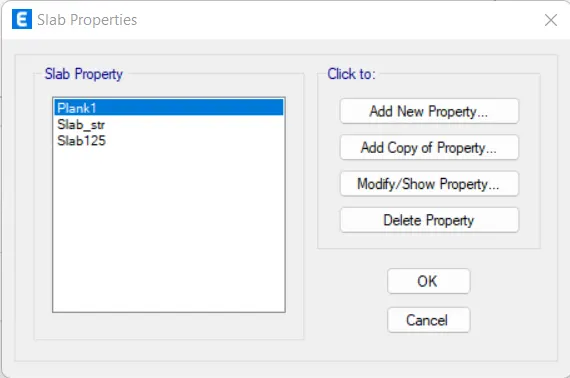
Select slab section under section property
Slab property tab opens select slab 1
Select modify /show property option
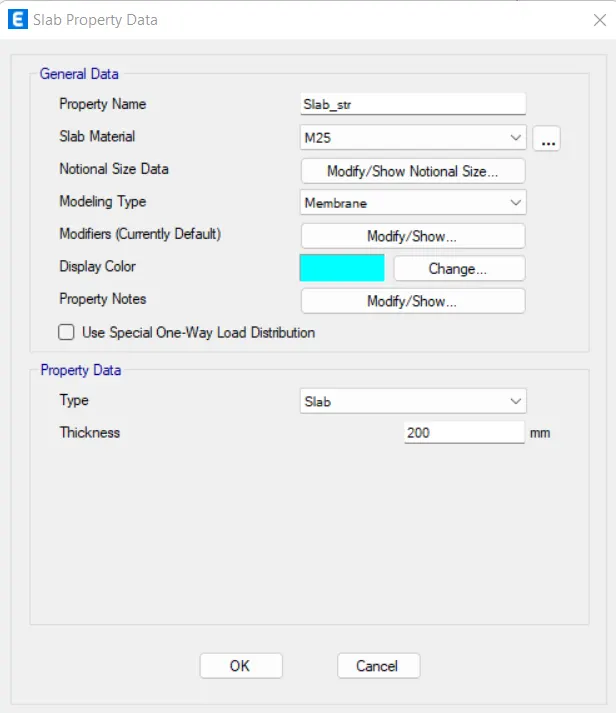
Add a slab of thicknes 125 & grade M25
Click ok
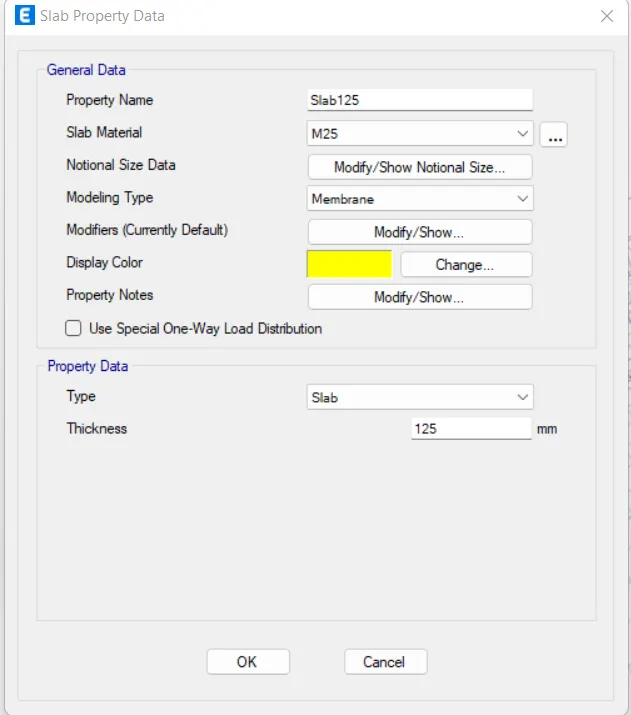
Add slab thickness of 200mm for staircase separately
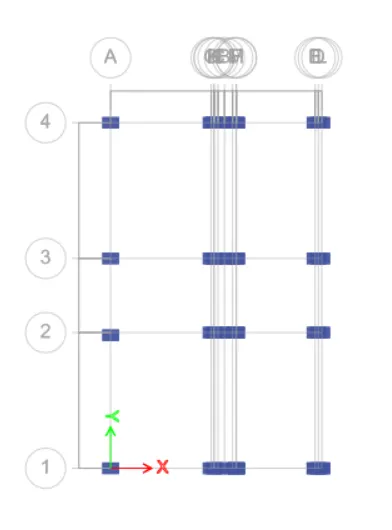
Insert quick draw columns
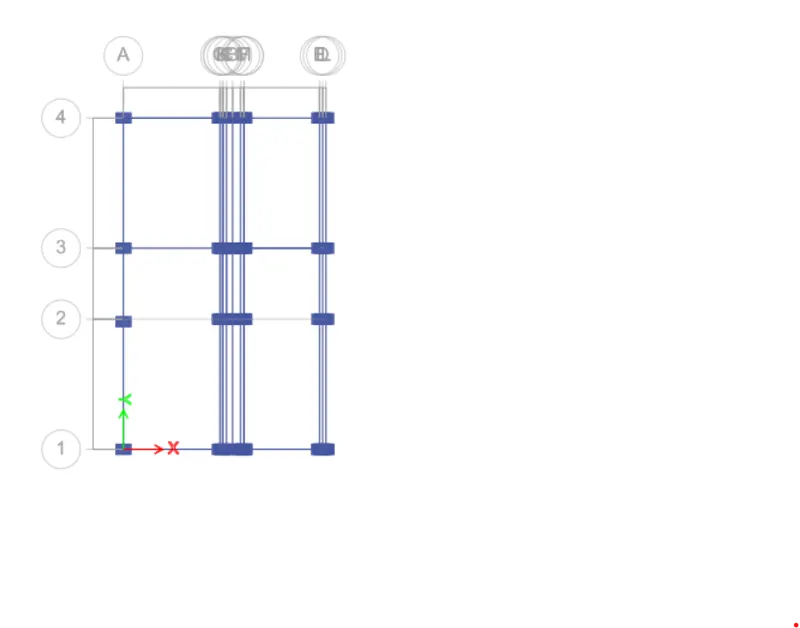
Insert beams using quick draw beams
Insert wall using quick draw wall/floor option
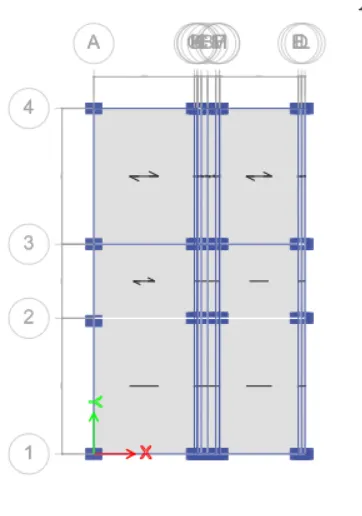
Go to base plan select all base joint
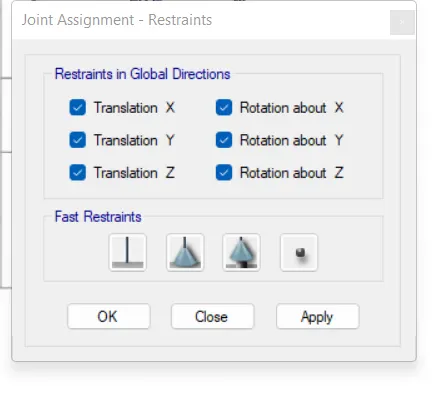
Choose restraint joint option
Assign joint ,apply,close
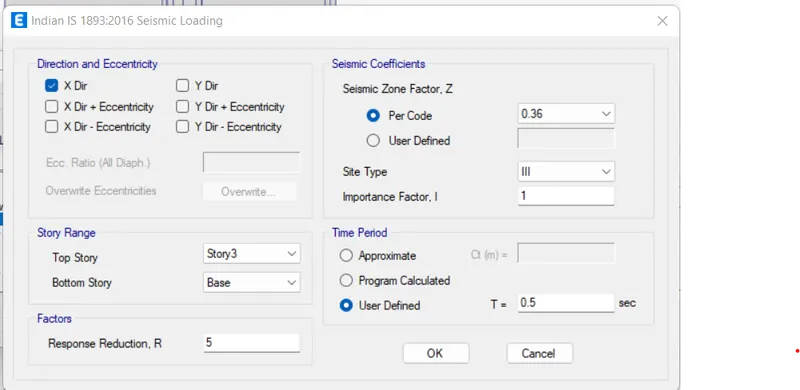
Add dead load,live load,brick wall load & Earthquake load
Select EQX modify lateral load & click ok
In that select X direction as per IS-800-2002, sesmic zone factor for Guwahati, Assam is taken as 0.36 as per given in the question
Select site type as III
Click OK
Similarly do this for all sesimic load such as eqx+, eqx-, eqy+, eqy- and eqy
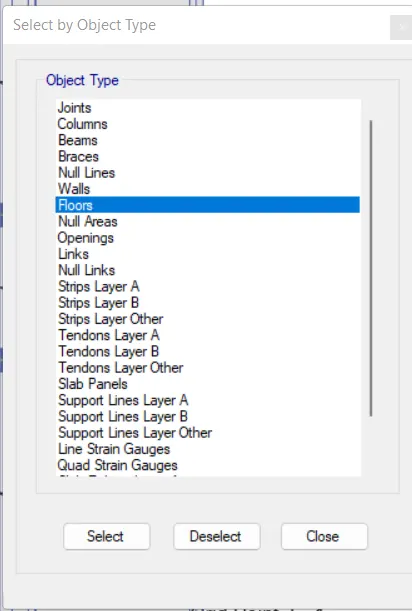
Select object type ,floor then click close button
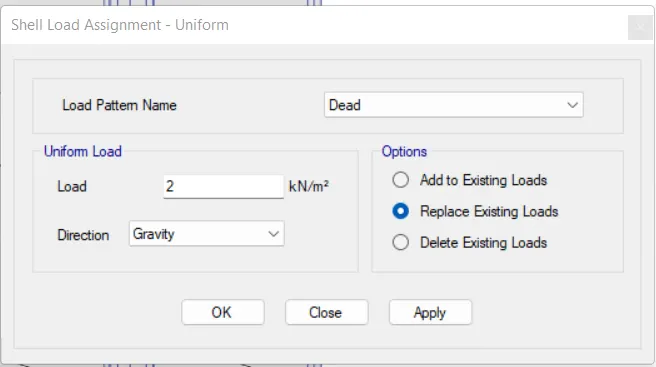
Assign uniform shell load
Assign live load as 2KN/m^2 upto third floor ,apply & give ok
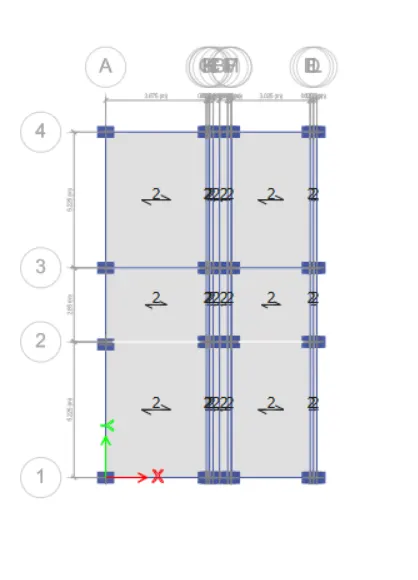
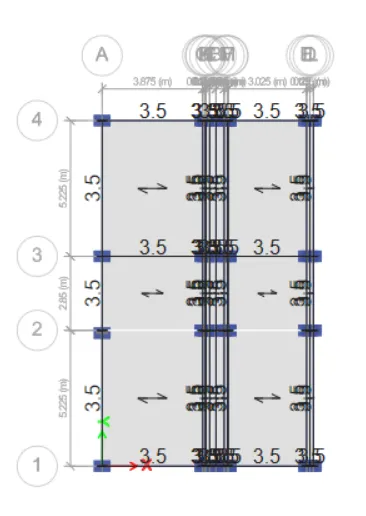
Select object type , a new tab appears choose beam ,choose select option & close
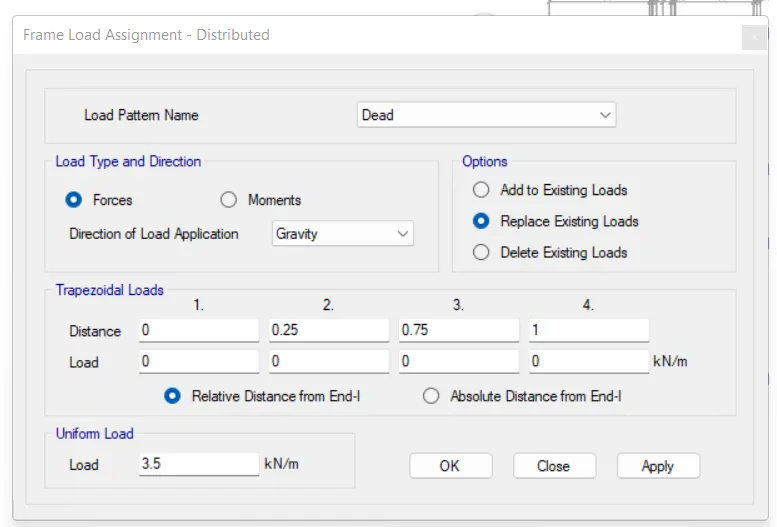
Assign distributed frame load ,apply uniform load as 3.5KN/m & then give ok
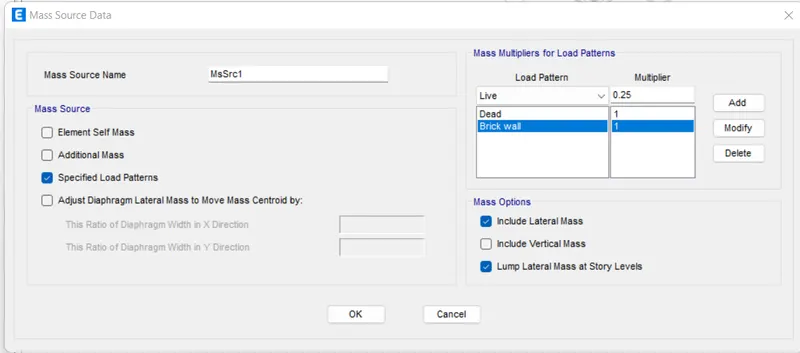
Choose mass source from define tab
Add load pattern
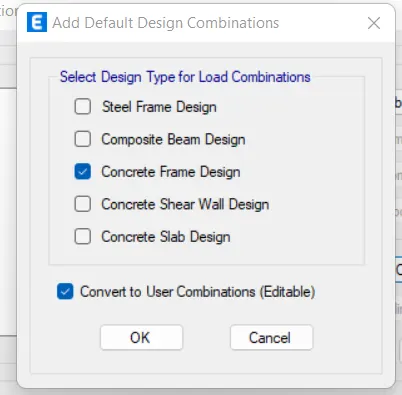
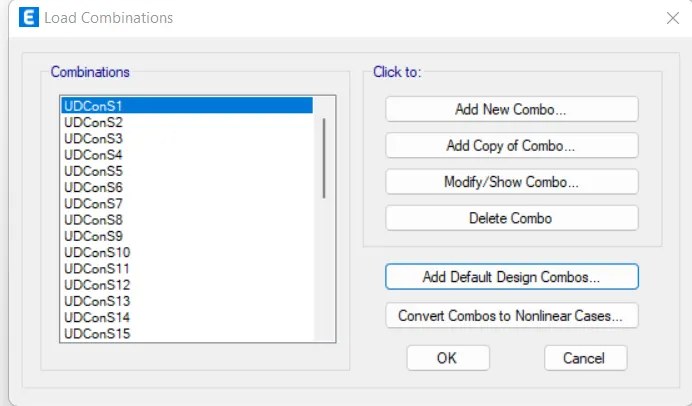
Select load combination from define tab
New tab opens ,select concrete frame design in that Load combinations are now visible
Select object type & choose floors
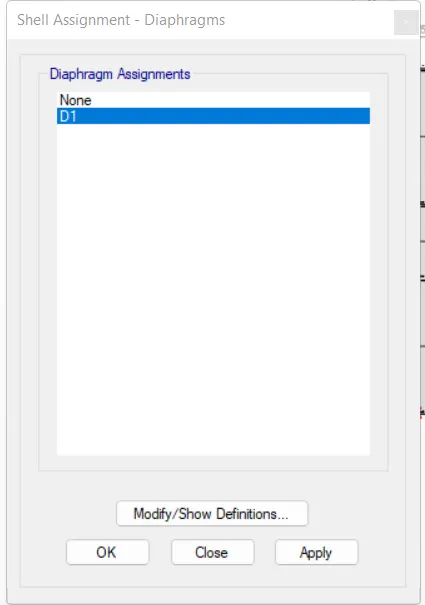
Assign diaphragm from shell option
Select D1 aplly & give ok
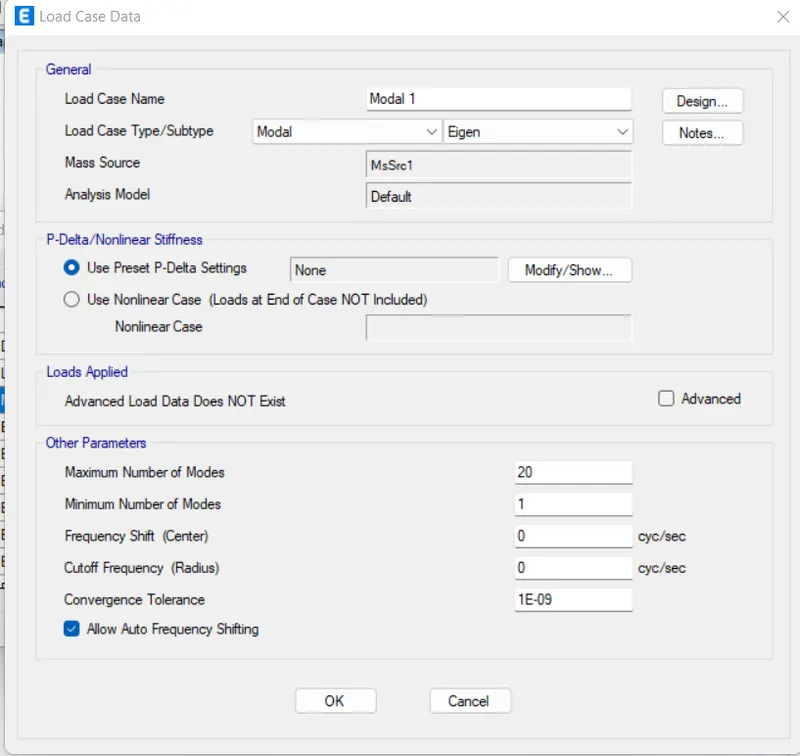
Select modal case optuion under design software ,give mass source name as modal 1 & max modes as 20 & give ok
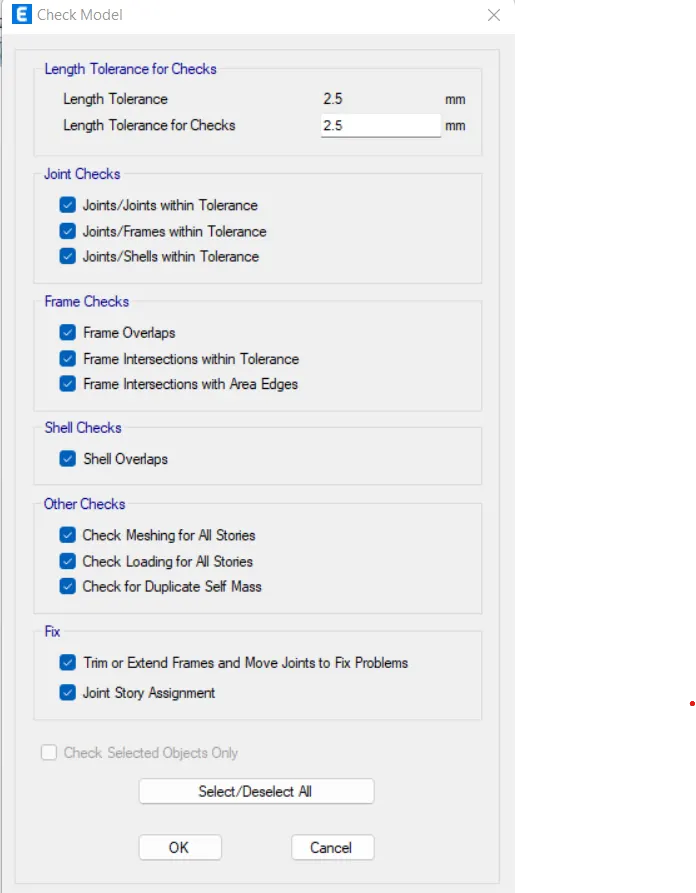
Check modal under analyze tab & slect options ,give ok.
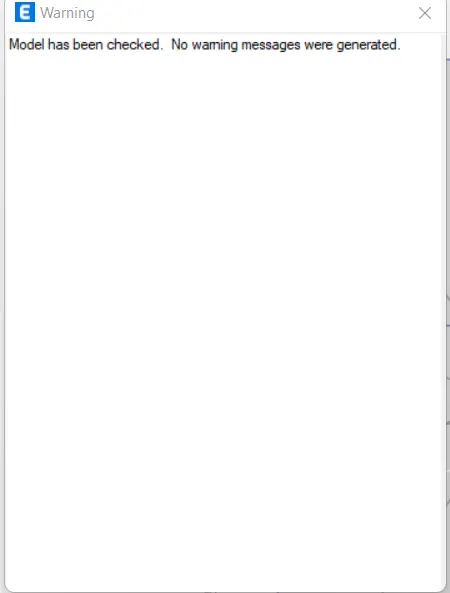
Run analysis
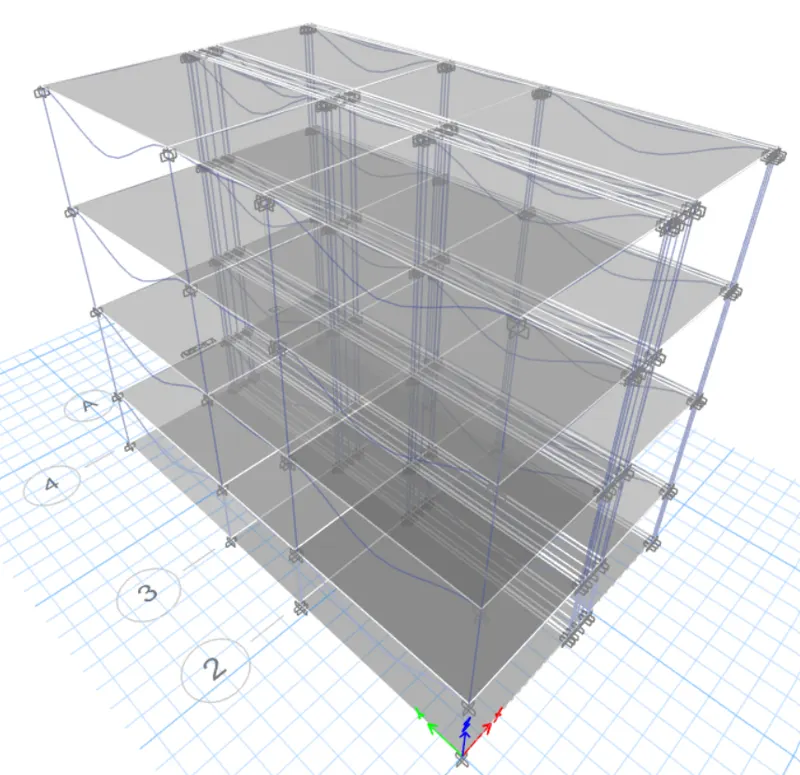
Start design/check
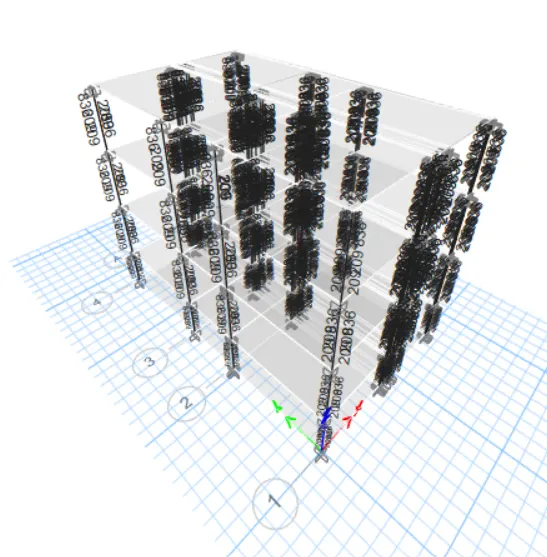
Click display design info,choose longitudnal reinforcement & apply click ok
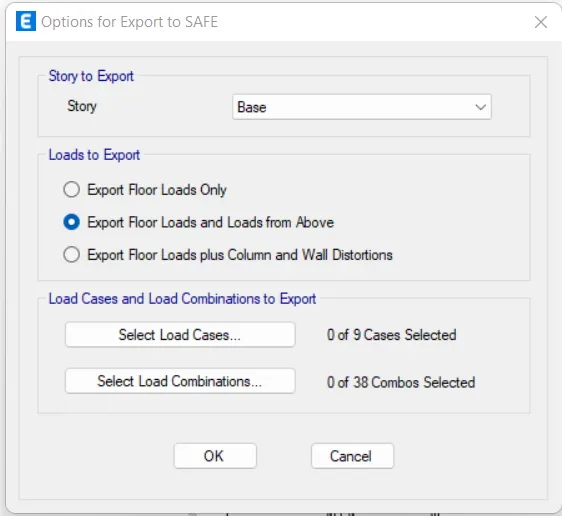
Export base floor loads and load from above in SAFE
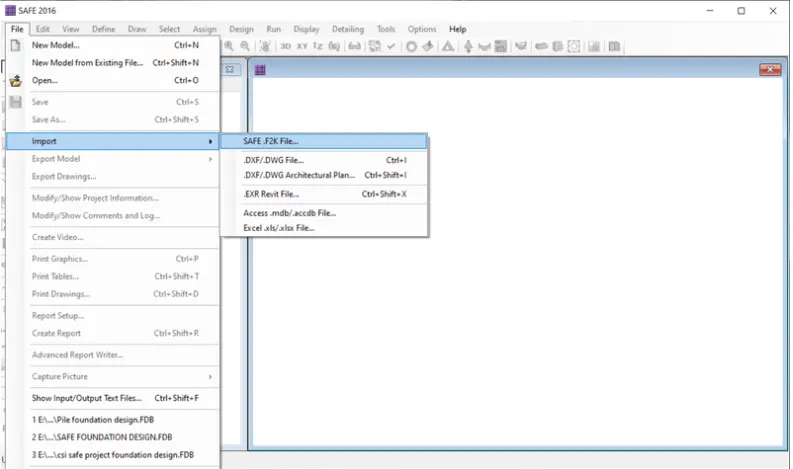
Open SAFE and import F2k file
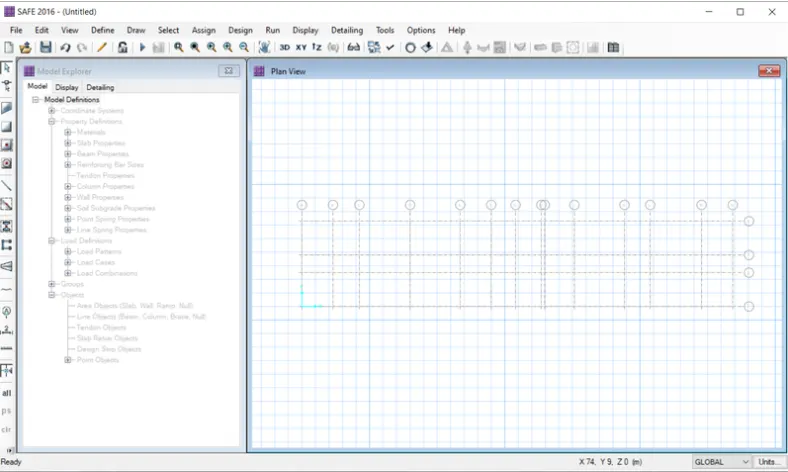
File will open in SAFE
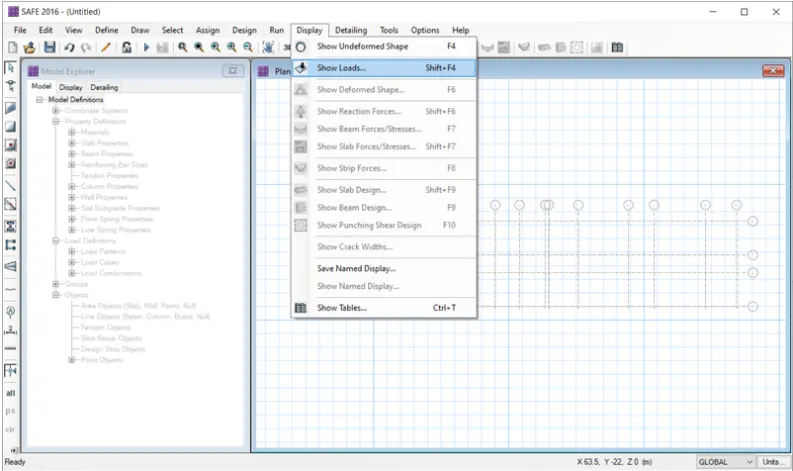
Now select show load from display option
After selecting show load option, new tab will be visible, in that we select Dead_Above as load pattern
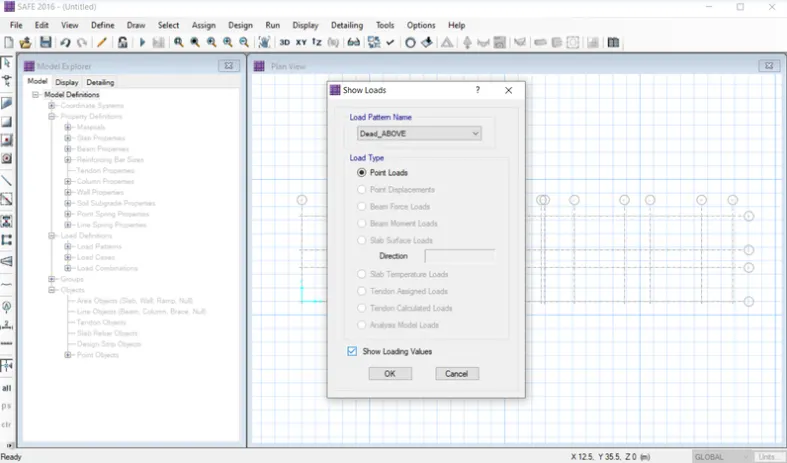
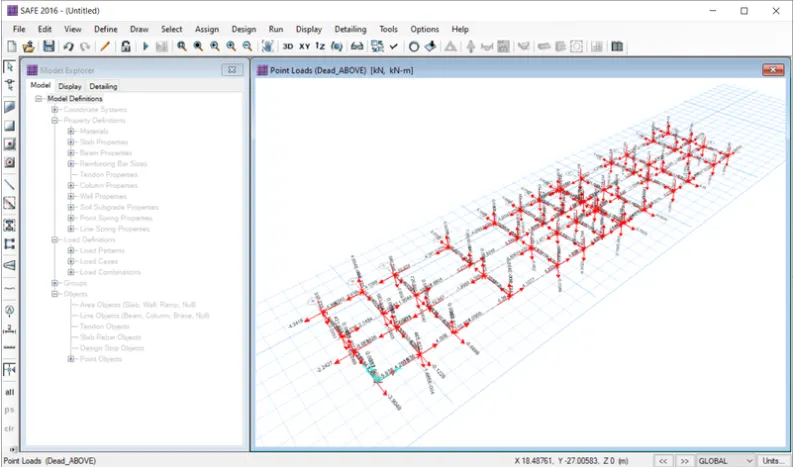
Slect Live_Above as load pattern
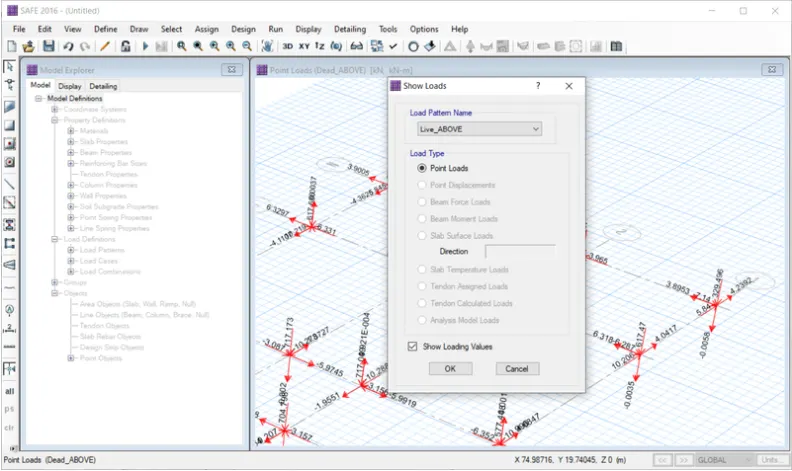
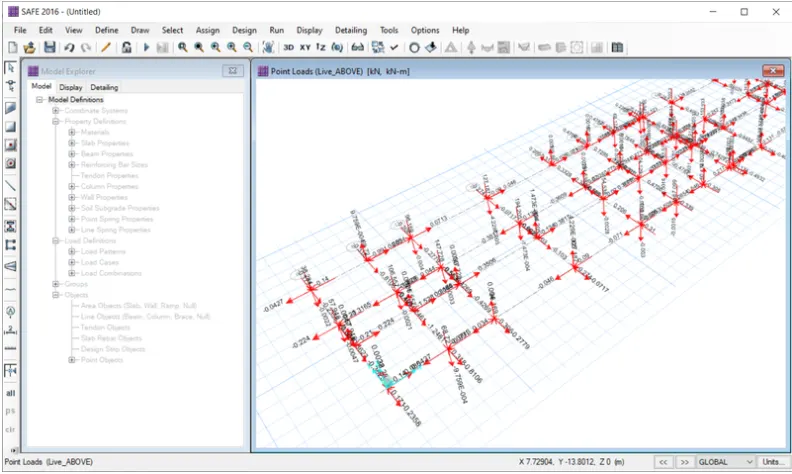
Select define material option and assign material
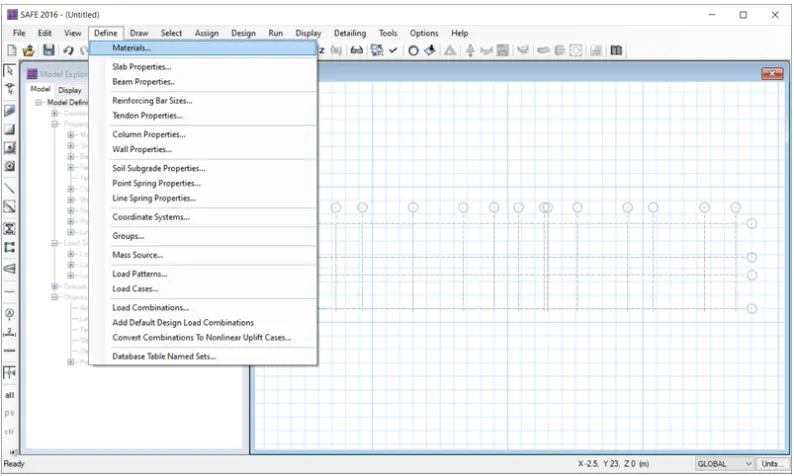
After selecting the material, new tab appears, then we will add new materials by selecting the add new material option
Add material type as concrete and grade as M2 Next we enter weight per unit volumne as 25 Kn/cu.m
Now, enter modulus of elasticity as 25000n/sq.mm
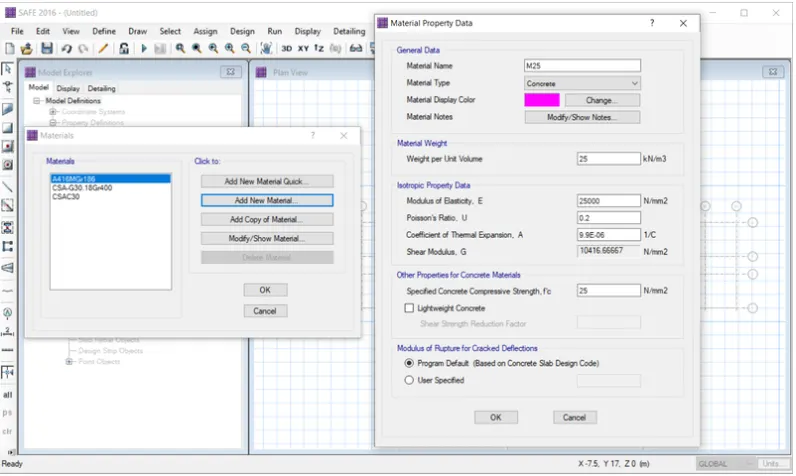
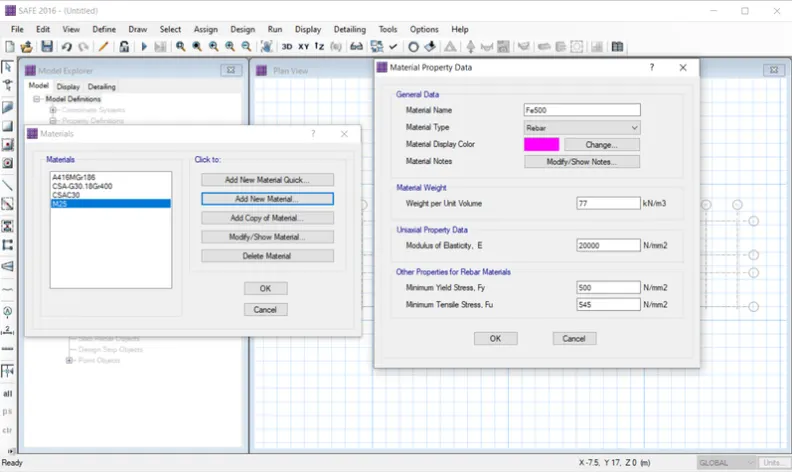
Add new material as rebar and grade as Fe500
Enter wt per unit wt volumne as 77KN/cu.m
Now, enter modulus of elasticity as 25000n/sq.mm
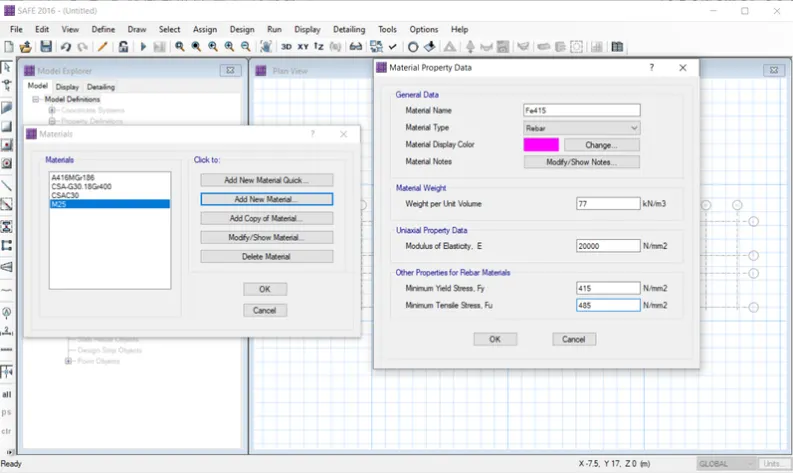
Add material type as rebar and grade as Fe 415
Enter wt per unit wt volumne as 77KN/cu.m
Now, enter modulus of elasticity as 25000n/sq.mm
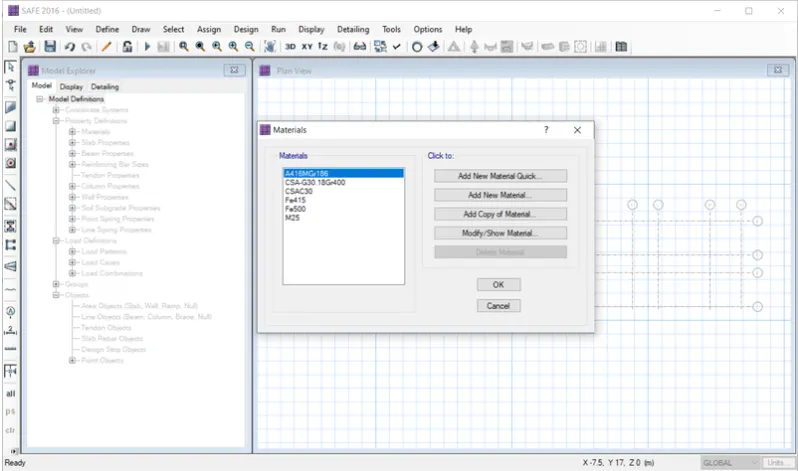
Thus, material is assigned as shown below
Select slab properties from define option
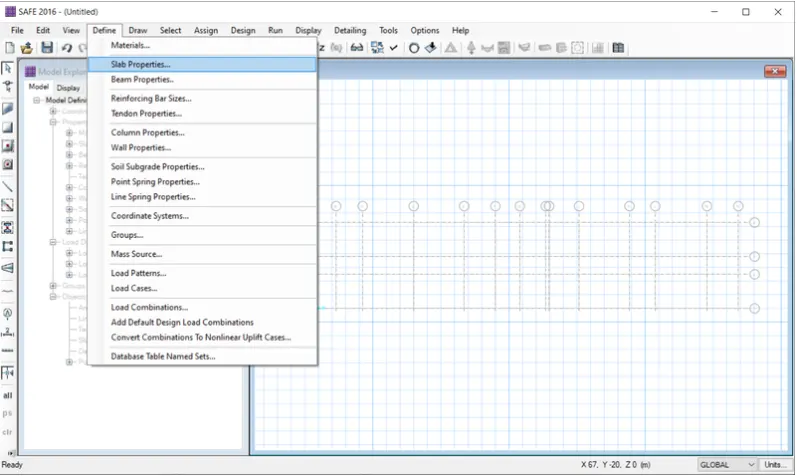
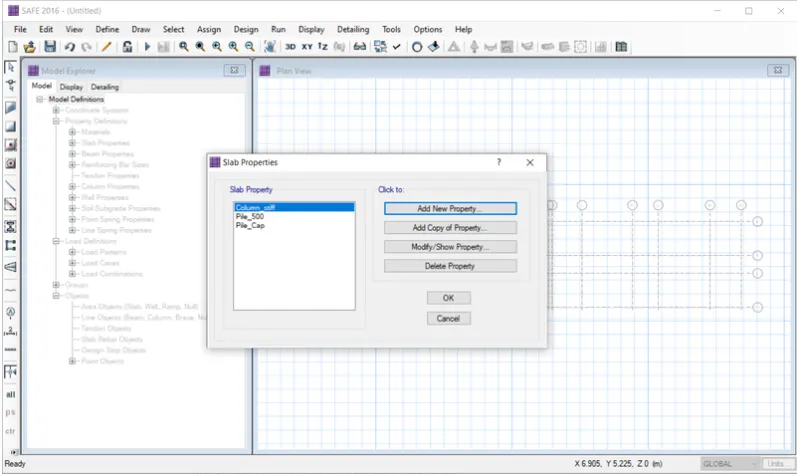
After selecting slab properties the new tab will be visible, in that we need to select Add new property as shown below
After selecting the add new property option, the new tab appears
In that we need to put property anme as Pile_Cap
Assign slab material as M25
Thickness wil be taken as 800mm
Then click Ok
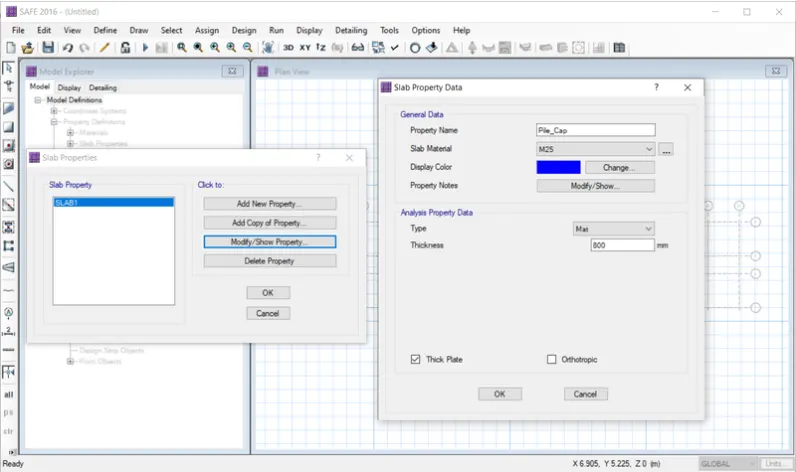
Next again we need to add another slab property
we need to put the property name as Pile_500
Assign slab material as M25
Thickness wil be taken as 800mm
Then click Ok
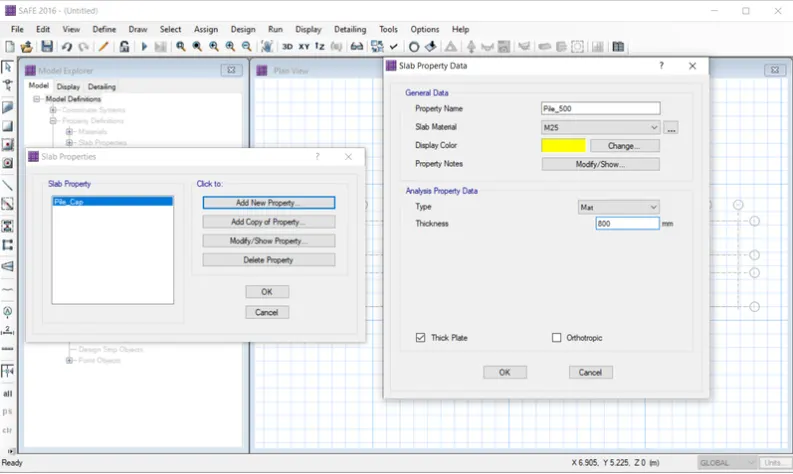
Next again we need to add another slab property
we need to put the property name as COLUMN STIF
Assign slab material as M25
Thickness wil be taken as 800mm
Then click Ok
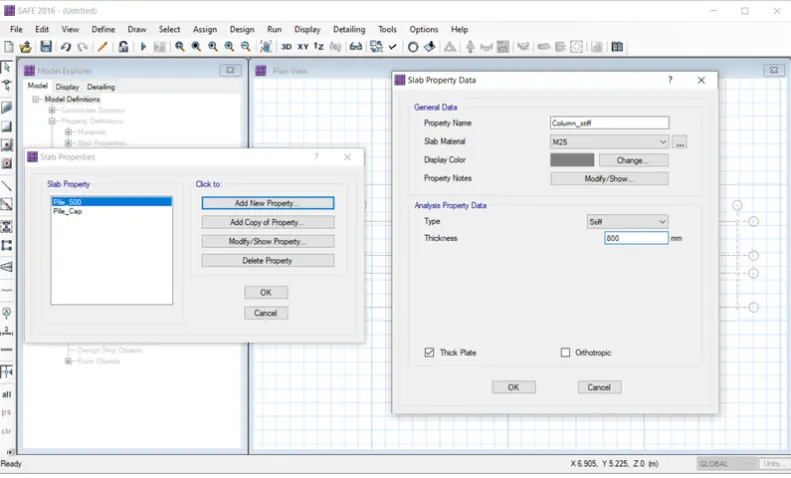
Slab properties are asiigned below
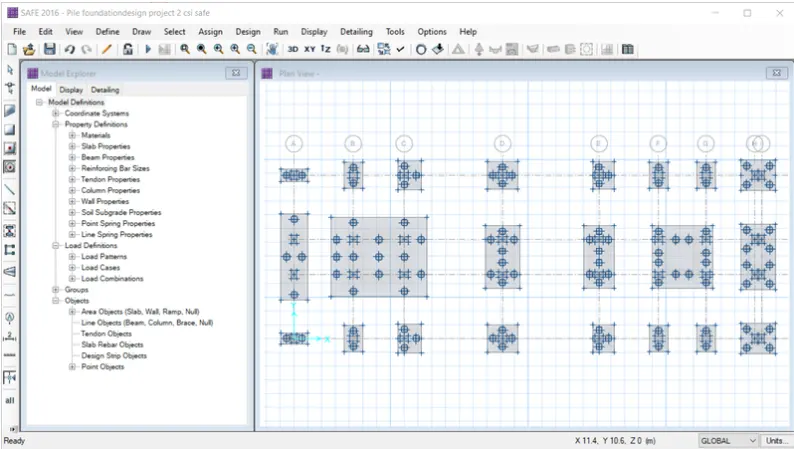
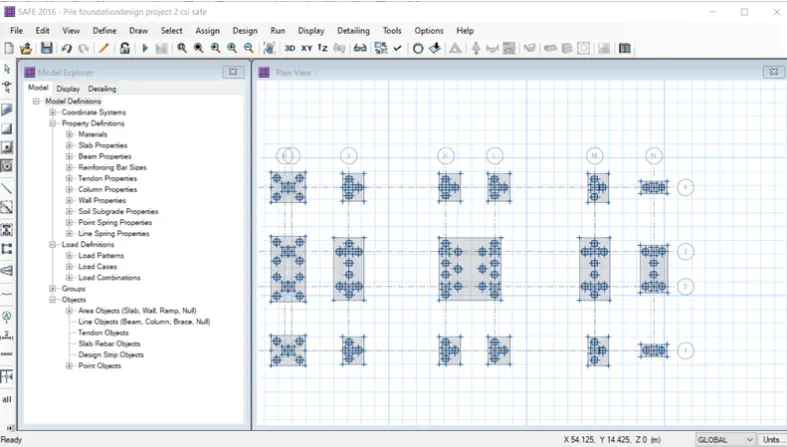
Pile cap are assigned, shown below
Pile asre assigned with 500mm dia
Column sizes are assigned as (450X650) and (650X450) mm
Assign soil properties
select soil properties from support data as shown below
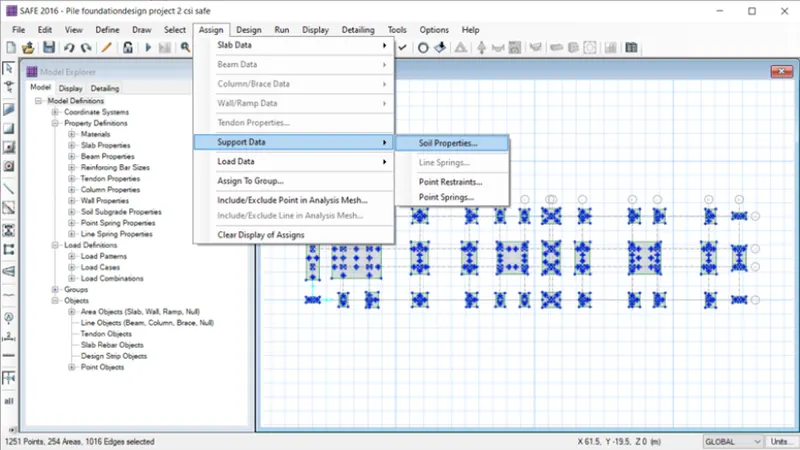
After selecting soil properties new tab will appear, in that select SOIL 150 the OK
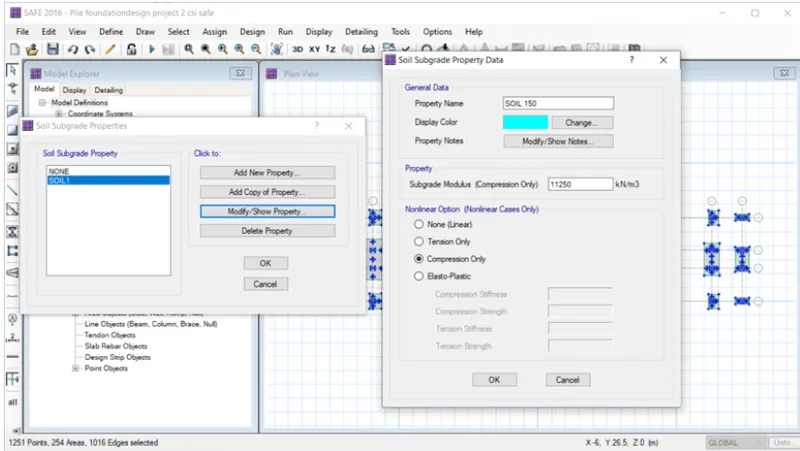
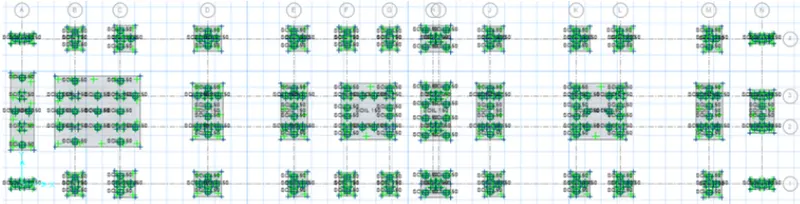
Now we will select points to assign the springs for pile
Then we will select point spring from Support Data from assign option
Then, again we will select point spring properties, the one tab will be visible
Now, modify/show property, then the new tab appears, in that we take 490.87KN/mm in translation Z i.e Compression only
Spring constant = (EA/ L)
where, E = 5000X √25 = 25000
A = (∏/4) X d2
= (∏/4) X (500)2
= 196349.54
L = length of pile =10000mm
Spring constant = 25000X196349.54 = 490.87KN/mm
100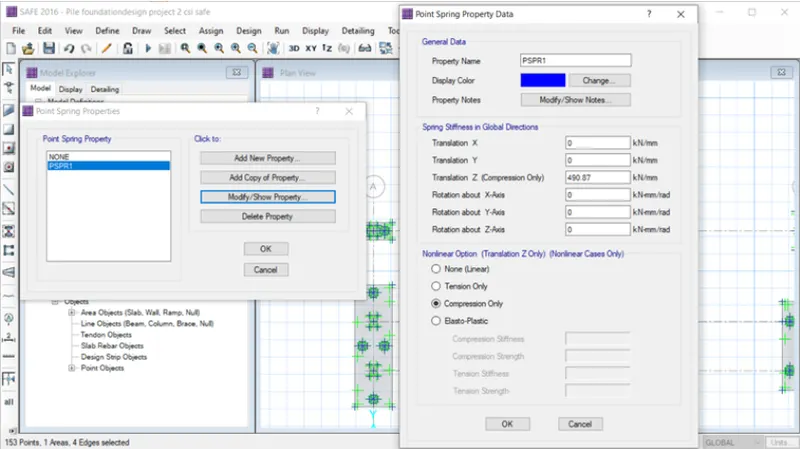
Hence, spring are assigned succesfully
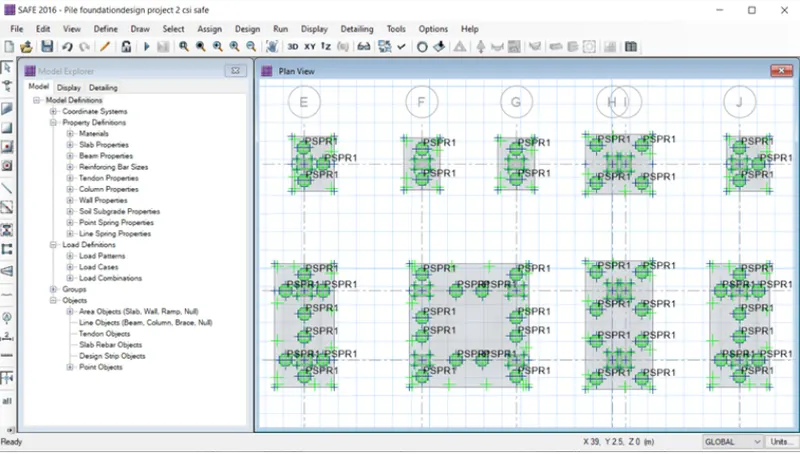
Now, assign point loads of column
Then , we will select load from load data from assign option, as shown below
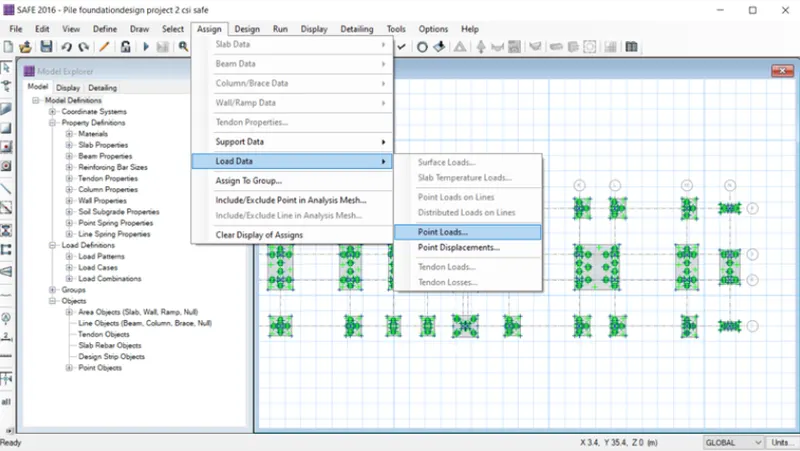
Ponit load tab will be visible, in that load will be add visible, in that add gravity Z direction as 1071.53KN
Then, enter punching shear size as 650X450 as shown below
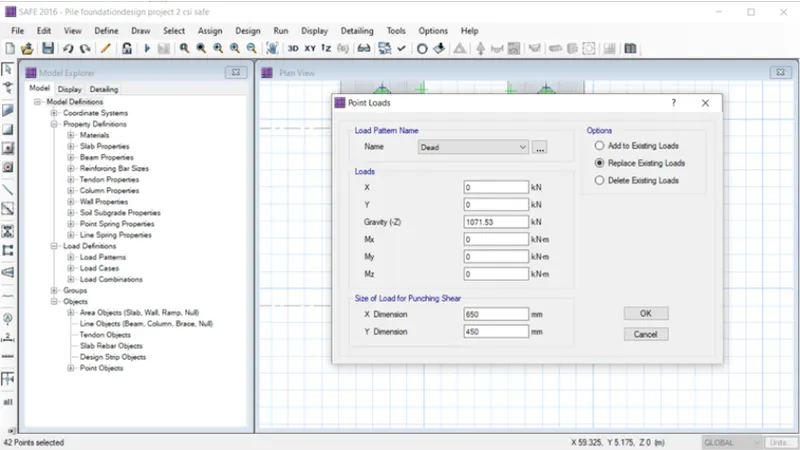
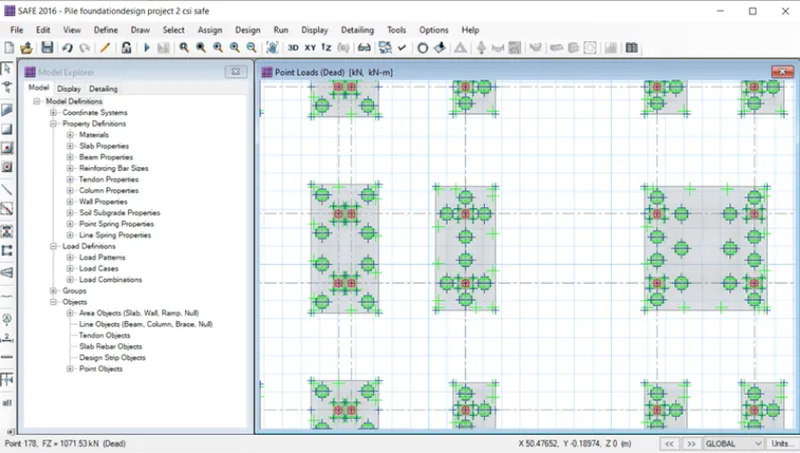
Load are assign of column as shown below
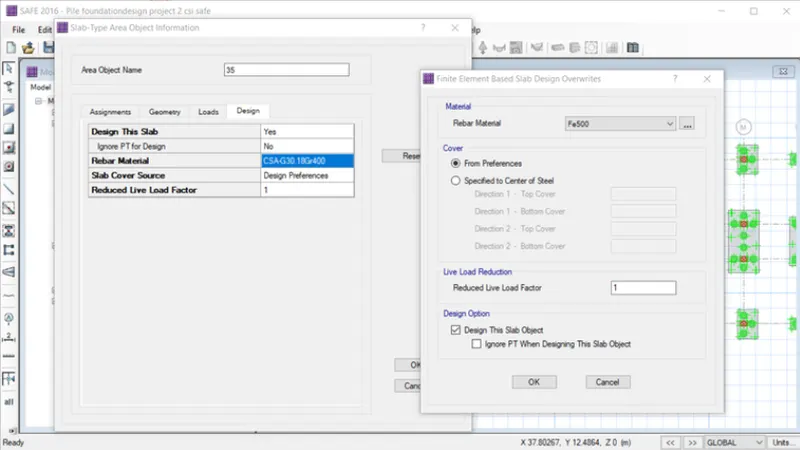
Right click on pile cap,new tab will appear
In that we need to check rebar material wheather Fe500 is assigned or not, if not we change it to Fe500
Similarly, we have to check for pile caps
Now, run analysis
Then deform shape will be visible after completion of run analysis
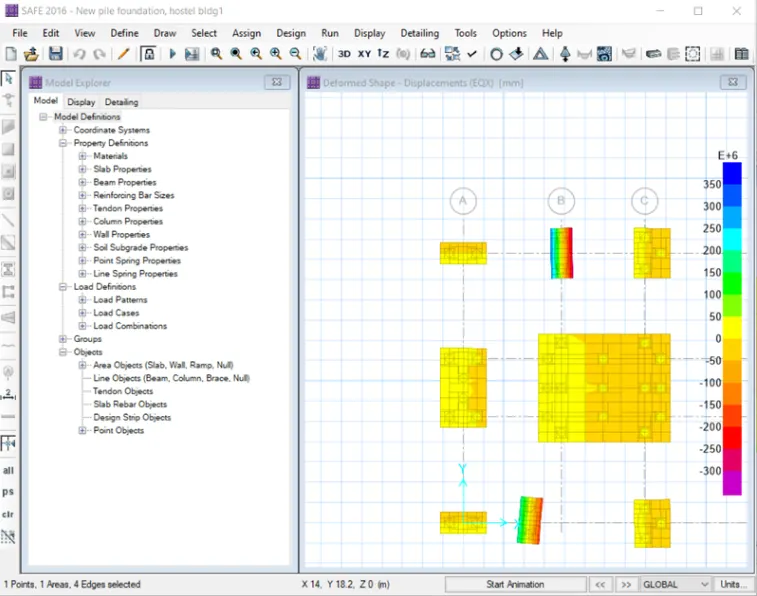
Now from display option we will select show reaction forces
After selcting reaction forces option new tab will be visible, in tht put load case as dead load
Click on apply and then Ok
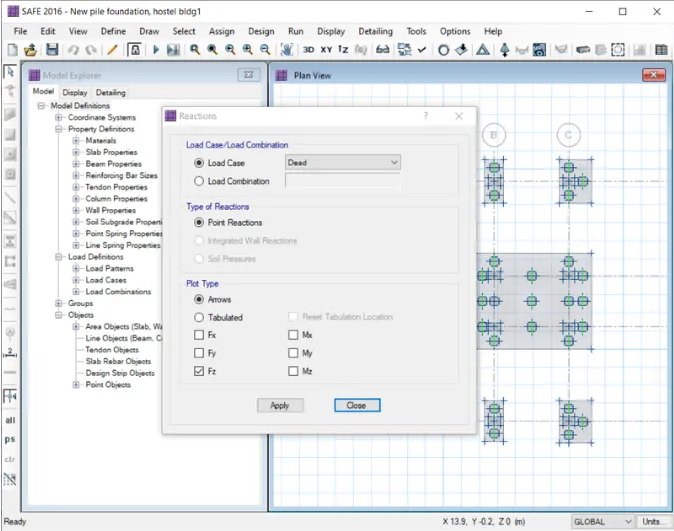
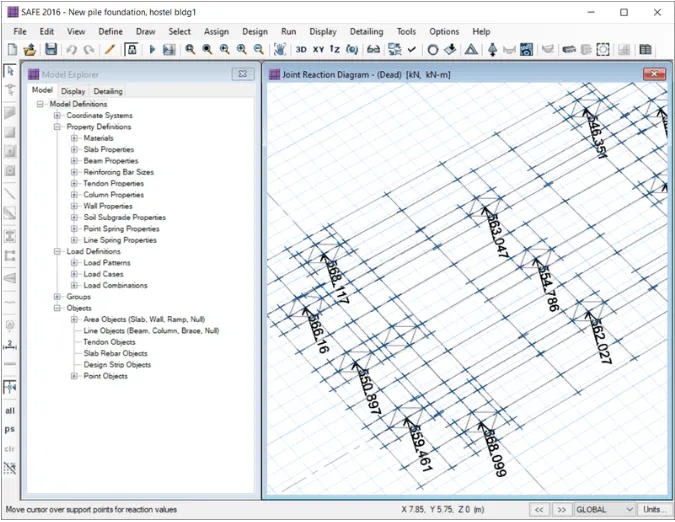
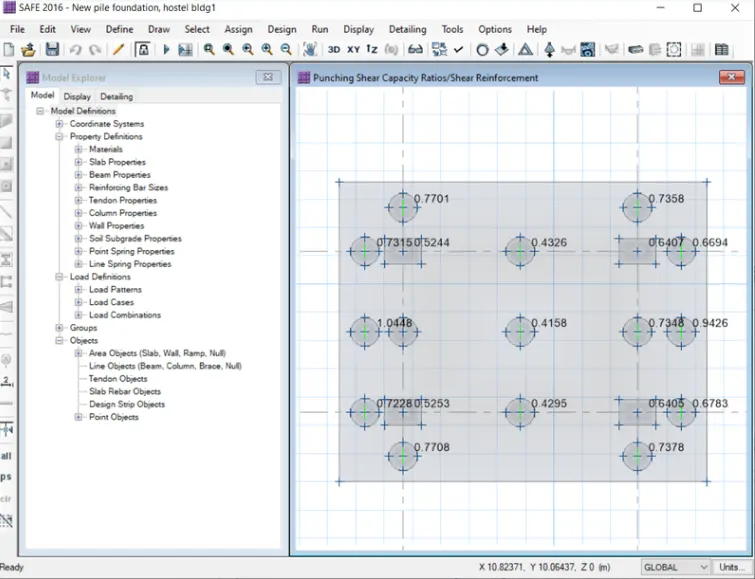
Now, from display option, we select show punching shear design
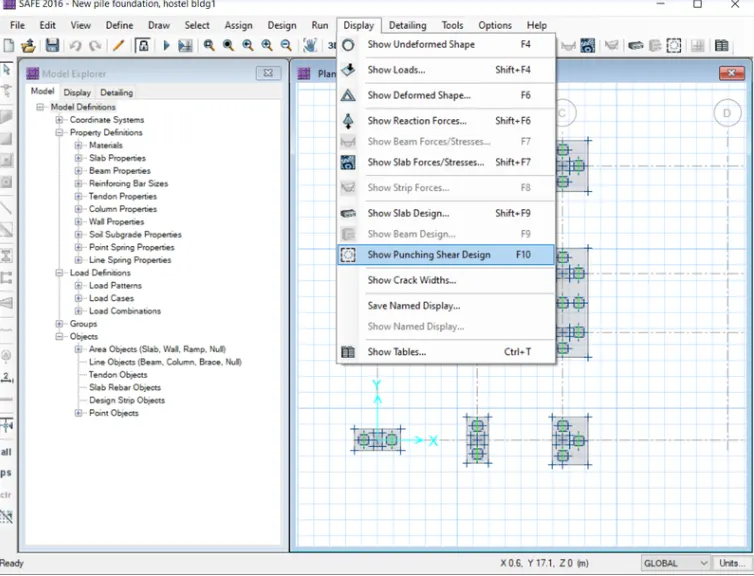
Now punching shear value will be visible, the value are less than 1 as shown below
Then, there is no errors in punching shear
If the punching shear value are more than1, we need to increase the pile cap size
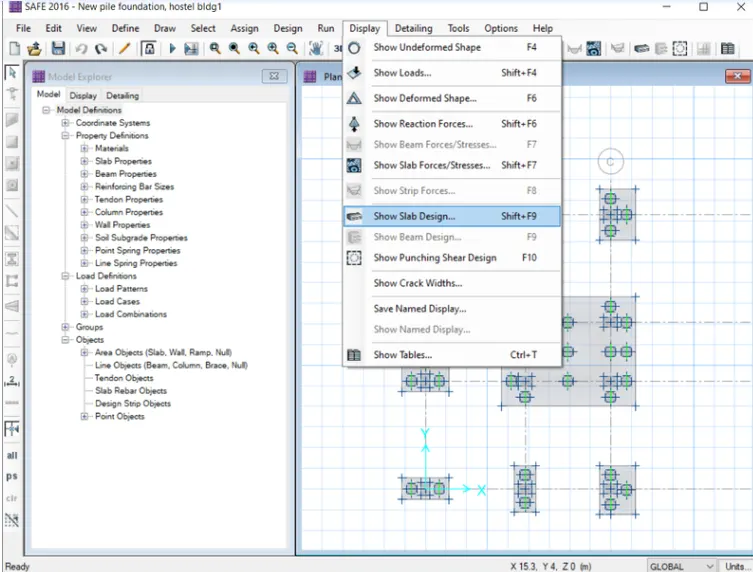
From display option we will select show slab design
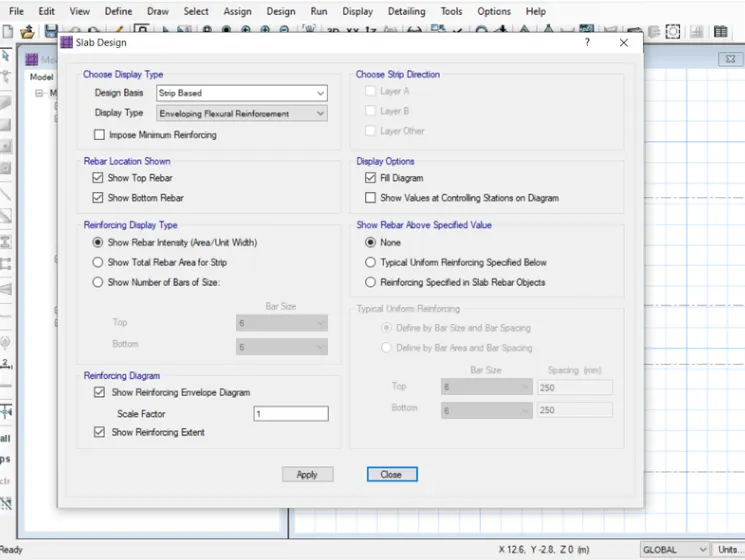
After selecting show slab design option a new tab will be visible, then click apply option
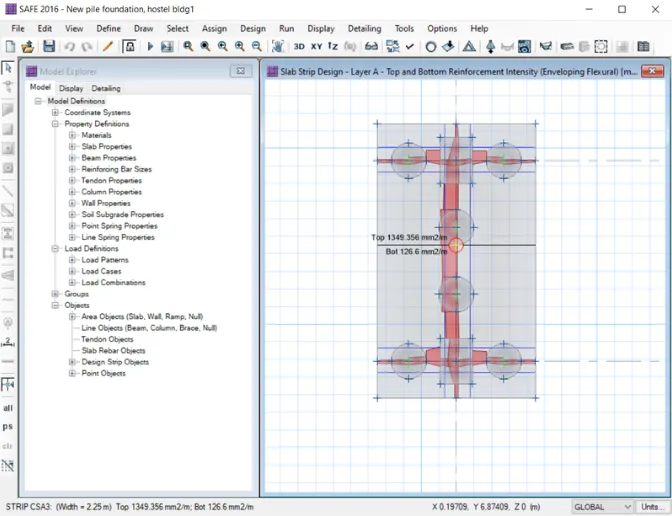
Here will be able to see slab strip design result, according to slab strip design result we will provide reinforcement at top and bottom
Result :-
G+3 Hostel building design is designed and analyse in ETABS
The foundation is designed and analyse in SAFE