Project 2_Design & Analysis of a Hostel building at Guwahati, Assam
AIM -
The architectural drawings of a G+3 RCC building is provided. The following information on the building is to be used:
- Location – Guwahati, Assam
- Function – Hostel block in an academic institute
The buildings rest on type 3 soil. Piles of length 10 meters and 500 mm in diameter with a load-carrying capacity of 280 KN is to be used.
The ground floor level will be at a height of 2 meters above the existing site level to avoid floodwater entering the building.
M25 grade of concrete with Fe500 for longitudinal reinforcement and Fe 415 for shear reinforcement is to be used.
ANS -
1. OPEN A NEW MODEL -
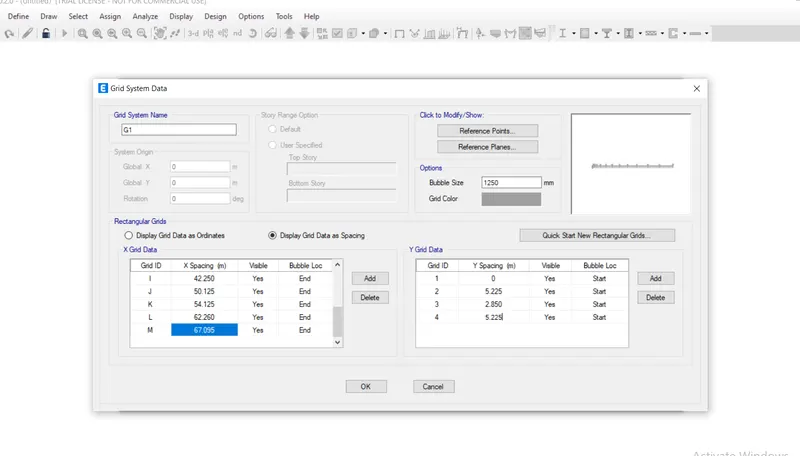
After that setting grid in the horizontal x- direction and vertical in the y-direction.
2. story data -
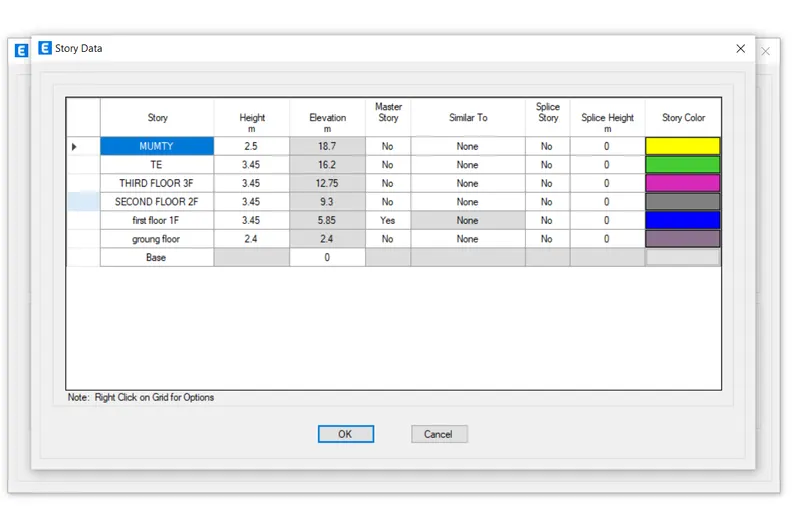
After completion of the grid, the setting moves forward to set a story. and set a story by the provided architectural drawing.
3. Define Material -
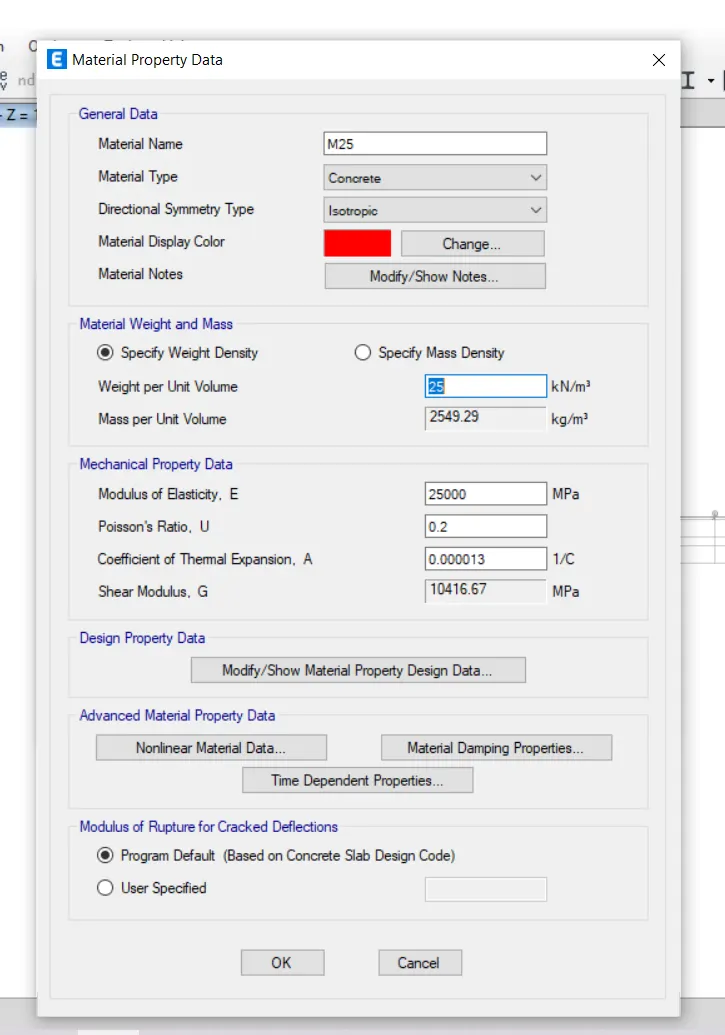
defining M25 grade of concrete as a material.
Rebar -
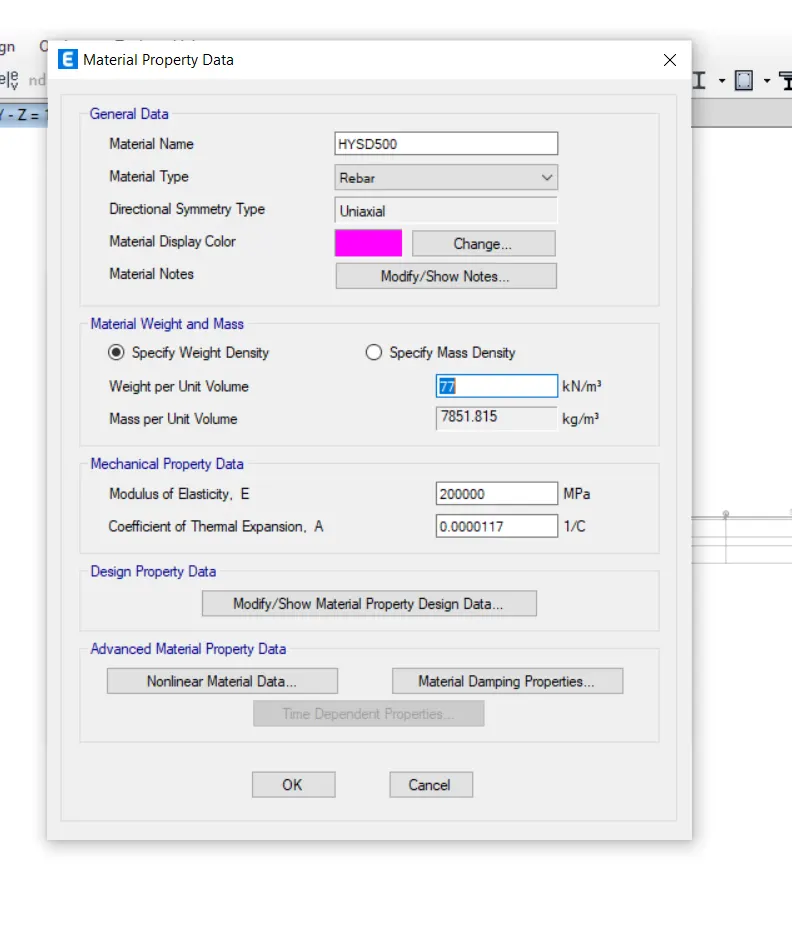
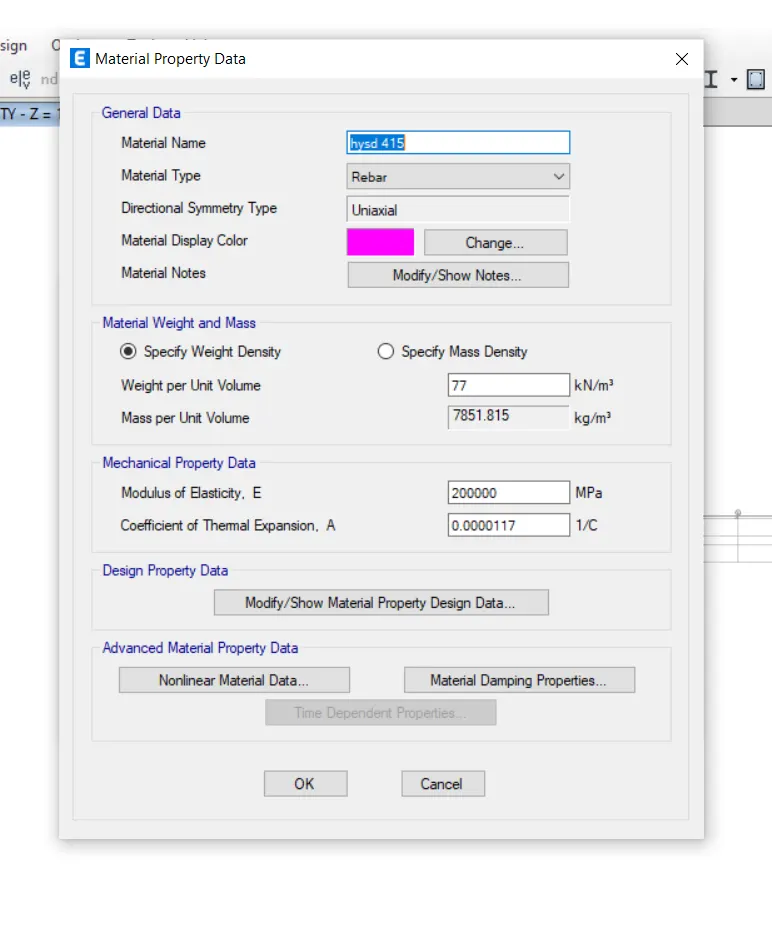
Define fe 500 rebar and fe 415 AND FE 500.
5. Define the material section --
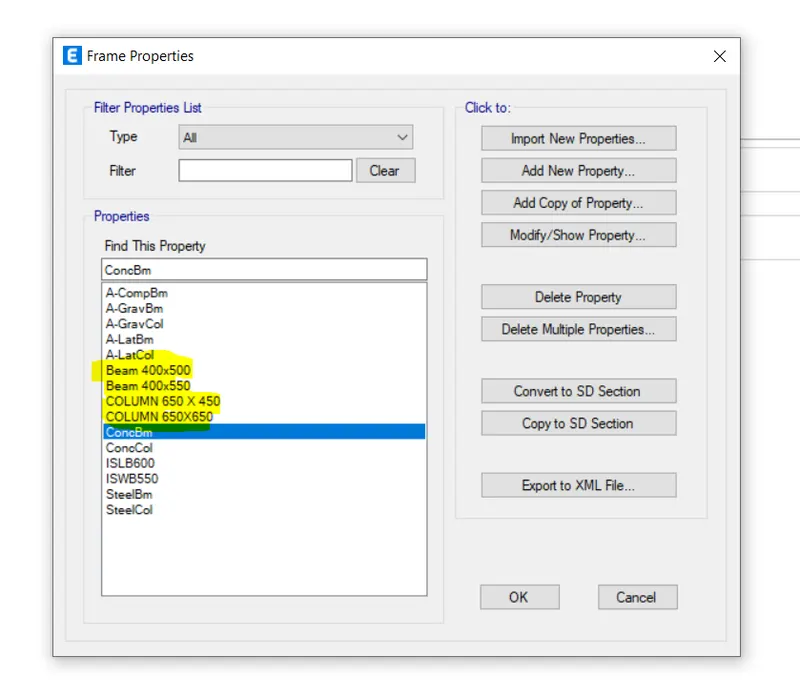
define the material section beam 400x500, 400x550, column 650x450, 650x650
5. Define frame section property -
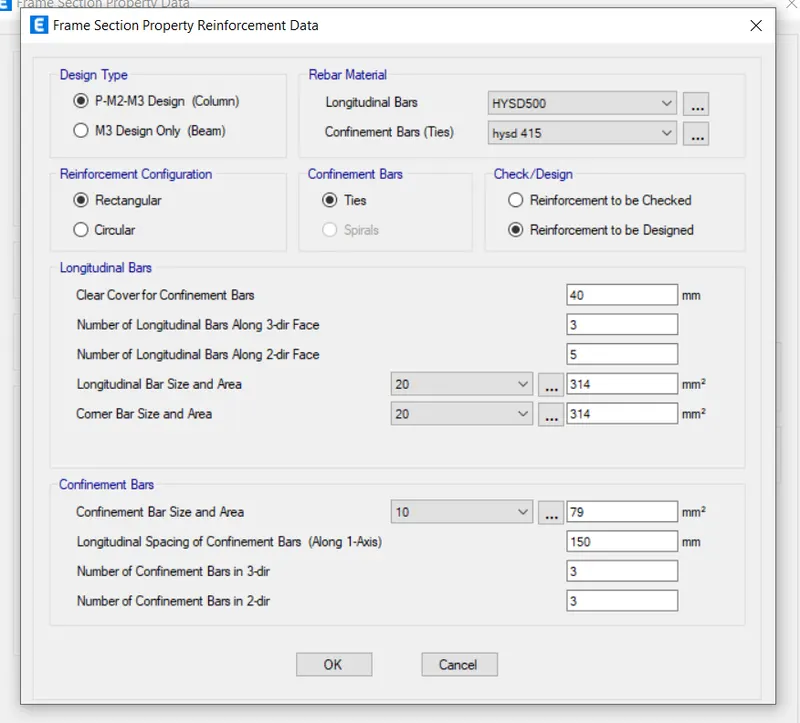
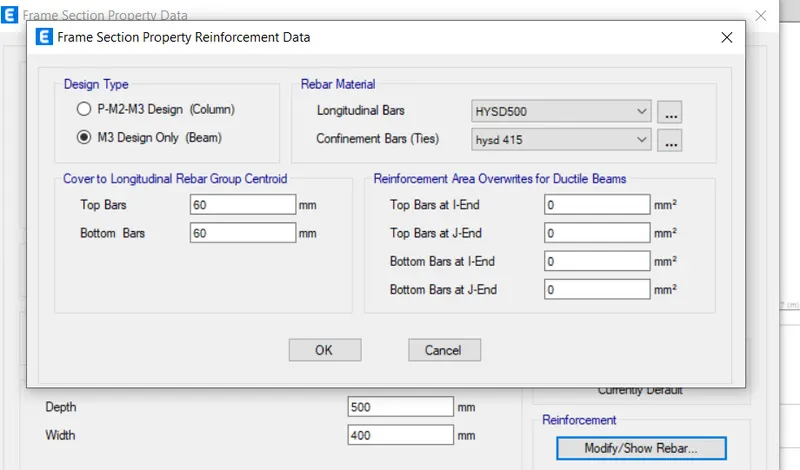
defining frame section property for longitudinal and shear reinforcement which is created in defined material. and also define for beam section.
For Beam -
for beam property also use rebar property. and use hysd 500 for longitudanal bars and hysd 415 for shear reinforcement.
6. Define slab section --
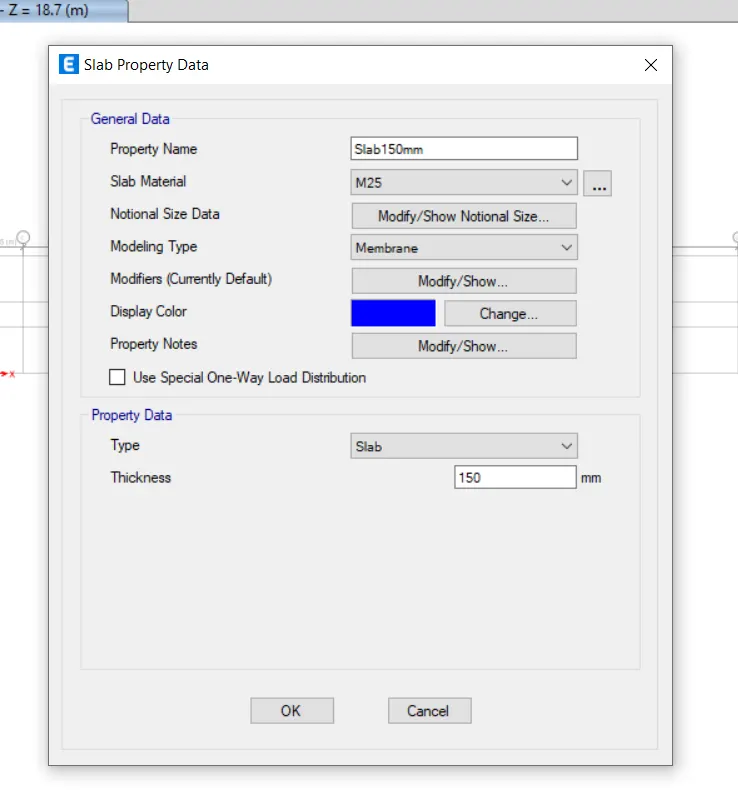
define the slab section from the material section property providing 150mm thickness.
7. Load Pattern -
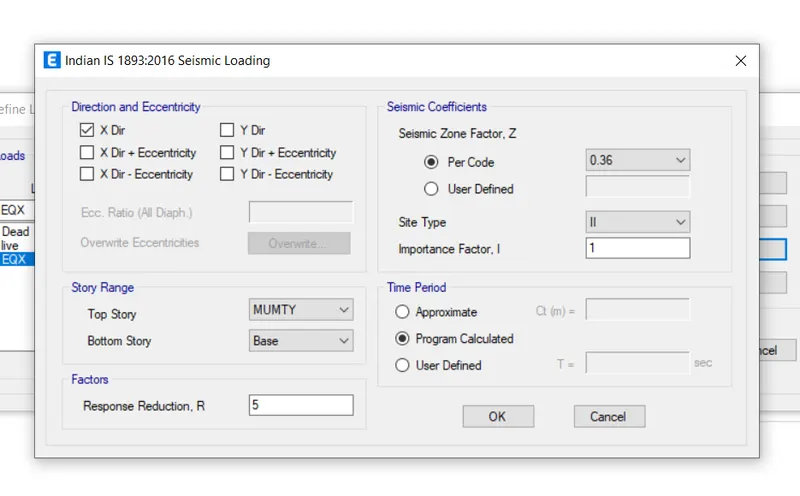
defining load pattern for dead load, live load, eqx, eqy, and brickwall, for eqx and eqy are loads considering from is 1893-2016
and define a seismic zone -5 it has a value is .36.
a. Load Combination -
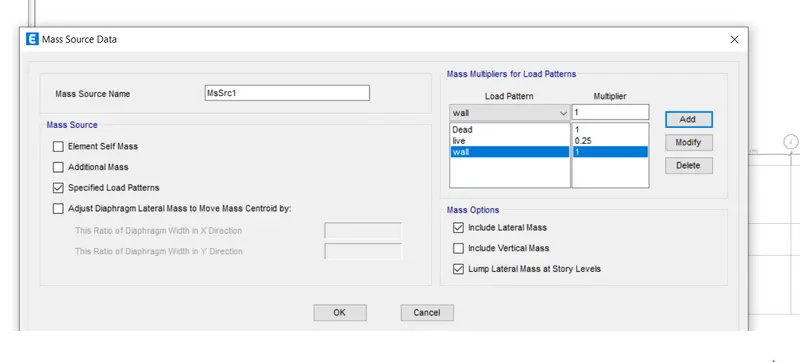
8. Mass Source -
in the mass source using full of dead load, 0.25 live load, and using full wall load.
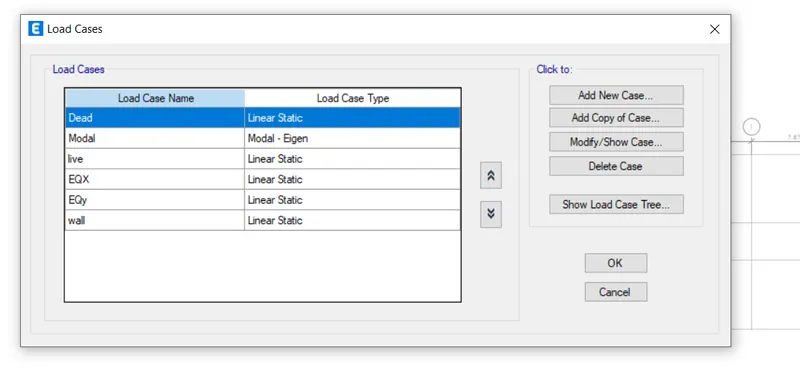
9. Load Cases -
checking load cases.
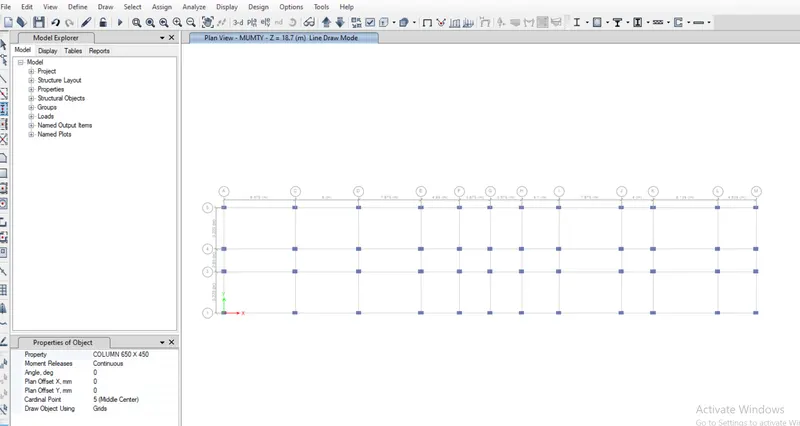
10. Quick draw column -
select Quick draw column option and after that select a column size and select all the column for creating column intersection point of the grid.
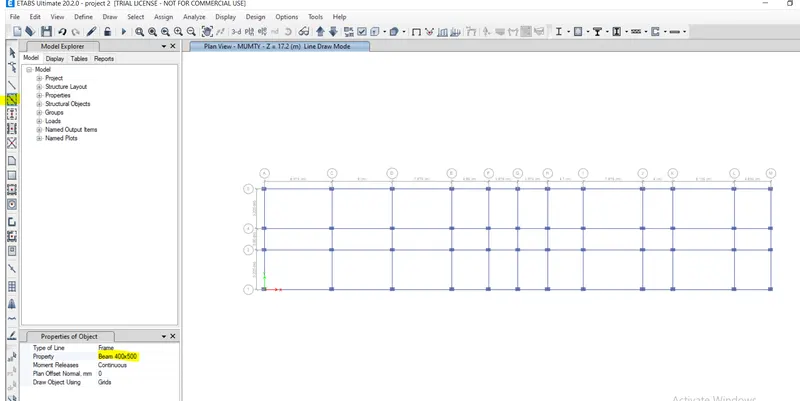
11. Quick draw beams -
before drawing the beams select a similar story. and after that select quick draw beam option and after that draw the beams.
12. quick draw slab -
select a similar story and after that draw a slab having 150mm thickness.
13. Assigning Loads -
For Assign the load select beams from the property and after that assign the wall load as 5kn/m.
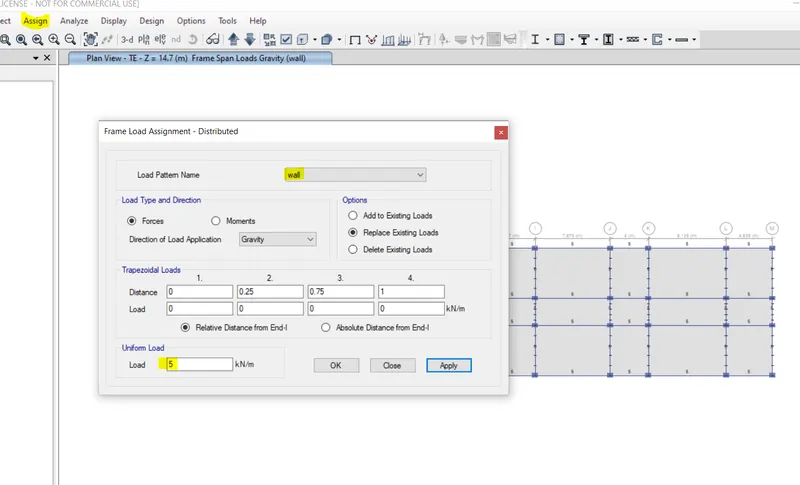
14. imposed Load -
Assign imposed load 2kn for the floor slab area.
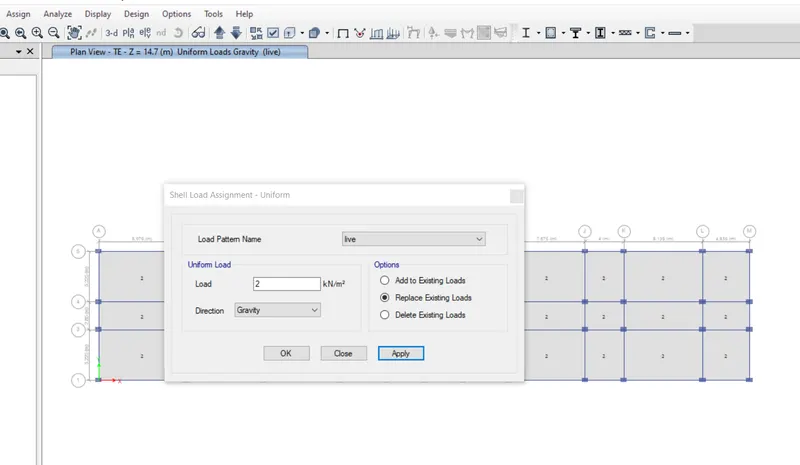
15. Diaphragm -
selecting all the slab and assign D1 Diaphragm to the slab from assign and after selecting the shell property.
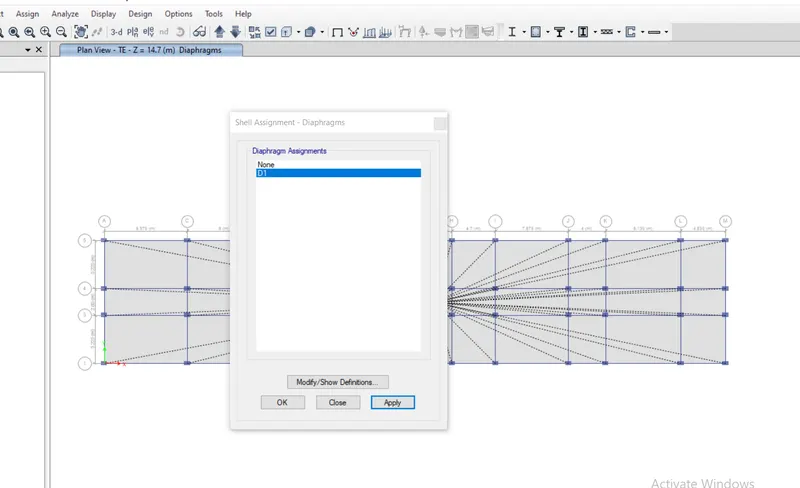
16. Analysis - After completing the modeling click on the start play button to run the analysis. for checking the deflrction.
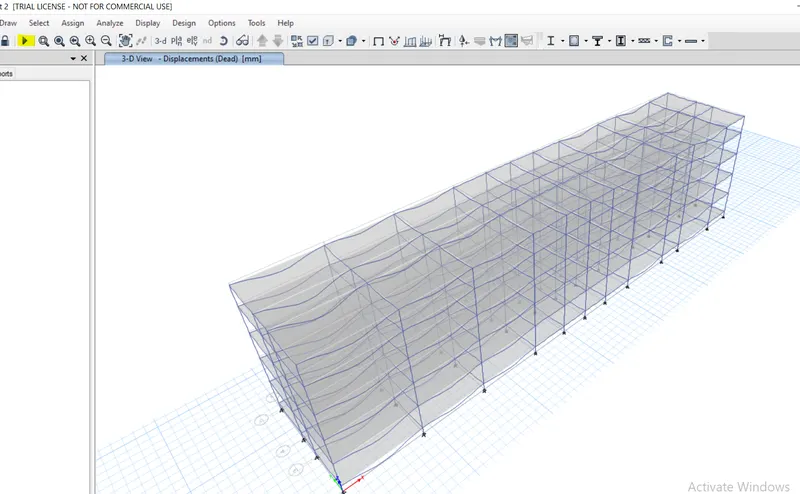
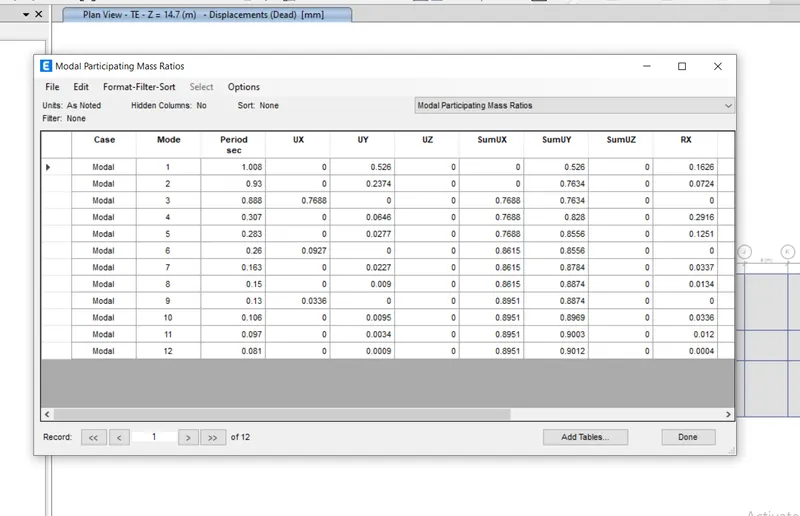
17. Modal Participating Mass Ratio -
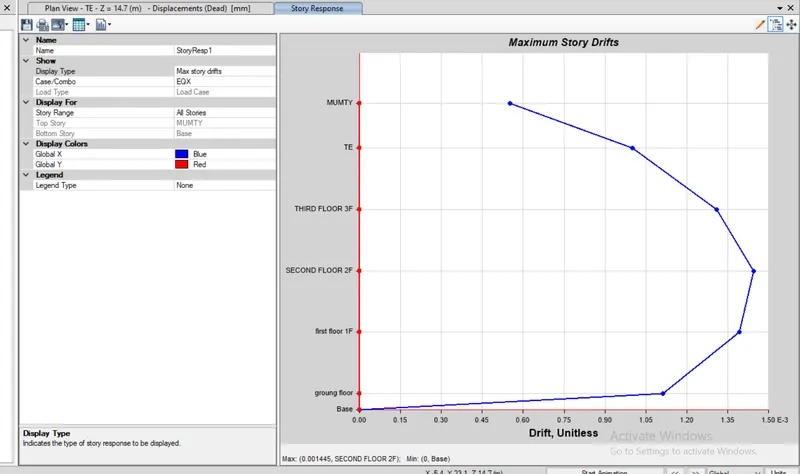
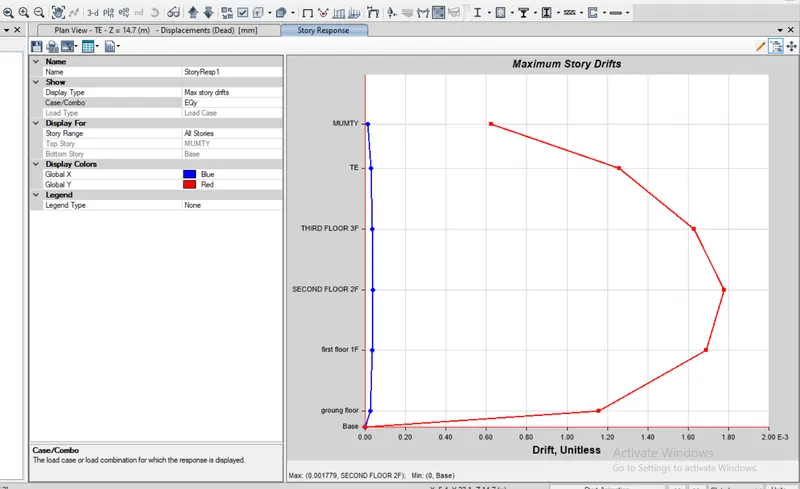
18. Response story plot -
Eqx
EQY
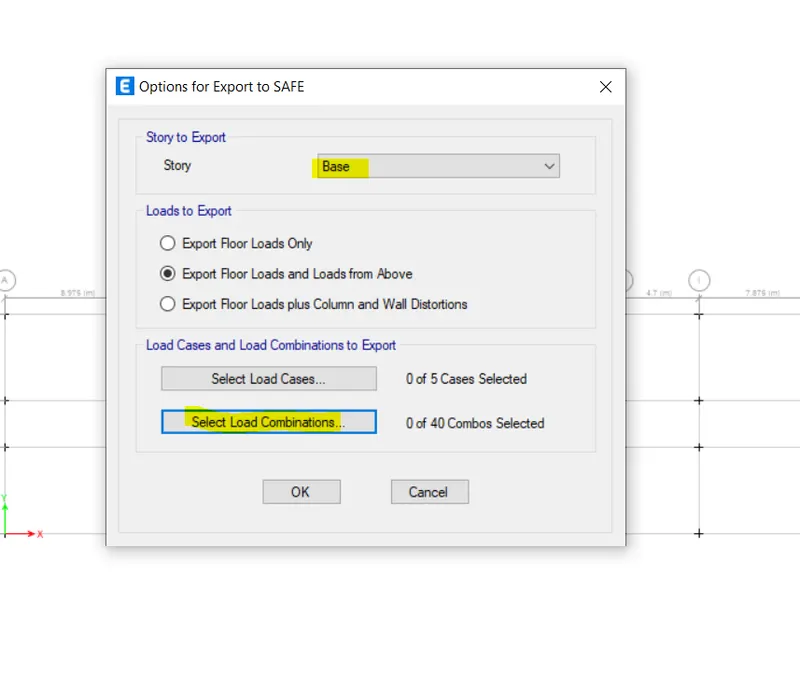
19. Exporting the file into a safe -
to Export the file into the safe click on the story as a safe v12k. after that select base and select exports floor loads and loads from above. select load cases and select load combinations. after that saving the file.
SAFE Analysis
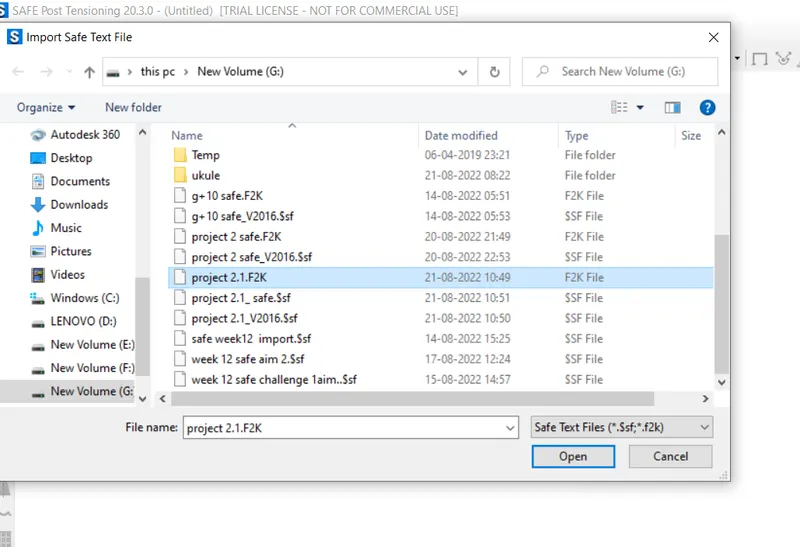
Importing project .2f2k 2.1 from etab saved files. and after that start the Analysis.
2. Define materials -
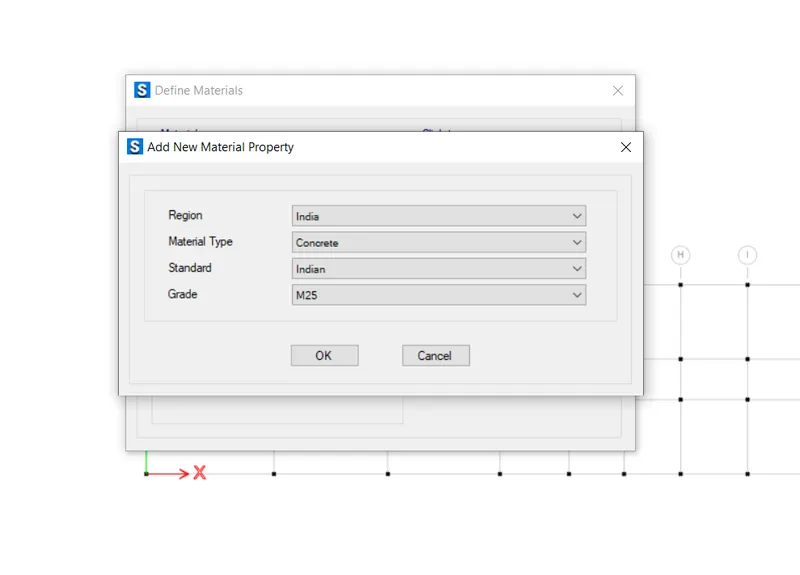
defining M25 Material for concrete.
3. Define Rebar Material -
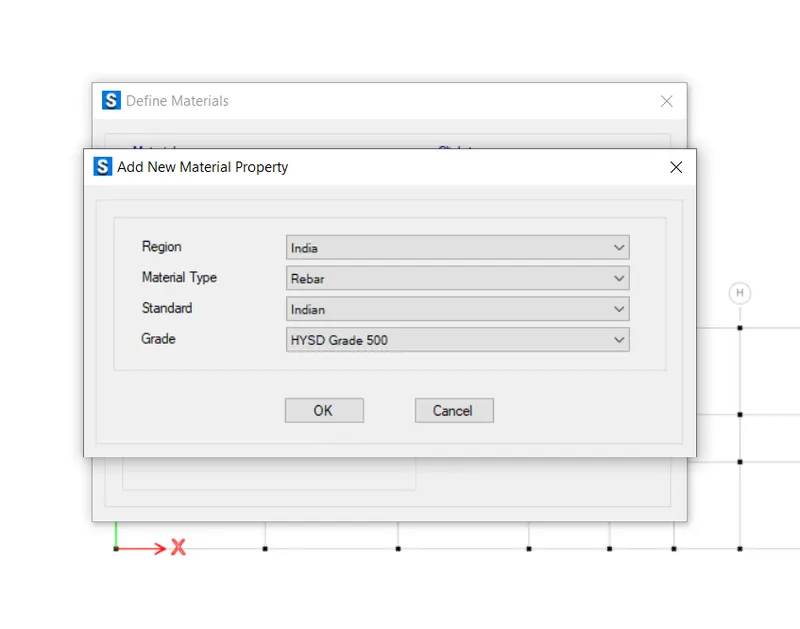
defining Rebar material fe 500.
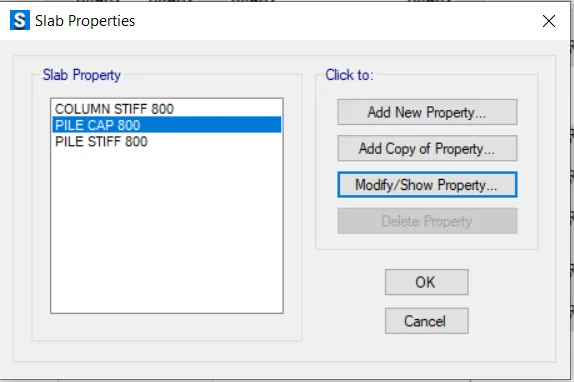
4. Define slab property -
5 Apply spring property -
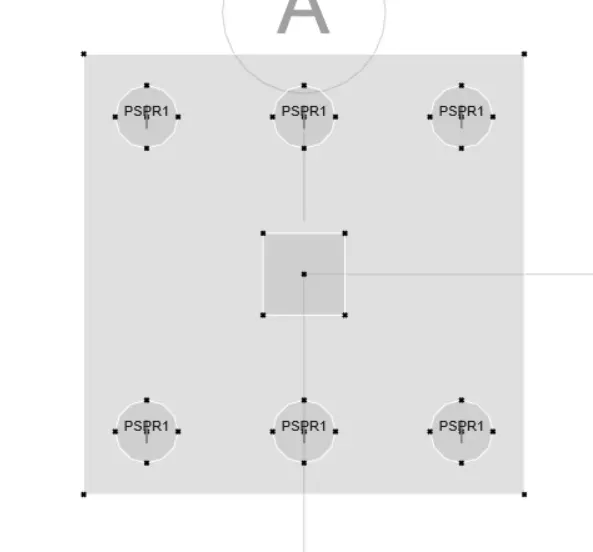
6. pile creation -
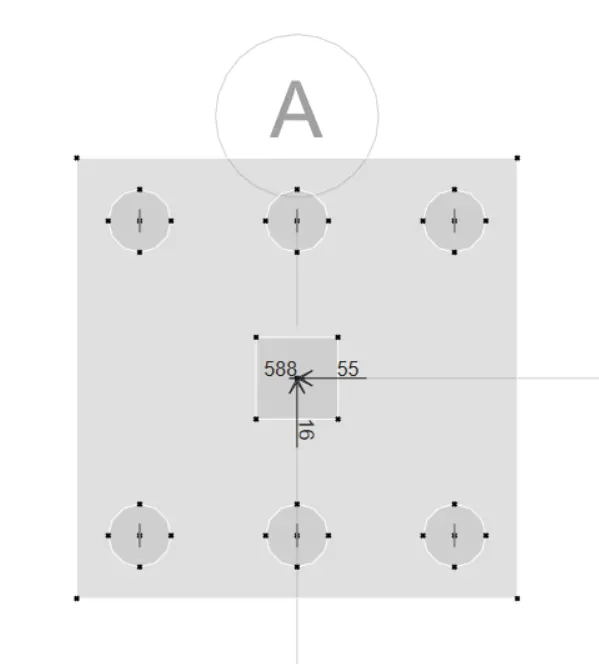
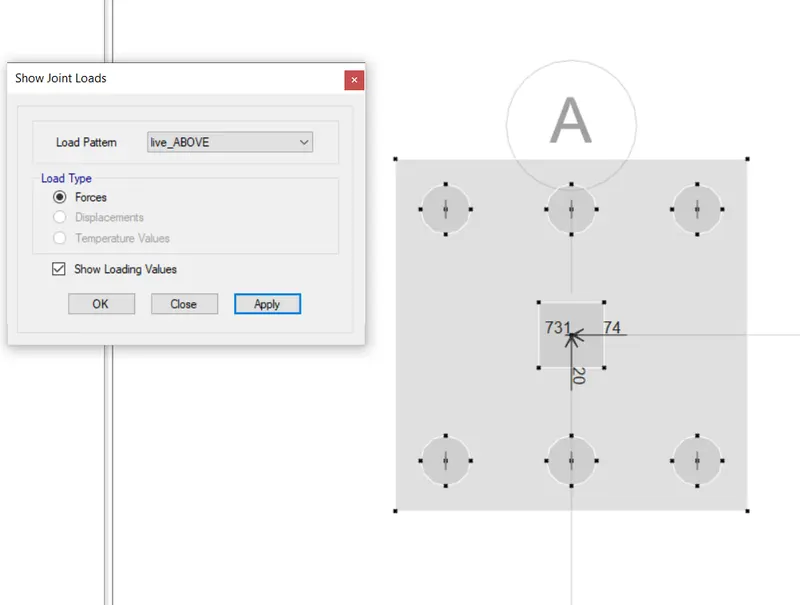
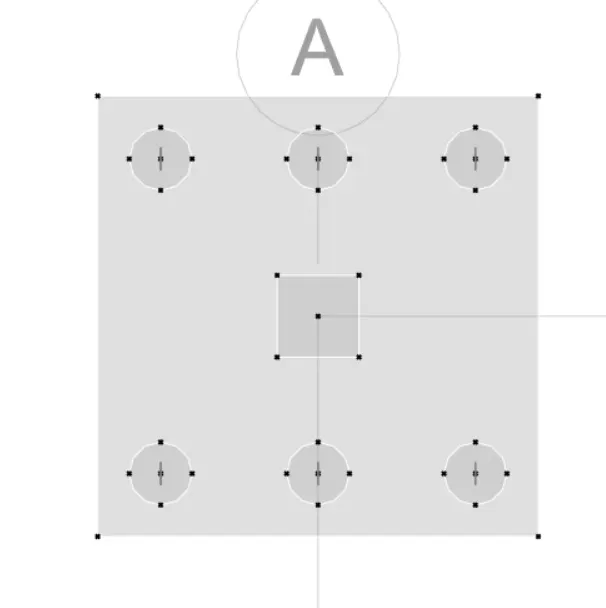
Before creating a pile calculate what is the actual load acting on the joint. i am going to show a grid a joint load and pile create detailing.
a. dead load -
b.live Above -
c. wall load -
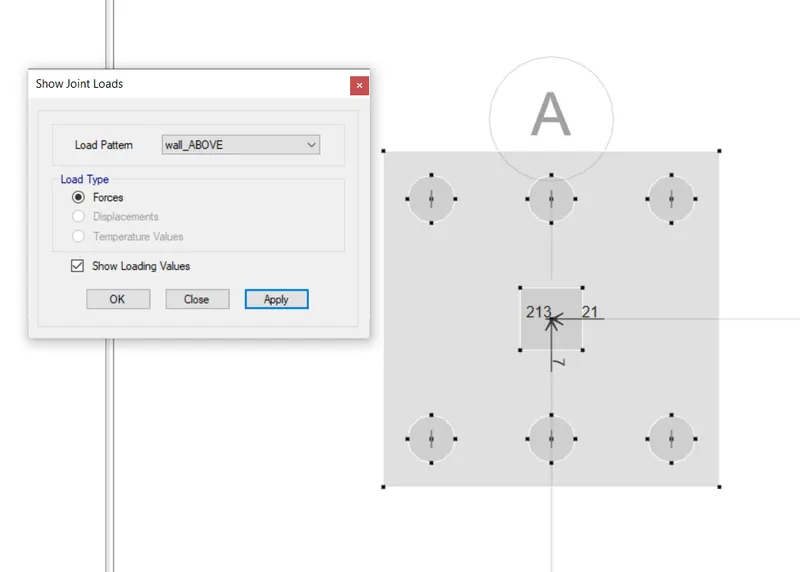
calculating the total three load it will come = 213+731+588 = 1532 kn/m.
as per design the load carrying capacity of the pile is 280 kn/m.
1532-280 = 5.4 = 6 no. of the pile so we need 6 of thefthe pile
and the minimum distance beetween piles is 2.5*d = 2.5* 500 = 1250mm
so i am providing center to center between two piles is 1250 mm
and providing cover for pile is 500mm.
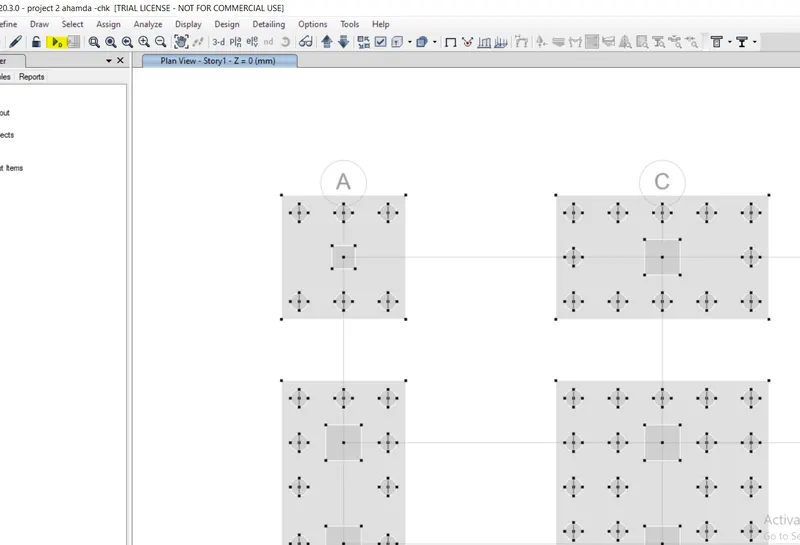
these same steps are done for all the joints according to load acting on the joints.
7. Start Analysis - starting the analysis after assigning all the loads and spring properties.
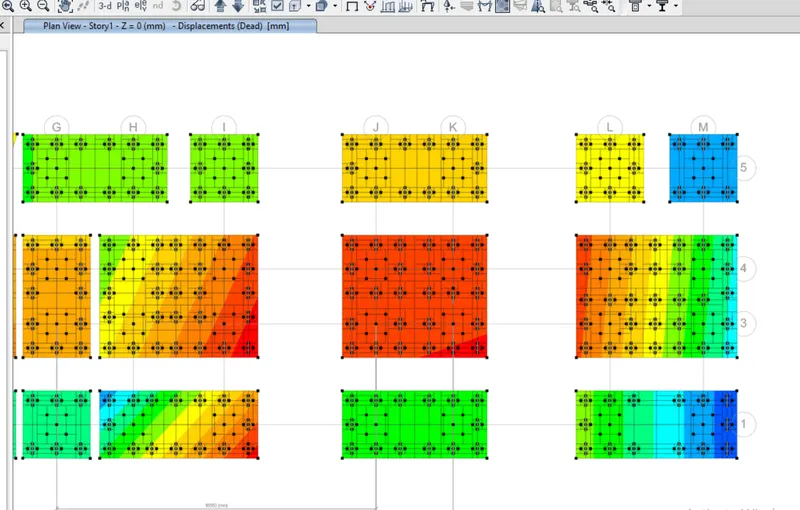
8. Punching shear checking -
From the display option select show punching shear option.
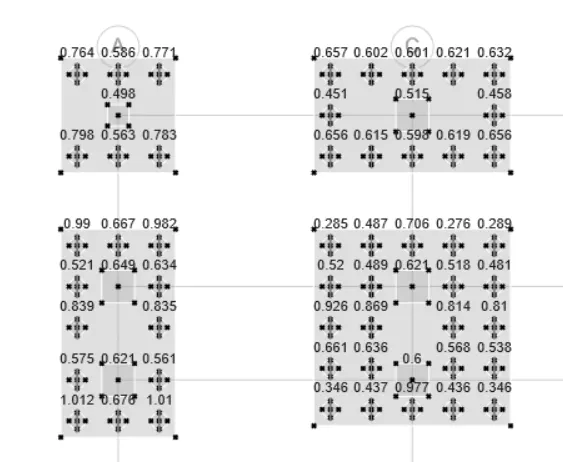
punching shear is okay for modal.
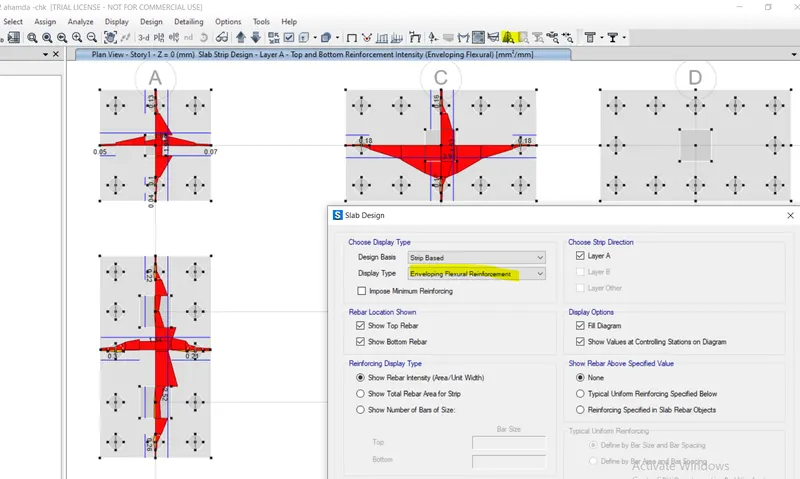
10. Flexural Reinforcement -
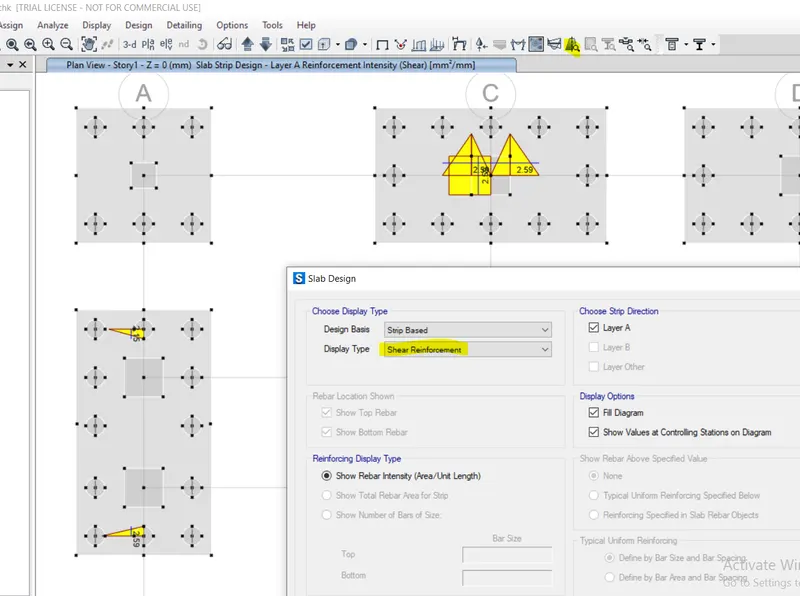
11. Shear Reinforcement -