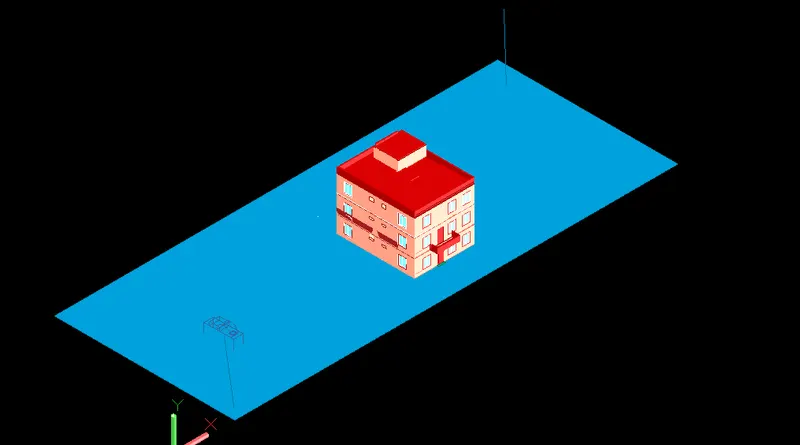
Project 2_Creating a 3D rendered model for a Residential Building in AutoCad
PROLECT -2
AIM - Create 3 dimensional model of the residential building with a rendered view in AutoCad
Procedure -
- Open AutoCad
- In right left corner click on setting icon that is the icon of workspace
- Select 3d modelling
- Enter UN for unit command in command box and change the type as decimal and select precision as 0.0
- Now enter Dim style in command box and modify the setting and select primary units as decimal and give precision as 0.0
- Select line command and draw in top view or 2d
- Line command is used to draw the plan
- Take Command xline and draw line in x direction as well as in y direction
- trim the unwanted corner lines
- Offset 230mm for wall
- Offset 5000 for kitchen in x direction and 3500 in y direction
- Take offset of 230
- Take offset for bed room of 5000 horizontal and 5000 for vertical
- Offset 1000 for open space
- Take offset of 2000 in both direction for wc and bath
- All walls are 230mm
- Then draw window and door by using line command
- Size of Door -
D1 - 1200x2100
D2 - 1000X2100
W - 1500X1800
Landing width - 1000
Trade - 300
Rise - 150
- Take mtext command and give naming to plan
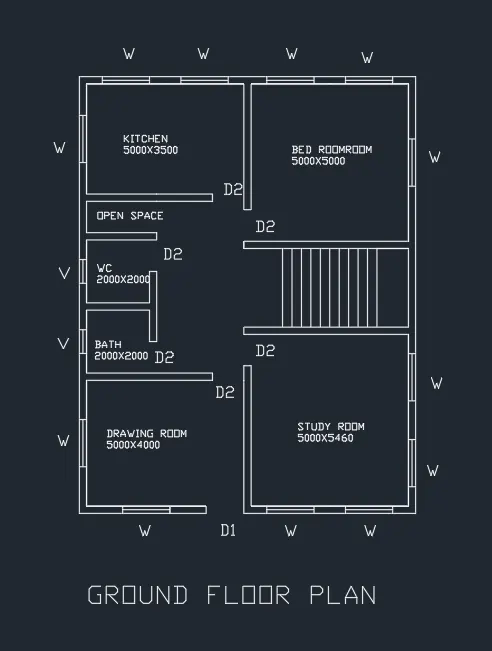
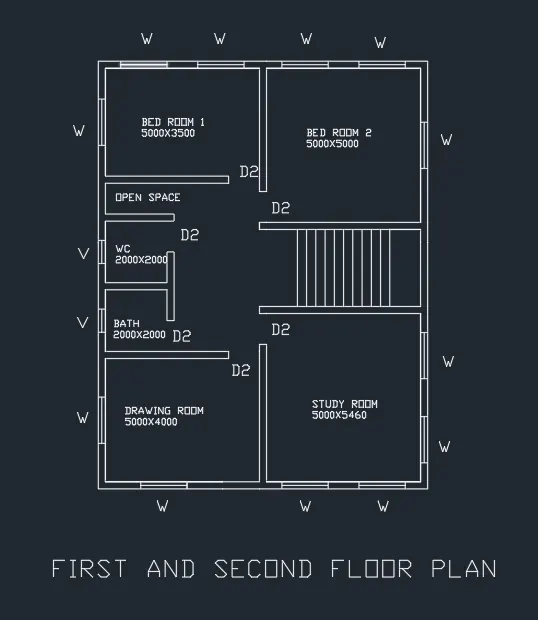
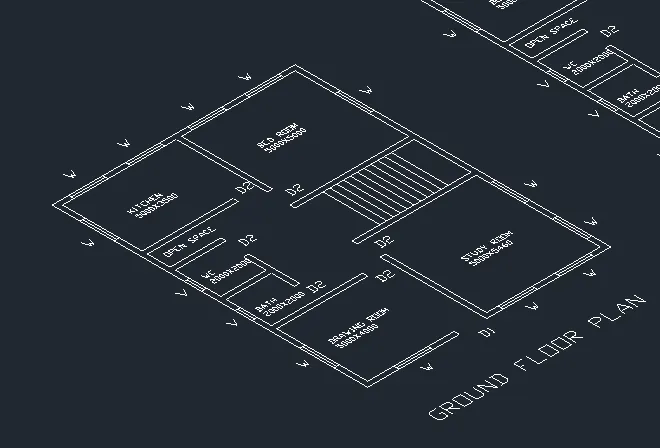
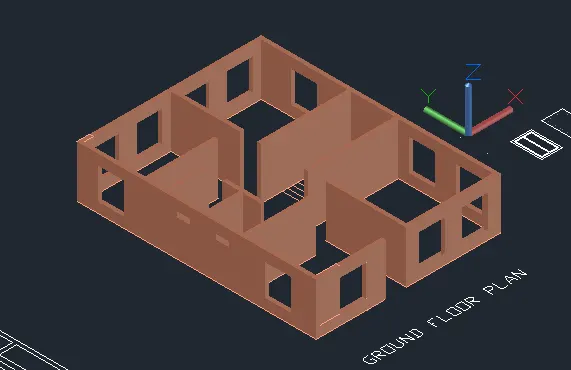
Steps for creating 3d plan -
- Select 3d modelling
- Use boundary command and in that select region
- Create boundary and region in plan
- Extrude the region that of wall to height of 3000 from bottom
- Floor height is 3000
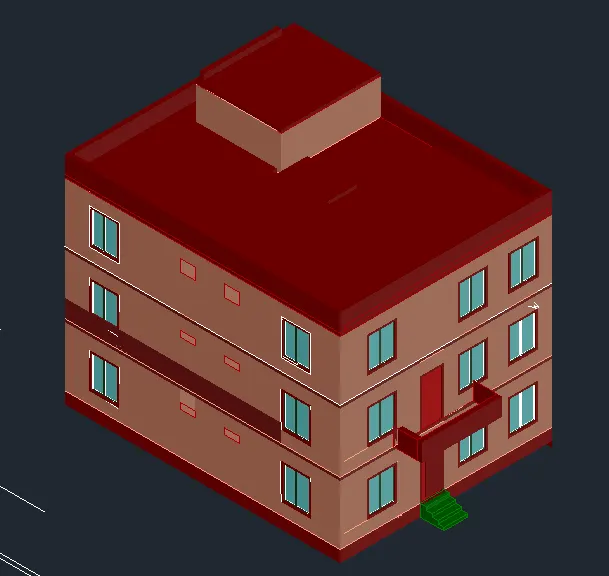
- Create different layers using layer property like 3d wall,window frame,slab,window,door etc
- Assign colour to each layer individually
- use line command to draw doors and windows
- extrude the doors and windows to suitable depth
- Rotated 3d is use to rotate the object as in window and doors
- Then use move and copy command to move and copy the window and door
- Use polyline command at terrace and create parapet wall at top of building
- Then create plinth at bottom of 600
- Create staircase and extrude it to a distance of 1200
Steps of Rendering -
- Go to visualize tab from the ribbon
- This will give access to the panel like logth,sunlight,camera and render view
- Create different views using camera and render the building
- Place the light at desired location
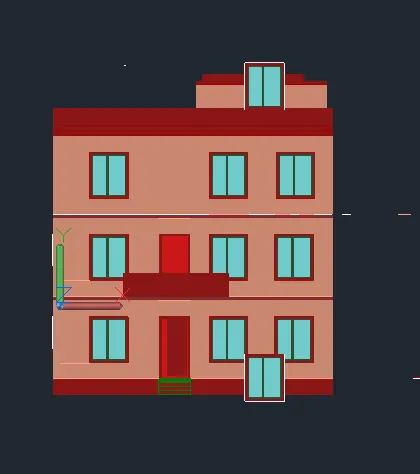
Final Drawing -