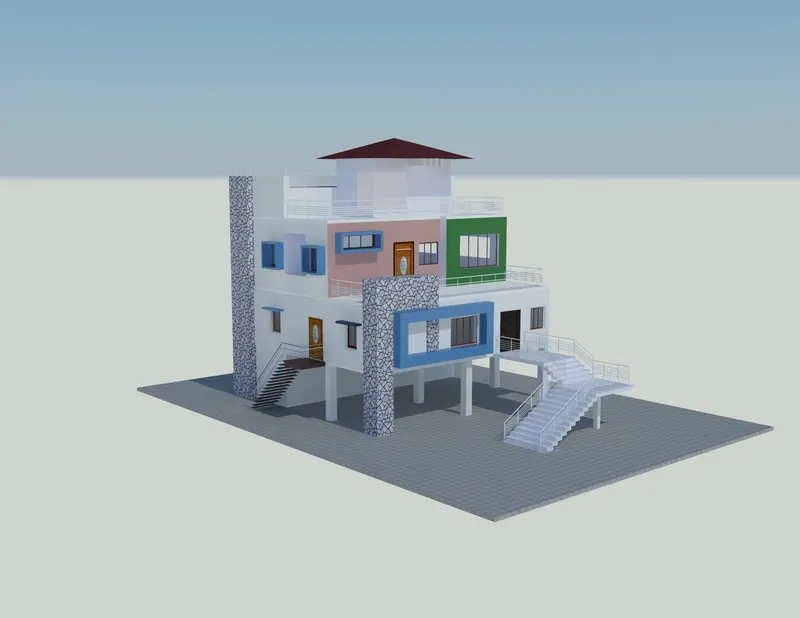
Project 2_Creating a 3D rendered model for a Residential Building in AutoCad
AIM: To create a 3D rendered model for a Residential Building in AutoCAD
INTRODUCTION:
- The main objective of this project is to understand about to create a Plan in 2D, then convert it into 3D using AutoCAD 3D, applying materials and rendering.
- AutoCAD is primarily used for generating 2D sketches. While it is possible to create 3D objects, AutoCAD is built around a flat, sketch-based interface. There is a wide range of pre-defined 3D objects in AutoCAD. These objects are cylinders, spheres and wedges and many more. But then users use 2D objects and modify them using the 3D commands accordingly. So, AutoCAD 3D commands like Extrude, Sweep, Revolve, and Union are used by the users.
- the user must know the importance of the Viewport feature if they are working on 3D Models. The viewport command allows the user to split the drawing area into different windows to project multiple views of the model. These include the top, front, left/right views of the object. This feature works great for the user and helps them to observe the model from different aspects. Some 2D and 3D tools which was used while working on this project.
3D tools:
Revolve
- Draw> Modelling> Revolve
Extrude
Draw > Modeling > Extrude
- This AutoCAD 3D Extrude command allows the user to create a 3D object by extruding a 2D face along a line or path. For example, A cylinder can be created by selecting a 2D circle and extruding it along with a path.
Sweep
Draw > Modeling > Sweep
This command helps the user to extrude the 2D objects without the 2D face being orthogonal to the beginning of the path.
Union
Modify > Solids Editing > Union
- This AutoCAD 3D command allows the user to combine two objects converting them into one single object.
Subtract
Modify > Solids Editing > Subtract
- This command is opposite to the union command; this command works when there is a common area in both the objects. Then this command subtracts the object A from the object B.
Intersect
Modify > Solid Editing > Intersect
- With this AutoCAD 3D command, the user is left with the area that is common to both the objects.
RENDERING
Rendering is the process of creating a raster image based on the 3D objects in a scene. A renderer is used to calculate the appearance of the materials attached to the objects in a scene, and how lighting and shadows are calculated based on the lights placed in a scene. Environmental and exposure settings of the renderer can be adjusted to control the final rendered image.
OBJECTIVE:
The main objective of this project is to review and refresh almost most of the tools which will be used by a Professional engineer while drafting a 3D drawing. This will start from the initial drafting in 2D using lines and rectangles to rendering in 3D. The entire project can be completed in 14 steps and are as follows.
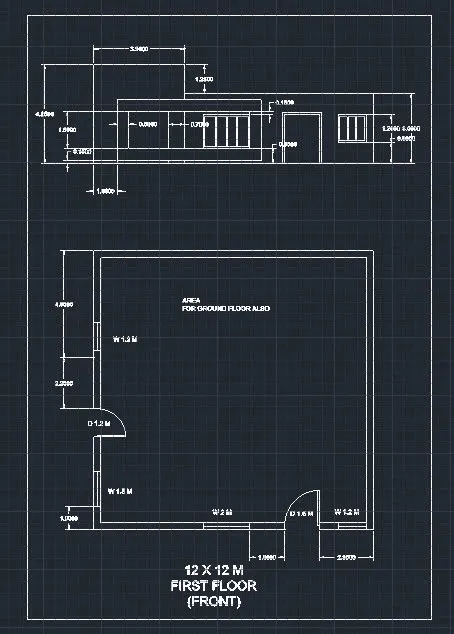
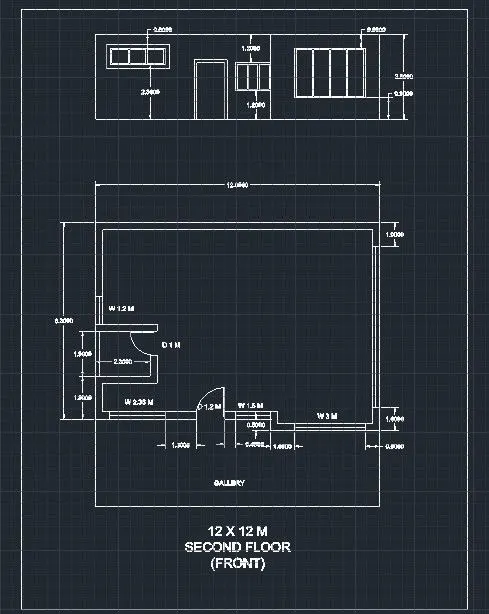
- To draw the plan using AutoCAD 2D.
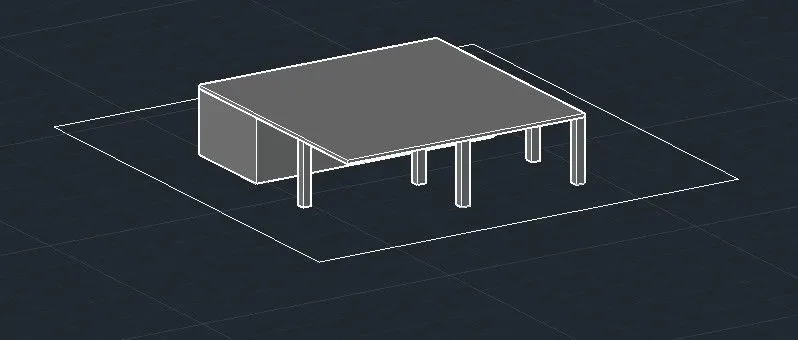
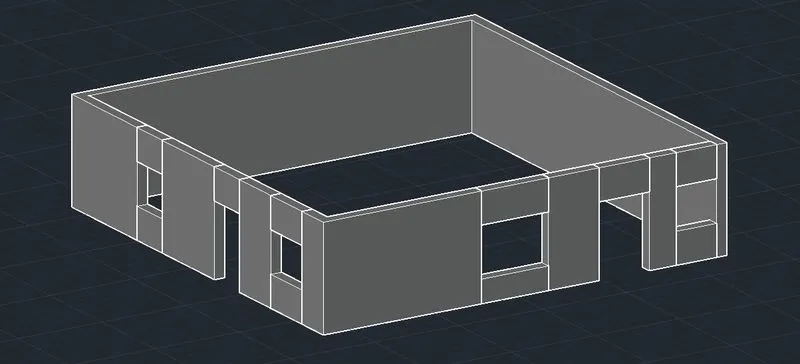
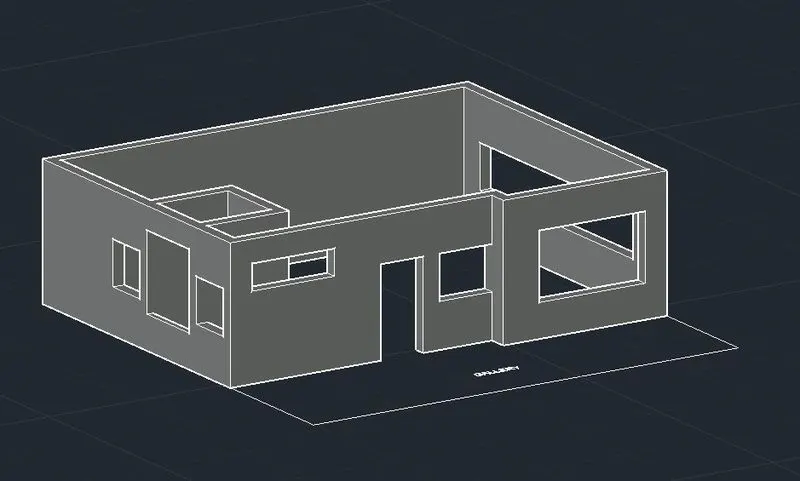
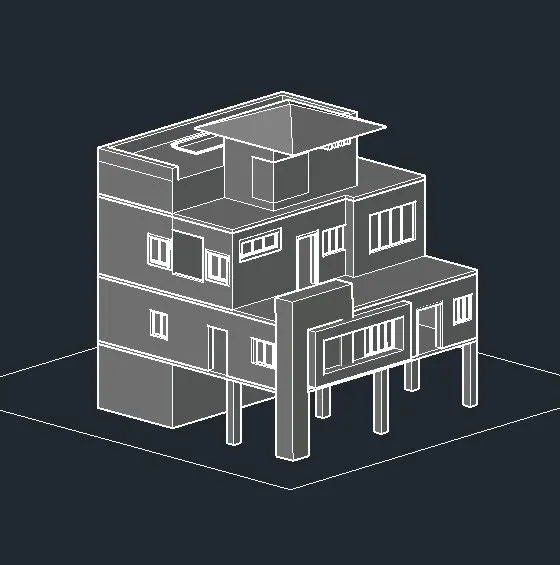
- To project walls to convert the plan from AutoCAD 2d to AutoCAD 3D.
- To design the staircase
- Designing and placing of 3D doors, swinging louver,sliding window, normal window and glass grill.
- Adding lights and colouring of walls
- Adding chajja and 3D mirroring of the flat.
- Adding lift and roof.
- Designing and placement of staircase rails.
- Adding mumty, parapet wall and copying floors
- Rendering.
PROCEDURE:
- To draw the plan using AutoCAD 2D.
- To project walls to convert the plan from AutoCAD 2d to AutoCAD 3D.
- To design the staircase
- Designing and placing of 3D doors, swinging louver,sliding window, normal window and glass grill.
- Adding lights and clour using MAT Option
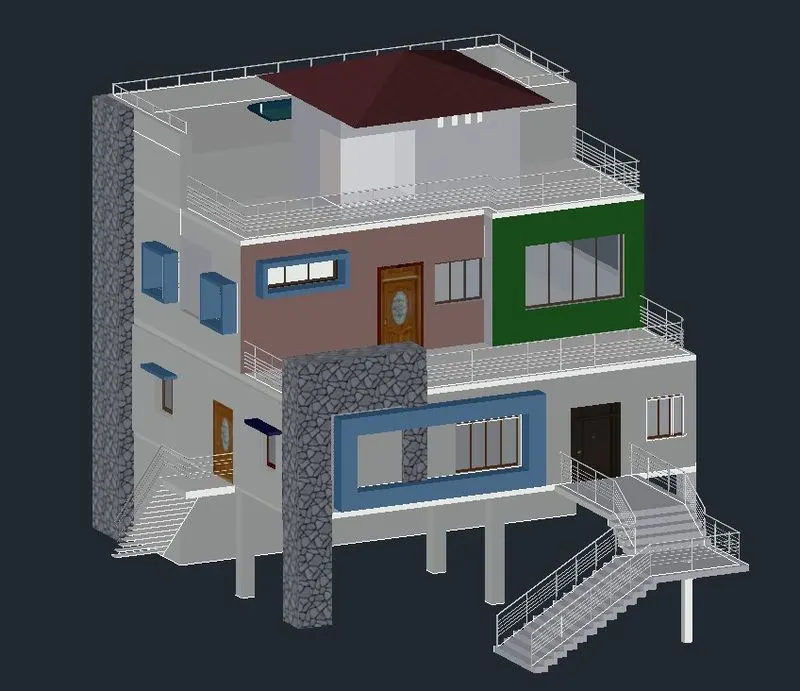
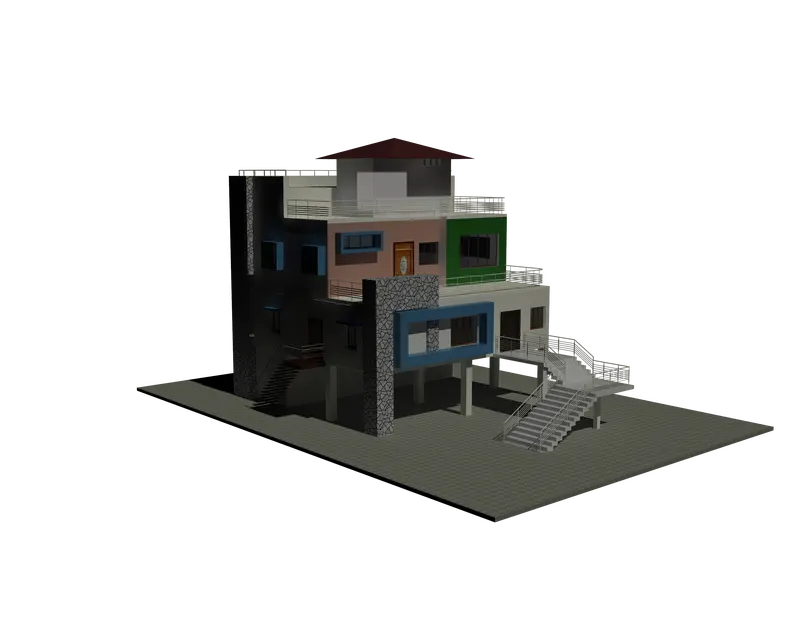
- Rendering:Rendering at eagle’s eye was done here.The camera was placed at necessary places around the whole building at some height.Grass Site work was applied at floor from materials library in visualisation tab.Rendering was done and the resultant images from different camera position is as shown.
RESULTS:
A residential house was designed and rendered as shown