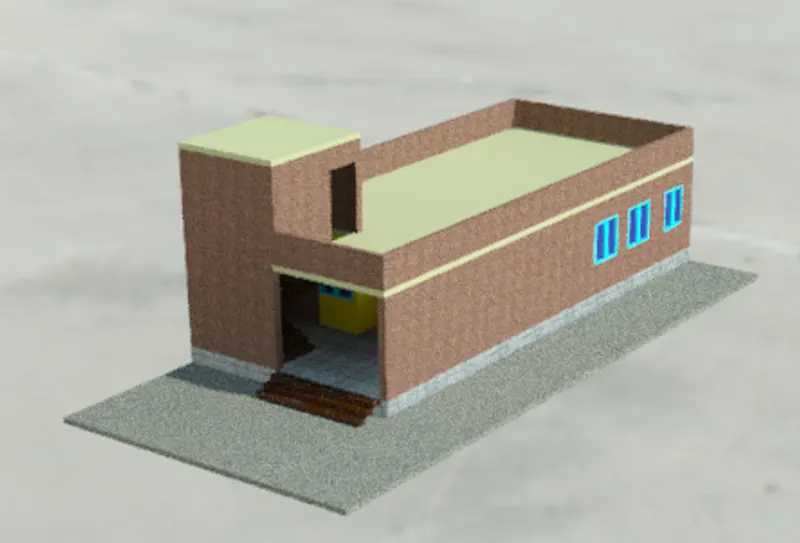
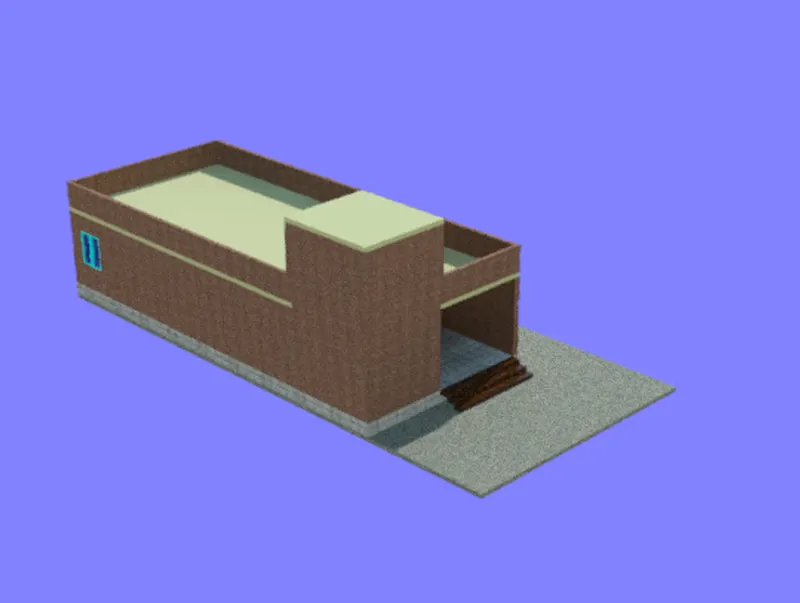
Project 2_Creating a 3D rendered model for a Residential Building in AutoCad
1. AIM:
⦁ To create a 3d Model of a residential building with rendering view.
COMMANDS USED:
⦁ line
⦁ rectangle
⦁ UCS
⦁ region
⦁ extrude
⦁ substract
⦁ 3D Orbit
⦁ union
⦁ plan
⦁ erase.
⦁ rendered.
⦁ material assign.
PROCEDURE:
STEP:1
⦁ Set the unit in engineering with inches.
⦁ set the limit min & max.
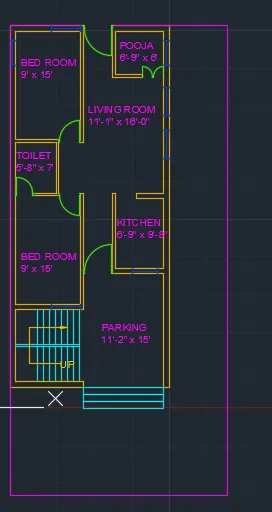
⦁ draw a rectangle of 22'x50'
⦁ offset the distance of 9" to create a wall.
⦁ use the command offset, trim and make the wall to create the bed rooms and toilet.
⦁ use the same commands and create the kitchen and living room and pooja.
⦁ use the command layer and create a layer for the each object.
⦁ create a stair with riser and tread at south west corner.
⦁ create a inner wall with the dimension of 4.5" and outer wall with the dimension of 9".
⦁ offset the windows as per the requirement.
⦁ create a door 1, 2, 3 and create a block of it for the repeat use.
⦁ use the layer text and name all the rooms.
STEP2:
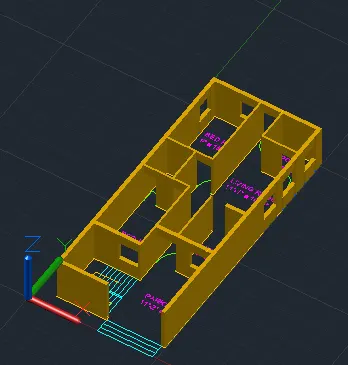
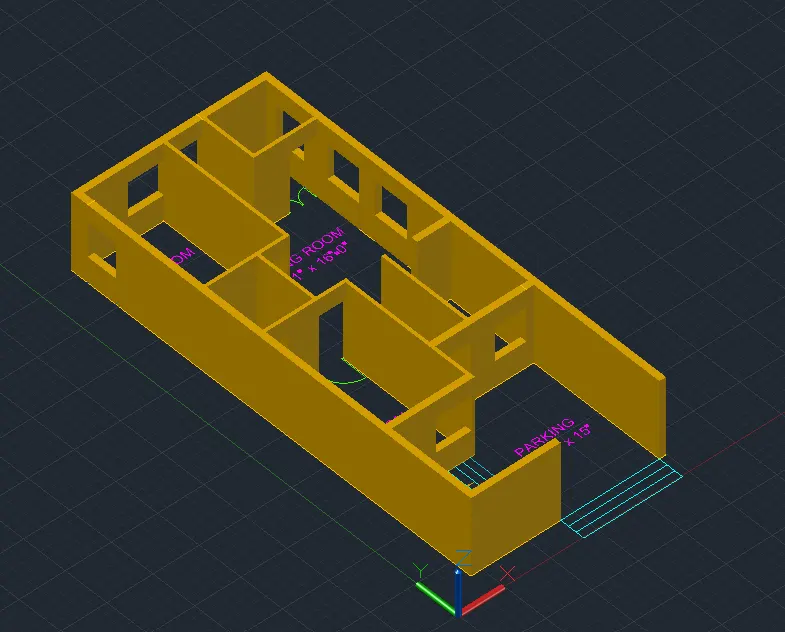
⦁ use the command 3d orbit to create a view and use the 3dface command also for the shaded area.
⦁ use the extrude command option and create wall with the altitude of 9'.
⦁ clear the window area and door area and create a wall with the remaining.
⦁ Create a layer for the wall and provide a colour to identify.
⦁ and create a wall to the sill level at the window areas.
⦁ and create a wall at lintel level to roof at the door and window areas.
STEP:3
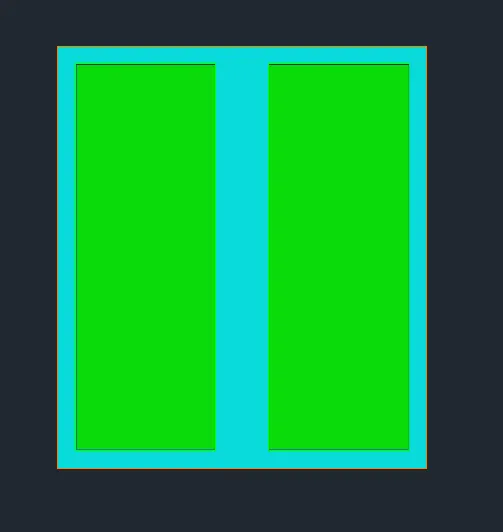
⦁ Use the proper dimension and create a rectangle window.
⦁ create a layer for the window panel and window glass etc.
⦁ and give the separate colour for them to identify.
⦁ create a boundary for the panel and create a boundary for the glass.
⦁ substract the unwanted area as per the requirement.
STEP:4
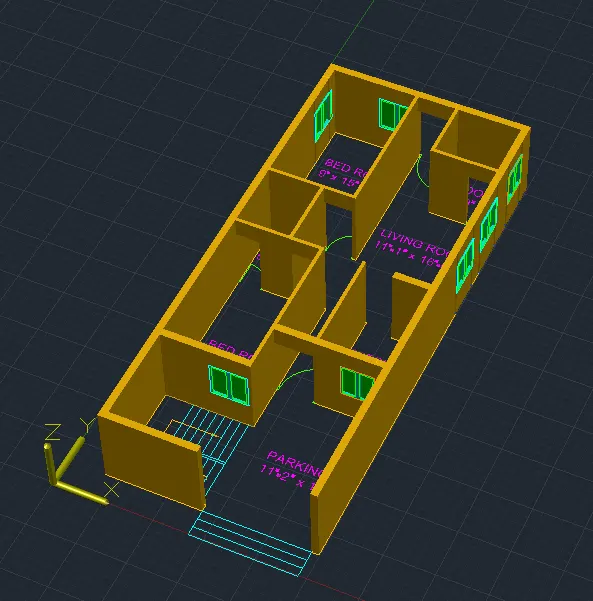
⦁ Use the copy command and paste the window at the gap area in the wall and save the model.
STEP:5
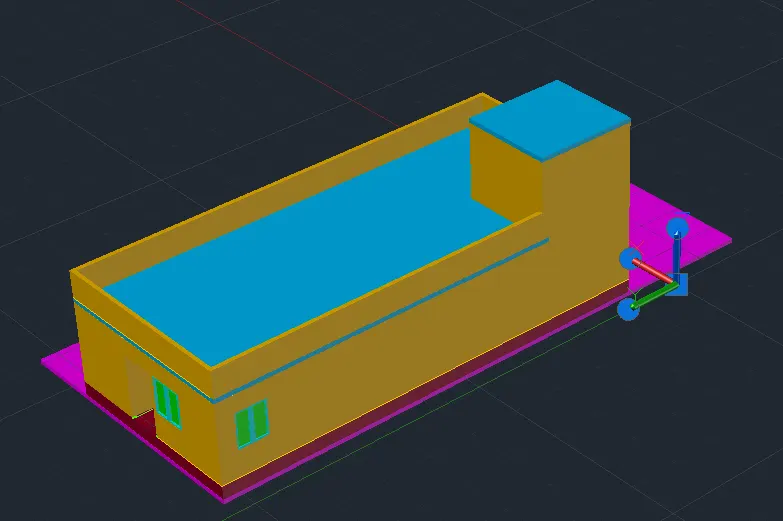
⦁ Use the command rectangle and create a ucs.
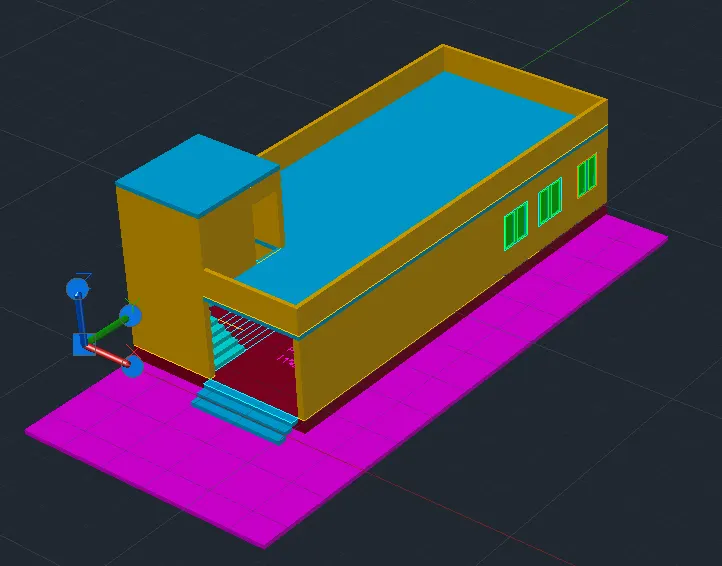
⦁ create a stair with the proper riser and tread in 3d and attach it at the required position.
⦁ create a layer for the roof and create a head room for the stair.
⦁ create a parapet wall with the 3' height.
⦁ create a concrete footing below and provide a different colour to identify.
STEP:6
⦁ Use the material tool to assign the each and every materials.
⦁ assign the concrete material for the footing
⦁ assign the ceramic material for the stairs.
⦁ assign the glass and panel material for the windows.
⦁ assign the masonry materials for the walls.
⦁ set the background for the rendering view.
⦁ use the command RR and render the model and save the file.
RESULT:
⦁ The 3d rendered model for a residential building is drawn and created by using the autocad.