Project 2_Creating a 3D rendered model for a Residential Building in AutoCad
AIM:Create a 3 dimensional model of the residential building with a rendered view.
PROCEDURE:
Type UN and press enter
Under Drawing Units, select Engineering
Now the lower limit is set to 0', 0' and upper limit to 50', 50'
Type Z enter to zoom and A enter to all.
Now in settings selecting 3D Modelling and visual style control to 2D wireframe.
Now by using the Line command draw the PLAN.
Also chose different layer from layer properties,give the dimension for the plan.
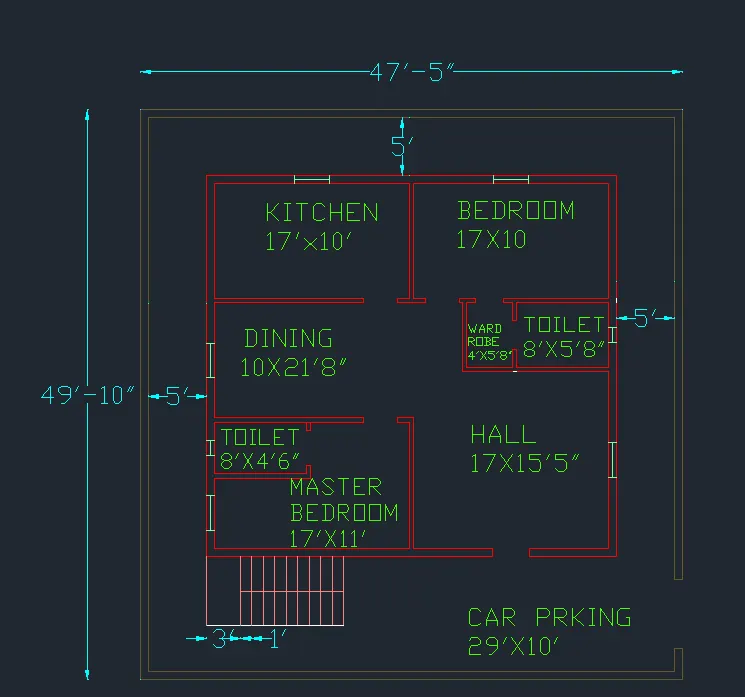
Now select floor layer and select Extrude 4" of Height.
Now using BOUNDRY command select the region of the Interior and exterior walls of the drawing.
Now Extrude it 10' from the floor level.
Now draw the doors and Windows for the Plan and and SUTACT it from the plan.
Now draw the stairs for the Plan using the EXTRUDE command 3' distance,1' trade,6"rise.
Also draw the rails for the stairs and using EXTRUDE,SWEEP command as shown below.
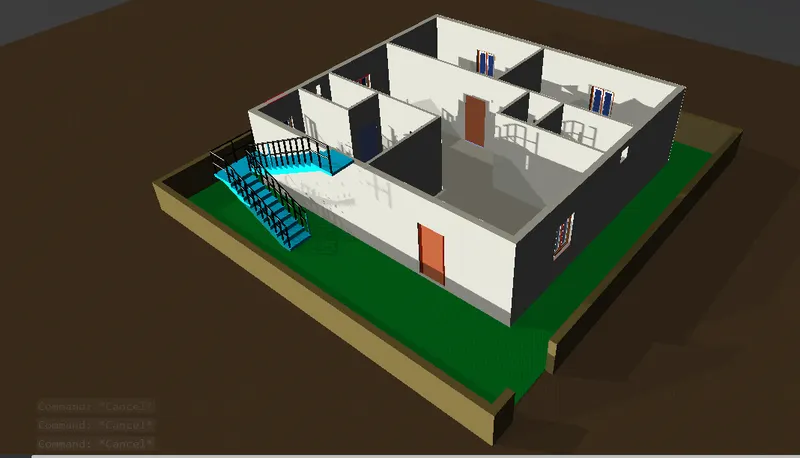
Now draw the Slab for the PLAN by usinng REC command draw a rectangle 1'6" distance from the walls outerside.
Now extrude it at the height of 6".
draw the parapet wall sides of the slab using Line command select the region.
Now extrude the region of 3'6" of height as shown below.
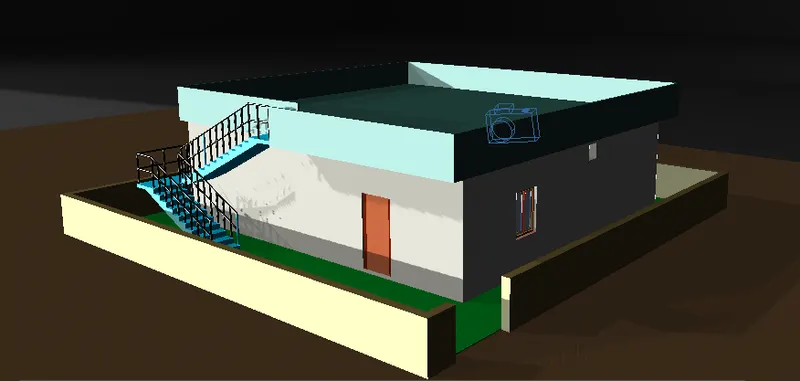
Now using the CAMERA command set the camera visable distance from the plan.
Also set the spot light from Visualize, shadows groung,select the backgroung.
Now using the Material Browser select required material type i.e, and select door in the plan ASSIGN TO SELECSTION.
Now do the same for the remainging materials like Windows frame,galss,Stairs rail,walls.
Now using the RR command RENDER the Plan also select the required setting for render.
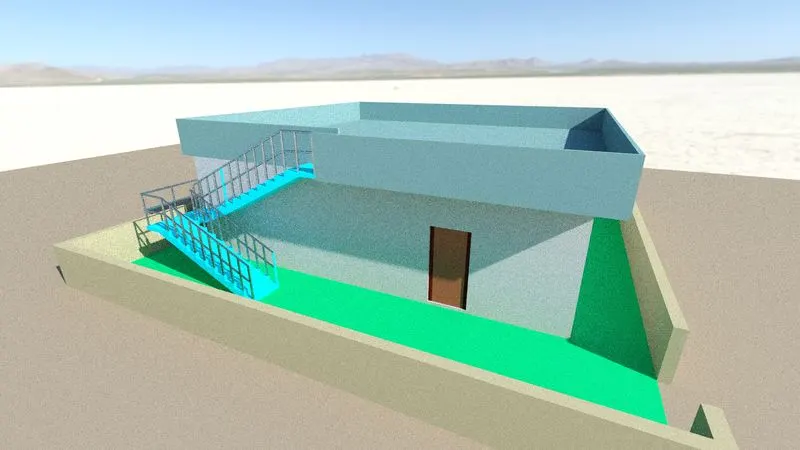
FRONT VIEW
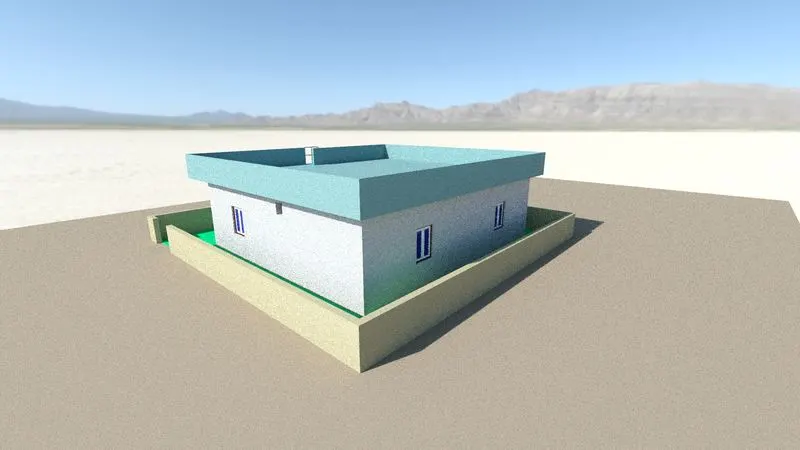
SIDE VIEW
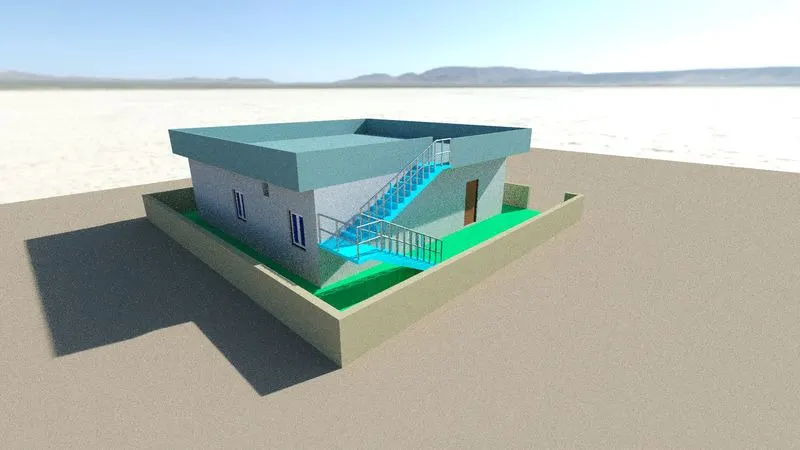
SIDE VIEW
RESULT:Created a 3 dimensional model of the residential building with a rendered view.